light VOLVO S60 TWIN ENGINE 2020 Owner's Manual
[x] Cancel search | Manufacturer: VOLVO, Model Year: 2020, Model line: S60 TWIN ENGINE, Model: VOLVO S60 TWIN ENGINE 2020Pages: 657, PDF Size: 13.6 MB
Page 123 of 657

DISPLAYS AND VOICE CONTROL
}}
121
Moving apps and buttons in the center display The apps and buttons for vehicle functions can be moved and organized in the App andFunction views.
1. Swipe from right to left8
to access App
view or swipe from left to right 8
to access
Function view.
2. Press and hold an app or button. > The app or button will change size andbecome slightly transparent. It can then be moved.
3. Drag the app or button to an available position in the view.
A maximum of 48 rows can be used to posi-tion apps or buttons. To move an app or but-ton outside the visible view, drag it to the bot-tom of the view. New rows will be added andthe app or button can be placed in one of these. Apps or buttons placed below the view's nor- mal display will not be visible on the screen. Swipe the screen to scroll up or down in the view to display information outside the view.
NOTE
Hide the apps that are rarely or never used by moving them far down, outside of thevisible view. This makes it easier to find theapps used more frequently.
NOTE
Apps and vehicle function buttons cannot be situated at spots already in use.
Related information
Function view in the center display (p. 119)
Apps (p. 452)
Handling the center display (p. 109)
Symbols in the center display status bar
Overview of symbols displayed in the center display status bar.
The status bar shows current vehicle activities and in certain cases, also their status. Due tothe limited space in the status bar, not all sym-bols will be displayed at all times.
Symbol Meaning
Connected to the Internet.
Roaming activated.
Cell phone network signal strength.
Bluetooth device connected.
Bluetooth activated but no device connected.
Information sent to and from GPS.
Connected to Wi-Fi network.
8 Applies for left-hand drive vehicles. For right-hand drive vehicles, swipe in the other direction.
Page 130 of 657

||
DISPLAYS AND VOICE CONTROL
128
New lines in free-text fields in handwriting mode
Create a new line by drawing above the characters in the handwriting field as shown in the illustration12
.
Writing blank spaces in free-text fields
Make a blank space by drawing a line from left to right 13
.
Related information
Using the center display keyboard (p. 123)
Changing the appearance of the center display The appearance of the center display can be changed by selecting a different theme.
1.
Tap Settings in the Top view.
2. Tap
My CarDisplaysDisplay
Themes.
3. Select a theme, e.g.
Minimalistic orChrome Rings.
In addition to these themes, you can also choose between
Normal and Bright. InNormal, the background of the screen is dark
and the text is light. This option is the default setting for all themes. If the bright version isselected, the background will be light and thetext will be dark. This option can, for example,make the screen easier to see in bright day-light conditions. These alternatives are always available for selection and are not affected by the ambientlighting.
Related information
Changing settings in the center display'sTop view (p. 129)
Activating and deactivating the center dis-play (p. 112)
Cleaning the center display (p. 605)
Turning off and adjusting the volume of the center displaysystem sounds
The volume of the center display system sounds can be adjusted or turned off com-pletely.
1. Tap Settings in the Top view in the center
display.
2. Tap
SoundSystem Volumes.
3. Pull the control under
Touch Sounds to
adjust the volume or turn off screen tap sounds. Pull the control to the desiredsound level.
Related information
Center display overview (p. 107)
Changing settings in the center display'sTop view (p. 129)
Sound settings (p. 450)
12
For Arabic keyboards, draw the same character, but in mirror image.
13 For Arabic keyboards, draw the line from right to left.
Page 134 of 657
DISPLAYS AND VOICE CONTROL
* Option/accessory.
132
Table of settings in the center display
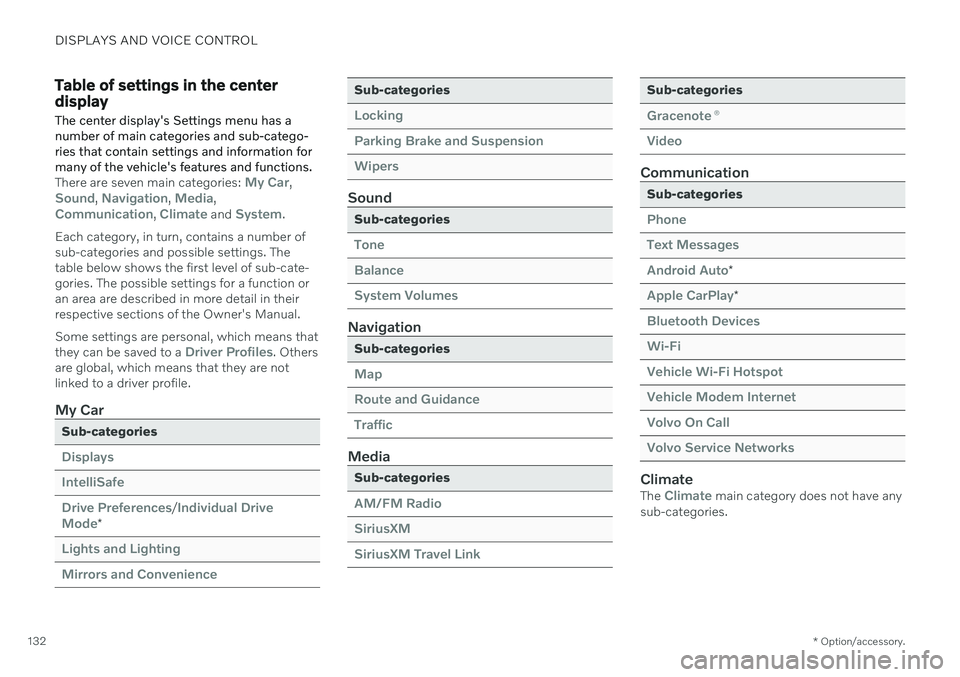
The center display's Settings menu has a number of main categories and sub-catego-ries that contain settings and information formany of the vehicle's features and functions.
There are seven main categories: My Car,Sound, Navigation, Media,Communication, Climate and System.
Each category, in turn, contains a number of sub-categories and possible settings. Thetable below shows the first level of sub-cate-gories. The possible settings for a function oran area are described in more detail in theirrespective sections of the Owner's Manual. Some settings are personal, which means that they can be saved to a
Driver Profiles. Others
are global, which means that they are not linked to a driver profile.
My Car
Sub-categories
Displays IntelliSafeDrive Preferences
/Individual Drive
Mode*
Lights and Lighting Mirrors and Convenience
Sub-categories
Locking Parking Brake and SuspensionWipers
Sound
Sub-categories
Tone BalanceSystem Volumes
Navigation
Sub-categories
Map Route and GuidanceTraffic
Media
Sub-categories
AM/FM Radio SiriusXMSiriusXM Travel Link
Sub-categories
Gracenote ®
Video
Communication
Sub-categories
Phone Text MessagesAndroid Auto
*
Apple CarPlay*
Bluetooth Devices Wi-FiVehicle Wi-Fi Hotspot Vehicle Modem Internet Volvo On Call Volvo Service Networks
ClimateThe Climate main category does not have any
sub-categories.
Page 141 of 657

DISPLAYS AND VOICE CONTROL
}}
* Option/accessory.139
Reading saved messages
1. Open Top view in the center display.
> A list of saved messages will be dis-played. Messages with an arrow to the right can be expanded.
2. Tap a message to expand/minimize it. > More information about the messagewill appear in the list and the image tothe left of the app will display informa-tion about the message in graphic form.
Handling saved messages
Some messages have a button to e.g. acti- vate/deactivate a function related to the mes-sage.
–Tap the button to perform the action.
Saved messages in Top view are automatically deleted when the ignition is switched off.
Related information
Messages in the center display (p. 137)
Handling messages in the center display(p. 138)
Messages in the instrument panel (p. 103)
Head-up display
*
The head-up display is a complement to the instrument panel and projects informationfrom the instrument panel onto the wind-shield. The projected images can only beseen from the driver's seat.
The head-up display projects warnings and information related to speed, cruise controlfunctions, navigation, etc. onto the windshieldin the driver's field of vision. Traffic informationand incoming phone calls can also be shownon the head-up display.
NOTE
The driver's ability to see information in the head-up display may be impeded by
the use of polarizing sunglasses
a driving posture in which the driver isnot centered in the seat
objects on the display unit's glasscover
unfavorable lighting conditions.
CAUTION
The information is projected from a display unit located in the dashboard. To help pre-vent damage to the display unit's glasscover, do not place any objects on theglass and prevent objects from falling ontoit.
Page 143 of 657
DISPLAYS AND VOICE CONTROL
}}
* Option/accessory.141
Activating and deactivating the head-up display *
The head-up display can be activated and deactivated when the vehicle has beenstarted.
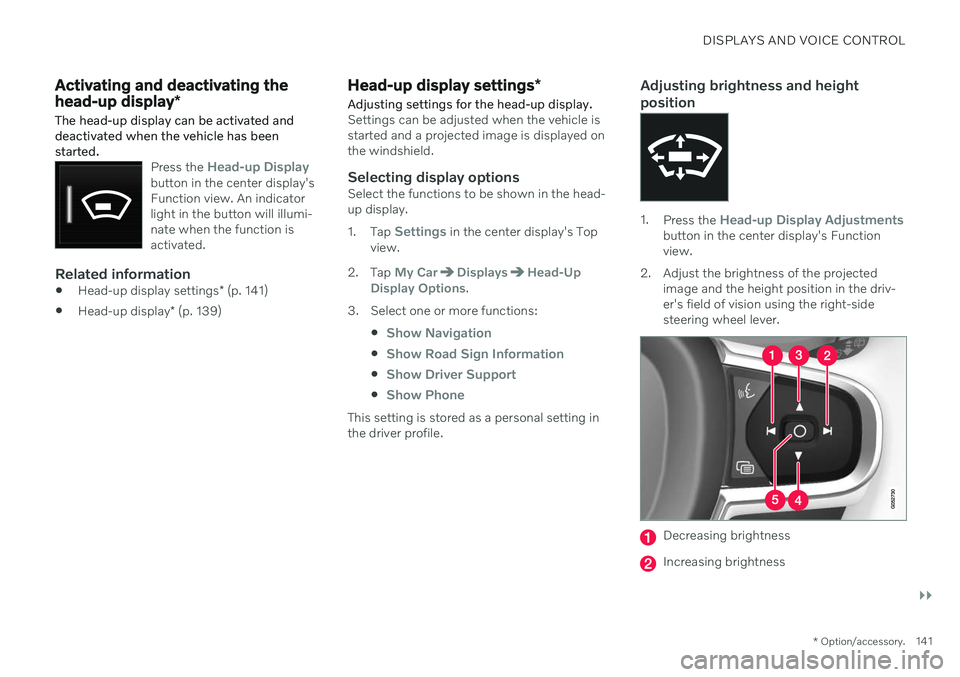
Press the Head-up Displaybutton in the center display's Function view. An indicatorlight in the button will illumi-nate when the function isactivated.
Related information
Head-up display settings
* (p. 141)
Head-up display
* (p. 139)
Head-up display settings *
Adjusting settings for the head-up display.
Settings can be adjusted when the vehicle is started and a projected image is displayed onthe windshield.
Selecting display optionsSelect the functions to be shown in the head-up display. 1. Tap
Settings in the center display's Top
view.
2. Tap
My CarDisplaysHead-Up
Display Options.
3. Select one or more functions:
Show Navigation
Show Road Sign Information
Show Driver Support
Show Phone
This setting is stored as a personal setting in the driver profile.
Adjusting brightness and height position
1.Press the Head-up Display Adjustmentsbutton in the center display's Function view.
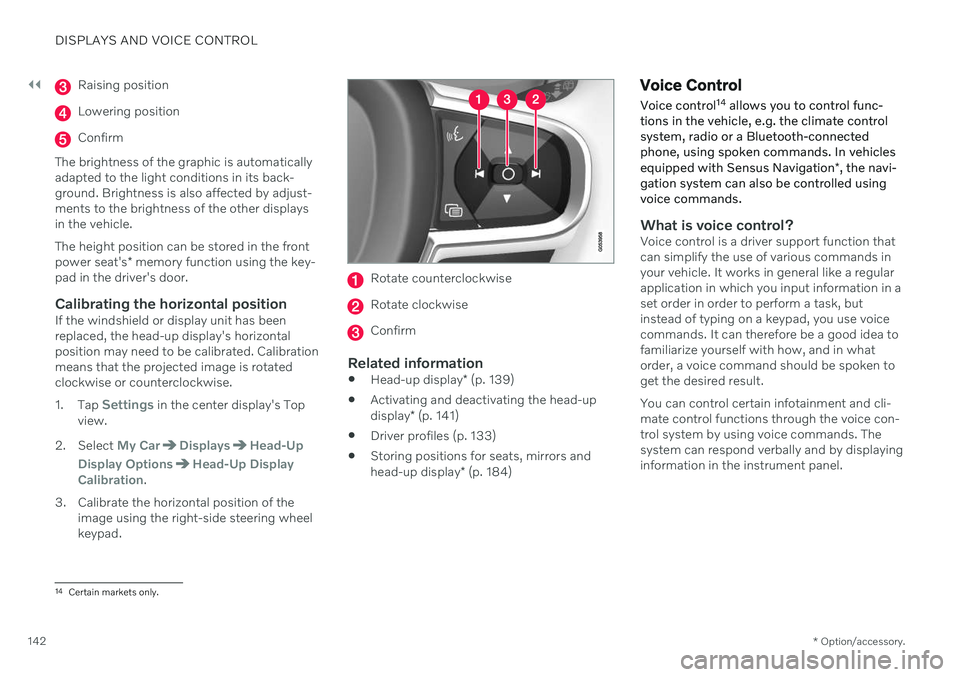
2. Adjust the brightness of the projected image and the height position in the driv-er's field of vision using the right-sidesteering wheel lever.
Decreasing brightness
Increasing brightness
Page 144 of 657
||
DISPLAYS AND VOICE CONTROL
* Option/accessory.
142
Raising position
Lowering position
Confirm
The brightness of the graphic is automatically adapted to the light conditions in its back-ground. Brightness is also affected by adjust-ments to the brightness of the other displaysin the vehicle. The height position can be stored in the front power seat's * memory function using the key-
pad in the driver's door.
Calibrating the horizontal positionIf the windshield or display unit has been replaced, the head-up display's horizontalposition may need to be calibrated. Calibrationmeans that the projected image is rotatedclockwise or counterclockwise. 1. Tap
Settings in the center display's Top
view.
2. Select
My CarDisplaysHead-Up
Display Options
Head-Up Display
Calibration.
3. Calibrate the horizontal position of the image using the right-side steering wheel keypad.
Rotate counterclockwise
Rotate clockwise
Confirm
Related information
Head-up display
* (p. 139)
Activating and deactivating the head-up display
* (p. 141)
Driver profiles (p. 133)
Storing positions for seats, mirrors andhead-up display
* (p. 184)
Voice Control
Voice control 14
allows you to control func-
tions in the vehicle, e.g. the climate control system, radio or a Bluetooth-connectedphone, using spoken commands. In vehicles equipped with Sensus Navigation *, the navi-
gation system can also be controlled using voice commands.
What is voice control?Voice control is a driver support function that can simplify the use of various commands inyour vehicle. It works in general like a regularapplication in which you input information in aset order in order to perform a task, butinstead of typing on a keypad, you use voicecommands. It can therefore be a good idea tofamiliarize yourself with how, and in whatorder, a voice command should be spoken toget the desired result. You can control certain infotainment and cli- mate control functions through the voice con-trol system by using voice commands. Thesystem can respond verbally and by displayinginformation in the instrument panel.
14 Certain markets only.
Page 152 of 657

LIGHTING
* Option/accessory.
150
Lighting control and panel
The lighting panel and controls can be used to adjust both exterior and interior lighting.The lighting ring on the left-side steeringwheel lever can be used to activate andadjust the exterior lighting. The brightness ofthe interior lighting can be adjusted using thethumb wheel on the dashboard.
Exterior lighting
Lighting ring position.
When the vehicle's ignition is in mode II, the
lighting ring positions have the following func- tions:
Position Meaning
US: Daytime running lights and parking lights are off. Canada: Daytime running lights and parking lights are on. High beam flash can be used.
Parking lights when the vehicle is parked. US: Daytime running lights are off. Canada: Daytime running lights are on. High beam flash can be used.
Low beams and parking lights. High beams can be activated.High beam flash can be used.
Position Meaning
Daytime running lights and parking lights in daylight condi- tions. A
Low beams and parking lights in weak daylight or dark conditions or when the front fog lights *
and/or rear fog light are acti- vated. Active high beam can be acti- vated. High beams can be activated when low beams are on. High beam flash can be used.
Active high beams on/off.
A US models only: Daytime running lights and parking lights can be deactivated in the center display.
NOTE
Volvo recommends use of Daytime Running Lights in the US. Its use is man-datory in Canada.
Volvo recommends using position when
the vehicle is in motion.
Page 153 of 657
LIGHTING
* Option/accessory.151
WARNING
The vehicle lighting system cannot in all sit- uations determine when the daylight is tooweak or not strong enough, e.g. whenthere is fog or rain. The driver is always responsible for driving the vehicle with lighting that is safe for thetraffic conditions and as specified by appli-cable traffic regulations.
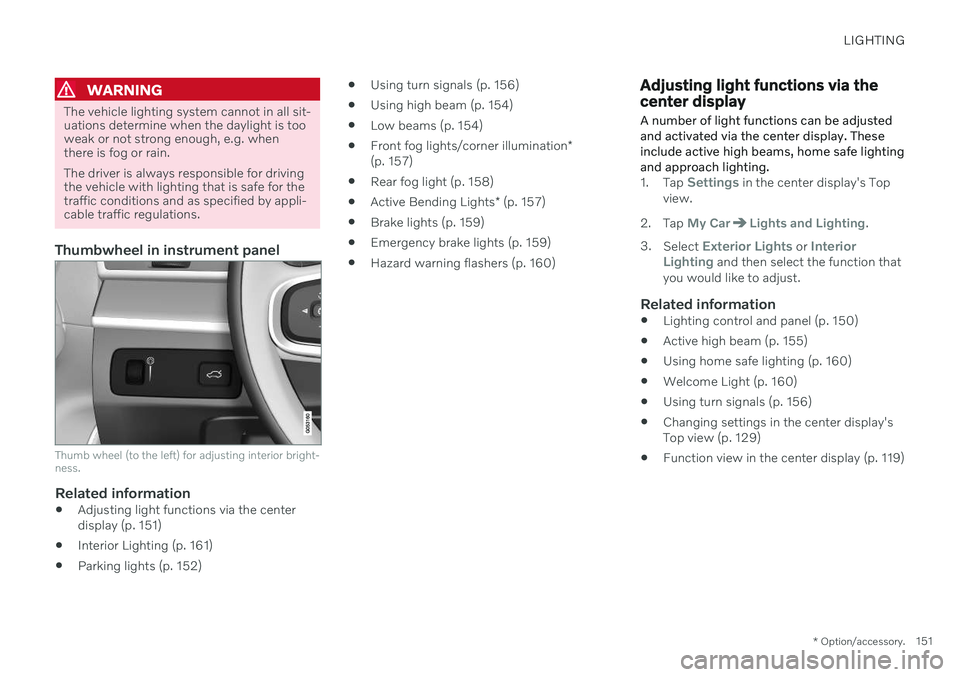
Thumbwheel in instrument panel
Thumb wheel (to the left) for adjusting interior bright- ness.
Related information
Adjusting light functions via the center display (p. 151)
Interior Lighting (p. 161)
Parking lights (p. 152)
Using turn signals (p. 156)
Using high beam (p. 154)
Low beams (p. 154)
Front fog lights/corner illumination
*
(p. 157)
Rear fog light (p. 158)
Active Bending Lights
* (p. 157)
Brake lights (p. 159)
Emergency brake lights (p. 159)
Hazard warning flashers (p. 160)
Adjusting light functions via the center display A number of light functions can be adjusted and activated via the center display. Theseinclude active high beams, home safe lightingand approach lighting.
1.
Tap Settings in the center display's Top
view.
2. Tap
My CarLights and Lighting.
3. Select
Exterior Lights or Interior
Lighting and then select the function that
you would like to adjust.
Related information
Lighting control and panel (p. 150)
Active high beam (p. 155)
Using home safe lighting (p. 160)
Welcome Light (p. 160)
Using turn signals (p. 156)
Changing settings in the center display's Top view (p. 129)
Function view in the center display (p. 119)
Page 154 of 657

LIGHTING
* Option/accessory.
152
Adjusting the headlight pattern
The headlight pattern can be reset from right- hand to left-hand traffic, and vice versa. Thefunction adapts the light pattern from theheadlights to help reduce glare to oncomingtraffic.
1. Tap Settings in the center display's Top
view.
2. Tap
My CarLights and LightingExterior Lights.
3. Select
Temporary Right Hand Traffic/Temporary Left Hand Traffic.
NOTE
Active Bending Lights are not available when the headlight pattern is temporarilychanged from left-hand to right-hand traf-fic, or vice versa.
Related information
Changing settings in the center display's Top view (p. 129)
Function view in the center display (p. 119)
Active Bending Lights
* (p. 157)
Parking lights
The parking lights can be used to help other road users see the vehicle if it is stopped orparked. Use the lighting ring on the steeringwheel lever to turn on the parking lights.
Lighting ring in the parking light position.
Turn the lighting ring to the position to
turn on the parking lights (the license plate lighting will also illuminate). Canadian models: If the ignition is in the II
position, the daytime running lights will illumi- nate instead of the front parking lights. Withthe lighting ring in this position, the parkinglights will remain on regardless of what posi-tion the ignition is in. US models: When
mode is selected,
the daytime running lights can be deactivated in the center display. The parking lights willalso be deactivated. In weak daylight or dark conditions, the parking lights and low beamswill be illuminated. In dark conditions, the rear parking lights also illuminate when the trunk lid is opened to alertfollowing traffic. This happens regardless ofwhat position the lighting ring or ignition is in.
Related information
Lighting control and panel (p. 150)
Ignition modes (p. 395)
Page 155 of 657
LIGHTING
* Option/accessory.153
Daytime running lights
The vehicle has sensors that detect ambient lighting conditions. With the lighting ring in the
position, the daytime running lights
will always be activated when the ignition is in mode II. In weak daylight or dark condi-
tions, the headlights automatically switch tolow beams.
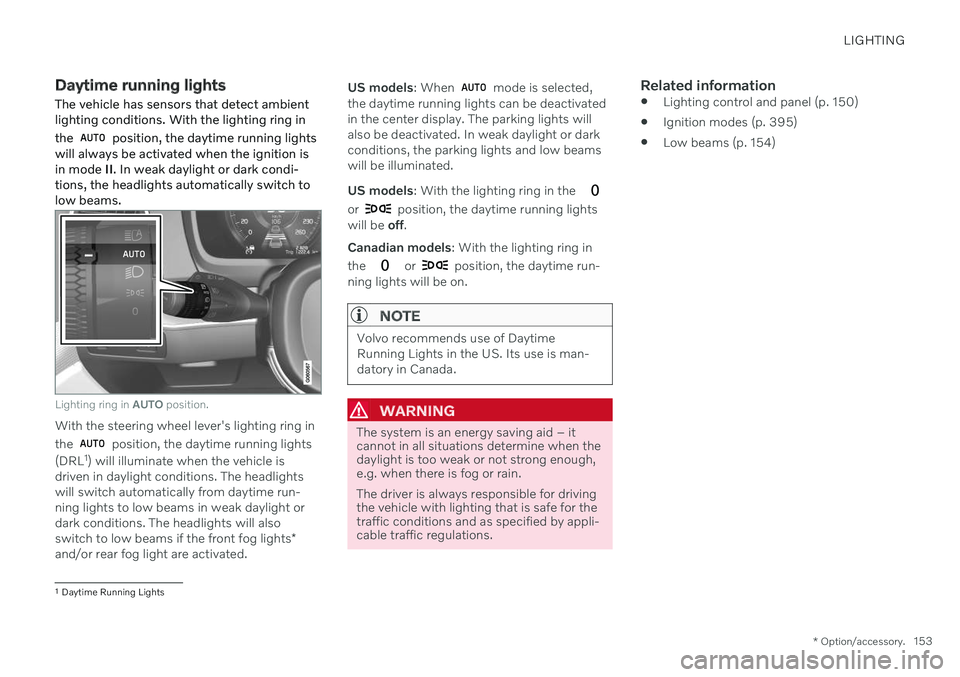
Lighting ring in AUTO position.
With the steering wheel lever's lighting ring in the
position, the daytime running lights
(DRL 1
) will illuminate when the vehicle is
driven in daylight conditions. The headlights will switch automatically from daytime run-ning lights to low beams in weak daylight ordark conditions. The headlights will also switch to low beams if the front fog lights *
and/or rear fog light are activated. US models
: When
mode is selected,
the daytime running lights can be deactivated in the center display. The parking lights willalso be deactivated. In weak daylight or darkconditions, the parking lights and low beamswill be illuminated. US models : With the lighting ring in the
or position, the daytime running lights
will be off.
Canadian models : With the lighting ring in
the
or position, the daytime run-
ning lights will be on.
NOTE
Volvo recommends use of Daytime Running Lights in the US. Its use is man-datory in Canada.
WARNING
The system is an energy saving aid – it cannot in all situations determine when thedaylight is too weak or not strong enough,e.g. when there is fog or rain. The driver is always responsible for driving the vehicle with lighting that is safe for thetraffic conditions and as specified by appli-cable traffic regulations.
Related information
Lighting control and panel (p. 150)
Ignition modes (p. 395)
Low beams (p. 154)
1
Daytime Running Lights