ECO mode VOLVO S80 2002 Owners Manual
[x] Cancel search | Manufacturer: VOLVO, Model Year: 2002, Model line: S80, Model: VOLVO S80 2002Pages: 111, PDF Size: 2.74 MB
Page 19 of 111

Instrument panel lighting30
Button to unlock fuel filler door30
pg. 23 Instrument panel
1 Turn signals
2 Text window
3 Temperature gauge
The pointer should be approximately midway on the gauge when driving.
Do not drive the car if the warning light is on. The text window will provide you with additional information.
If the engine temperature remains high, check coolant level - see page 112
.
4 Trip odometer/reset button
The trip odometer is used for measuring shorter distances. The last digit indicates 1/10 mile/kilometer. Press the button
quickly to toggle between trip odometers 1 and 2. Hold in the button for more than 2 seconds to reset.
5 Odometer
6 Speedometer
7 General warning light (see page 24
).
8 High beam indicator light
9 Tachometer
Indicates engine speed in thousands of rpm. Do not drive for long with the needle in the red section. The engine has an
built-in function preventing too high an engine speed. When this function operates, you may discern some pulsation,
which in that case is quite normal.
10 Gear and driving mode indicator
The currently selected driving mode is displayed here. If you use the geartronic function on the automatic transmission,
the currently selected gear will be displayed.
11 Ambient temperature indicator
This sensor indicates the air temperature outside your car. A "snowflake" symbol in the text window is displayed when
the temperature is in the range of 23 - 36° F (-5 - +2° C).
ProCarManuals.com
Page 21 of 111

If the light comes on while driving or braking, stop immediately, open the hood and check the brake fluid level
in the reservoir. See page 118
for reservoir position and instructions.
Canadian models are equipped with this warning light:
Park
Brake
Parking brake reminder light
This light will be on when the parking brake (hand brake) is applied. The parking brake lever is situated between the
front seats.
Canadian models are equipped with this warning light:
Oil pressure warning light
If the light comes on while driving, stop the car and then stop the engine immediately and check the engine oil
level . See page 117
. If the light stays on after restart, have the car towed to the nearest authorized Volvo retailer. After
hard driving, the light may come on occasionally when the engine is idling. This is normal, provided it goes off when
the engine speed is increased.
Generator warning light
If the light comes on while the engine is running, have the charging system checked.
pg. 25 Indicator and warning lights
Rear fog light
This light indicates that the rear fog light is on.
CHECK
ENGINE
Malfunction indicator lamp
On-Board Diagnostic II (OBDII): As you drive, a computer called "OBDII" monitors your car's engine, transmission,
electrical and emission systems. The CHECK ENGINE light will light up if the computer senses a condition that
potentially may need correcting. When this happens, please have your car checked by a Volvo retailer as soon as
possible.
A CHECK ENGINE light may have many causes. Sometimes, you may not notice a change in your car's behavior.
Even so, an uncorrected condition could hurt fuel economy, emission cleanliness, and driveability. Extended driving
without correcting the cause could even damage other components in your car.
Canadian models are equipped with this warning light:
ProCarManuals.com
Page 26 of 111
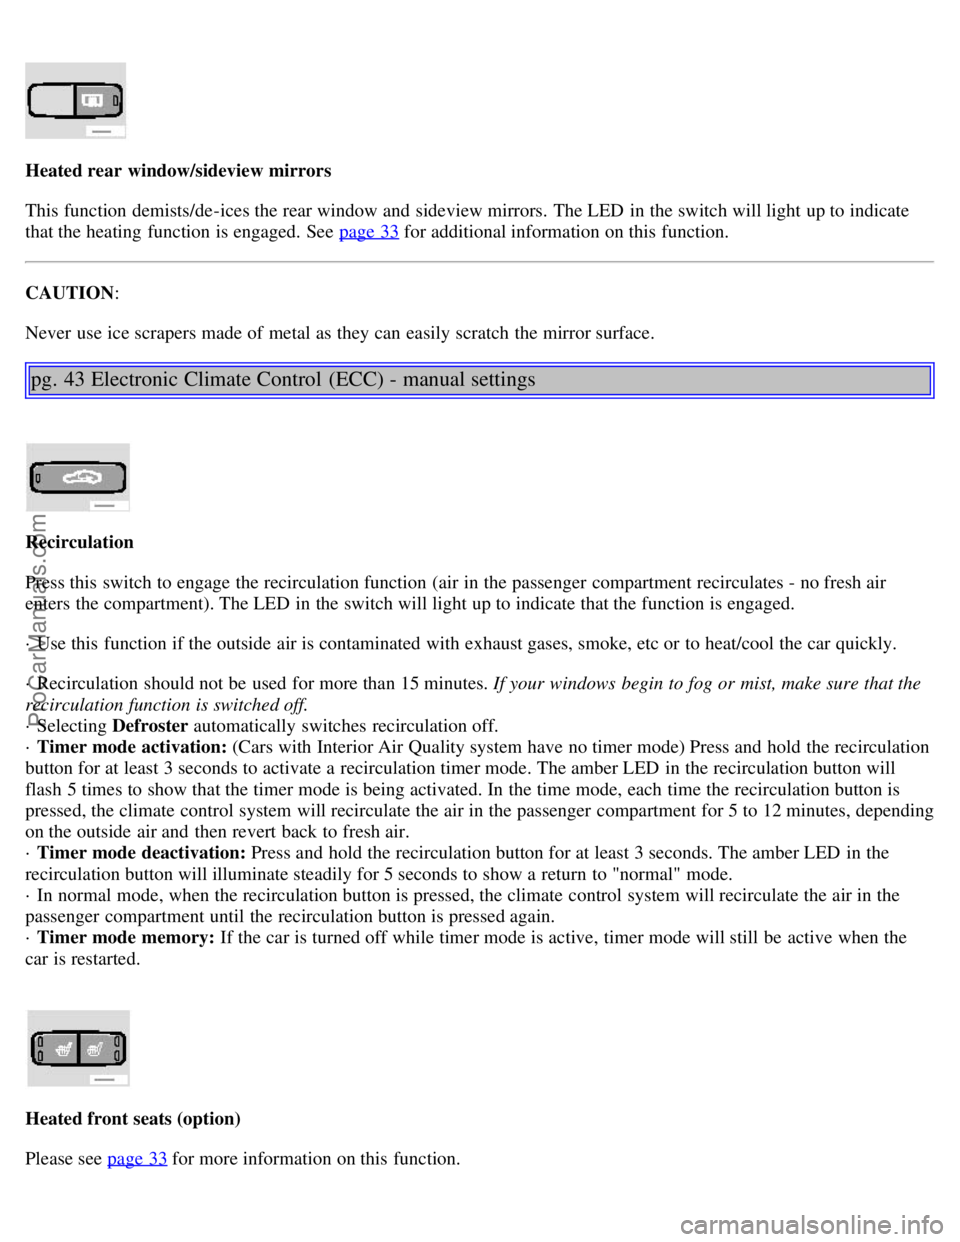
Heated rear window/sideview mirrors
This function demists/de-ices the rear window and sideview mirrors. The LED in the switch will light up to indicate
that the heating function is engaged. See page 33
for additional information on this function.
CAUTION :
Never use ice scrapers made of metal as they can easily scratch the mirror surface.
pg. 43 Electronic Climate Control (ECC) - manual settings
Recirculation
Press this switch to engage the recirculation function (air in the passenger compartment recirculates - no fresh air
enters the compartment). The LED in the switch will light up to indicate that the function is engaged.
· Use this function if the outside air is contaminated with exhaust gases, smoke, etc or to heat/cool the car quickly.
· Recirculation should not be used for more than 15 minutes. If your windows begin to fog or mist, make sure that the
recirculation function is switched off.
· Selecting Defroster automatically switches recirculation off.
· Timer mode activation: (Cars with Interior Air Quality system have no timer mode) Press and hold the recirculation
button for at least 3 seconds to activate a recirculation timer mode. The amber LED in the recirculation button will
flash 5 times to show that the timer mode is being activated. In the time mode, each time the recirculation button is
pressed, the climate control system will recirculate the air in the passenger compartment for 5 to 12 minutes, depending
on the outside air and then revert back to fresh air.
· Timer mode deactivation: Press and hold the recirculation button for at least 3 seconds. The amber LED in the
recirculation button will illuminate steadily for 5 seconds to show a return to "normal" mode.
· In normal mode, when the recirculation button is pressed, the climate control system will recirculate the air in the
passenger compartment until the recirculation button is pressed again.
· Timer mode memory: If the car is turned off while timer mode is active, timer mode will still be active when the
car is restarted.
Heated front seats (option)
Please see page 33
for more information on this function.
ProCarManuals.com
Page 55 of 111
The parking brake should also be used when parking on grades.
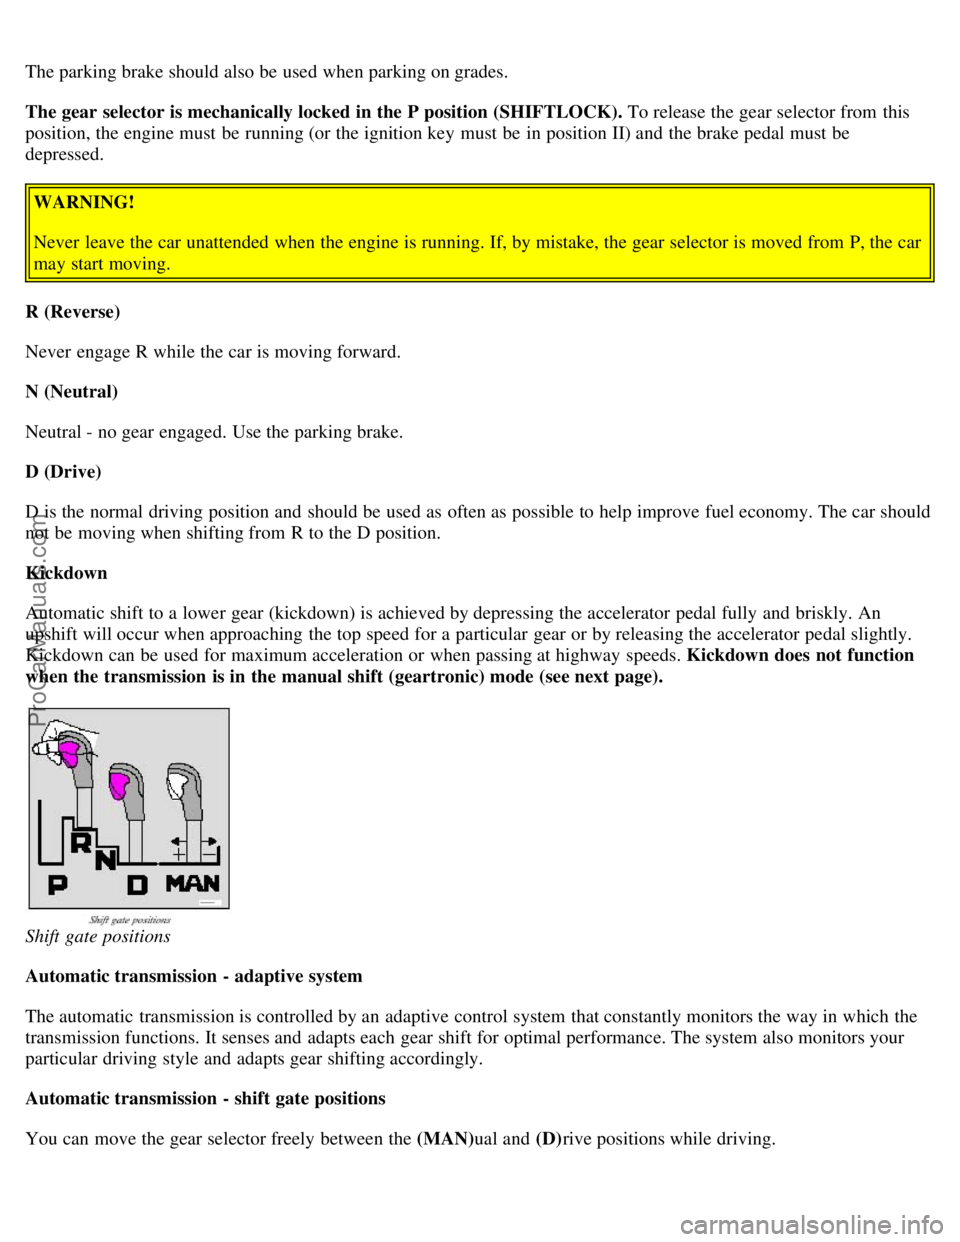
The gear selector is mechanically locked in the P position (SHIFTLOCK). To release the gear selector from this
position, the engine must be running (or the ignition key must be in position II) and the brake pedal must be
depressed.WARNING!
Never leave the car unattended when the engine is running. If, by mistake, the gear selector is moved from P, the car
may start moving.
R (Reverse)
Never engage R while the car is moving forward.
N (Neutral)
Neutral - no gear engaged. Use the parking brake.
D (Drive)
D is the normal driving position and should be used as often as possible to help improve fuel economy. The car should
not be moving when shifting from R to the D position.
Kickdown
Automatic shift to a lower gear (kickdown) is achieved by depressing the accelerator pedal fully and briskly. An
upshift will occur when approaching the top speed for a particular gear or by releasing the accelerator pedal slightly.
Kickdown can be used for maximum acceleration or when passing at highway speeds. Kickdown does not function
when the transmission is in the manual shift (geartronic) mode (see next page).
Shift gate positions
Automatic transmission - adaptive system
The automatic transmission is controlled by an adaptive control system that constantly monitors the way in which the
transmission functions. It senses and adapts each gear shift for optimal performance. The system also monitors your
particular driving style and adapts gear shifting accordingly.
Automatic transmission - shift gate positions
You can move the gear selector freely between the (MAN) ual and (D)rive positions while driving.
ProCarManuals.com
Page 56 of 111
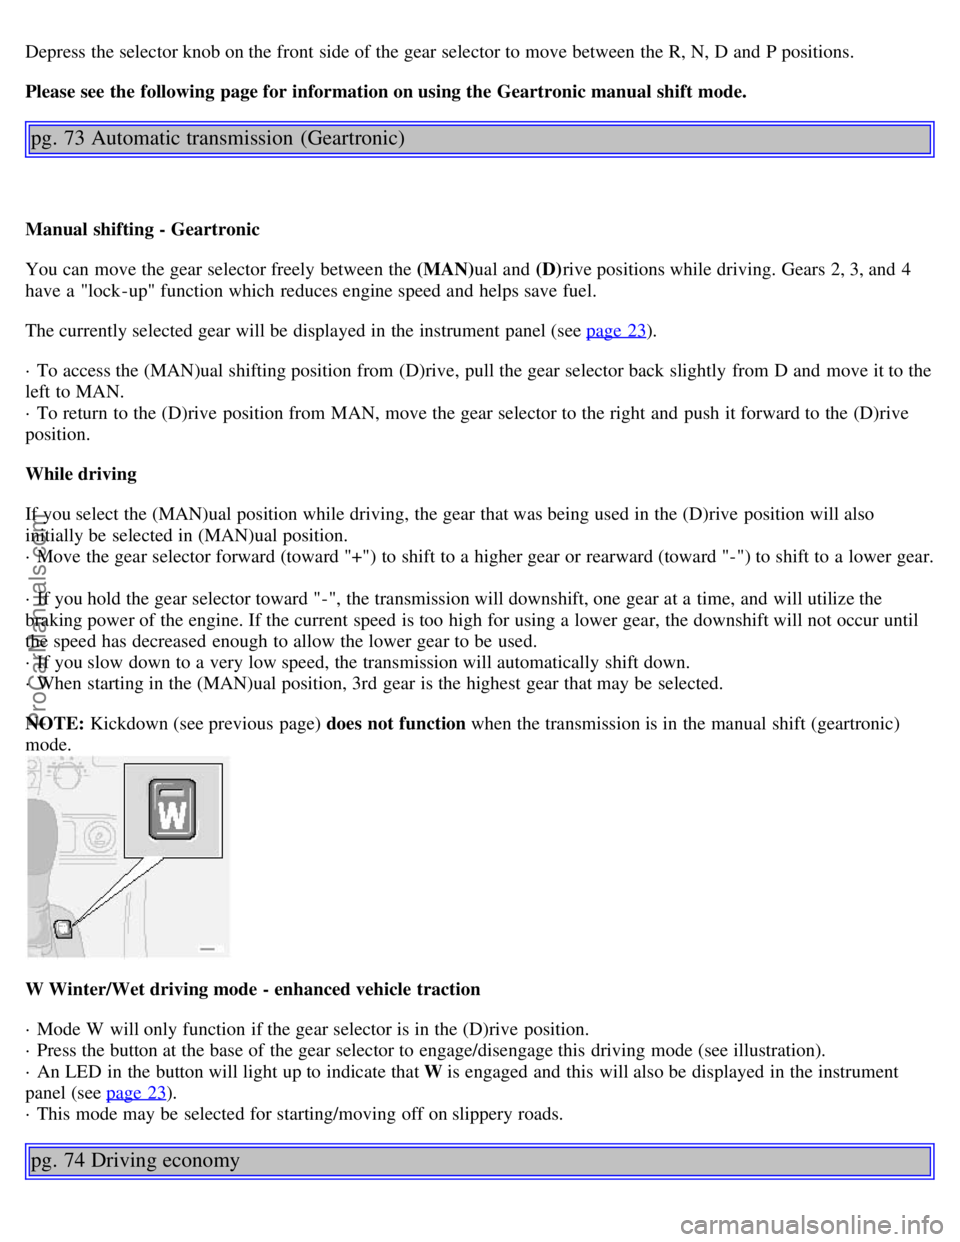
Depress the selector knob on the front side of the gear selector to move between the R, N, D and P positions.
Please see the following page for information on using the Geartronic manual shift mode.
pg. 73 Automatic transmission (Geartronic)
Manual shifting - Geartronic
You can move the gear selector freely between the (MAN)ual and (D)rive positions while driving. Gears 2, 3, and 4
have a "lock -up" function which reduces engine speed and helps save fuel.
The currently selected gear will be displayed in the instrument panel (see page 23
).
· To access the (MAN)ual shifting position from (D)rive, pull the gear selector back slightly from D and move it to the
left to MAN.
· To return to the (D)rive position from MAN, move the gear selector to the right and push it forward to the (D)rive
position.
While driving
If you select the (MAN)ual position while driving, the gear that was being used in the (D)rive position will also
initially be selected in (MAN)ual position.
· Move the gear selector forward (toward "+") to shift to a higher gear or rearward (toward "-") to shift to a lower gear.
· If you hold the gear selector toward "-", the transmission will downshift, one gear at a time, and will utilize the
braking power of the engine. If the current speed is too high for using a lower gear, the downshift will not occur until
the speed has decreased enough to allow the lower gear to be used.
· If you slow down to a very low speed, the transmission will automatically shift down.
· When starting in the (MAN)ual position, 3rd gear is the highest gear that may be selected.
NOTE: Kickdown (see previous page) does not function when the transmission is in the manual shift (geartronic)
mode.
W Winter/Wet driving mode - enhanced vehicle traction
· Mode W will only function if the gear selector is in the (D)rive position.
· Press the button at the base of the gear selector to engage/disengage this driving mode (see illustration).
· An LED in the button will light up to indicate that W is engaged and this will also be displayed in the instrument
panel (see page 23
).
· This mode may be selected for starting/moving off on slippery roads.
pg. 74 Driving economy
ProCarManuals.com
Page 57 of 111

Economical driving conserves natural resources
Better driving economy may be obtained by thinking ahead, avoiding rapid starts and stops and adjusting the speed of
your vehicle to immediate traffic conditions. Observe the following rules:
· Bring the engine to normal operating temperature as soon as possible by driving with a light foot on the accelerator
pedal for the first few minutes of operation. A cold engine uses more fuel and is subject to increased wear.
· Whenever possible, avoid using the car for driving short distances. This does not allow the engine to reach normal
operating temperature.
· Drive carefully and avoid rapid acceleration and hard braking.
· Do not exceed posted speed limits.
· Avoid carrying unnecessary items (extra load) in the car.
· Maintan correct tire pressure. Check tire pressure regularly (when tires are cold).
· Remove snow tires when threat of snow or ice has ended.
· Note that roof racks, ski racks, etc., increase air resistance and also fuel consumption.
· Avoid using automatic transmission kickdown feature unless necessary.
· However, at higher driving speeds, fuel consumption will be lower with the air conditioning on and the windows
closed than with the air conditioning off and the windows open.
· Using the onboard trip computer's fuel consumption modes can help you learn how to drive more economically.
Other factors which decrease gas mileage are:
· Worn or dirty spark plugs
· Incorrect spark plug gap
· Dirty air cleaner
· Dirty engine oil and clogged oil filter
· Dragging brakes
· Incorrect front end alignment
Some of the above mentioned items and others are checked at the standard Maintenance Service intervals.
NOTE: Vehicles equipped with automatic transmissions should use (D)rive as often as possible and avoid using
"kickdown" to help improve fuel economy.
Cooling system
The risk for engine overheating is greatest, especially in hot weather, when:
· Towing a trailer up steep inclines for prolonged periods at wide open throttle and low engine rpm.
· Stopping the engine suddenly after high speed driving (so-called "after-boiling" can occur).
· To avoid overheating, the following rules should be followed: Do not drive for prolonged periods at engine speeds
above 4500 rpm if you are towing a trailer in hilly terrain.
· Reduce speed when towing a trailer up long, steep inclines. The risk of overheat -ing can be reduced by switching off
the air conditioning system for a short time.
· Do not let the engine idle unnecessarily for prolonged periods.
· Do not mount auxiliary lamps in front of the grill. When the risk of overheating is imminent, or in the event of
overheating (the temperature gauge goes repeatedly into, or stays continual-ly in, the red section), the following
precau-tions should be taken:
· Switch off the air conditioning system.
· Pull off the road, away from traffic, stop the car and put the gear selector into Park. Do not stop the engine!
· Switch the heater to full (maximum) position. Increase the engine speed to approx. 2000 rpm (twice idling speed)
until the temperature begins to drop.
· If the warning light in the center of the instrument panel is red, and the message "Coolant level lo stop engine" is
displayed, switch off the engine as soon as possible.
ProCarManuals.com
Page 59 of 111

2 0 0 2
VOLVO S80
Chapter 7 - Wheels and tires
pg. 87 Wheels and tires
General information, Wear indicator, Tire economy, Flat spots88
Snow chains, Snow tires/studded tires89
Inflation pressure, Spare tire90
Uniform tire quality grading91
Changing wheels92
pg. 88 Wheels and tires
General information
Your vehicle is equipped with tires according to the tire information label on the inside of the fuel filler door.
The following is an example of a tire designation code: 225/55 R16
225 = tire width in mm.
55 = tire profile. This is the relationship (in percent) between the section height and width of the tire.
R = radial tires.
16 = diameter in inches.
The tires have good road holding characteristics and offer good handling on dry and wet surfaces. It should be noted
however that the tires have been developed to give these features on snow/icefree surfaces. Certain models are
equipped with "all-season" tires, which provide a somewhat higher degree of road holding on slippery surfaces
than tires without the "all-season" rating. However, for optimum road holding on icy or snow covered roads we
recommend suitable winter tires on all four wheels. When replacing tires, be sure that the new tires are the same
size designation, type (radial) and preferably from the same manufacturer, on all four wheels. Otherwise there is a risk
of altering the car's roadholding and handling characteristics.
NOTE: When storing wheel/tire assemblies (e.g. winter tires and wheels), either stand the assemblies upright, or
suspend them off the ground. Laying wheel/tire assemblies on their sides for prolonged periods can cause wheel and/or
ProCarManuals.com
Page 62 of 111
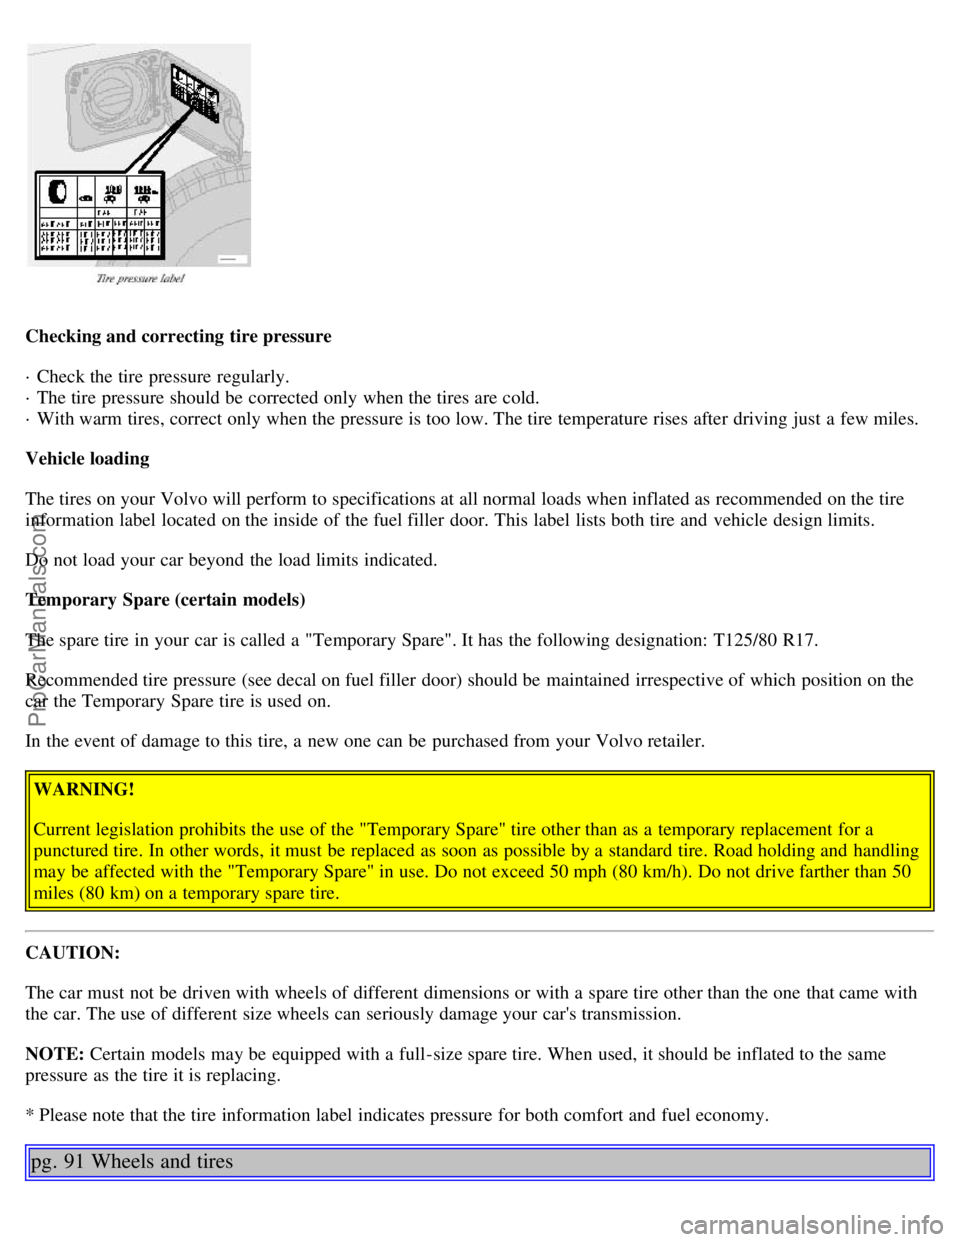
Checking and correcting tire pressure
· Check the tire pressure regularly.
· The tire pressure should be corrected only when the tires are cold.
· With warm tires, correct only when the pressure is too low. The tire temperature rises after driving just a few miles.
Vehicle loading
The tires on your Volvo will perform to specifications at all normal loads when inflated as recommended on the tire
information label located on the inside of the fuel filler door. This label lists both tire and vehicle design limits.
Do not load your car beyond the load limits indicated.
Temporary Spare (certain models)
The spare tire in your car is called a "Temporary Spare". It has the following designation: T125/80 R17.
Recommended tire pressure (see decal on fuel filler door) should be maintained irrespective of which position on the
car the Temporary Spare tire is used on.
In the event of damage to this tire, a new one can be purchased from your Volvo retailer.WARNING!
Current legislation prohibits the use of the "Temporary Spare" tire other than as a temporary replacement for a
punctured tire. In other words, it must be replaced as soon as possible by a standard tire. Road holding and handling
may be affected with the "Temporary Spare" in use. Do not exceed 50 mph (80 km/h). Do not drive farther than 50
miles (80 km) on a temporary spare tire.
CAUTION:
The car must not be driven with wheels of different dimensions or with a spare tire other than the one that came with
the car. The use of different size wheels can seriously damage your car's transmission.
NOTE: Certain models may be equipped with a full-size spare tire. When used, it should be inflated to the same
pressure as the tire it is replacing.
* Please note that the tire information label indicates pressure for both comfort and fuel economy.
pg. 91 Wheels and tires
ProCarManuals.com
Page 90 of 111
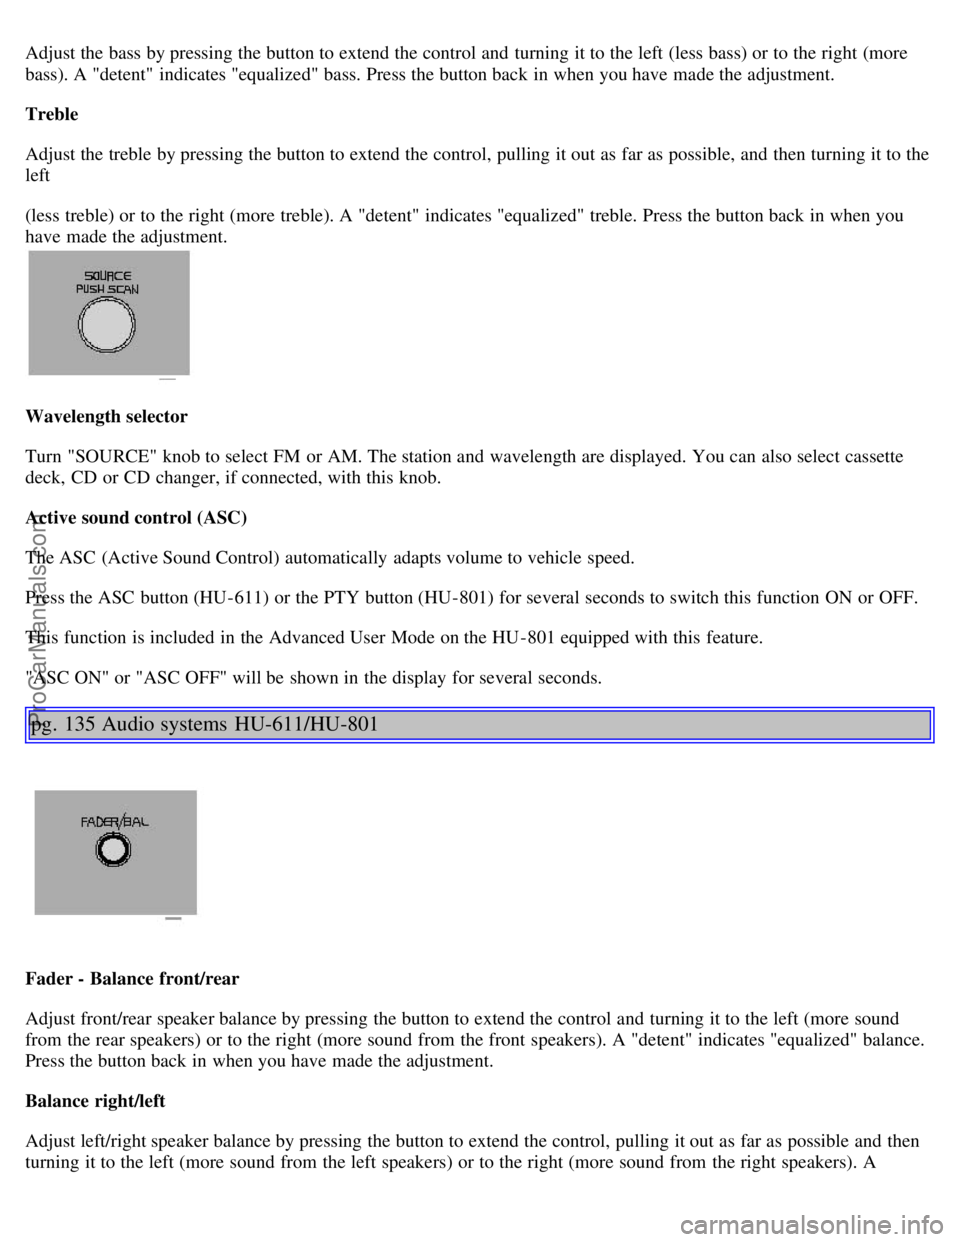
Adjust the bass by pressing the button to extend the control and turning it to the left (less bass) or to the right (more
bass). A "detent" indicates "equalized" bass. Press the button back in when you have made the adjustment.
Treble
Adjust the treble by pressing the button to extend the control, pulling it out as far as possible, and then turning it to the
left
(less treble) or to the right (more treble). A "detent" indicates "equalized" treble. Press the button back in when you
have made the adjustment.
Wavelength selector
Turn "SOURCE" knob to select FM or AM. The station and wavelength are displayed. You can also select cassette
deck, CD or CD changer, if connected, with this knob.
Active sound control (ASC)
The ASC (Active Sound Control) automatically adapts volume to vehicle speed.
Press the ASC button (HU-611) or the PTY button (HU-801) for several seconds to switch this function ON or OFF.
This function is included in the Advanced User Mode on the HU -801 equipped with this feature.
"ASC ON" or "ASC OFF" will be shown in the display for several seconds.
pg. 135 Audio systems HU-611/HU-801
Fader - Balance front/rear
Adjust front/rear speaker balance by pressing the button to extend the control and turning it to the left (more sound
from the rear speakers) or to the right (more sound from the front speakers). A "detent" indicates "equalized" balance.
Press the button back in when you have made the adjustment.
Balance right/left
Adjust left/right speaker balance by pressing the button to extend the control, pulling it out as far as possible and then
turning it to the left (more sound from the left speakers) or to the right (more sound from the right speakers). A
ProCarManuals.com
Page 97 of 111
been successfully programmed. Release both buttons.
5. If you are programming a rolling code-equipped device (e.g., garage door opener or entry door lock), refer to
"Programming rolling codes" on the next page to complete the programming process. Repeat steps 3 and 4 to program
the other two transceiver buttons. If, after several attempts, you are unable to successfully train the HomeLink®
Universal Transceiver to learn your hand -held transmitter's signal, contact HomeLink® toll-free 1-800-355-3515
(Internet: www.HomeLink.com
).
pg. 148 HomeLink® Universal Transceiver (option)
WARNING!
· If you use HomeLink® to open a garage door or gate, be sure no one is near the gate or door while it is in motion.
· Do not use the HomeLink® Universal Transceiver with any garage door opener that lacks safety "stop" and
"reverse" features as required by federal safety standards. (This includes any garage door opener model
manufactured before April 1, 1982) A garage door opener that cannot "detect" an object, signalling the door to
"stop" and "reverse" does not meet current federal safety standards. Using a garage door opener without these
features increases the risk of serious injury or death. For more information on this matter, call toll-free 1-800-355-
3515 (Internet: www.HomeLink.com
).
NOTE - Canadian residents:
During programming, your hand -held transmitter may automatically stop transmitting. To successfully train
HomeLink®, continue to hold the HomeLink® button. At the same time, repeatedly press and hold your hand -held
transmitter's button at two-second intervals until HomeLink® has learned your transmitter's code. The HomeLink®
indicator light will flash first slowly, and then rapidly to indicate that the button has been successfully programmed..
Programming rolling codes
Determine, in one of the following ways, if your garage door uses a rolling code system and is manufactured after
1996:
· Refer to the garage door opener owner's manual for verification.
· If your hand -held transmitter appears to program the HomeLink® Universal Transceiver but the programmed button
does not activate the garage door, your garage door opener may have a rolling code.
· Press the programmed HomeLink® button. If the garage door opener has the rolling code feature, the HomeLink®
indicator light flashes rapidly and then glows steadily after approximately 2 seconds.
To train a garage door opener with the rolling code feature , follow these instructions after the transceiver has been
programmed (the aid of a second person may make the training quicker and easier):
1. Locate the training button on the garage door opener motor head unit . The exact location and color of the button
may vary. If you encounter difficulty, refer to the garage door opener owner's manual or call: 1-800-355-3515
(Internet: www.HomeLink.com
).
2. Press the "training" button on the garage door opener motor head unit until the "training" light comes on.
3. Firmly press and release the programmed HomeLink® button. Press and release the HomeLink® button a second
time to complete the training process.
ProCarManuals.com