display VOLVO S90 T8 2018 Quick Guide
[x] Cancel search | Manufacturer: VOLVO, Model Year: 2018, Model line: S90 T8, Model: VOLVO S90 T8 2018Pages: 46, PDF Size: 8.64 MB
Page 21 of 46
/ decreases/increases the distance to the vehicle ahead when
using Adaptive Cruise Control and Pilot Assist. Pressing
also resumes the stored speed for the selected function.
Right-side steering wheel keypad The right-side steering wheel keypad controls the instrument panel. Open/close the app menu. From here, you can control the trip computer, media player, a connected cell phone and the naviga-
tion system.
Press the left/right arrows to scroll among the available apps.
Select/deselect or confirm a choice, e.g. select the trip comput- er's menu or erase a message from the instrument panel.
Scroll among a selected app's functions by pressing the up/down arrows.
Raise/lower the media volume by pressing or . If no other
function is active, these buttons serve as volume control. Voice control is activated by pressing the
button to give voice com-
mands for e.g. media, navigation and climate systems. Say e.g. "Radio",
"Raise temperature" or "Cancel".
See the chapter "Voice control" in this Quick Guide for additional voice commands. Trip computer The trip computer shows e.g. mileage, fuel consumption and average speed. You can choose the type of trip computer information that willbe displayed in the instrument panel. The trip computer calculates theremaining distance that can be driven on the amount of fuel remainingin the tank or until the hybrid battery is discharged. Use the buttons onthe right-side steering wheel keypad to display the various options.When "----" is displayed in the instrument panel, there is no guaranteedelectrical current remaining in the battery.
3 Depending on market, this function can be either standard or optional.
03
Page 22 of 46
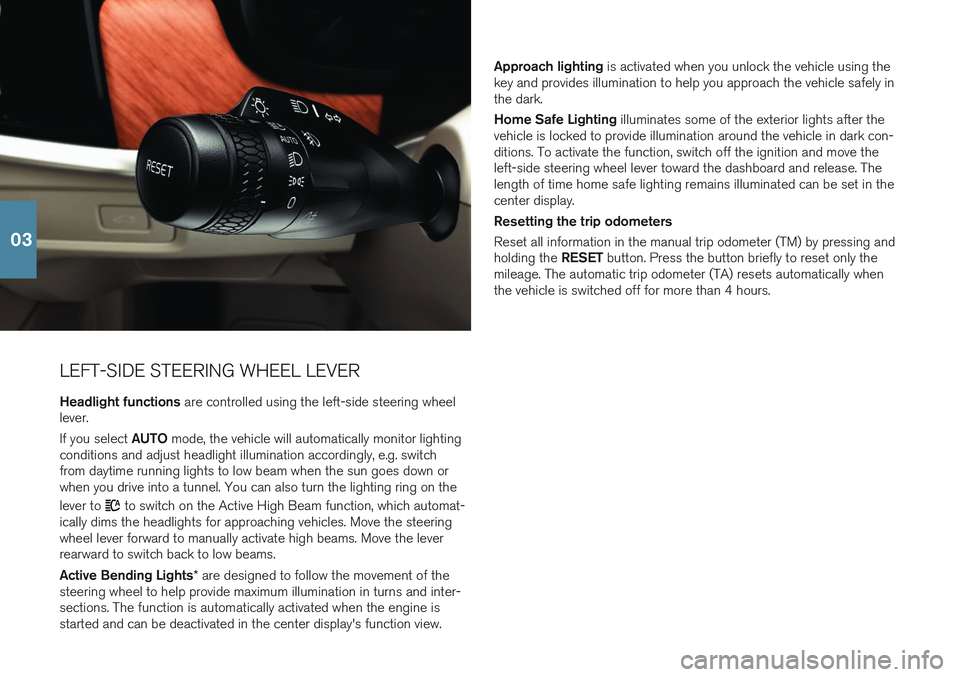
LEFT-SIDE STEERING WHEEL LEVERHeadlight functions are controlled using the left-side steering wheel
lever. If you select AUTO mode, the vehicle will automatically monitor lighting
conditions and adjust headlight illumination accordingly, e.g. switch from daytime running lights to low beam when the sun goes down orwhen you drive into a tunnel. You can also turn the lighting ring on the lever to
to switch on the Active High Beam function, which automat-
ically dims the headlights for approaching vehicles. Move the steering wheel lever forward to manually activate high beams. Move the leverrearward to switch back to low beams. Active Bending Lights * are designed to follow the movement of the
steering wheel to help provide maximum illumination in turns and inter- sections. The function is automatically activated when the engine isstarted and can be deactivated in the center display's function view. Approach lighting
is activated when you unlock the vehicle using the
key and provides illumination to help you approach the vehicle safely inthe dark. Home Safe Lighting illuminates some of the exterior lights after the
vehicle is locked to provide illumination around the vehicle in dark con- ditions. To activate the function, switch off the ignition and move theleft-side steering wheel lever toward the dashboard and release. Thelength of time home safe lighting remains illuminated can be set in thecenter display. Resetting the trip odometers Reset all information in the manual trip odometer (TM) by pressing and holding the RESET button. Press the button briefly to reset only the
mileage. The automatic trip odometer (TA) resets automatically when the vehicle is switched off for more than 4 hours.
03
Page 23 of 46
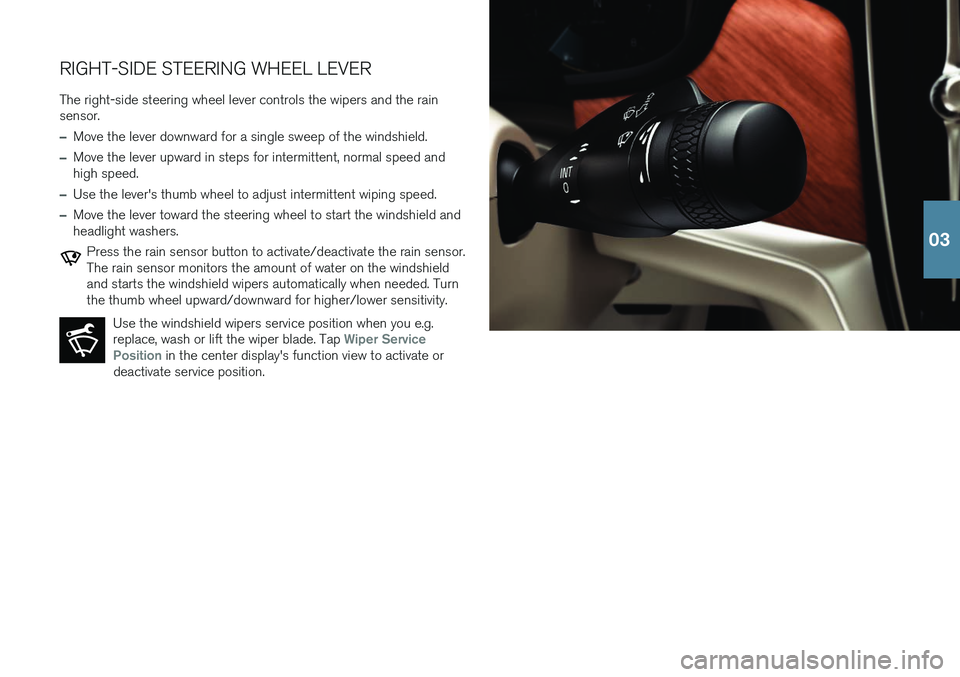
RIGHT-SIDE STEERING WHEEL LEVERThe right-side steering wheel lever controls the wipers and the rain sensor.
–Move the lever downward for a single sweep of the windshield.
–Move the lever upward in steps for intermittent, normal speed and high speed.
–Use the lever's thumb wheel to adjust intermittent wiping speed.
–Move the lever toward the steering wheel to start the windshield and headlight washers.
Press the rain sensor button to activate/deactivate the rain sensor. The rain sensor monitors the amount of water on the windshieldand starts the windshield wipers automatically when needed. Turnthe thumb wheel upward/downward for higher/lower sensitivity. Use the windshield wipers service position when you e.g.replace, wash or lift the wiper blade. Tap
Wiper Service
Position in the center display's function view to activate or
deactivate service position.
03
Page 25 of 46
PASSENGER COMPARTMENT CLIMATE Preconditioning Preconditioning can be started from the vehicle's center display or from the Volvo On Call app. Preconditioning helps heat or cool the passen-ger compartment to a comfortable temperature prior to driving, whichcan help reduce wear and reduce energy consumption during a trip.Preconditioning can be started directly from the vehicle or set to startautomatically using a timer.
Preconditioning direct start
1. Open climate view in the center display by tapping the bottom of thedisplay.
2. Tap the
Parking climate tab, check the boxes for the desired options
and then tap Preconditioning.
Setting a preconditioning timer –
In climate view, select Parking climateAdd timer and set a
date/day/time.
For preconditioning to have full functionality, the vehicle must be con- nected to an electrical outlet. Climate system settings Climate system functions for the front and rear sections of the passen- ger compartment are controlled from the center display and from thebuttons on the center console and the rear side of the tunnel console.Some functions can also be controlled using voice commands.
The icon for opening climate view is located at the center of the climate bar at the bottom of the center display. When the
Clean Zone text is BLUE, this indicates that the conditions for
good air quality in the passenger compartment have been met.
–Tap AUTO in climate view to control several climate system functions
automatically. Tap for automatic control of air recirculation, air condi- tioning and air distribution. Press and hold for automatic control of airrecirculation, air conditioning and air distribution and to change tem-perature and blower speed to standard settings: 22 °C (72 °F) andspeed
3 (speed 2 in the rear seat). It is possible to change the tem-
perature and blower speed without deactivating automatic climate control.
–Tap any of the icons in the climate bar at the bottom of the center display to set temperature, seat heating * and blower speed.
To synchronize the temperature for all of the vehicle's zones with the driver side's temperature, tap the driver side's temperature icon andthen tap
Synchronize temperature .
Interior Air Quality System IAQS *
IAQS is part of the Clean Zone Interior Package * and is a fully auto-
matic system that filters passenger compartment air to help remove air contaminants such as particulates, hydrocarbons, nitric oxides and ground-level ozone. Tap
SettingsClimateAir Quality Sensor in
the center display's top view to activate the function.
03
Page 27 of 46
Bluetooth function is activated). Up to 20 devices are saved in a list to facilitate connecting to these later.
1. Activate Bluetooth in your phone. Also activate tethering/personalhotspot if you would like to connect to the Internet.
2. Open the
Phone tile in the center display's home view.
3. Tap
Add phone or, if a phone is already connected, tap Change and
then Add phone.
4. Select the phone to be connected and then follow the steps on the center display and in the phone. Note that in certain phones, the message function is activated.
Wi-Fi Wi-Fi connections can be used to connect the vehicle to the Internet at greater speeds than are possible using Bluetooth to stream onlineservices such as web radio and music via apps in the vehicle, down-load/upload software, etc. A Wi-Fi connection from a smartphone actsas a hotspot for the vehicle and any external devices that may be in thevehicle.
1. Activate your smartphone's tethering/personal hotspot.
2. Tap
Settings in the center display's top view.
3. Tap
CommunicationWi-Fi and activate by checking the box for
Wi-Fi connection.
Please note that in certain phones, tethering is closed after contact with the vehicle has been broken. The phone's tethering function willthen need to be reactivated before it can be used again. USB The USB ports can be used to connect an external device to e.g. play music. You can also use the USB ports for Apple CarPlay * and Android
Auto *. Your external device will also be recharged while it is connected
to the vehicle.
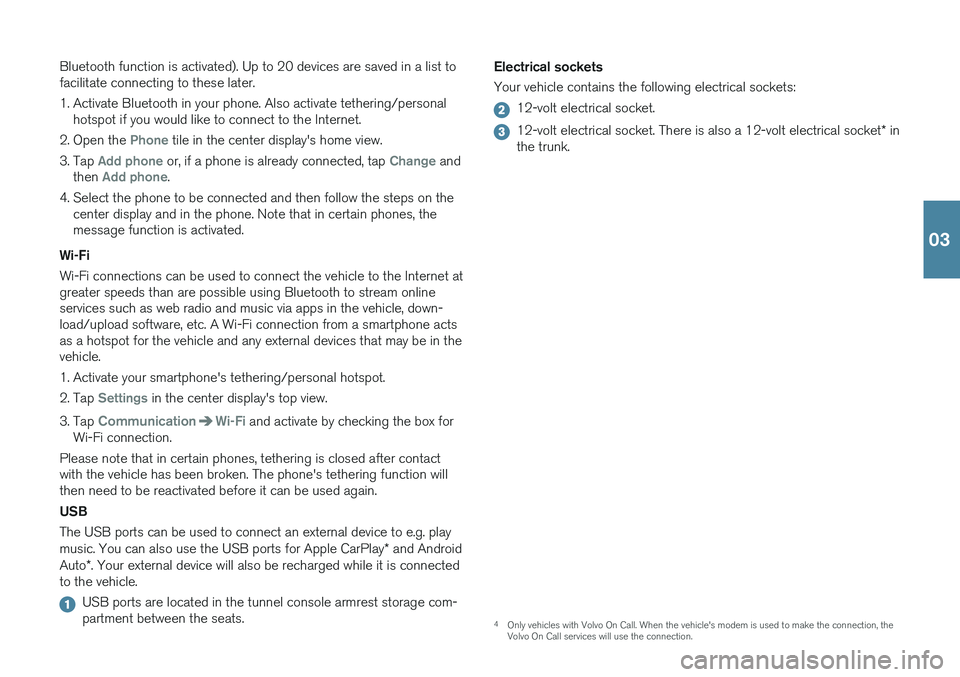
USB ports are located in the tunnel console armrest storage com- partment between the seats. Electrical sockets Your vehicle contains the following electrical sockets:
12-volt electrical socket.
12-volt electrical socket. There is also a 12-volt electrical socket
* in
the trunk.
4 Only vehicles with Volvo On Call. When the vehicle's modem is used to make the connection, the Volvo On Call services will use the connection.
03
Page 28 of 46
5For information about which phones are compatible with the vehicle, go to support.volvocars.com.
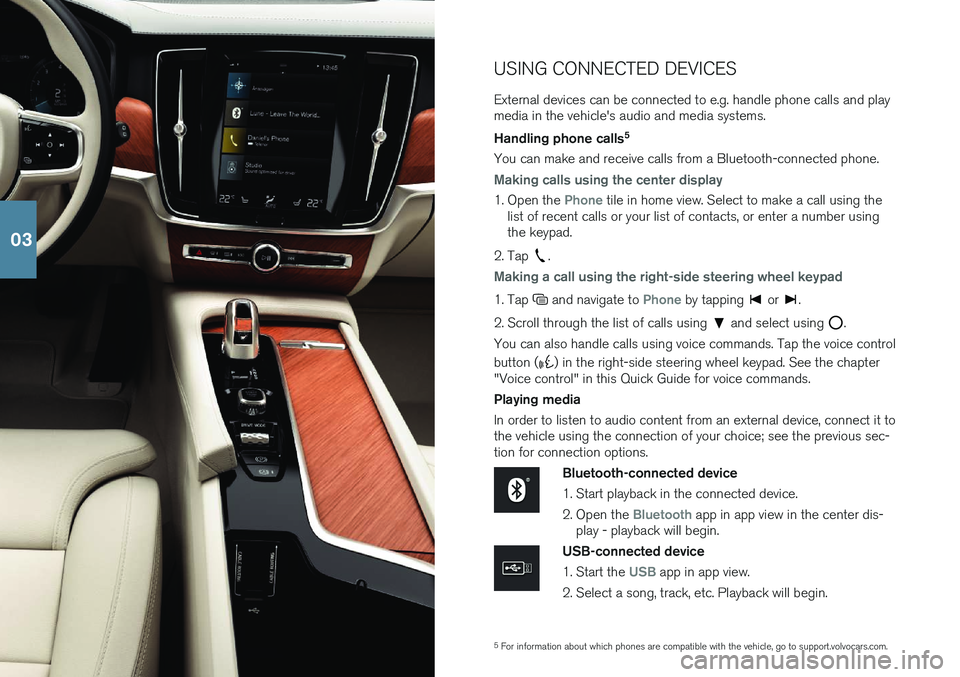
USING CONNECTED DEVICES External devices can be connected to e.g. handle phone calls and play media in the vehicle's audio and media systems. Handling phone calls
5
You can make and receive calls from a Bluetooth-connected phone.
Making calls using the center display
1. Open the Phone tile in home view. Select to make a call using the
list of recent calls or your list of contacts, or enter a number using the keypad.
2. Tap
.
Making a call using the right-side steering wheel keypad
1. Tap and navigate to Phone by tapping or .
2. Scroll through the list of calls using
and select using .
You can also handle calls using voice commands. Tap the voice control button (
) in the right-side steering wheel keypad. See the chapter
"Voice control" in this Quick Guide for voice commands. Playing media In order to listen to audio content from an external device, connect it to the vehicle using the connection of your choice; see the previous sec-tion for connection options.
Bluetooth-connected device
1. Start playback in the connected device.
2. Open the
Bluetooth app in app view in the center dis-
play - playback will begin.
USB-connected device
1. Start the
USB app in app view.
2. Select a song, track, etc. Playback will begin.
03
Page 29 of 46
6Apple and CarPlay are registered trademarks of Apple Inc.
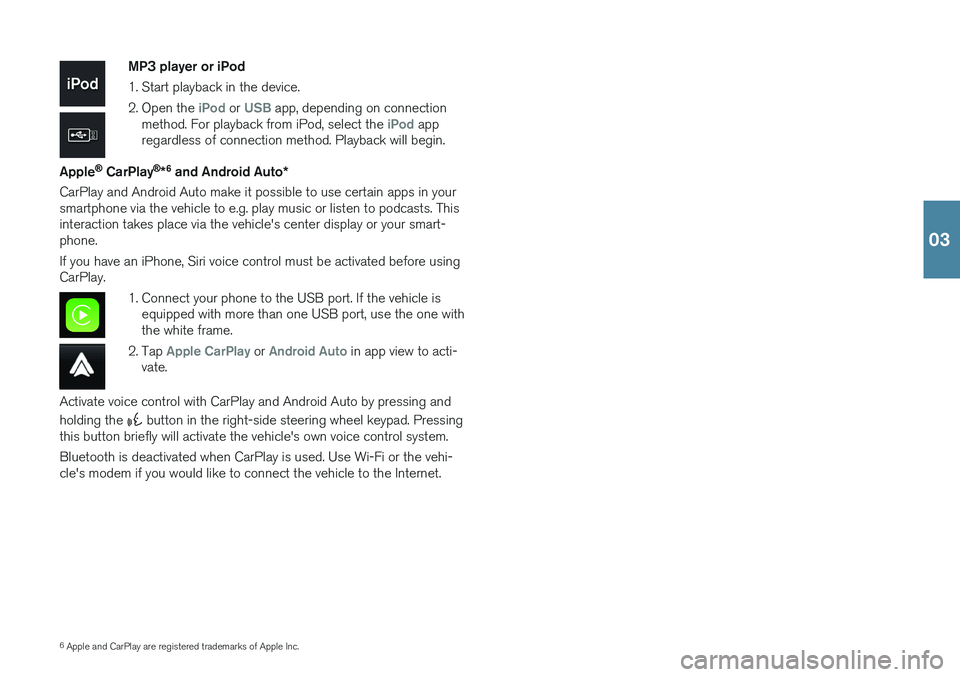
MP3 player or iPod
1. Start playback in the device.
2. Open the
iPod or USB app, depending on connection
method. For playback from iPod, select the iPod app
regardless of connection method. Playback will begin.
Apple
® CarPlay ®
*6
and Android Auto *
CarPlay and Android Auto make it possible to use certain apps in your smartphone via the vehicle to e.g. play music or listen to podcasts. Thisinteraction takes place via the vehicle's center display or your smart-phone. If you have an iPhone, Siri voice control must be activated before using CarPlay.
1. Connect your phone to the USB port. If the vehicle is equipped with more than one USB port, use the one with the white frame.
2. Tap
Apple CarPlay or Android Auto in app view to acti-
vate.
Activate voice control with CarPlay and Android Auto by pressing and holding the
button in the right-side steering wheel keypad. Pressing
this button briefly will activate the vehicle's own voice control system. Bluetooth is deactivated when CarPlay is used. Use Wi-Fi or the vehi- cle's modem if you would like to connect the vehicle to the Internet.
03
Page 31 of 46
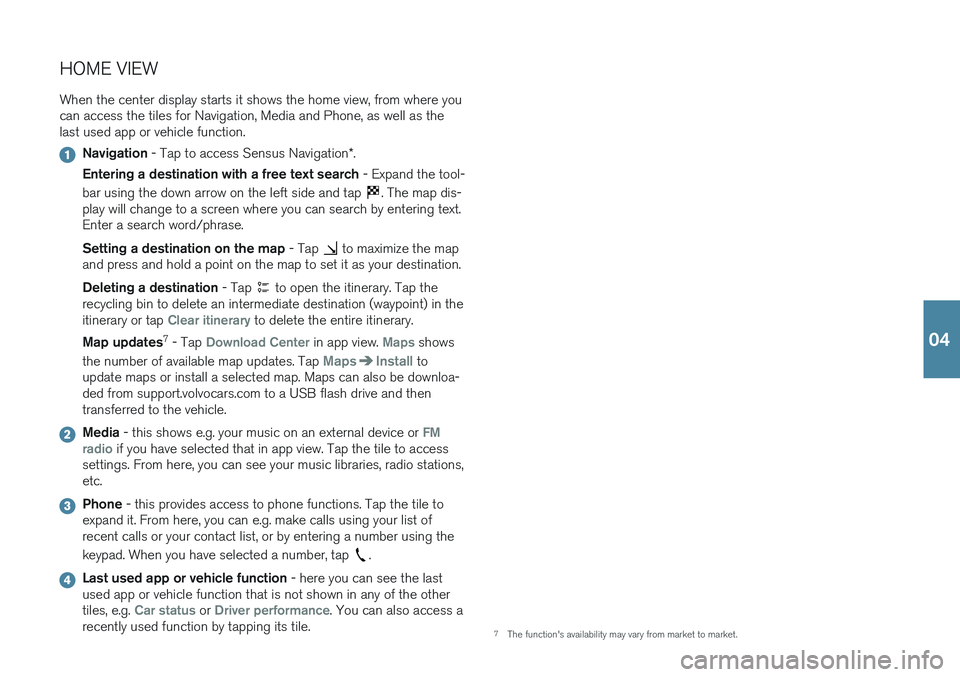
HOME VIEWWhen the center display starts it shows the home view, from where you can access the tiles for Navigation, Media and Phone, as well as thelast used app or vehicle function.
Navigation - Tap to access Sensus Navigation *.
Entering a destination with a free text search - Expand the tool-
bar using the down arrow on the left side and tap
. The map dis-
play will change to a screen where you can search by entering text. Enter a search word/phrase. Setting a destination on the map - Tap
to maximize the map
and press and hold a point on the map to set it as your destination. Deleting a destination - Tap
to open the itinerary. Tap the
recycling bin to delete an intermediate destination (waypoint) in the itinerary or tap
Clear itinerary to delete the entire itinerary.
Map updates 7
- Tap
Download Center in app view. Maps shows
the number of available map updates. Tap
MapsInstall to
update maps or install a selected map. Maps can also be downloa- ded from support.volvocars.com to a USB flash drive and thentransferred to the vehicle.
Media - this shows e.g. your music on an external device or FM
radio if you have selected that in app view. Tap the tile to access
settings. From here, you can see your music libraries, radio stations, etc.
Phone - this provides access to phone functions. Tap the tile to
expand it. From here, you can e.g. make calls using your list of recent calls or your contact list, or by entering a number using the keypad. When you have selected a number, tap
.
Last used app or vehicle function - here you can see the last
used app or vehicle function that is not shown in any of the other tiles, e.g.
Car status or Driver performance. You can also access a
recently used function by tapping its tile.
7 The function's availability may vary from market to market.
04
Page 33 of 46
FUNCTION VIEW AND APP VIEW Function view In home view, swipe the screen from left to right8
to access function
view. From here, you can activate/deactivate various vehicle functions, such as
Head-up Display* , Park Assist and Lane Keeping Aid. Acti-
vate/deactivate a function by tapping its symbol. Some functions open in their own windows. App view In home view, swipe from right to left 8
to access app view. This displays
the vehicle's factory-installed apps as well as any apps you have down- loaded and installed.
Managing and updating apps and systems
You can update many of the vehicle's systems in Download
Center in app view. The vehicle must be connected to the
Internet in order for this to be possible. Press Download
Center to open a download application. Here, you can:
Download apps - Tap New apps and select the desired app. SelectInstall to download the app.
Update apps - Tap
Install all to update all apps. Or tap Application
updates to display a list of available updates. Select the desired app
and tap Install.
Uninstall apps - Tap
Application updates and select the desired app.
Tap
Uninstall to delete the app.
Update system software - Tap
System updates to display a list of
updates that can be installed in the vehicle. Tap Install all at the bottom
of the list to update all software or Install to update specific software. If
you do not wish to display a list, select Install all near the System
updates button.
Moving icons The apps and buttons for vehicle functions in app view and function view can be moved to customize these views. 1. Press and hold an icon.
2. Drag the icon to the desired location in the view and release it.
8
Applies for left-hand drive vehicles. For right-hand drive vehicles, swipe the opposite way.
04
Page 35 of 46
TOP VIEW There is a tab in the upper part of the display that you can pull down to access top view. This view provides access to
Settings, Owner's
manual, Profile and the vehicle's stored messages.
Personal settings Many personal settings can be changed under
Settings, e.g. displays,
mirrors, front seat, navigation *, audio and media systems, language and
voice control. Driver profiles
If the vehicle is used by more than one driver, each driver can have a personal driver profile in the vehicle. Each time youenter the vehicle, you can select your driver profile where yourpersonal settings are stored. The number of profiles displayed
depends on how many keys are detected in the vehicle. The
Guest pro-
file is not connected to any specific key. The most recently active driver profile will be activated when the vehicle is unlocked. To change the driver profile, select
Profile in top view.
Driver profiles can be linked to specific vehicle keys and when the vehi- cle is unlocked, settings will be automatically adapted to your personal settings. To link a key, tap
SettingsSystemDriver Profiles.
Select one of the driver profiles (the Guest profile cannot be linked).
Home view will reappear. Pull top view down again, repeat the above procedure and select
Edit for the selected profile and then Connect
key.
Individual drive mode To adapt the
Hybrid, Pure or Power drive modes to your personal pref-
erences, activate the drive mode by tapping
SettingsMy Car
Individual Drive Mode.
System volumes To adjust or switch off the volume of system sounds, e.g. screen tap sounds, go to
SettingsSoundSystem Volumes.
04