radio antenna VOLVO XC60 T8 2018 Owner´s Manual
[x] Cancel search | Manufacturer: VOLVO, Model Year: 2018, Model line: XC60 T8, Model: VOLVO XC60 T8 2018Pages: 674, PDF Size: 11.93 MB
Page 236 of 674
||
KEY, LOCKS AND ALARM
* Option/accessory.
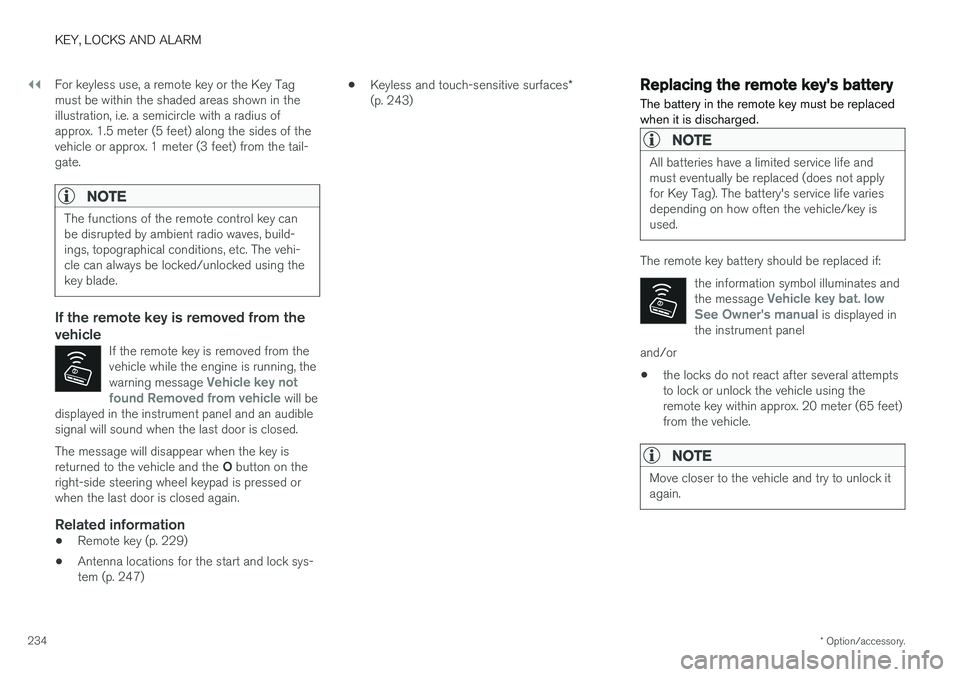
234 For keyless use, a remote key or the Key Tag must be within the shaded areas shown in theillustration, i.e. a semicircle with a radius ofapprox. 1.5 meter (5 feet) along the sides of thevehicle or approx. 1 meter (3 feet) from the tail-gate.
NOTE
The functions of the remote control key can be disrupted by ambient radio waves, build-ings, topographical conditions, etc. The vehi-cle can always be locked/unlocked using thekey blade.
If the remote key is removed from the vehicle
If the remote key is removed from the vehicle while the engine is running, the warning message
Vehicle key not
found Removed from vehicle will be
displayed in the instrument panel and an audible signal will sound when the last door is closed.
The message will disappear when the key is returned to the vehicle and the O button on the
right-side steering wheel keypad is pressed or when the last door is closed again.
Related information
• Remote key (p. 229)
• Antenna locations for the start and lock sys-tem (p. 247) •
Keyless and touch-sensitive surfaces
*
(p. 243)
Replacing the remote key's battery
The battery in the remote key must be replaced when it is discharged.
NOTE
All batteries have a limited service life and must eventually be replaced (does not applyfor Key Tag). The battery's service life variesdepending on how often the vehicle/key isused.
The remote key battery should be replaced if:
the information symbol illuminates and the message
Vehicle key bat. low
See Owner's manual is displayed in
the instrument panel
and/or
• the locks do not react after several attempts to lock or unlock the vehicle using theremote key within approx. 20 meter (65 feet)from the vehicle.
NOTE
Move closer to the vehicle and try to unlock it again.
Page 471 of 674

STARTING AND DRIVING
}}
* Option/accessory.469
Programming HomeLink®
*12
Follow these instructions to program HomeLink ®
, reset all programming, or program
individual buttons.
NOTE
In some vehicles, the ignition must be on or in the "accessory position" before HomeLink ®
can be programmed or used. It can be a good idea to put new batteries in the remote con- trol being replaced by HomeLink ®
for faster
programming and better radio signal trans-mission. The HomeLink ®
buttons should be
reset before programming.
WARNING
While HomeLink ®
is being programmed, the
garage door or gate being programmed may be activated. Make sure that no one is nearthe door or gate during programming. Whenprogramming a garage door opener, it isadvised to park outside of the garage. 1.
Point the remote control at the HomeLink ®
button to be programmed and hold it about 2-8 cm (1-3 inches) from the button. Do not obstruct the HomeLink ®
indicator light.
Note: Some remote controls are more effec-
tive at programming HomeLink ®
from a dis-
tance of about 15-20 cm (6-12 inches). Try moving the remote control closer or furtheraway if you are experiencing any difficultiesprogramming.
2. Press and hold both the remote control but- ton and the HomeLink ®
button to be pro-
grammed.
3. Do not release the buttons until the indicator light has stopped flashing slowly (about oncea second) and either flashes quickly (about10 times a second) or glows steadily. >Steady glow: Indication that program-
ming is complete. Press the programmed button twice to activate. Flashing quickly: The device being pro-
grammed with HomeLink ®
may have a
security function that requires an extra step. Try pressing the programmed buttontwice to see whether the programmingworks. Otherwise, continue with the fol-lowing steps.
4. Locate the "training" button 13
on the
receiver for the e.g. garage door opener. It is usually located near the antenna bracket onthe receiver.
5. Press and release the "training" button once. Programming must be completed within 30seconds after pressing the button.
6. Press and release the HomeLink ®
button to
be programmed. Repeat the press/hold/release sequence a second time. For somereceivers, the sequence may need to berepeated a third time.
> Programming is now completed and the garage door, gate, etc. should now be activated when the programmed button ispressed.
If you experience any difficulties programming, please contact HomeLink ®
at:
12 Certain markets only.
13 The name and color of the button varies depending on the manufacturer.
Page 489 of 674
AUDIO, MEDIA AND INTERNET
487
Selecting sub-channels
To listen to a station's sub-channel(s), tap the station on the screen or press the forward/backarrow keys on the right-side steering wheel key-pad or below the screen. Sub-channels can also be saved as radio favor- ites. If you tap a sub-channel favorite, it may take up to 6 seconds before the channel becomes audi-
ble. If you tap a station while you are out of digital range of the transmitter,
No reception will be
displayed.
Related information
• HD Radio
™ (p. 484)
• Activating and deactivating the HD Radio
™
(p. 486)
• Changing waveband and radio station (p. 481)
• Searching for a radio station (p. 482)
• HD Radio
™ limitations (p. 487)
HD Radio™ limitations
Limitations
• Main channel vs. sub-channels (FM only)
:
The main channel is the only channel that can receive in hybrid mode (both digital andanalog). If a frequency has sub-channels,they are broadcast in digital mode only. Themain FM channel will be displayed as, forexample, "WRIF-FM HD1". The sub-FMchannels will be displayed as"WRIF-FMHD2", "WRIF-FM HD3", etc.
• Reception coverage area
: Due to current
IBOC transmitter power limitations, thereception coverage area in digital mode issomewhat more limited than the station'sanalog coverage area. Be aware that, like allradio transmission technology, terrain, time ofday, vegetation and buildings can have apositive or negative effect on radio reception.
• Analog to digital/digital to analog blend-ing
: Analog to digital blending will occur as
the signal strength reaches a preset thresh-old in the receiver. This will be noticeable infringe areas (areas with weak reception) andis normal.
NOTE
There may be a noticeable difference in sound quality when a change from analogueto digital or digital to analogue occurs, suchas:
• Volume increase or decrease
• Equalizer settings, i.e., Bass/ Midrange/Treble cut or boost
• Time alignment (Digital program materialin extreme cases can be as much as 8seconds behind the analogue). This willnoticeable as a "stuttering" effect.
The above items are dependant on thebroadcaster's equipment settings and donot indicate a fault in the vehicle's radioreceiver or antenna systems .
Related information
•HD Radio
™ (p. 484)
• Activating and deactivating the HD Radio
™
(p. 486)
• HD Radio
™
sub-channels (p. 486)
Page 490 of 674
AUDIO, MEDIA AND INTERNET
* Option/accessory.
488
SiriusXM® Satellite radio *
The SiriusXM ®
Satellite system broadcasts from
of a number of high elevation satellites in geo- synchronous orbit.
Listening to satellite radioThe digital signals from the satellites are line-of- sight, which means that physical obstructionssuch as bridges, tunnels, etc, may temporarilyinterfere with signal reception. Avoid any obstructions, such as metallic objects transported on roof racks or in a ski box, or otherantennas that may impede signals from the SiriusXM ®
satellites.
Selecting SiriusXM ®
Satellite radio
mode
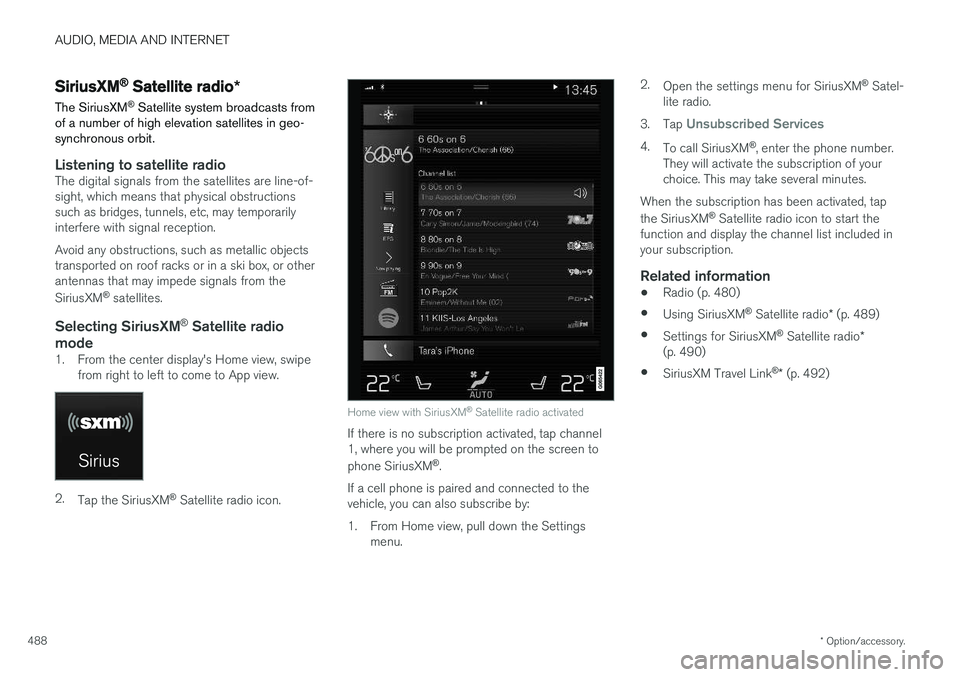
1. From the center display's Home view, swipe from right to left to come to App view.
2.Tap the SiriusXM ®
Satellite radio icon.
Home view with SiriusXM ®
Satellite radio activated
If there is no subscription activated, tap channel 1, where you will be prompted on the screen to phone SiriusXM ®
.
If a cell phone is paired and connected to the vehicle, you can also subscribe by:
1. From Home view, pull down the Settings menu. 2.
Open the settings menu for SiriusXM ®
Satel-
lite radio.
3. Tap
Unsubscribed Services
4.
To call SiriusXM ®
, enter the phone number.
They will activate the subscription of your choice. This may take several minutes.
When the subscription has been activated, tap the SiriusXM ®
Satellite radio icon to start the
function and display the channel list included in your subscription.
Related information
• Radio (p. 480)
• Using SiriusXM ®
Satellite radio * (p. 489)
• Settings for SiriusXM ®
Satellite radio *
(p. 490)
• SiriusXM Travel Link ®
* (p. 492)
Page 521 of 674
AUDIO, MEDIA AND INTERNET
}}
* Option/accessory.519
Settings for Bluetooth devices
Settings for Bluetooth-connected devices.
1. Tap Settings in the Top view.
2. Tap
CommunicationBluetooth
Devices and select settings:
•
Add device - start the procedure for pairing
a new device.
•
Previously paired devices - list con-
nected/paired devices.
•
Remove device - remove a connected
device.
•
Allowed services for this device - select
what the device will be used for: making calls, sending/receiving messages, stream-ing media, Internet connection.
•
Internet connection connect the vehicle to
the Internet using the device's Bluetooth connection.
Bluetooth ®
declaration of conformityUSA FCC CAUTION Changes or modifications not expressly approved by the party responsible for compliance couldvoid the user's authority to operate the equip-ment. This transmitter must not be co-located oroperated in conjunction with any other antennaor transmitter. Canada This device complies with Industry Canada license-exempt RSS standard(s). Operation issubject to the following two conditions: (1) this device may not cause interference, and(2) this device must accept any interference, including interference that may cause undesiredoperation of the device.
Related information
•
Phone (p. 510)
• Phone settings (p. 518)
• Internet-connected vehicle
* (p. 519)
• Connecting a phone to the car via Bluetoothfor the first time (p. 511)
Internet-connected vehicle
*
When the vehicle is connected to the Internet, it is possible to use web radio and music servicesvia apps, download software and contact retail-ers from the vehicle.
The vehicle can be connected to the Internet using Bluetooth, Wi-Fi or the vehicle's integratedmodem.
Page 659 of 674
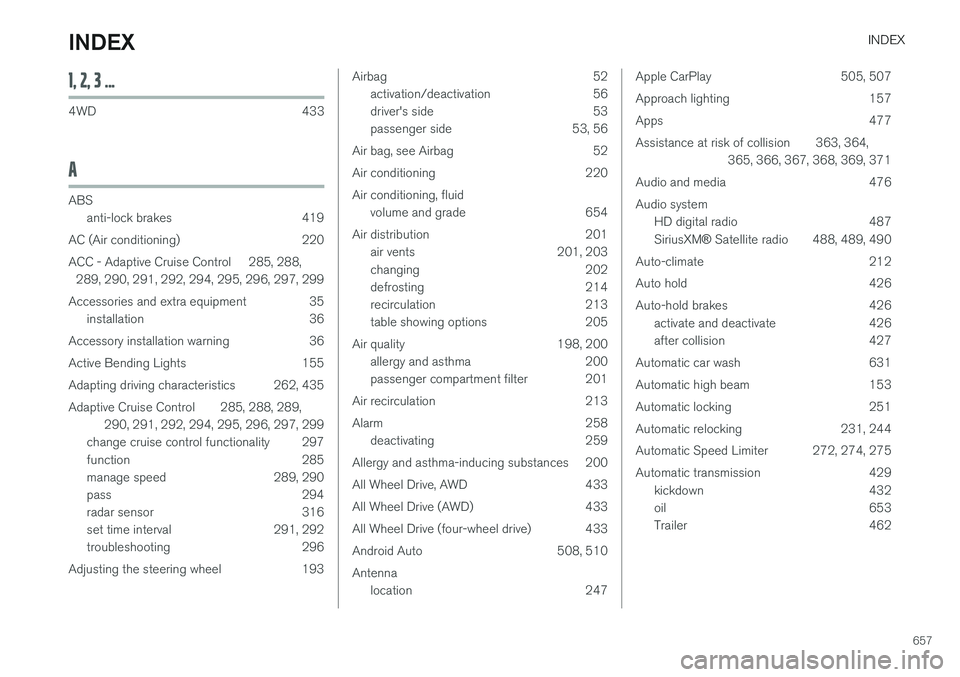
INDEX
657
1, 2, 3 ...
4WD 433
A
ABSanti-lock brakes 419
AC (Air conditioning) 220
ACC - Adaptive Cruise Control 285, 288, 289, 290, 291, 292, 294, 295, 296, 297, 299
Accessories and extra equipment 35 installation 36
Accessory installation warning 36
Active Bending Lights 155
Adapting driving characteristics 262, 435
Adaptive Cruise Control 285, 288, 289, 290, 291, 292, 294, 295, 296, 297, 299
change cruise control functionality 297
function 285
manage speed 289, 290
pass 294
radar sensor 316
set time interval 291, 292
troubleshooting 296
Adjusting the steering wheel 193
Airbag 52 activation/deactivation 56
driver's side 53
passenger side 53, 56
Air bag, see Airbag 52
Air conditioning 220Air conditioning, fluid volume and grade 654
Air distribution 201 air vents 201, 203
changing 202
defrosting 214
recirculation 213
table showing options 205
Air quality 198, 200 allergy and asthma 200
passenger compartment filter 201
Air recirculation 213
Alarm 258 deactivating 259
Allergy and asthma-inducing substances 200
All Wheel Drive, AWD 433
All Wheel Drive (AWD) 433
All Wheel Drive (four-wheel drive) 433
Android Auto 508, 510 Antenna location 247Apple CarPlay 505, 507
Approach lighting 157
Apps 477
Assistance at risk of collision 363, 364, 365, 366, 367, 368, 369, 371
Audio and media 476Audio system HD digital radio 487 SiriusXM ® Satellite radio 488, 489, 490
Auto-climate 212
Auto hold 426
Auto-hold brakes 426 activate and deactivate 426
after collision 427
Automatic car wash 631
Automatic high beam 153
Automatic locking 251
Automatic relocking 231, 244
Automatic Speed Limiter 272, 274, 275
Automatic transmission 429 kickdown 432
oil 653
Trailer 462
INDEX