center console VOLVO XC90 2015 Owner's Manual
[x] Cancel search | Manufacturer: VOLVO, Model Year: 2015, Model line: XC90, Model: VOLVO XC90 2015Pages: 570, PDF Size: 12.44 MB
Page 222 of 570
LOCKS AND ALARM
* Option/accessory, for more information, see Introduction.
220
Antenna locations for the start and lock system
The vehicle is equipped with a keyless 2
start and
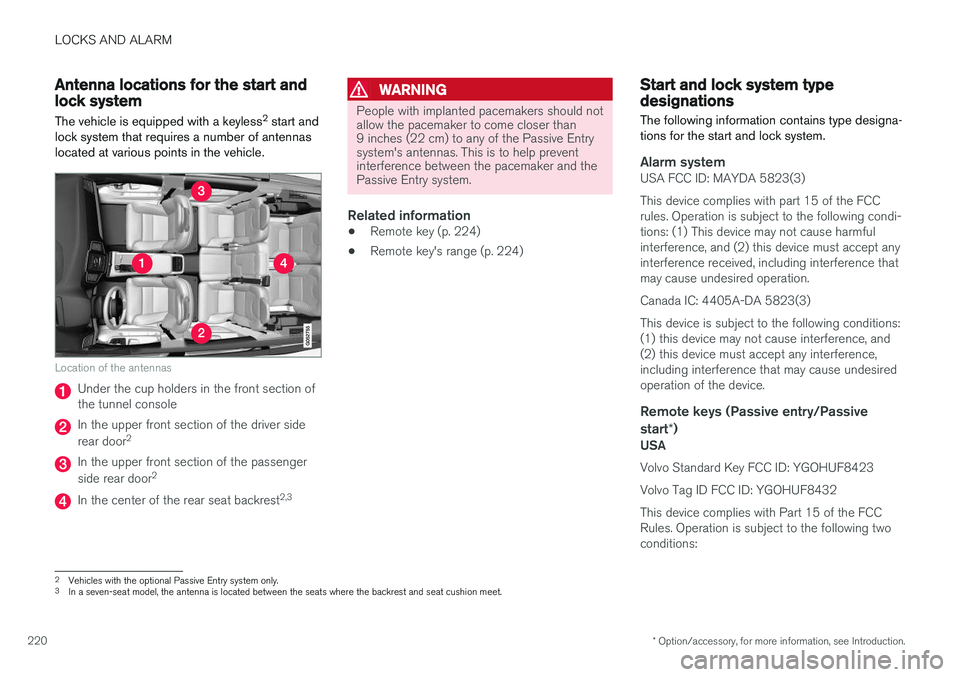
lock system that requires a number of antennas located at various points in the vehicle.
Location of the antennas
Under the cup holders in the front section of the tunnel console
In the upper front section of the driver side rear door 2
In the upper front section of the passenger side rear door 2
In the center of the rear seat backrest 2,3
WARNING
People with implanted pacemakers should not allow the pacemaker to come closer than9 inches (22 cm) to any of the Passive Entrysystem's antennas. This is to help preventinterference between the pacemaker and thePassive Entry system.
Related information
•
Remote key (p. 224)
• Remote key's range (p. 224)
Start and lock system type designations
The following information contains type designa- tions for the start and lock system.
Alarm systemUSA FCC ID: MAYDA 5823(3) This device complies with part 15 of the FCC rules. Operation is subject to the following condi-tions: (1) This device may not cause harmfulinterference, and (2) this device must accept anyinterference received, including interference thatmay cause undesired operation. Canada IC: 4405A-DA 5823(3)This device is subject to the following conditions: (1) this device may not cause interference, and(2) this device must accept any interference,including interference that may cause undesiredoperation of the device.
Remote keys (Passive entry/Passive
start *)
USA Volvo Standard Key FCC ID: YGOHUF8423 Volvo Tag ID FCC ID: YGOHUF8432This device complies with Part 15 of the FCC Rules. Operation is subject to the following twoconditions:
2
Vehicles with the optional Passive Entry system only.
3 In a seven-seat model, the antenna is located between the seats where the backrest and seat cushion meet.
Page 228 of 570
LOCKS AND ALARM
* Option/accessory, for more information, see Introduction.
226 the turn signals and horn.
To deactivate,
wait approximately 5 seconds and press the button again (the panic alarm will also deac-tivate automatically after several minutes).
InterferenceMetallic objects or electromagnetic fields mayinterfere with the remote key's function. Avoidplacing the remote key within 4-6 in. (10-15 cm)of a cell phone or a metallic object. If interference persists, use the remote key's detachable key blade to unlock the vehicle andplace the remote key in the backup key reader inthe tunnel console cup holder.
Loss of a remote keyIf a remote keys is lost, a new one can beordered. The other keys should be taken with thevehicle to a Volvo retailer or authorized independ-ent locksmith. As an anti-theft measure, the codeof the lost remote key must be erased from thesystem. The number of registered keys for thevehicle can be found in the center display's Topview.
NOTE
Additional or duplicate remote control keys can be obtained from any authorized Volvoretailer. You can also obtain additional or duplicate remote control keys from certain independentrepair facilities and locksmiths that are quali-fied to make remote control keys. Each keymust be programmed to work with your vehi-cle. A list of independent repair facilities and/or locksmiths known to Volvo that can cut andcode replacement keys can be found: • on the Volvo website, www.volvocars.com/us
• by calling Volvo Customer Care at1-800-458-1552.
Related information
•
Driver profiles (p. 112)
• Remote key's range (p. 224)
• Restricted key
* (p. 226)
• Detachable key blade (p. 227)
• Changing the remote key's battery (p. 222)
Restricted key
*
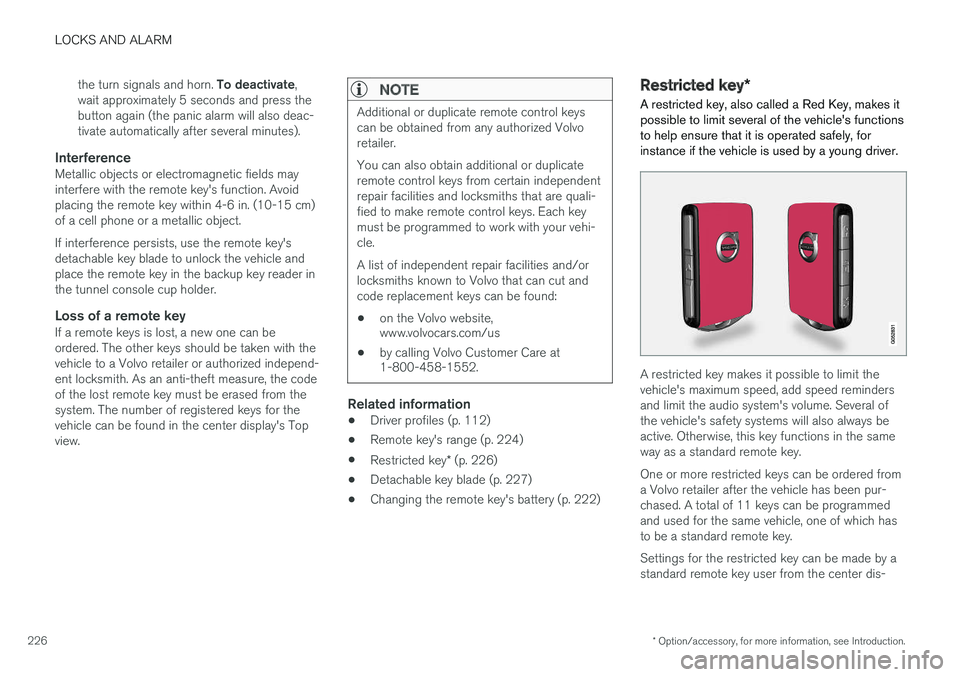
A restricted key, also called a Red Key, makes it possible to limit several of the vehicle's functionsto help ensure that it is operated safely, forinstance if the vehicle is used by a young driver.
A restricted key makes it possible to limit the vehicle's maximum speed, add speed remindersand limit the audio system's volume. Several ofthe vehicle's safety systems will also always beactive. Otherwise, this key functions in the sameway as a standard remote key. One or more restricted keys can be ordered from a Volvo retailer after the vehicle has been pur-chased. A total of 11 keys can be programmedand used for the same vehicle, one of which hasto be a standard remote key. Settings for the restricted key can be made by a standard remote key user from the center dis-
Page 294 of 570

DRIVER SUPPORT
* Option/accessory, for more information, see Introduction.
292
Park Assist *
The Park Assist system is designed to assist you
when driving into parking spaces, garages, etc. An audible signal and symbols in the instrumentpanel and center display indicate the distance tothe object.
Display view showing object zones and sensor sectors
The center display shows an overview of the vehi- cle in relation to objects that have been detected. The highlighted sector shows which of the sen- sors has detected the object. The closer the vehi-cle symbol is to the highlighted sector, the closerthe actual object is to your vehicle. The Park Assist system uses an intermittent tone that pulses faster as you come closer to anobject. Sound from the infotainment system willbe temporarily turned down. The tone becomes constant when you are withinapproximately 1 ft (30 cm) of an object and theactive sensor fields will be completely filled in. Ifthere are objects within this distance both behindand in front of the vehicle, the tone alternatesbetween front and rear speakers. While an audible signal is being given, its volume level can be raised/lowered using the
>II control
in the center console.
WARNING
Park Assist is an information system, NOT a safety system. This system is designed to bea supplementary aid when parking the vehicle.It is not, however, intended to replace the driv-er's attention and judgement.
Rear park assist
The system's rear sensors are activated automat- ically when the engine is started and are active ifthe vehicle rolls rearward with the gear selector in N or if R has been selected.
The distance monitored behind the vehicle is approximately 5 ft (1.5 m). The audible signalcomes from the rear speakers. The rear sensors will be deactivated automatically when towing a trailer if Volvo genuine trailer wir-ing is used. If a non-Volvo trailer hitch is beingused, it may be necessary to switch off the sys-tem manually.
Side park assist
The system's side sensors are activated automat- ically when the engine is started and are active atspeeds below approximately 6 mph (10 km/h).
Page 357 of 570
STARTING AND DRIVING
* Option/accessory, for more information, see Introduction.355
Ignition modes
The vehicle's ignition can be put in various modes (levels) to make different functions availa-ble.
The vehicle's ignition has 3 modes: 0, I, and II
that can be used to operate various functions without starting the engine. The following tableshows examples of which functions are availablein the respective modes.
ModeFunctions available
0• The odometer, clock and tem- perature gauge are illuminated
• Power seats
* can be adjusted
• The power windows can be oper-ated
• The 12-volt socket in the cargocompartment can be used
• The center display is activatedand can be used
• The infotainment system can beused for a limited time
In this mode, certain functions can only be used for a limited time to helpminimize battery drain
I• The laminated panoramic roof
*,
power seats */windows,12-volt
sockets in the passenger com- partment, Bluetooth, navigation system *, climate system blower,
windshield wipers can be oper- ated
• The infotainment system will start(if it was started when the ignitionwas switched off)
ModeFunctions available
II• The headlights illuminate
• Warning/indicator lights illumi- nate for 5 seconds
• A number of other functions willalso be activated. However, the heated seats
* and heated rear
window functions can only be activated when the engine is run-ning.
This mode should only be used for very short periods to help avoiddraining the battery.
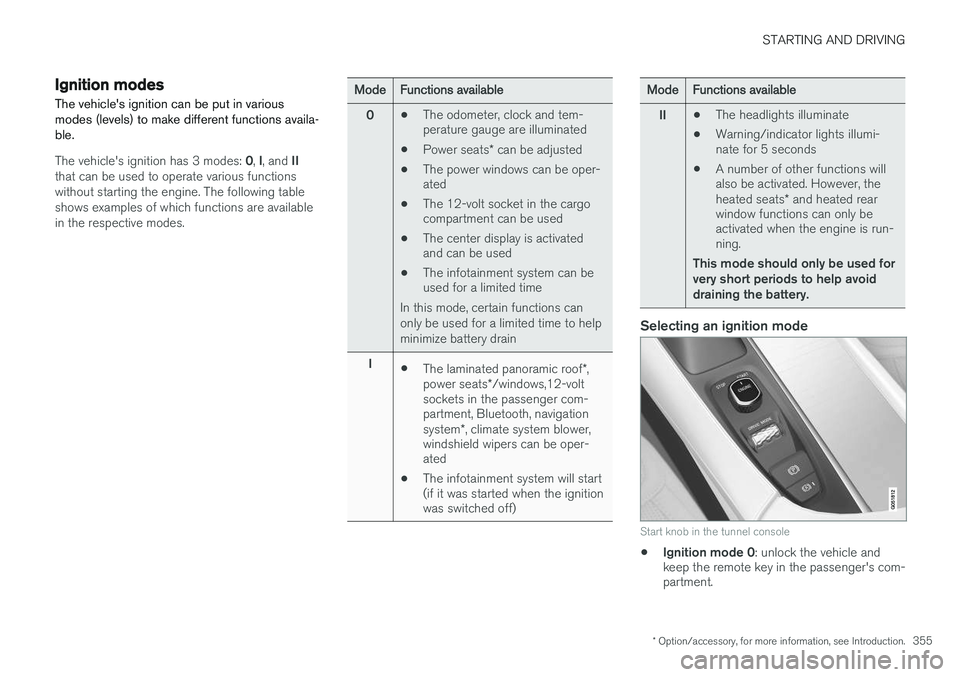
Selecting an ignition mode
Start knob in the tunnel console
• Ignition mode 0
: unlock the vehicle and
keep the remote key in the passenger's com- partment.
Page 362 of 570
STARTING AND DRIVING
360
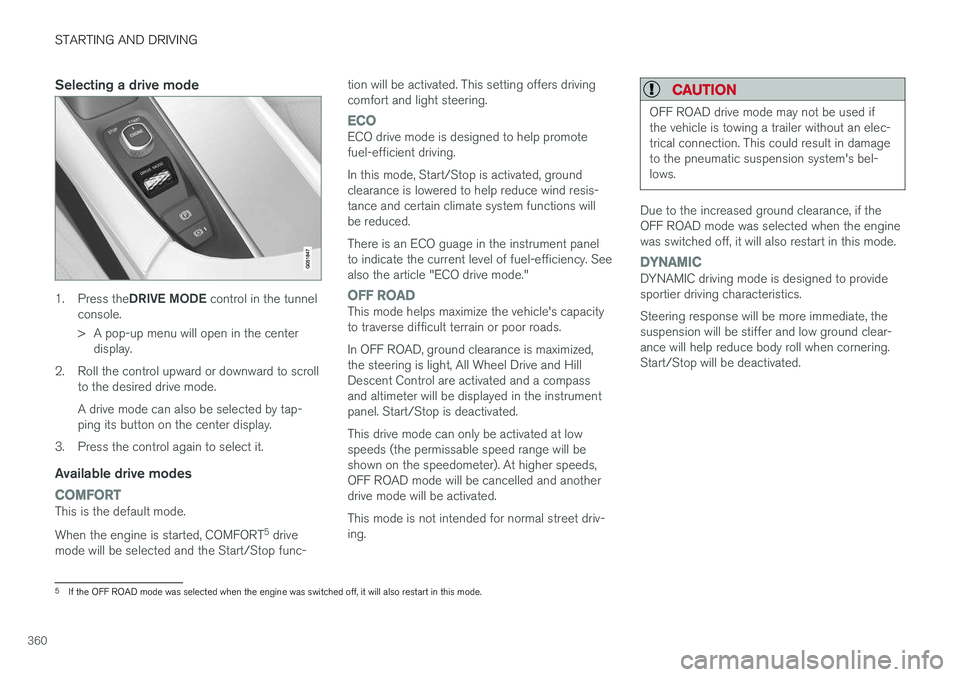
Selecting a drive mode
1.Press the DRIVE MODE control in the tunnel
console.
> A pop-up menu will open in the center display.
2. Roll the control upward or downward to scroll to the desired drive mode. A drive mode can also be selected by tap- ping its button on the center display.
3. Press the control again to select it.
Available drive modes
COMFORTThis is the default mode. When the engine is started, COMFORT 5
drive
mode will be selected and the Start/Stop func- tion will be activated. This setting offers driving comfort and light steering.
ECOECO drive mode is designed to help promote fuel-efficient driving. In this mode, Start/Stop is activated, ground clearance is lowered to help reduce wind resis-tance and certain climate system functions willbe reduced. There is an ECO guage in the instrument panel to indicate the current level of fuel-efficiency. Seealso the article "ECO drive mode."
OFF ROADThis mode helps maximize the vehicle's capacity to traverse difficult terrain or poor roads. In OFF ROAD, ground clearance is maximized, the steering is light, All Wheel Drive and HillDescent Control are activated and a compassand altimeter will be displayed in the instrumentpanel. Start/Stop is deactivated. This drive mode can only be activated at low speeds (the permissable speed range will beshown on the speedometer). At higher speeds,OFF ROAD mode will be cancelled and anotherdrive mode will be activated. This mode is not intended for normal street driv- ing.
CAUTION
OFF ROAD drive mode may not be used if the vehicle is towing a trailer without an elec-trical connection. This could result in damageto the pneumatic suspension system's bel-lows.
Due to the increased ground clearance, if the OFF ROAD mode was selected when the enginewas switched off, it will also restart in this mode.
DYNAMICDYNAMIC driving mode is designed to provide sportier driving characteristics. Steering response will be more immediate, the suspension will be stiffer and low ground clear-ance will help reduce body roll when cornering.Start/Stop will be deactivated.
5
If the OFF ROAD mode was selected when the engine was switched off, it will also restart in this mode.
Page 387 of 570
INFOTAINMENT
* Option/accessory, for more information, see Introduction.385
EPG (Electronic Program Guide)
On the center display's Home screen, tap EPGfor information about e.g., when a program is being broadcast and its name, description, artist, etc. If no information is currently available,
No
information will be displayed.
Alerts
If this feature has been selected under SiriusXM
Settings, the Alerts button will be displayed on
the Home screen. To add e.g., an artist's name, song title or a sports team to the list of alerts:
1. Tune to any channel that is broadcasting a song, game, etc., of your choice.
2. Press the
Alerts button.
3. A pop-up window will be displayed showing a list of alerts (nothing will be displayed if the selected channel does not support the alertfunction).
4. Select one of the alternatives in list (only one can be selected at a time).
5. The song/artist/team will now be added to the list of alerts. Favorite sports teams canalso be added to the list using the "GameAlert" setting as described in the article "Sir-iusXM satellite radio settings."
> When your choice is being broadcast on achannel, you will be informed by a pop-up.
iTunes tagging
From the center display's Top view, tapSiriusXM
Settings. Tap theiTunes Tagging menu. Tap
the iTunes Tagging box to activate/deactivate
this function and tap Close to return to Home
view. Tap List Of Tags to display a list of all tag-
ged songs. If the function is activated, the
iTunes tag button
will be displayed in Home view. If a song is played that you would like to buy in the iTunes store, tapthis button while the song is playing to tag it. If a song with
iTunes Tagging information is availa-
ble, the button will be selectable. Tap the button to tag the song. If you would like to buy a taggedsong via iTunes, Tap the iTunes tag button. To buy a song in iTunes, begin by connecting an iPhone/iPod/iPad to the USB socket in the tun-nel console. The iTunes tagging list will automati-cally be transferred to the device and removedfrom the list in the vehicle. If the device is con-nected when a song is tagged, the data will auto-matically be saved in the device. To purchase thesong, consult the iTunes support page.
Related information
• SiriusXM ®
Satellite radio * (p. 383)
• Using the center display keyboard (p. 32)
• SiriusXM ®
Satellite radio * settings (p. 385)
• Connecting a device via the AUX/USB socket (p. 393)
SiriusXM ®
Satellite radio * settings
There are numerous settings that can be made to enhance your SiriusXM ®
Satellite radio listen-
ing experience.
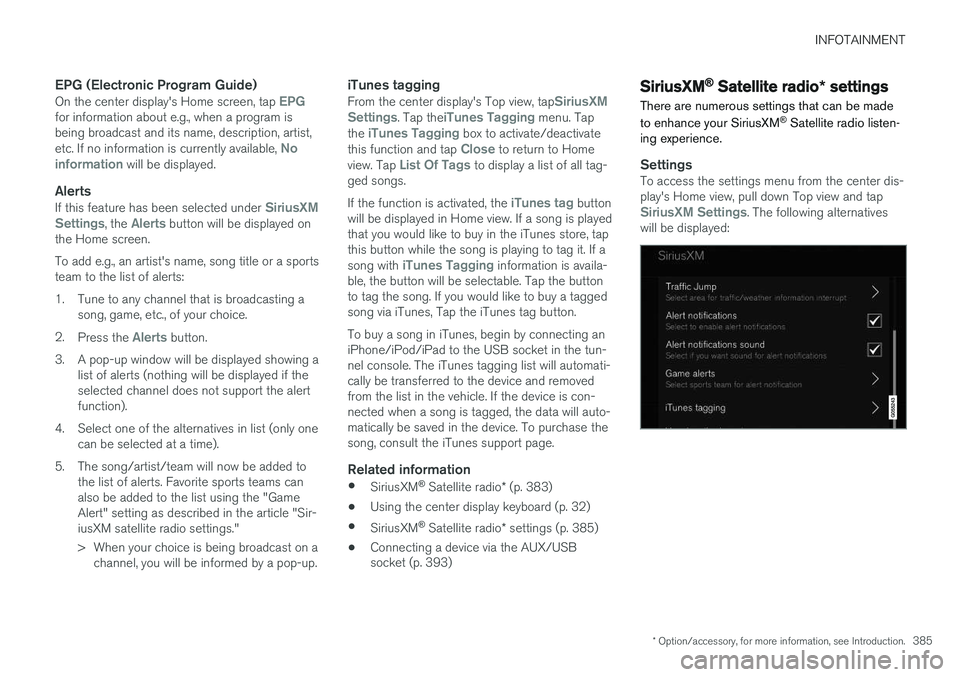
SettingsTo access the settings menu from the center dis- play's Home view, pull down Top view and tap
SiriusXM Settings. The following alternatives
will be displayed:
Page 396 of 570

INFOTAINMENT
* Option/accessory, for more information, see Introduction.
394
The media player is controlled from the center display but cer-tain functions can also be con-trolled from the right-sidesteering wheel keypad or byusing voice commands.
Related information
• Playing media (p. 395)
• Voice control for radio and media (p. 122)
• Radio (p. 377) •
Apps (applications) (p. 403)
• CD (media) player
* (p. 394)
• Playing media through the AUX/USB sock- ets (p. 397)
CD (media) player
*
The CD (media) player can play commercially purchased discs as well as ones that you haveburned yourself. See the article "Media playertechnical data" for information about compatiblefile formats.
Location of the CD player in the tunnel console
Disc slot
Eject button
Related information
• Media player technical data (p. 400)
Page 404 of 570
INFOTAINMENT
402
Connecting to the Internet
Connect the vehicle to the Internet using
Bluetooth, Wi-Fi, by connecting a phone through a cable to the USB socket or via the vehicle'sintegrated modem.
The cell phone and the network service provider must support Internet sharing (tethering) and thesubscription must included data transfer.
Connect using BluetoothSee the article "Pairing a cell phone."
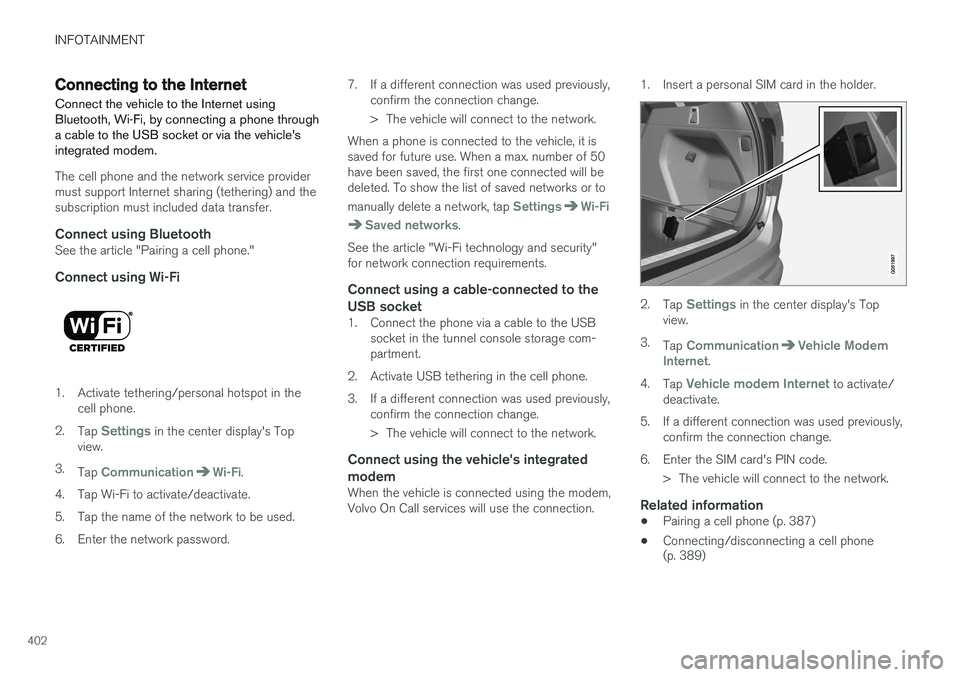
Connect using Wi-Fi
1. Activate tethering/personal hotspot in the cell phone.
2. Tap
Settings in the center display's Top
view.
3. Tap
CommunicationWi-Fi.
4. Tap Wi-Fi to activate/deactivate.
5. Tap the name of the network to be used.
6. Enter the network password. 7. If a different connection was used previously,
confirm the connection change.
> The vehicle will connect to the network.
When a phone is connected to the vehicle, it is saved for future use. When a max. number of 50have been saved, the first one connected will bedeleted. To show the list of saved networks or to manually delete a network, tap
SettingsWi-Fi
Saved networks.
See the article "Wi-Fi technology and security" for network connection requirements.
Connect using a cable-connected to the
USB socket
1. Connect the phone via a cable to the USB socket in the tunnel console storage com-partment.
2. Activate USB tethering in the cell phone.
3. If a different connection was used previously, confirm the connection change.
> The vehicle will connect to the network.
Connect using the vehicle's integrated modem
When the vehicle is connected using the modem, Volvo On Call services will use the connection. 1. Insert a personal SIM card in the holder.
2.
Tap Settings in the center display's Top
view.
3. Tap
CommunicationVehicle Modem
Internet.
4. Tap
Vehicle modem Internet to activate/
deactivate.
5. If a different connection was used previously, confirm the connection change.
6. Enter the SIM card's PIN code. > The vehicle will connect to the network.
Related information
• Pairing a cell phone (p. 387)
• Connecting/disconnecting a cell phone (p. 389)
Page 416 of 570
VOLVO ON CALL WITH SENSUS CONNECT *
* Option/accessory, for more information, see Introduction.
414
Volvo On Call (VOC) *
VOC is an integrated, subscription-based sys-
tem that provides emergency, roadside assis- tance and security services.
VOC is connected to the vehicle's airbag and alarm systems. The vehicle has an integratedGlobal System for Mobile Communications(GSM) module that handles communicationbetween the vehicle and the VOC customer serv-ice center.
AvailabilityVOC uses the Global Navigation Satellite System(GNSS) to locate the vehicle and its integratedGSM module to enable communication with theVOC customer service center and the VOCmobile app. From the time that the remote key has been removed from the vehicle, VOC's functionsremain available for 5 full days and subsequentlyonce an hour for the following 17 days. Afterthree weeks have elapsed, the system will remainswitched off until the engine is started.
WARNING
The system can only function in areas where there is adequate cellular network coverage. Just as in the case of cell phones, atmos- pheric disturbances or areas with relativelyfew GSM transmitters can make it impossiblefor VOC to make a connection, for example, inrural areas.
SubscriptionsA free, limited-time trial subscription is initiated when the vehicle is purchased and VOC is acti-vated. The subscription can be extended by con-tacting your Volvo retailer.
Information on the InternetFor additional information about Volvo On Call, goto: United States http://www.volvocars.com/us/support Canada English: http://support.volvocars.com/en-CA French: http://support.volvocars.com/fr-CA
Related information
• Volvo On Call convenience services (p. 416)
• Volvo On Call safety services (p. 424)
• Volvo On Call security services (p. 425)
• Using Volvo On Call (p. 414)
• Volvo ID (p. 27)
Using Volvo On Call
Volvo On Call (VOC) is controlled using the but- tons in the ceiling console and the center dis-play.
In the event of an accident in which the seat belt pretensioners, airbags or the inflatable curtainshave been triggered, a signal is transmitted auto-
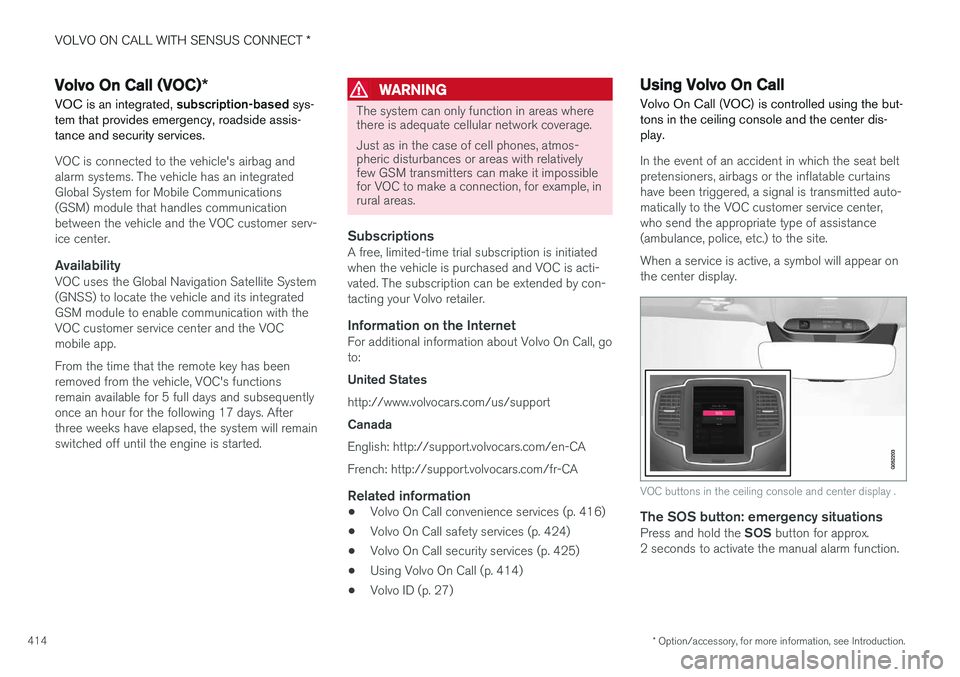
matically to the VOC customer service center,who send the appropriate type of assistance(ambulance, police, etc.) to the site. When a service is active, a symbol will appear on the center display.
VOC buttons in the ceiling console and center display .
The SOS button: emergency situationsPress and hold the SOS button for approx.
2 seconds to activate the manual alarm function.
Page 461 of 570
NAVIGATION*
* Option/accessory, for more information, see Introduction.
459
(support.volvocars.com) and follow the instruc- tions on the screen.
1. Tap "Detailed information" for the region to
be updated.
2. Information about the latest maps for the region will be displayed. Verify that it is newer than the version in the vehicle.
3. Connect a USB flash drive to the computer and download the update to the USB drive.
The amount of time for the download variesaccording to the size of the file and the speed ofthe Internet connection.
Transferring the updated maps from the USB drive to the vehicle
General informationThis transfer may take between 30–60 minutes depending on the file size. This must be donewith the navigation and infotainment systemsactivated. If the engine is not running, it may be necessary to connect a battery charger to avoid dischargingthe battery. An update can also be done whiledriving. During a complete map download, certain info- tainment system functions may not be availableor have limited functionality:
• Navigation
• Voice commands •
Information/media stored on the vehicle's hard drive
Updating1. Activate the navigation system (see the pre-
vious section "Current map version").
2. Connect the USB drive to the vehicle's USB socket in the tunnel console.
3. The navigation system will automatically detect any available updates. The update's progress will be displayed on the screen as%. The driver must tap
Confirm to start the
update or Cancel to interrupt it.
4. Tap
Confirm. The update will begin and pro-
gress information will be shown on the cen- ter display.
5. The center display will indicate when the update has been completed. Remove theUSB drive from the socket.
6. Verify that the correct map information has been transferred by repeating the procedurein "Current map version."
Interruptions
What happens if...Answer
...the infotainment system is turned offwhile an update is inprogress?The process will pause and will continue auto-matically when thesystem is reactivated.
...the USB flash drive is removed from theUSB socket while anupdate is in pro-gress?The process will pause and will continue auto-matically when theUSB drive is recon-nected to the USBsocket.
If an update is interrupted, an explanatory text will always appear on the center display. For additional information, see the Volvo Cars support site (support.volvocars.com) or contact aVolvo retailer.
Related information
• Map updates with MapCare (p. 456)