reset VOLVO XC90 TWIN ENGINE 2018 Service Manual
[x] Cancel search | Manufacturer: VOLVO, Model Year: 2018, Model line: XC90 TWIN ENGINE, Model: VOLVO XC90 TWIN ENGINE 2018Pages: 686, PDF Size: 17 MB
Page 482 of 686

||STARTING AND DRIVING
* Option/accessory.
480 www.HomeLink.com, www.youtube.com/
HomeLinkGentex or call 1-800-355-3515.
Programming individual buttons
To program an individual HomeLink
®
button:
1. Press and hold the desired button for about 20 seconds.
2. When the indicator light on HomeLink ®
starts flashing slowly, it is possible to pro-
gram as usual.
Note: If the button you are reprogramming
does not program with a new device, it will
return to the previously saved programming.
Resetting the HomeLink ®
buttons
It is only possible to reset all HomeLink ®
buttons
at once. It is not possible to reset individual but-
tons. Individual buttons can only be reprogram-
med.
– Press and hold the outer buttons (1 and 3)
on HomeLink ®
for about 10 seconds.
>
When the indicator light goes from a
steady glow to flashing, the buttons have
been reset and are ready for reprogram-
ming.
Related information
• Using HomeLink (p. 480)
• HomeLink ®
* (p. 478)
• Type approval for HomeLink ®
* (p. 481) Using HomeLink
Once HomeLink ®
is programmed, it can be
used instead of the separate remote controls.
Press and hold the programming button. The
garage door, gate, alarm system, etc. will be acti-
vated (this may take several seconds). If the but-
ton is held down for more than 20 seconds,
reprogramming will begin. The indicator light will
glow steadily or flash when the button has been
pressed. The original remote controls may be
used concurrently with HomeLink ®
if desired.
NOTE If the ignition is off, HomeLink
®
works for
30 minutes after the driver's door has been
opened.
WARNING •
If you use HomeLink ®
to open a garage
door or gate, be sure no one is near the
gate or door while it is in motion.
• Do not use HomeLink ®
with any garage
door opener that lacks safety stop and
reverse features as required by US fed-
eral safety standards (this includes any
garage door opener model manufactured
before April 1, 1982). A garage door that
cannot detect an object - signaling the
door to stop and reverse - does not meet
current U.S. federal safety standards. For
more information, contact HomeLink at:
www.homelink.com.
Related information
• HomeLink ®
* (p. 478)
• Programming HomeLink ®
* (p. 479)
• Type approval for HomeLink ®
* (p. 481)
Page 499 of 686

AUDIO, MEDIA AND INTERNET
497
Selecting sub-channels
To listen to a station's sub-channel(s), tap the
station on the screen or press the forward/back
arrow keys on the right-side steering wheel key-
pad or below the screen.
Sub-channels can also be saved as radio favor-
ites.
If you tap a sub-channel favorite, it may take up
to 6 seconds before the channel becomes audi-
ble. If you tap a station while you are out of digital
range of the transmitter, No reception will be
displayed.
Related information
• HD Radio™ (p. 494)
• Activating and deactivating the HD Radio
™
(p. 496)
• Changing waveband and radio station
(p. 491)
• Searching for a radio station (p. 492)
• HD Radio™ limitations (p. 497) HD Radio
™ limitations
Limitations
•
Main channel vs. sub-channels (FM only):
The main channel is the only channel that
can receive in hybrid mode (both digital and
analog). If a frequency has sub-channels,
they are broadcast in digital mode only. The
main FM channel will be displayed as, for
example, "WRIF-FM HD1". The sub-FM
channels will be displayed as"WRIF-FM
HD2", "WRIF-FM HD3", etc.
• Reception coverage area: Due to current
IBOC transmitter power limitations, the
reception coverage area in digital mode is
somewhat more limited than the station's
analog coverage area. Be aware that, like all
radio transmission technology, terrain, time of
day, vegetation and buildings can have a
positive or negative effect on radio reception.
• Analog to digital/digital to analog blend-
ing: Analog to digital blending will occur as
the signal strength reaches a preset thresh-
old in the receiver. This will be noticeable in
fringe areas (areas with weak reception) and
is normal.
NOTE There may be a noticeable difference in
sound quality when a change from analogue
to digital or digital to analogue occurs, such
as:
• Volume increase or decrease
• Equalizer settings, i.e., Bass/ Midrange/
Treble cut or boost
• Time alignment (Digital program material
in extreme cases can be as much as 8
seconds behind the analogue). This will
noticeable as a "stuttering" effect.
The above items are dependant on the
broadcaster's equipment settings and do
not indicate a fault in the vehicle's radio
receiver or antenna systems.
Related information
• HD Radio™ (p. 494)
• Activating and deactivating the HD Radio™
(p. 496)
• HD Radio
™
sub-channels (p. 496)
Page 518 of 686
||AUDIO, MEDIA AND INTERNET
* Option/accessory.
516 5. Tap the desired app.
> The app will start up.
Starting CarPlay
CarPlay can be started as follows after an iPhone
is connected.
1. Connect an iPhone to the USB port. If thereare two USB ports, use the one with the
white frame.
>If the auto start setting is selected -
the name of the phone will be displayed.
2. Tap the name of the phone - the CarPlay tile will open and compatible apps will be dis-
played.
3. If the CarPlay tile does not open, tap Apple
CarPlay in App view.
>
The CarPlay tile will open and compatible
apps will be displayed.
4. Tap the desired app. > The app will start up.
CarPlay will run in the background if another app
is started in the same tile. To display CarPlay in
the tile, tap the CarPlay icon in App view.
Switching connection between CarPlay and iPod
CarPlay to iPod
1. Tap Settings in the Top view. 2.Proceed to
Communication Apple
CarPlay .
3.
Uncheck the box for the Apple device that
should no longer start CarPlay automatically
when the USB cable is connected.
4. Remove and then reinsert the Apple device into the USB port.
5. Open the iPod app from App view.
iPod to CarPlay
1.
Tap Apple CarPlay in App view.
2.
Read the information in the pop-up window
and then tap OK.
3.
Remove and then reinsert the Apple device
into the USB port.
> The Apple CarPlay tile will open and com-
patible apps will be displayed 7
.
Related information
• Connecting a device via the USB port
(p. 514)
• Apple ®
CarPlay ®
* (p. 515)
• Settings for Apple ®
CarPlay ®
* (p. 516)
• Connecting the car to the Internet via a
mobile device (Wi-Fi) (p. 531)
• Connect the car to the Internet via car
modem (SIM card) (p. 532)
• Voice control (p. 145) Settings for Apple
®
CarPlay ®
*
Settings for an
Apple device connected through
CarPlay 8
.
Automatic start1. Tap Settings in the Top view.
2.
Tap Communication Apple CarPlay
and
select the desired setting:
• Check the box - CarPlay will start auto-
matically when the USB cable is con-
nected.
• Uncheck the box - CarPlay will not start
automatically when the USB cable is con-
nected.
A maximum of 20 Apple devices can be stored in
the list. When the list is full and a new device is
connected, the oldest one will be deleted.
To delete the list, the settings must be rest in the
center display (factory reset).
System Volumes1. Tap Settings in the Top view.
2.
Tap Sound System Volumes
to change
the settings for the following:
• Voice Control
• Navi Voice Guidance
• Phone Ringtone 7
Apple, CarPlay, iPhone and iPod are registered trademarks of Apple Inc.
Page 519 of 686
AUDIO, MEDIA AND INTERNET
* Option/accessory.517
Related information
•Apple ®
CarPlay ®
* (p. 515)
• Using Apple ®
CarPlay ®
* (p. 515)
• Resetting center display settings (p. 135) Tips for using Apple
®
CarPlay ®
*
Here are some useful tips for when you use
CarPlay ®
.
• Update your iPhone with the latest version of
iOS operating system and ensure that the
apps have been updated.
• In the event of a problem with CarPlay, dis-
connect the phone from the USB port and
reconnect. Otherwise, try to close the app on
the phone that is not working and then
restart the app, or try closing all apps and
restart your phone.
• If the apps do not appear when CarPlay
starts (black screen), try minimizing and
expanding the tile for CarPlay.
• Using apps that are not compatible with
CarPlay may sometimes mean that the con-
nection between the phone and the car is
broken. Information about supported apps
and compatible phone models can be found
on Apple's website. You can also search for
CarPlay in the App Store to find information
about apps that are compatible with CarPlay
in your market.
• CarPlay only works with iPhone 9
.NOTE Availability and functionality can vary depend-
ing on market.
Related information
•
Apple ®
CarPlay ®
* (p. 515) 8
Apple and CarPlay are registered trademarks of Apple Inc..
9 Apple, CarPlay and iPhone are registered trademarks owned by Apple Inc.
Page 521 of 686
AUDIO, MEDIA AND INTERNET
* Option/accessory.519
From a previously connected Android device
1. Connect the device to the USB port.
>If the auto start setting is selected -
the name of the phone will be displayed.
2. Tap the name of the phone - the Android Auto tile will open and compatible
apps will be displayed.
3. If the automatic start setting is not acti-
vated - open the Android Auto app from
App view.
>
The Android Auto tile will open and com-
patible apps will be displayed.
4. Tap the desired app. > The app will start up.
Android Auto will run in the background if
another app is started in the same tile. To display
Android Auto in the tile, tap the Android Auto
icon in App view.
Related information
• Android Auto* (p. 518)
• Settings for Android Auto* (p. 519)
• Connecting a device via the USB port
(p. 514)
• Voice control (p. 145) Settings for Android Auto*
Settings for phones initially connected with
Android Auto.
Automatic start1. Tap Settings in the Top view.
2.
Tap Communication Android Auto
and
select setting:
• Check the box - Android Auto will start
automatically when the USB cable is con-
nected.
• Uncheck the box - Android Auto will not
start automatically when the USB cable is
connected.
A maximum of 20 Android devices can be stored
in the list. When the list is full and a new device is
connected, the oldest one will be deleted.
A factory reset must be performed to delete the
list.
System Volumes1. Tap Settings in the Top view.
2.
Tap Sound System Volumes
to change
the settings for the following:
• Voice Control
• Navi Voice Guidance
• Phone Ringtone
Related information
•
Android Auto* (p. 518)
• Using Android Auto* (p. 518)
• Resetting center display settings (p. 135)
Page 535 of 686

AUDIO, MEDIA AND INTERNET
}}
533
Vehicle modem settings
Your vehicle is equipped with a modem that can
be used to connect the vehicle to the Internet. It
is also possible to share this Internet connection
over Wi-Fi.
1. Tap Settings in the Top view.
2.
Tap Communication Vehicle Modem
Internet and select settings:
• Vehicle modem Internet
- select this to
use the vehicle's modem to connect to the
Internet.
• Data usage - tap Reset to reset the coun-
ter for the amount of data received and sent.
• Network
Select carrier - select a service provider
manually or automatically.
Data roaming - if the box is checked, the vehicle modem will attempt to connect to the
Internet when the vehicle is outside its home
network (e.g. if you are in another country).
Please note that this could entail additional
charges. Consult with your service provider
for data roaming terms under your contract.
• SIM card PIN
Change PIN - a maximum of 4 digits can be
entered.
Disable PIN - select whether a PIN code will be required to access the SIM card. •
Send request code - used to e.g. download
or check the balance remaining on a prepaid
phone card. This function is specific to your
service provider.
Related information
• Connect the car to the Internet via car
modem (SIM card) (p. 532)
• No or poor Internet connection (p. 534) Sharing Internet from the vehicle via
Wi-Fi hotspot (tethering)
When the vehicle is connected to the Internet,
other devices may share the vehicle's Internet
connection 12
. The network service provider (SIM card) must
support Internet sharing (tethering).
1.
Tap Settings in the Top view.
Page 537 of 686

AUDIO, MEDIA AND INTERNET
* Option/accessory.535
Restarting the phoneIf you experience any Internet connection prob-
lems, it may help to restart your phone.
Related information
•Internet-connected vehicle* (p. 529)
• Wi-Fi technology and security (p. 535) Deleting Wi-Fi networks
Networks that are not needed can be deleted.
1. Tap Settings in the Top view.
2.
Proceed to Communication Wi-Fi
Saved networks
.
3. Tap Forget to delete the network.
4.
Confirm the selection.
> The vehicle will no longer connect to the deleted network.
Deleting all networksAll networks can be deleted at once by perform-
ing a factory reset. Please note that all user data
and system settings will be restored to original
default factory settings.
Related information
• Internet-connected vehicle* (p. 529)
• No or poor Internet connection (p. 534)
• Resetting center display settings (p. 135)
• Connecting the car to the Internet via a
mobile device (Wi-Fi) (p. 531) Wi-Fi technology and security
Networks must meet certain criteria in order for
the vehicle to connect.
It is possible to connect to the following types of
networks:
• Frequency - 2.4 or 5 GHz 13
.
• Standards - 802.11 a/b/g/n.
• Security type - WPA2-AES-CCMP.
The vehicle's Wi-Fi system is designed to handle
Wi-Fi devices inside the vehicle.
Performance may be impaired if multiple devices
are using a frequency at the same time.
Related information
• Internet-connected vehicle* (p. 529) 13
Selecting a frequency is not possible on all markets.
Page 619 of 686
MAINTENANCE AND SERVICE
}}
617
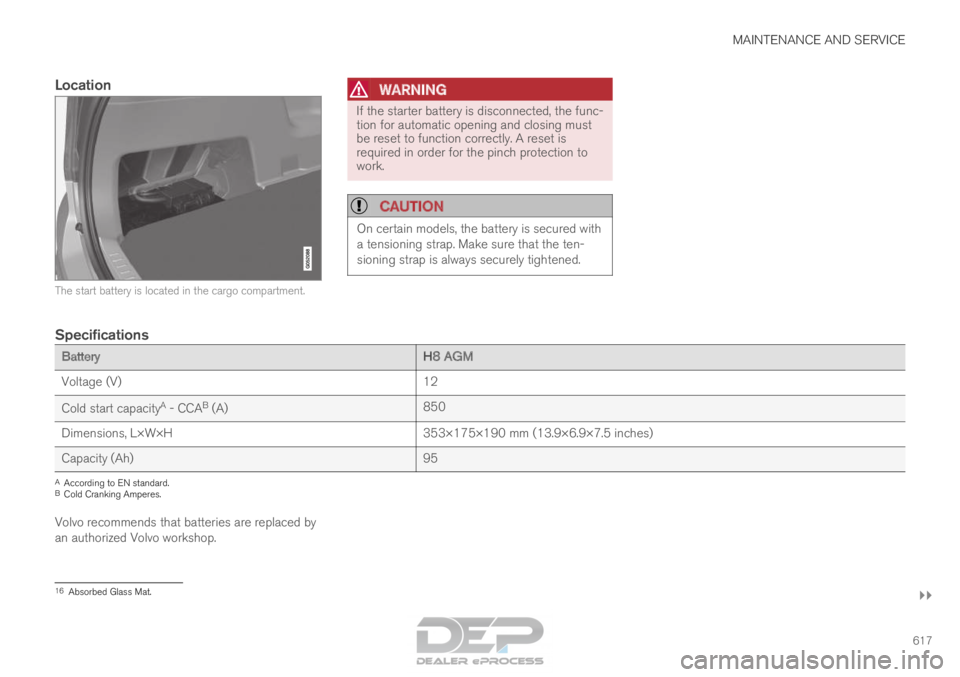
Location The start battery is located in the cargo compartment.WARNING If the starter battery is disconnected, the func-
tion for automatic opening and closing must
be reset to function correctly. A reset is
required in order for the pinch protection to
work.
CAUTION
On certain models, the battery is secured with
a tensioning strap. Make sure that the ten-
sioning strap is always securely tightened.
Specifications
Battery
H8 AGM
Voltage (V) 12
Cold start capacity A
- CCA B
(A) 850
Dimensions, L×W×H 353×175×190 mm (13.9×6.9×7.5 inches)
Capacity (Ah) 95A
According to EN standard.
B Cold Cranking Amperes.
Volvo recommends that batteries are replaced by
an authorized Volvo workshop. 16
Absorbed Glass Mat.
Page 672 of 686
INDEX
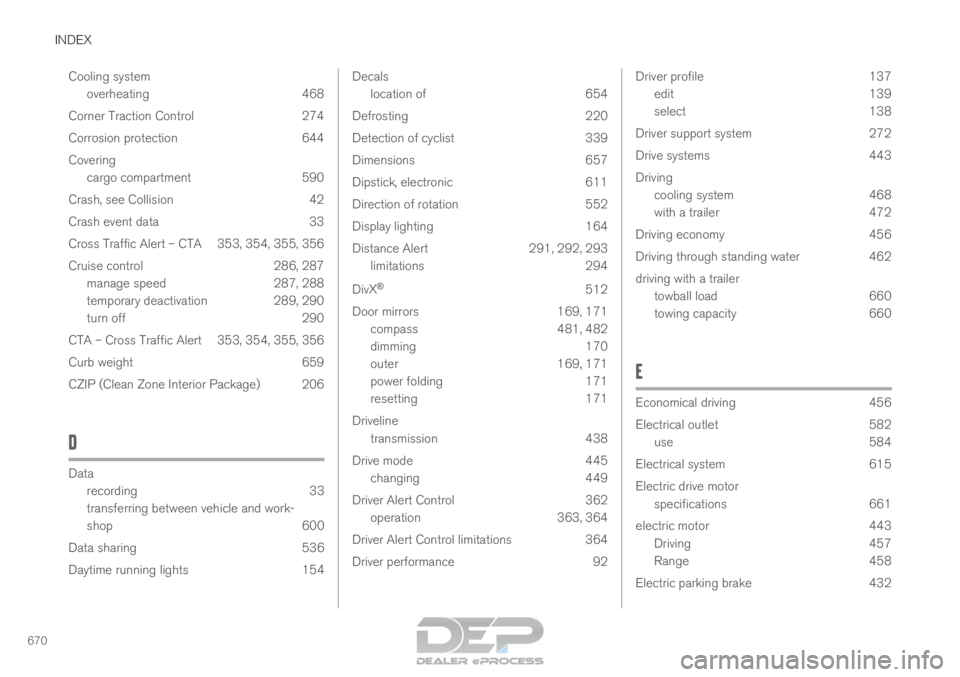
670Cooling system
overheating 468
Corner Traction Control 274
Corrosion protection 644
Covering cargo compartment 590
Crash, see Collision 42
Crash event data 33
Cross Traffic Alert – CTA 353, 354, 355, 356
Cruise control 286, 287 manage speed 287, 288
temporary deactivation 289, 290
turn off 290
CTA – Cross Traffic Alert 353, 354, 355, 356
Curb weight 659
CZIP (Clean Zone Interior Package) 206
D Data
recording
33
transferring between vehicle and work-
shop 600
Data sharing 536
Daytime running lights 154 Decals
location of
654
Defrosting 220
Detection of cyclist 339
Dimensions 657
Dipstick, electronic 611
Direction of rotation 552
Display lighting 164
Distance Alert 291, 292, 293
limitations 294
DivX ®
512
Door mirrors 169, 171
compass 481, 482
dimming 170
outer 169, 171
power folding 171
resetting 171
Driveline transmission 438
Drive mode 445
changing 449
Driver Alert Control 362
operation 363, 364
Driver Alert Control limitations 364
Driver performance 92 Driver profile
137
edit 139
select 138
Driver support system 272
Drive systems 443
Driving cooling system 468
with a trailer 472
Driving economy 456
Driving through standing water 462
driving with a trailer towball load 660
towing capacity 660
E Economical driving
456
Electrical outlet
582
use 584
Electrical system 615
Electric drive motor specifications 661
electric motor 443 Driving 457
Range 458
Electric parking brake 432
Page 677 of 686
INDEX
675
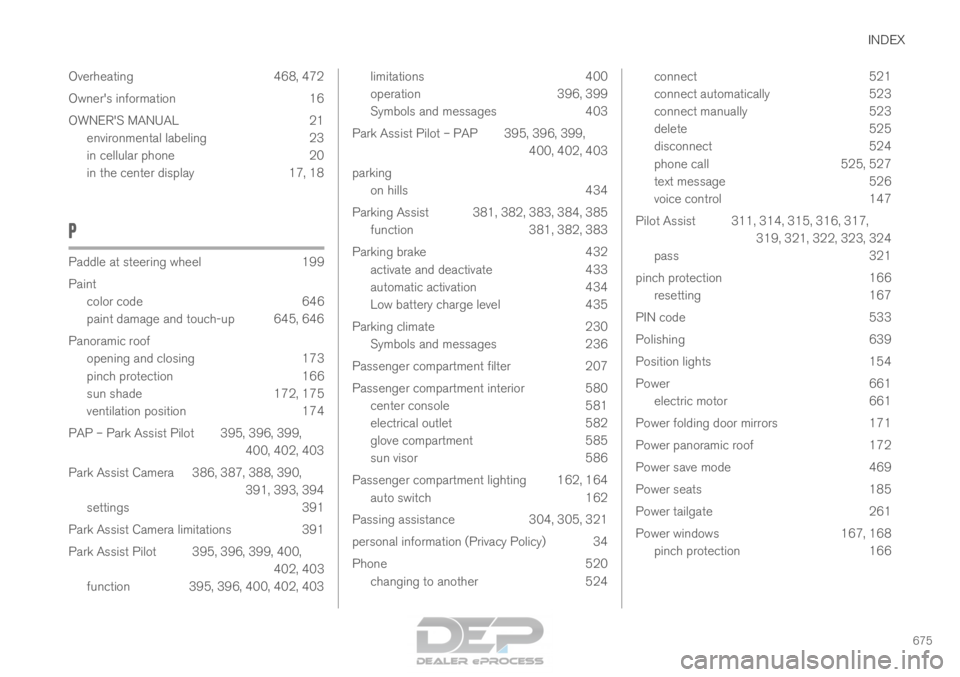
Overheating 468, 472
Owner's information 16
OWNER'S MANUAL 21
environmental labeling 23
in cellular phone 20
in the center display 17, 18
P Paddle at steering wheel
199
Paint color code
646
paint damage and touch-up 645, 646
Panoramic roof opening and closing 173
pinch protection 166
sun shade 172, 175
ventilation position 174
PAP – Park Assist Pilot 395, 396, 399, 400, 402, 403
Park Assist Camera 386, 387, 388, 390, 391, 393, 394
settings 391
Park Assist Camera limitations 391
Park Assist Pilot 395, 396, 399, 400, 402, 403
function 395, 396, 400, 402, 403 limitations
400
operation
396, 399
Symbols and messages 403
Park Assist Pilot – PAP 395, 396, 399, 400, 402, 403
parking on hills 434
Parking Assist 381, 382, 383, 384, 385 function 381, 382, 383
Parking brake 432 activate and deactivate 433
automatic activation 434
Low battery charge level 435
Parking climate 230 Symbols and messages 236
Passenger compartment filter 207
Passenger compartment interior 580 center console 581
electrical outlet 582
glove compartment 585
sun visor 586
Passenger compartment lighting 162, 164 auto switch 162
Passing assistance 304, 305, 321
personal information (Privacy Policy) 34
Phone 520 changing to another 524 connect
521
connect automatically 523
connect manually 523
delete 525
disconnect 524
phone call 525, 527
text message 526
voice control 147
Pilot Assist 311, 314, 315, 316, 317, 319, 321, 322, 323, 324
pass 321
pinch protection 166
resetting 167
PIN code 533
Polishing 639
Position lights 154
Power 661
electric motor 661
Power folding door mirrors 171
Power panoramic roof 172
Power save mode 469
Power seats 185
Power tailgate 261
Power windows 167, 168
pinch protection 166