check engine YAMAHA PW50 2013 Owners Manual
[x] Cancel search | Manufacturer: YAMAHA, Model Year: 2013, Model line: PW50, Model: YAMAHA PW50 2013Pages: 76, PDF Size: 1.67 MB
Page 9 of 76

TABLE OF CONTENTS
LOCATION OF IMPORTANT
LABELS ............................................1-1
SAFETY INFORMATION .................. 2-1
DESCRIPTION .................................. 3-1
Left view .......................................... 3-1
Right view ........................................ 3-2
Controls and instruments ................3-3
INSTRUMENT AND CONTROL
FUNCTIONS ....................................... 4-1
Handlebar switch ............................ 4-1
Speed limiter and power reduction plate ............................................4-1
Front brake lever ............................ 4-2
Rear brake lever ............................. 4-3
Fuel tank cap .................................. 4-3
Fuel ................................................ 4-3
Fuel tank breather hose ................. 4-5
2-stroke engine oil ..........................4-6
Fuel cock ........................................ 4-6
Starter (choke) lever ....................... 4-7
Kickstarter ......................................4-7
Seat ................................................ 4-7
Cable lock (for Europe) .................. 4-8 FOR YOUR SAFETY –
PRE-OPERATION CHECKS
............. 5-1
OPERATION AND IMPORTANT
RIDING POINTS ................................ 6-1
Starting and warming up a cold engine .............................. 6-1
Starting a warm engine .................. 6-1
Starting off ..................................... 6-2
Acceleration and deceleration ....... 6-2
Braking ........................................... 6-2
Engine break-in .............................. 6-3
Parking ........................................... 6-4
PERIODIC MAINTENANCE AND
ADJUSTMENT ................................... 7-1
Owner’s tool kit .............................. 7-2
Periodic maintenance chart for
the emission control system ....... 7-3
General maintenance and
lubrication chart .......................... 7-4
Checking the spark plug ................ 7-6
Removing the power reduction plate ............................................ 7-7
Transmission oil ............................. 7-8
Middle and final gear cases ........... 7-9
Cleaning the air filter element ........ 7-9
Cleaning the spark arrester ......... 7-10
Adjusting the carburetor ............... 7-11
Adjusting the engine idling speed ........................................ 7-11 Checking the throttle grip free
play ........................................... 7-12
Tires ............................................. 7-12
Panel wheels ................................ 7-14
Adjusting the front and rear brake lever free play .......... 7-14
Checking the front and rear brake shoes ....................... 7-15
Checking and lubricating the cables ................................. 7-16
Checking and lubricating
the throttle grip and cable ......... 7-16
Adjusting the Autolube pump ....... 7-16
Lubricating the front and rear brake levers ....................... 7-17
Checking and lubricating the centerstand ......................... 7-17
Checking the front fork ................. 7-17
Checking the steering .................. 7-18
Checking the wheel bearings ....... 7-18
Front wheel .................................. 7-19
Rear wheel ................................... 7-20
Troubleshooting ........................... 7-23
Troubleshooting chart .................. 7-24
MOTORCYCLE CARE AND
STORAGE .......................................... 8-1
Matte color caution ......................... 8-1
Care ............................................... 8-1
Storage ........................................... 8-3
U5PG8BE0.book Page 1 Wednesday, June 27, 2012 2:53 PM
Page 22 of 76

SAFETY INFORMATION
2-3
2
●
Do not run engine indoors. Even if
you try to ventilate engine exhaust
with fans or open windows and
doors, carbon monoxide can rap-
idly reach dangerous levels.
●
Do not run engine in poorly venti-
lated or partially enclosed areas
such as barns, garages, or car-
ports.
●
Do not run engine outdoors where
engine exhaust can be drawn into
a building through openings such
as windows and doors.
Loading
Adding accessories to your motorcycle
can adversely affect stability and han-
dling if the weight distribution of the mo-
torcycle is changed. To avoid the
possibility of an accident, use extreme
caution when adding accessories to
your motorcycle. Use extra care when
riding a motorcycle that has added ac-
cessories. Here are some general
guidelines to follow if adding accesso-
ries to your motorcycle:
Operation of an overloaded vehicle
could cause an accident.
●
The weight of the operator must
not exceed 25 kg (55 lb).
●
Accessory weight should be kept
as low and close to the motorcycle
as possible. Securely pack your
heaviest items as close to the cen-
ter of the vehicle as possible and
make sure to distribute the weight
as evenly as possible on both
sides of the motorcycle to mini-
mize imbalance or instability.
●
Shifting weights can create a sud-
den imbalance. Make sure that ac-
cessories are securely attached to
the motorcycle before riding.
Check accessory mounts fre-
quently. Properly adjust the suspension for your load (suspension-ad-
justable models only), and
check the condition and pres-
sure of your tires.
Never attach any large or heavy items to the handlebar, front
fork, or front fender. Genuine Yamaha Accessories
Choosing accessories for your vehicle
is an important decision. Genuine
Yamaha accessories, which are avail- able only from a Yamaha dealer, have
been designed, tested, and approved
by Yamaha for use on your vehicle.
Many companies with no connection to
Yamaha manufacture parts and acces- sories or offer other modifications for
Yamaha vehicles. Yamaha is not in a position to test the products that these
aftermarket companies produce.
Therefore, Yamaha can neither en-
dorse nor recommend the use of ac-
cessories not sold by Yamaha or
modifications not specifically recom-
mended by Yamaha, even if sold and
installed by a Yamaha dealer.
Aftermarket Parts, Accessories, and
Modifications
While you may find aftermarket prod-
ucts similar in design and quality to
genuine Yamaha accessories, recog-
nize that some aftermarket accessories
or modifications are not suitable be-
cause of potential safety hazards to you
or others. Installing aftermarket prod-
U5PG8BE0.book Page 3 Wednesday, June 27, 2012 2:53 PM
Page 23 of 76

SAFETY INFORMATION
2-4
2
ucts or having other modifications per-
formed to your vehicle that change any
of the vehicle’s design or operation
characteristics can put you and others
at greater risk of serious injury or death.
You are responsible for injuries related
to changes in the vehicle.
Keep the following guidelines in mind,
as well as those provided under “Load-
ing” when mounting accessories.
●
Never install accessories that
would impair the performance of
your motorcycle. Carefully inspect
the accessory before using it to
make sure that it does not in any
way reduce ground clearance or
cornering clearance, limit suspen-
sion travel, steering travel or con-
trol operation.
Accessories fitted to the handle- bar or the front fork area can
create instability due to improper
weight distribution. If accesso-
ries are added to the handlebar
or front fork area, they must be
as lightweight as possible and
should be kept to a minimum. Bulky or large accessories may
seriously affect the stability of
the motorcycle. Wind may at-
tempt to lift the motorcycle, or
the motorcycle may become un-
stable in cross winds.
Certain accessories can dis- place the operator from his or
her normal riding position. This
improper position limits the free-
dom of movement of the opera-
tor and may limit control ability,
therefore, such accessories are
not recommended.
●
Use caution when adding electri-
cal accessories. If electrical acces-
sories exceed the capacity of the
motorcycle’s electrical system, an
electric failure could result, which
could cause a dangerous loss of
lights or engine power.
Aftermarket Tires and Rims
The tires and rims that came with your
motorcycle were designed to match the
performance capabilities and to provide
the best combination of handling, brak-
ing, and comfort. Other tires, rims, siz-
es, and combinations may not be appropriate. Refer to page 7-12 for tire
specifications and more information on
replacing your tires.
Transporting the Motorcycle
Be sure to observe following instruc-
tions before transporting the motorcy-
cle in another vehicle.
●
Remove all loose items from the
motorcycle.
●
Check that the fuel cock is in the
“S” (stop) position and that there
are no fuel leaks.
●
Point the front wheel straight
ahead on the trailer or in the truck
bed, and choke it in a rail to pre-
vent movement.
●
Shift the transmission in gear (for
models with a manual transmis-
sion).
●
Secure the motorcycle with tie-
downs or suitable straps that are
attached to solid parts of the mo-
torcycle, such as the frame or up-
per front fork triple clamp (and not,
for example, to rubber-mounted
handlebars or turn signals, or parts
that could break). Choose the lo-
U5PG8BE0.book Page 4 Wednesday, June 27, 2012 2:53 PM
Page 32 of 76
INSTRUMENT AND CONTROL FUNCTIONS
4-5
4Your Yamaha engine has been de-
signed to use regular unleaded gaso-
line with a research octane number of
95 or higher. If knocking (or pinging) oc-
curs, use a gasoline of a different brand
or premium unleaded fuel. Use of un-
leaded fuel will extend spark plug life
and reduce maintenance costs.
For South Africa
NOTICE
ECA15590
Use only unleaded gasoline. The use
of leaded gasoline will cause severe
damage to internal engine parts,
such as the piston rings as well as to
the exhaust system.Your Yamaha engine has been de-
signed to use regular unleaded gaso-
line with a research octane number of
91 or higher. If knocking (or pinging) oc-
curs, use a gasoline of a different brand or premium unleaded fuel. Use of un-
leaded fuel will extend spark plug life
and reduce maintenance costs.
For Oceania
NOTICE
ECA15590
Use only unleaded gasoline. The use
of leaded gasoline will cause severe
damage to internal engine parts,
such as the piston rings as well as to
the exhaust system.Your Yamaha engine has been de-
signed to use unleaded gasoline with a
research octane number of 91 or high-
er. If knocking (or pinging) occurs, use
a gasoline of a different brand or premi-
um unleaded fuel. Use of unleaded fuel
will extend spark plug life and reduce
maintenance costs.
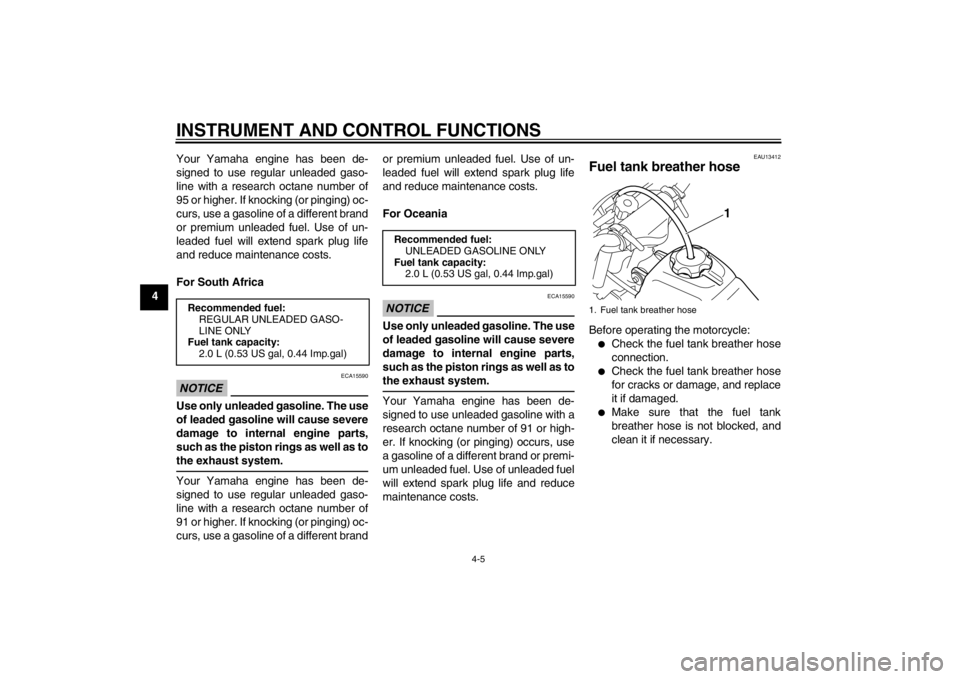
EAU13412
Fuel tank breather hose Before operating the motorcycle:●
Check the fuel tank breather hose
connection.
●
Check the fuel tank breather hose
for cracks or damage, and replace
it if damaged.
●
Make sure that the fuel tank
breather hose is not blocked, and
clean it if necessary.
Recommended fuel:
REGULAR UNLEADED GASO-
LINE ONLY
Fuel tank capacity:
2.0 L (0.53 US gal, 0.44 Imp.gal)
Recommended fuel:UNLEADED GASOLINE ONLY
Fuel tank capacity: 2.0 L (0.53 US gal, 0.44 Imp.gal)
1. Fuel tank breather hose
1
U5PG8BE0.book Page 5 Wednesday, June 27, 2012 2:53 PM
Page 36 of 76
FOR YOUR SAFETY – PRE-OPERATION CHECKS
5-1
5
EAU15596
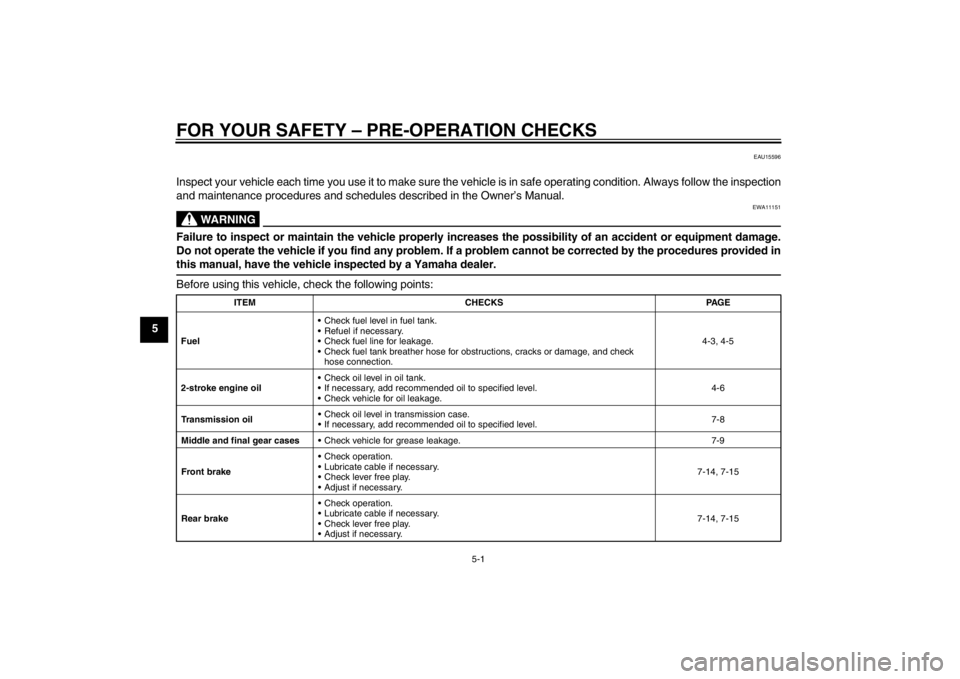
Inspect your vehicle each time you use it to make sure the vehicle is in safe operating condition. Always follow the inspection
and maintenance procedures and schedules described in the Owner’s Manual.
WARNING
EWA11151
Failure to inspect or maintain the vehicle properly increases the possibility of an accident or equipment damage.
Do not operate the vehicle if you find any problem. If a problem cannot be corrected by the procedures provided in
this manual, have the vehicle inspected by a Yamaha dealer.Before using this vehicle, check the following points:
ITEMCHECKS PAGE
Fuel Check fuel level in fuel tank.
Refuel if necessary.
Check fuel line for leakage.
Check fuel tank breather hose for obs
tructions, cracks or damage, and check
hose connection. 4-3, 4-5
2-stroke engine oil Check oil level in oil tank.
If necessary, add recommended oil to specified level.
Check vehicle for oil leakage. 4-6
Transmission oil Check oil level in transmission case.
If necessary, add recommended oil to specified level.
7-8
Middle and final gear cases Check vehicle for grease leakage. 7-9
Front brake Check operation.
Lubricate cable if necessary.
Check lever free play.
Adjust if necessary. 7-14, 7-15
Rear brake Check operation.
Lubricate cable if necessary.
Check lever free play.
Adjust if necessary.
7-14, 7-15
U5PG8BE0.book Page 1 Wednesday, June 27, 2012 2:53 PM
Page 37 of 76

FOR YOUR SAFETY – PRE-OPERATION CHECKS
5-2
5
Throttle grip Make sure that operation is smooth.
Check throttle grip free play.
If necessary, have Yamaha dealer adjust throttle grip free play and lubricate cable
and grip housing. 7-12, 7-16
Control cables Make sure that operation is smooth.
Lubricate if necessary.
7-16
Wheels and tires Check for damage.
Check tire condition and tread depth.
Check air pressure.
Correct if necessary. 7-12, 7-14
Brake levers Make sure that operation is smooth.
Lubricate lever pivoting points if necessary. 7-17
Centerstand Make sure that operation is smooth.
Lubricate pivot if necessary.
7-17
Chassis fasteners Make sure that all nuts, bolts and screws are properly tightened.
Tighten if necessary. —
Engine stop switch Check operation. 4-1
ITEM CHECKS PAGE
U5PG8BE0.book Page 2 Wednesday, June 27, 2012 2:53 PM
Page 39 of 76

OPERATION AND IMPORTANT RIDING POINTS
6-2
6
EAU41002
Starting off 1. While applying the rear brake le-ver, push the motorcycle off the
centerstand.
2. Completely close the throttle.
3. Set the engine stop switch to “RUN”.
4. Check for oncoming off-road vehi- cles, and then slowly turn the throt-
tle grip in order to take off.
EAU16780
Acceleration a nd deceleration The speed can be adjusted by opening
and closing the throttle. To increase the
speed, turn the throttle grip in direction
(a). To reduce the speed, turn the throt-
tle grip in direction (b).
EAU41012
Braking
WARNING
EWA14571
●
Avoid braking hard or suddenly
(especially when leaning over to
one side), otherwise the motor-
cycle may skid or overturn.
●
Keep in mind that braking on
wet surfaces is much more diffi-
cult.
●
Ride slowly down a hill, as brak-
ing downhill can be very diffi-
cult.
1. Close the throttle completely.
2. Apply both front and rear brakes
simultaneously while gradually in-
creasing the pressure.
Front
(a) (b)
U5PG8BE0.book Page 2 Wednesday, June 27, 2012 2:53 PM
Page 40 of 76
OPERATION AND IMPORTANT RIDING POINTS
6-3
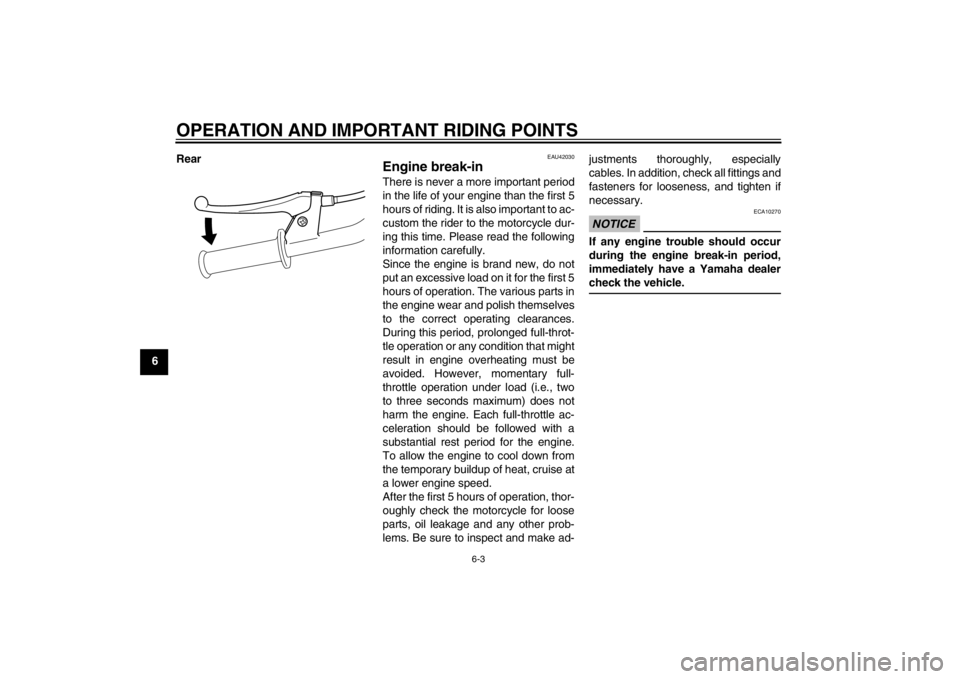
6Rear
EAU42030
Engine break-in There is never a more important period
in the life of your engine than the first 5
hours of riding. It is also important to ac-
custom the rider to the motorcycle dur-
ing this time. Please read the following
information carefully.
Since the engine is brand new, do not
put an excessive load on it for the first 5
hours of operation. The various parts in
the engine wear and polish themselves
to the correct operating clearances.
During this period, prolonged full-throt-
tle operation or any condition that might
result in engine overheating must be
avoided. However, momentary full-
throttle operation under load (i.e., two
to three seconds maximum) does not
harm the engine. Each full-throttle ac-
celeration should be followed with a
substantial rest period for the engine.
To allow the engine to cool down from
the temporary buildup of heat, cruise at
a lower engine speed.
After the first 5 hours of operation, thor-
oughly check the motorcycle for loose
parts, oil leakage and any other prob-
lems. Be sure to inspect and make ad- justments thoroughly, especially
cables. In addition, check all fittings and
fasteners for looseness, and tighten if
necessary.
NOTICE
ECA10270
If any engine trouble should occur
during the engine break-in period,
immediately have a Yamaha dealer
check the vehicle.
U5PG8BE0.book Page 3 Wednesday, June 27, 2012 2:53 PM
Page 44 of 76
PERIODIC MAINTENANCE AND ADJUSTMENT
7-3
7
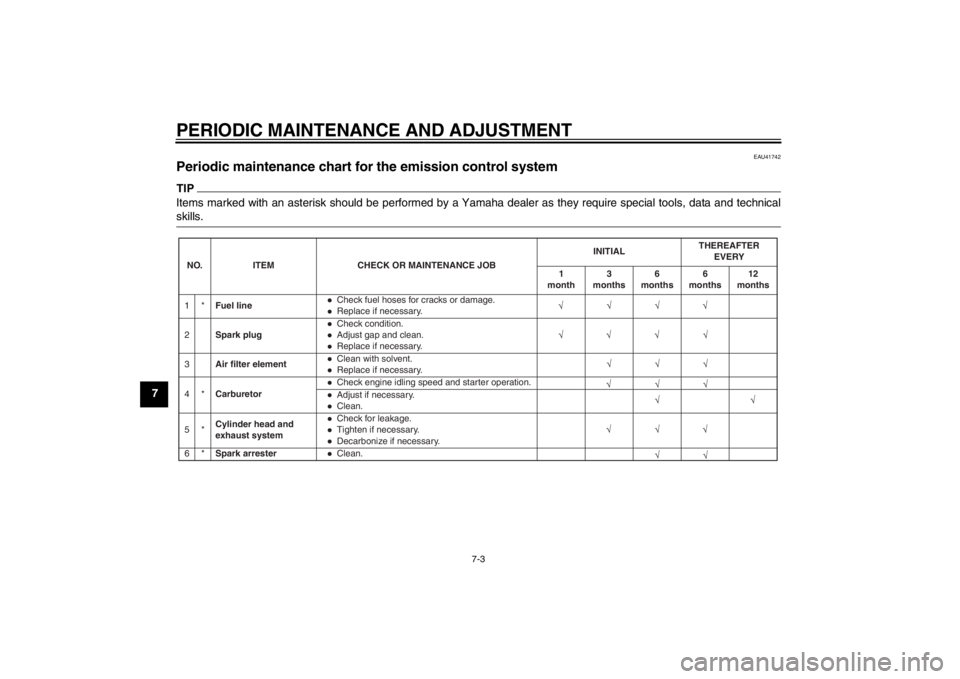
EAU41742
Periodic maintenance chart for the emission control system TIPItems marked with an asterisk should be performed by a Yamaha dealer as they require special tools, data and technical
skills.NO.ITEM CHECK OR MAINTENANCE JOB INITIAL
THEREAFTER
EVERY
1
month 3
months 6
months 6
months 12
months
1* Fuel line
Check fuel hoses for cracks or damage.Replace if necessary.
2 Spark plugCheck condition.Adjust gap and clean.Replace if necessary.
3 Air �lter elementClean with solvent.Replace if necessary.
4* CarburetorCheck engine idling speed and starter operation.Adjust if necessary.Clean.
5* Cylinder head and
exhaust systemCheck for leakage.Tighten if necessary.Decarbonize if necessary.
6* Spark arresterClean.
U5PG8BE0.book Page 3 Wednesday, June 27, 2012 2:53 PM
Page 46 of 76
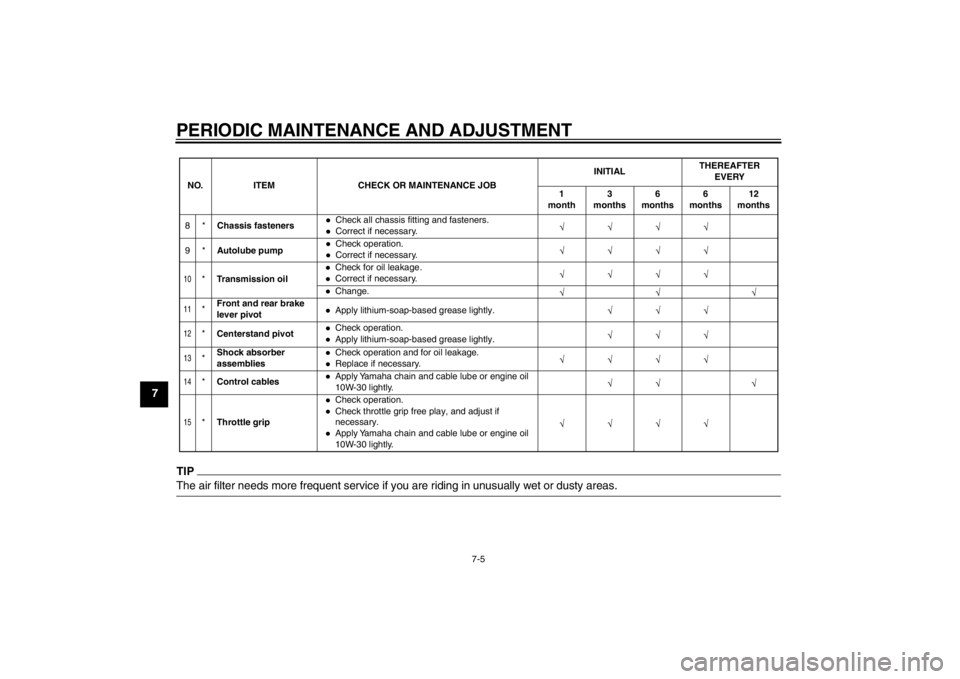
PERIODIC MAINTENANCE AND ADJUSTMENT
7-5
7
TIPThe air filter needs more frequent service if you are riding in unusually wet or dusty areas.10
*Transmission oil
Check for oil leakage .Correct if necessary.Change.
11
*Front and rear brake
lever pivot
Apply lithium-soap-based grease lightly.
12
*
Centerstand pivot
Check operation.Apply lithium-soap-based grease lightly.
13
*Shock absorber
assemblies
Check operation and for oil leakage.Replace if necessary.
14
*
Control cables
Apply Yamaha chain and cable lube or engine oil
10W-30 lightly.
15
*Throttle grip
Check operation.Check throttle grip free play, and adjust if
necessary.Apply Yamaha chain and cable lube or engine oil
10W-30 lightly.
NO. ITEM CHECK OR MAINTENANCE JOB
INITIAL
THEREAFTER
EVERY
1
month 3
months 6
months 6
months 12
months
8* Chassis fastenersCorrect if necessary.
A
9* utolube pumpCheck operation.Correct if necessary. Check all chassis fitting and fasteners.
U5PG8BE0.book Page 5 Wednesday, June 27, 2012 2:53 PM