display Acura MDX 2012 Owner's Manual
[x] Cancel search | Manufacturer: ACURA, Model Year: 2012, Model line: MDX, Model: Acura MDX 2012Pages: 621, PDF Size: 11.15 MB
Page 309 of 621
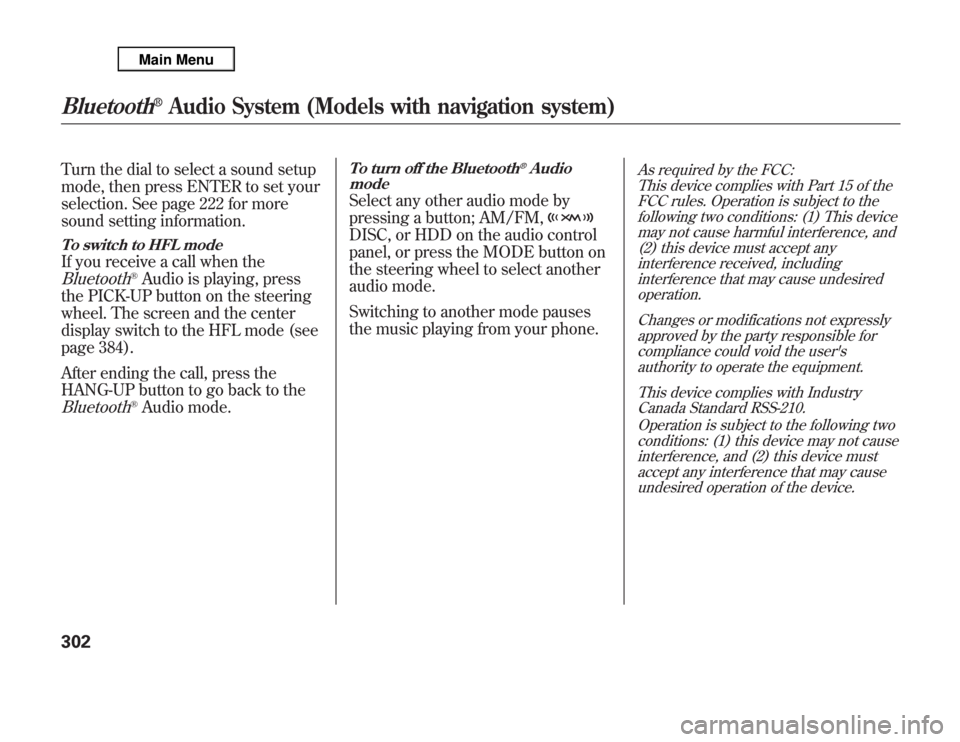
Turn the dial to select a sound setup
mode, then press ENTER to set your
selection. See page 222 for more
sound setting information.To switch to HFL modeIf you receive a call when theBluetooth
®Audio is playing, press
the PICK-UP button on the steering
wheel. The screen and the center
display switch to the HFL mode (see
page 384).
After ending the call, press the
HANG-UP button to go back to the
Bluetooth
®Audio mode.
To turn off the Bluetooth
®Audio
mode
Select any other audio mode by
pressing a button; AM/FM,DISC, or HDD on the audio control
panel, or press the MODE button on
the steering wheel to select another
audio mode.
Switching to another mode pauses
the music playing from your phone.
As required by the FCC:
This device complies with Part 15 of the
FCC rules. Operation is subject to the
following two conditions: (1) This device
may not cause harmful interference, and
(2) this device must accept any
interference received, including
interference that may cause undesired
operation.
Changes or modifications not expressly
approved by the party responsible for
compliance could void the user's
authority to operate the equipment.
This device complies with Industry
Canada Standard RSS-210.
Operation is subject to the following two
conditions: (1) this device may not cause
interference, and (2) this device must
accept any interference that may cause
undesired operation of the device.
Bluetooth
®
Audio System (Models with navigation system)
302
Page 310 of 621
Radio Frequencies
Your vehicle's radio can receive the
complete AM and FM bands.
Those bands cover these
frequencies:
AM band: 530 to 1,710 kHz
FM band: 87.7 to 107.9 MHz
Radio stations on the AM band are
assigned frequencies at least 10 kHz
apart (530, 540, 550). Stations on the
FM band are assigned frequencies at
least 0.2 MHz apart (87.9, 88.1, 88.3).
Stations must use these exact
frequencies. It is fairly common for
stations to round-off the frequency in
their advertising, so your radio could
display a frequency of 100.9 even
though the announcer may identify
the station as‘‘FM101.’’AM/FM Radio Reception
How well your vehicle's radio
receives stations is dependent on
many factors, such as the distance
from the station's transmitter, nearby
large objects, and atmospheric
conditions.
A radio station's signal gets weaker
as you get farther away from its
transmitter. If you are listening to an
AM station, you will notice the sound
volume becoming weaker, and the
station drifting in and out. If you are
listening to an FM station, you will
see the stereo indicator flickering off
and on as the signal weakens.
Eventually, the stereo indicator will
go off and the sound will fade
completely as you get out of range of
the station's signal.
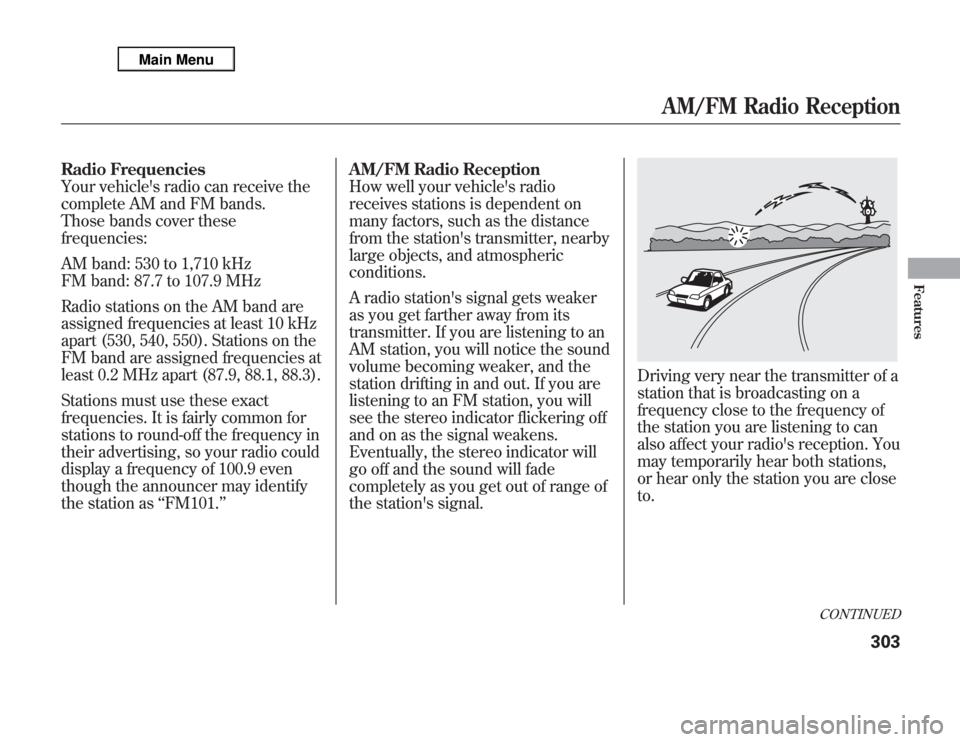
Driving very near the transmitter of a
station that is broadcasting on a
frequency close to the frequency of
the station you are listening to can
also affect your radio's reception. You
may temporarily hear both stations,
or hear only the station you are close
to.
CONTINUED
AM/FM Radio Reception
303
Features
Page 315 of 621
If your vehicle’s battery is disconnected
or goes dead, the audio system
disables itself. If this happens, you will
see‘‘ENTER CODE’’in the frequency
display next time you turn on the
system. Use the preset buttons (Icons
on models with navigation system) to
enter the five-digit code. The code is on
the Anti-theft Identification Card
included in your owner’s manual kit.
When it is entered correctly, the radio
will start playing.
The Anti-theft Identification Card also
lists your audio serial number. It is best
to store the card in a safe place at
home. In addition, you should write the
audio system’s serial number in this
owner’s manual.
If you make a mistake entering the
code, do not start over; complete the
five-digit sequence, then enter the
correct code. You have ten tries to
enter the correct code. If you are
unsuccessful in ten attempts, you must
then leave the system on for one hour
before trying again.The system will retain your AM and
FM presets even if power is
disconnected.
NOTE:
If you have a My Acura account, it is
easy to retrieve the anti-theft code
online without having to access the
serial number.
U.S. ownersWe recommend that you register the
security code at My Acura (myacura.
com.) If you lose the Anti-theft
Identification Card before registering
the code at My Acura, you must obtain
the code from your dealer or
https://
radionavicode.acura.com/
. To do this,
you will need the audio system’s serial
number. If you do not have the serial
number with you, ask your dealer or go
to
https://radionavicode.acura.com/
for
information on how to retrieve it.
Canadian ownersIf you lose the Anti-theft Identification
Card, you must obtain the code from
your dealer. To do this, you will need
the audio system’s serial number. If
you do not have the serial number with
you, ask your dealer how to retrieve it.Models with navigation systemYou need to enter the same code for
the navigation system to reactivate.
Read the navigation system manual for
details.
Radio Theft Protection308
Page 316 of 621
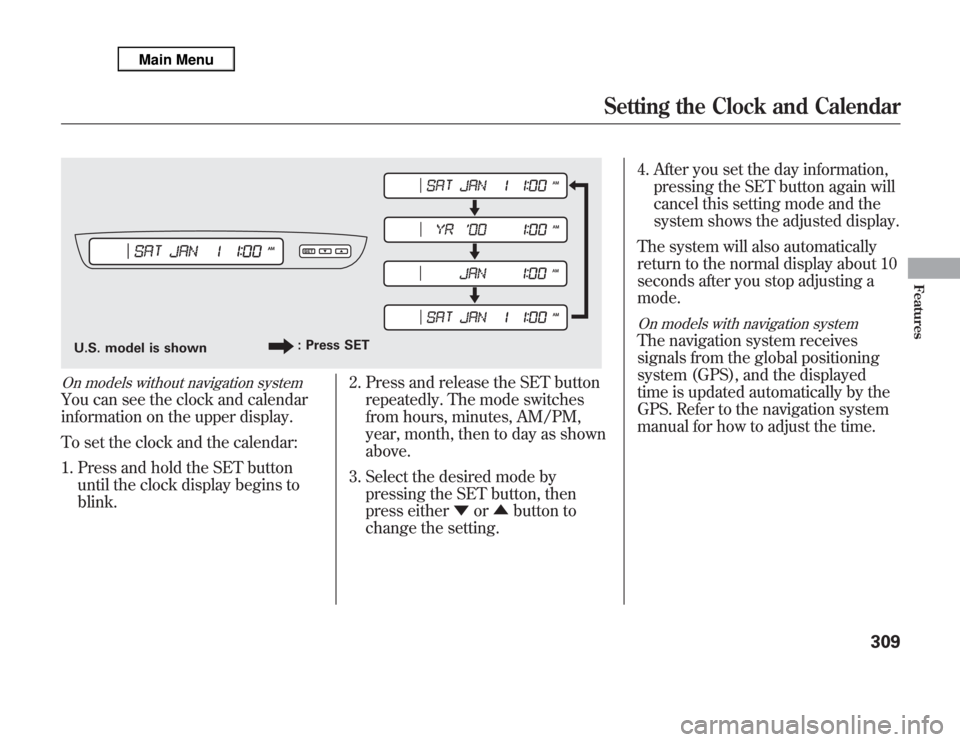
On models without navigation systemYou can see the clock and calendar
information on the upper display.
To set the clock and the calendar:
1. Press and hold the SET button
until the clock display begins to
blink.2. Press and release the SET button
repeatedly. The mode switches
from hours, minutes, AM/PM,
year, month, then to day as shown
above.
3. Select the desired mode by
pressing the SET button, then
press either▼or▲button to
change the setting.4. After you set the day information,
pressing the SET button again will
cancel this setting mode and the
system shows the adjusted display.
The system will also automatically
return to the normal display about 10
seconds after you stop adjusting a
mode.
On models with navigation systemThe navigation system receives
signals from the global positioning
system (GPS), and the displayed
time is updated automatically by the
GPS. Refer to the navigation system
manual for how to adjust the time.
U.S. model is shown: Press SET
Setting the Clock and Calendar
309
Features
Page 317 of 621
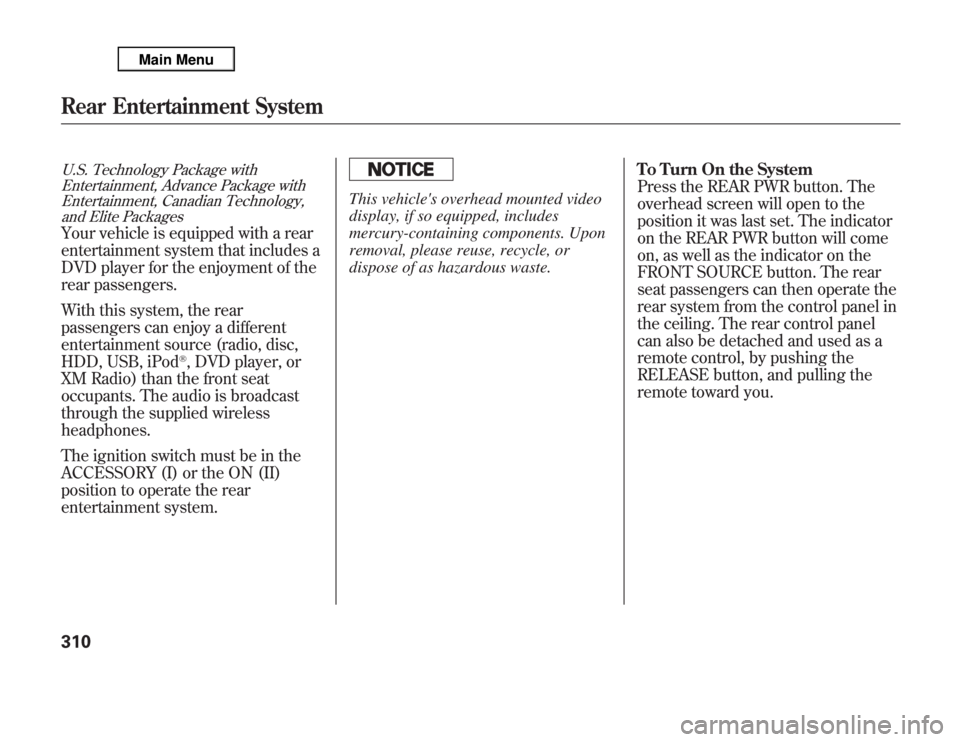
U.S. Technology Package with
Entertainment, Advance Package with
Entertainment, Canadian Technology,
and Elite PackagesYour vehicle is equipped with a rear
entertainment system that includes a
DVD player for the enjoyment of the
rear passengers.
With this system, the rear
passengers can enjoy a different
entertainment source (radio, disc,
HDD, USB, iPod
®, DVD player, or
XM Radio) than the front seat
occupants. The audio is broadcast
through the supplied wireless
headphones.
The ignition switch must be in the
ACCESSORY (I) or the ON (II)
position to operate the rear
entertainment system.
This vehicle's overhead mounted video
display, if so equipped, includes
mercury-containing components. Upon
removal, please reuse, recycle, or
dispose of as hazardous waste.To Turn On the System
Press the REAR PWR button. The
overhead screen will open to the
position it was last set. The indicator
on the REAR PWR button will come
on, as well as the indicator on the
FRONT SOURCE button. The rear
seat passengers can then operate the
rear system from the control panel in
the ceiling. The rear control panel
can also be detached and used as a
remote control, by pushing the
RELEASE button, and pulling the
remote toward you.
Rear Entertainment System310
Page 318 of 621
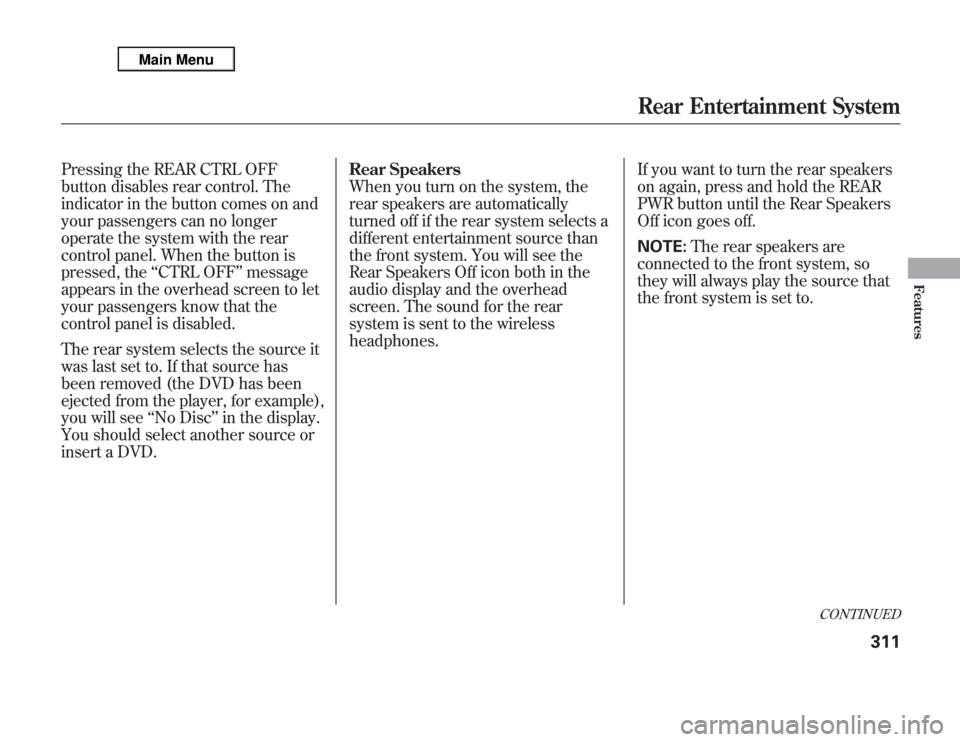
Pressing the REAR CTRL OFF
button disables rear control. The
indicator in the button comes on and
your passengers can no longer
operate the system with the rear
control panel. When the button is
pressed, the‘‘CTRL OFF’’message
appears in the overhead screen to let
your passengers know that the
control panel is disabled.
The rear system selects the source it
was last set to. If that source has
been removed (the DVD has been
ejected from the player, for example),
you will see‘‘No Disc’’in the display.
You should select another source or
insert a DVD.Rear Speakers
When you turn on the system, the
rear speakers are automatically
turned off if the rear system selects a
different entertainment source than
the front system. You will see the
Rear Speakers Off icon both in the
audio display and the overhead
screen. The sound for the rear
system is sent to the wireless
headphones.If you want to turn the rear speakers
on again, press and hold the REAR
PWR button until the Rear Speakers
Off icon goes off.
NOTE:The rear speakers are
connected to the front system, so
they will always play the source that
the front system is set to.
CONTINUED
Rear Entertainment System
311
Features
Page 322 of 621
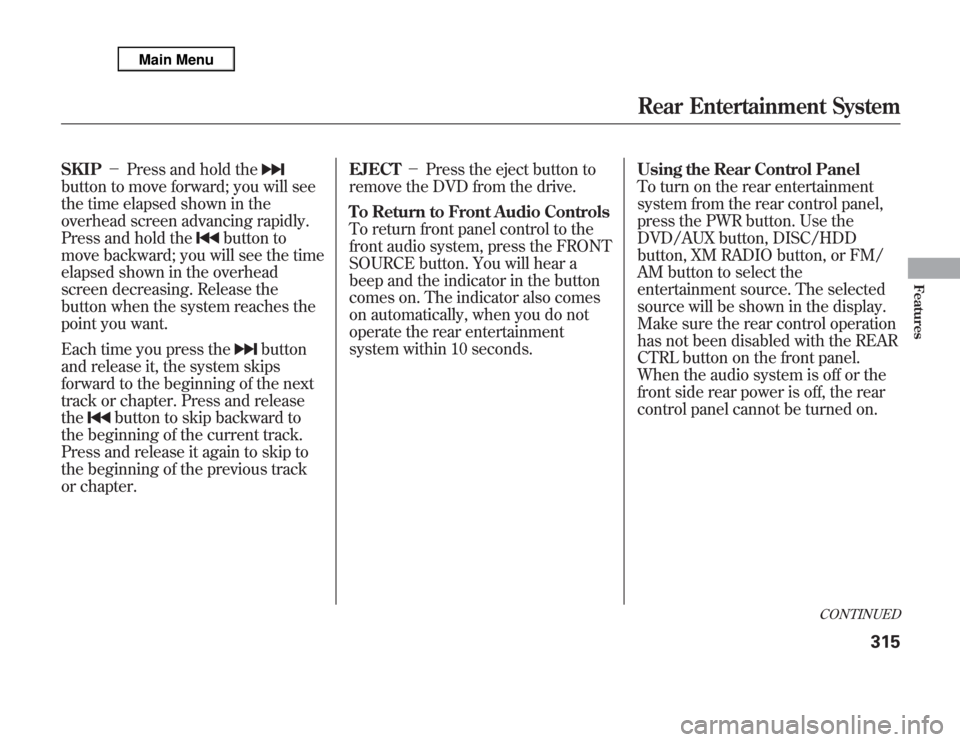
SKIP-Press and hold thebutton to move forward; you will see
the time elapsed shown in the
overhead screen advancing rapidly.
Press and hold the
button to
move backward; you will see the time
elapsed shown in the overhead
screen decreasing. Release the
button when the system reaches the
point you want.
Each time you press the
button
and release it, the system skips
forward to the beginning of the next
track or chapter. Press and release
the
button to skip backward to
the beginning of the current track.
Press and release it again to skip to
the beginning of the previous track
or chapter.EJECT-Press the eject button to
remove the DVD from the drive.
To Return to Front Audio Controls
To return front panel control to the
front audio system, press the FRONT
SOURCE button. You will hear a
beep and the indicator in the button
comes on. The indicator also comes
on automatically, when you do not
operate the rear entertainment
system within 10 seconds.Using the Rear Control Panel
To turn on the rear entertainment
system from the rear control panel,
press the PWR button. Use the
DVD/AUX button, DISC/HDD
button, XM RADIO button, or FM/
AM button to select the
entertainment source. The selected
source will be shown in the display.
Make sure the rear control operation
has not been disabled with the REAR
CTRL button on the front panel.
When the audio system is off or the
front side rear power is off, the rear
control panel cannot be turned on.
CONTINUED
Rear Entertainment System
315
Features
Page 323 of 621
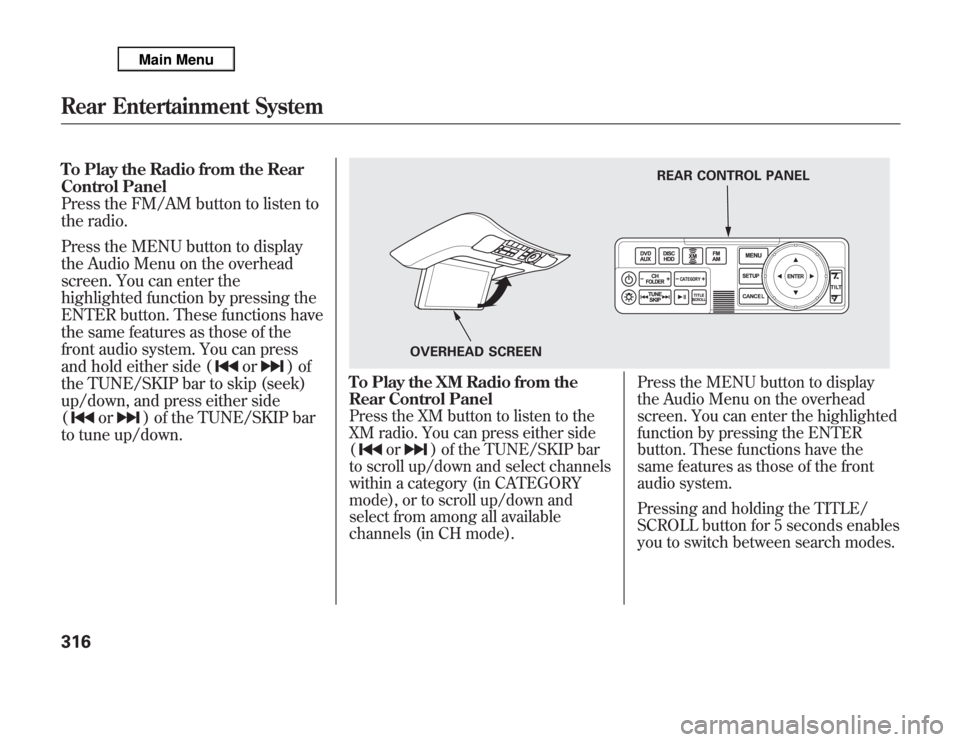
To Play the Radio from the Rear
Control Panel
Press the FM/AM button to listen to
the radio.
Press the MENU button to display
the Audio Menu on the overhead
screen. You can enter the
highlighted function by pressing the
ENTER button. These functions have
the same features as those of the
front audio system. You can press
and hold either side (
or
)of
the TUNE/SKIP bar to skip (seek)
up/down, and press either side
(
or
) of the TUNE/SKIP bar
to tune up/down.
To Play the XM Radio from the
Rear Control PanelPress the XM button to listen to the
XM radio. You can press either side
(
or
) of the TUNE/SKIP bar
to scroll up/down and select channels
within a category (in CATEGORY
mode), or to scroll up/down and
select from among all available
channels (in CH mode).Press the MENU button to display
the Audio Menu on the overhead
screen. You can enter the highlighted
function by pressing the ENTER
button. These functions have the
same features as those of the front
audio system.
Pressing and holding the TITLE/
SCROLL button for 5 seconds enables
you to switch between search modes.
REAR CONTROL PANEL
OVERHEAD SCREEN
Rear Entertainment System316
Page 324 of 621
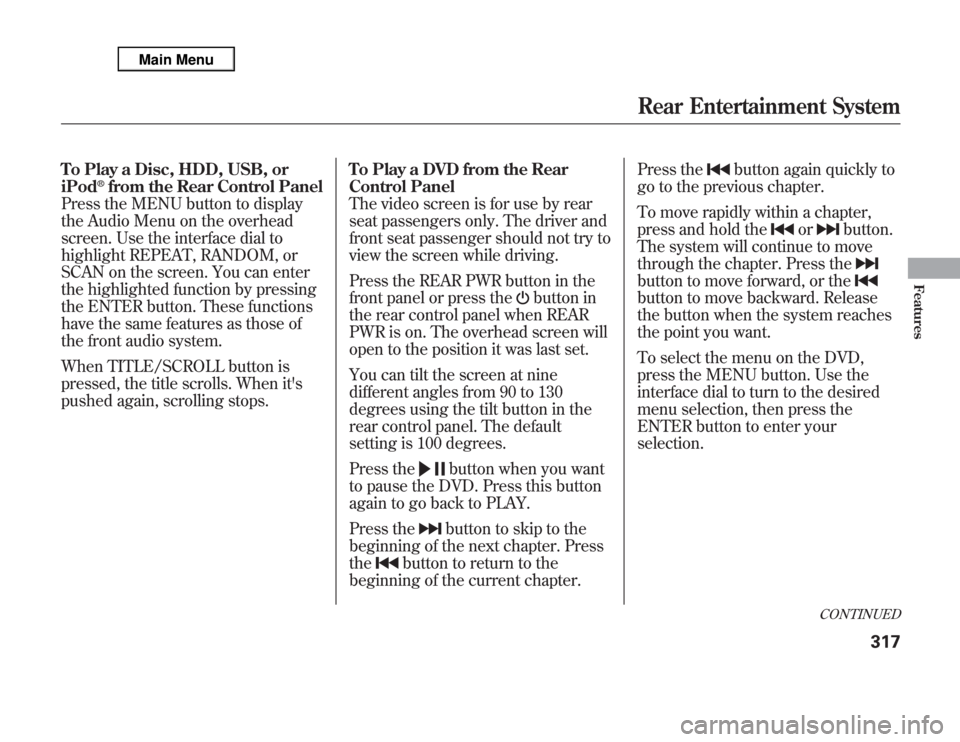
To Play a Disc, HDD, USB, or
iPod
®from the Rear Control Panel
Press the MENU button to display
the Audio Menu on the overhead
screen. Use the interface dial to
highlight REPEAT, RANDOM, or
SCAN on the screen. You can enter
the highlighted function by pressing
the ENTER button. These functions
have the same features as those of
the front audio system.
When TITLE/SCROLL button is
pressed, the title scrolls. When it's
pushed again, scrolling stops.To Play a DVD from the Rear
Control Panel
The video screen is for use by rear
seat passengers only. The driver and
front seat passenger should not try to
view the screen while driving.
Press the REAR PWR button in the
front panel or press the
button in
the rear control panel when REAR
PWR is on. The overhead screen will
open to the position it was last set.
You can tilt the screen at nine
different angles from 90 to 130
degrees using the tilt button in the
rear control panel. The default
setting is 100 degrees.
Press the
button when you want
to pause the DVD. Press this button
again to go back to PLAY.
Press thebutton to skip to the
beginning of the next chapter. Press
the
button to return to the
beginning of the current chapter.Press the
button again quickly to
go to the previous chapter.
To move rapidly within a chapter,
press and hold the
or
button.
The system will continue to move
through the chapter. Press the
button to move forward, or thebutton to move backward. Release
the button when the system reaches
the point you want.
To select the menu on the DVD,
press the MENU button. Use the
interface dial to turn to the desired
menu selection, then press the
ENTER button to enter your
selection.
CONTINUED
Rear Entertainment System
317
Features
Page 325 of 621
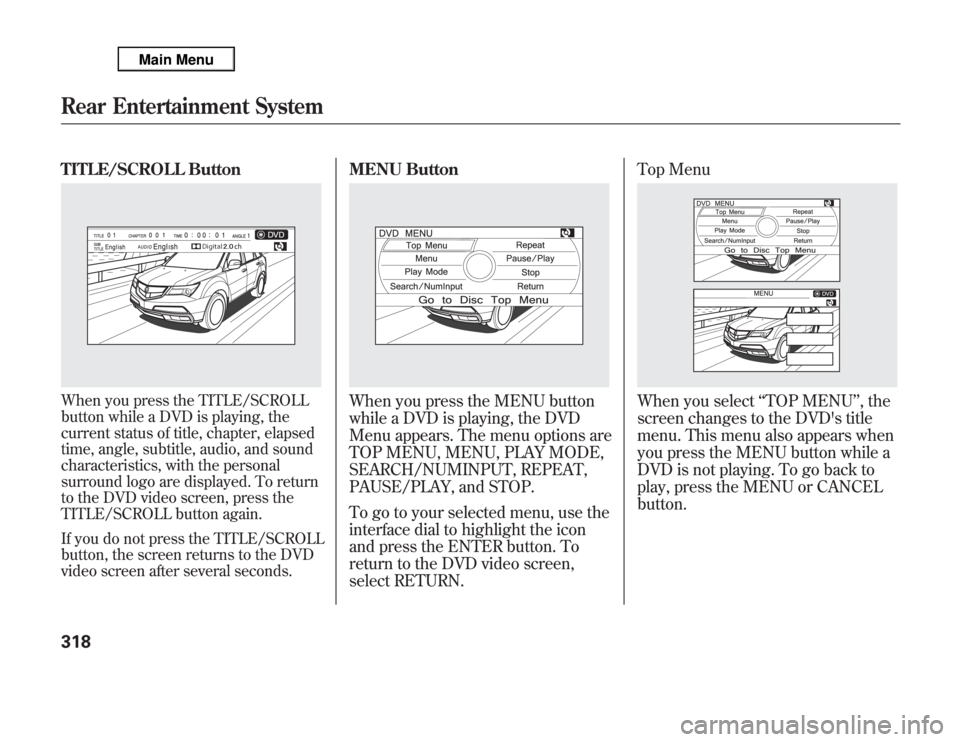
TITLE/SCROLL ButtonWhen you press the TITLE/SCROLL
button while a DVD is playing, the
current status of title, chapter, elapsed
time, angle, subtitle, audio, and sound
characteristics, with the personal
surround logo are displayed. To return
to the DVD video screen, press the
TITLE/SCROLL button again.
If you do not press the TITLE/SCROLL
button, the screen returns to the DVD
video screen after several seconds.
MENU ButtonWhen you press the MENU button
while a DVD is playing, the DVD
Menu appears. The menu options are
TOP MENU, MENU, PLAY MODE,
SEARCH/NUMINPUT, REPEAT,
PAUSE/PLAY, and STOP.
To go to your selected menu, use the
interface dial to highlight the icon
and press the ENTER button. To
return to the DVD video screen,
select RETURN.Top Menu
When you select‘‘TOP MENU’’, the
screen changes to the DVD's title
menu. This menu also appears when
you press the MENU button while a
DVD is not playing. To go back to
play, press the MENU or CANCEL
button.
Rear Entertainment System318