Acura MDX 2012 Owner's Manual
Manufacturer: ACURA, Model Year: 2012, Model line: MDX, Model: Acura MDX 2012Pages: 621, PDF Size: 11.15 MB
Page 271 of 621
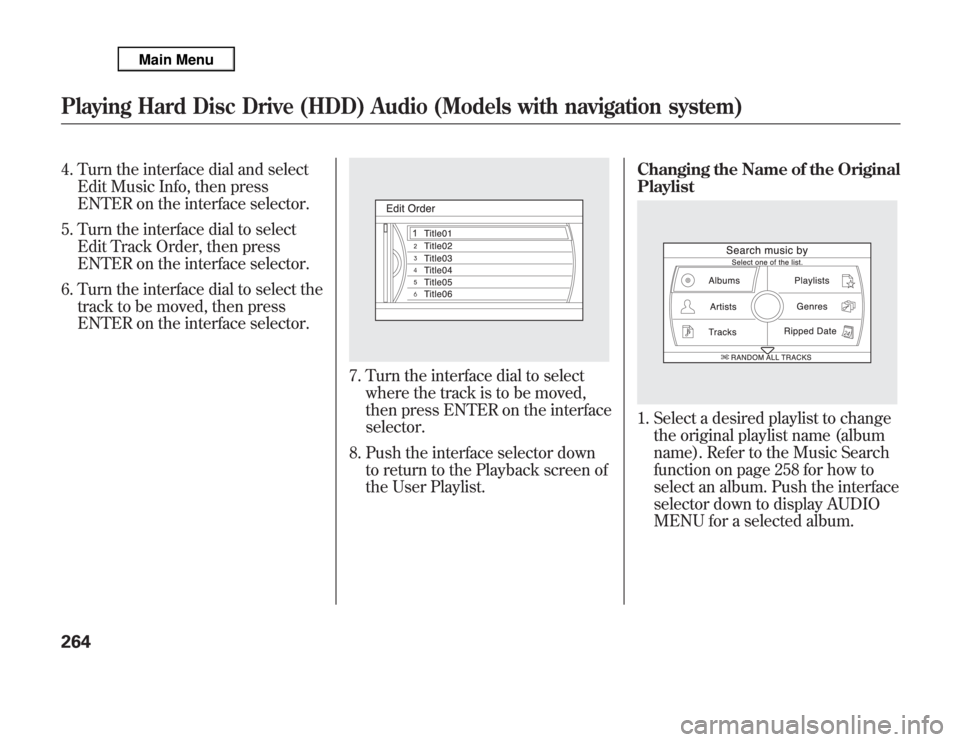
4. Turn the interface dial and select
Edit Music Info, then press
ENTER on the interface selector.
5. Turn the interface dial to select
Edit Track Order, then press
ENTER on the interface selector.
6. Turn the interface dial to select the
track to be moved, then press
ENTER on the interface selector.
7. Turn the interface dial to select
where the track is to be moved,
then press ENTER on the interface
selector.
8. Push the interface selector down
to return to the Playback screen of
the User Playlist.Changing the Name of the Original
Playlist
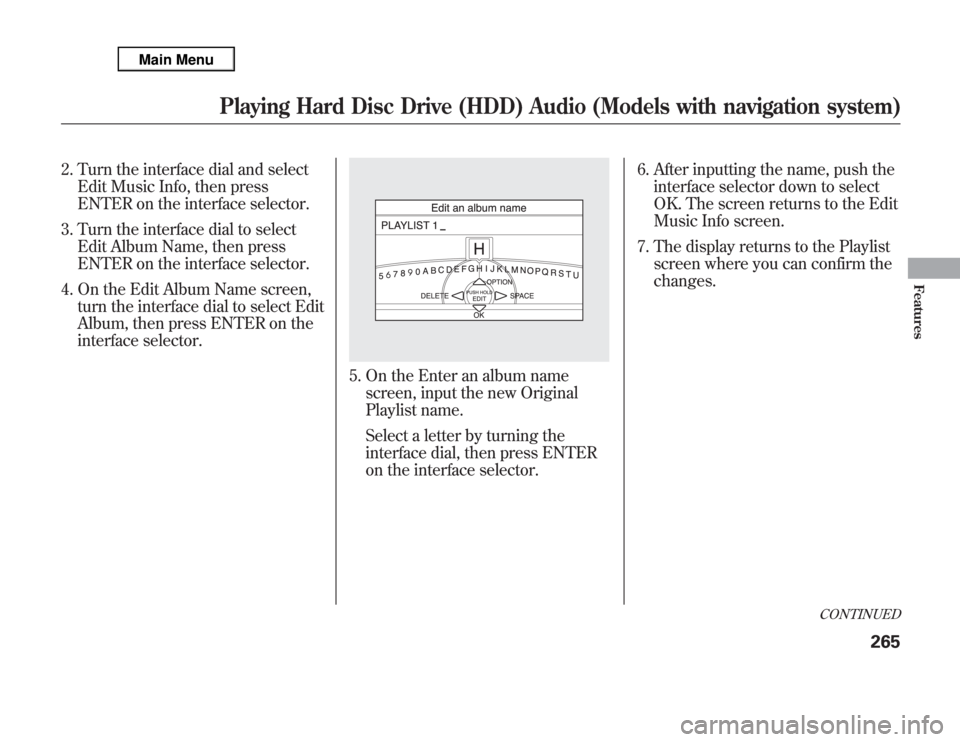
1. Select a desired playlist to change
the original playlist name (album
name). Refer to the Music Search
function on page 258 for how to
select an album. Push the interface
selector down to display AUDIO
MENU for a selected album.
Playing Hard Disc Drive (HDD) Audio (Models with navigation system)264
Page 272 of 621
2. Turn the interface dial and select
Edit Music Info, then press
ENTER on the interface selector.
3. Turn the interface dial to select
Edit Album Name, then press
ENTER on the interface selector.
4. On the Edit Album Name screen,
turn the interface dial to select Edit
Album, then press ENTER on the
interface selector.
5. On the Enter an album name
screen, input the new Original
Playlist name.
Select a letter by turning the
interface dial, then press ENTER
on the interface selector.6. After inputting the name, push the
interface selector down to select
OK. The screen returns to the Edit
Music Info screen.
7. The display returns to the Playlist
screen where you can confirm the
changes.
CONTINUED
Playing Hard Disc Drive (HDD) Audio (Models with navigation system)
265
Features
Page 273 of 621
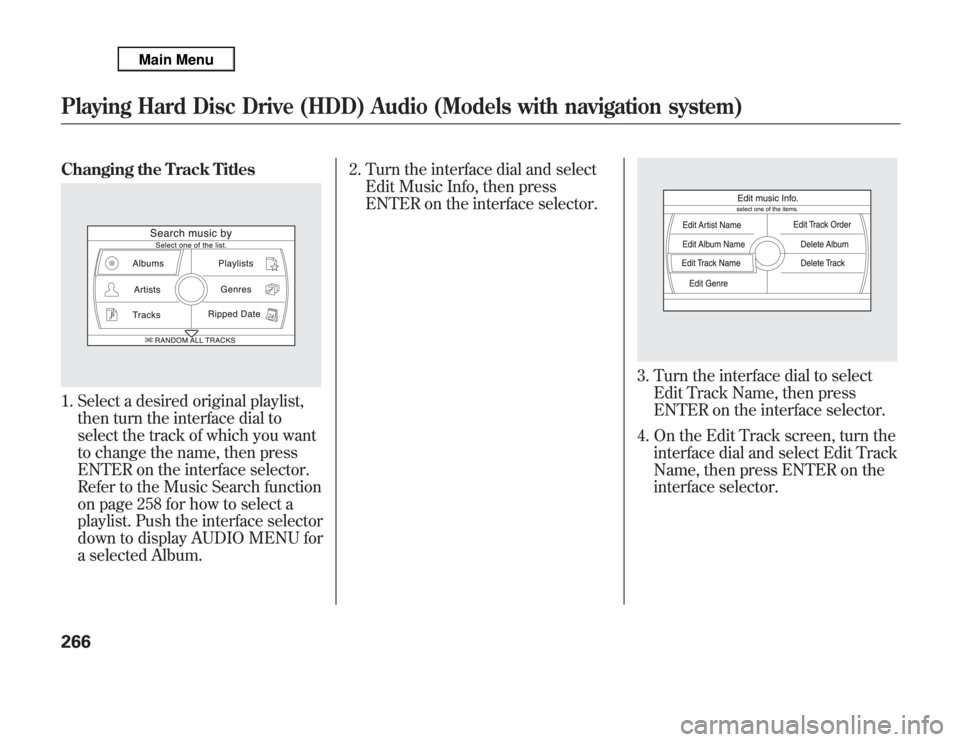
Changing the Track Titles1. Select a desired original playlist,
then turn the interface dial to
select the track of which you want
to change the name, then press
ENTER on the interface selector.
Refer to the Music Search function
on page 258 for how to select a
playlist. Push the interface selector
down to display AUDIO MENU for
a selected Album.2. Turn the interface dial and select
Edit Music Info, then press
ENTER on the interface selector.
3. Turn the interface dial to select
Edit Track Name, then press
ENTER on the interface selector.
4. On the Edit Track screen, turn the
interface dial and select Edit Track
Name, then press ENTER on the
interface selector.
Playing Hard Disc Drive (HDD) Audio (Models with navigation system)266
Page 274 of 621
5. On the Edit Track Name screen,
input the new track name on the
Enter a track name screen.
6. After inputting the name, push the
selector down to select OK. The
screen returns to the Edit Music
Info screen.
7. The display returns to the Playlist
screen where you can confirm the
changes.NOTE:
After selecting the track for which
you want to change the track title,
you can also push the interface
selector down to display the AUDIO
MENU, and then select Edit Track.
The subsequent procedure is the
same as step 4.Changing the Artist Name of the
Original Playlist and User Playlist
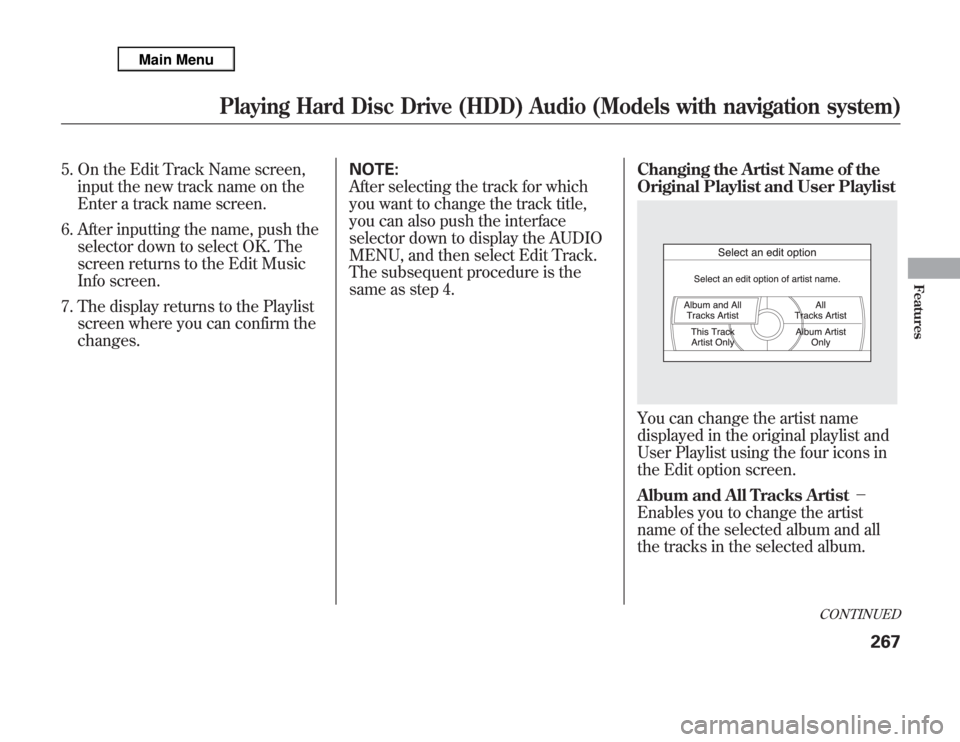
You can change the artist name
displayed in the original playlist and
User Playlist using the four icons in
the Edit option screen.
Album and All Tracks Artist-
Enables you to change the artist
name of the selected album and all
the tracks in the selected album.
CONTINUED
Playing Hard Disc Drive (HDD) Audio (Models with navigation system)
267
Features
Page 275 of 621
All Tracks Artist-
Enables you to change the artist
name of all the tracks in the selected
album.
Album Artist Only-
You can change the artist name of
the selected album.
This Track Artist Only-
You can change the artist name of
the selected track.
NOTE:
When you change the artist name
from the Original Playlist, the artist
name is also changed in the User
Playlist in which the changed was
stored. You cannot change the artist
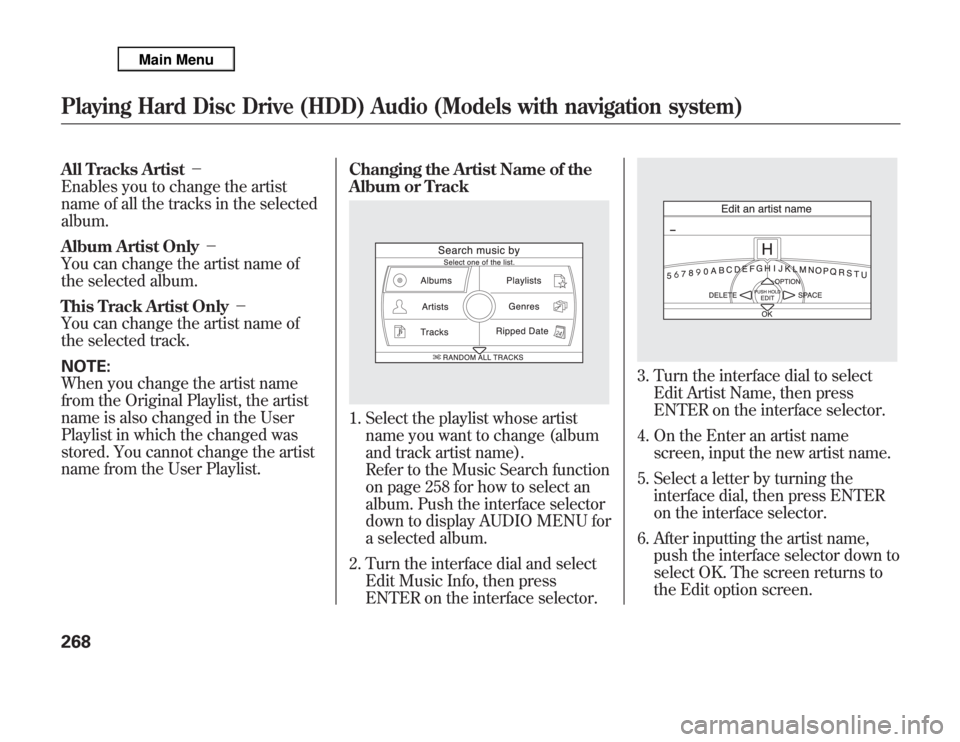
name from the User Playlist.Changing the Artist Name of the
Album or Track
1. Select the playlist whose artist
name you want to change (album
and track artist name).
Refer to the Music Search function
on page 258 for how to select an
album. Push the interface selector
down to display AUDIO MENU for
a selected album.
2. Turn the interface dial and select
Edit Music Info, then press
ENTER on the interface selector.
3. Turn the interface dial to select
Edit Artist Name, then press
ENTER on the interface selector.
4. On the Enter an artist name
screen, input the new artist name.
5. Select a letter by turning the
interface dial, then press ENTER
on the interface selector.
6. After inputting the artist name,
push the interface selector down to
select OK. The screen returns to
the Edit option screen.
Playing Hard Disc Drive (HDD) Audio (Models with navigation system)268
Page 276 of 621
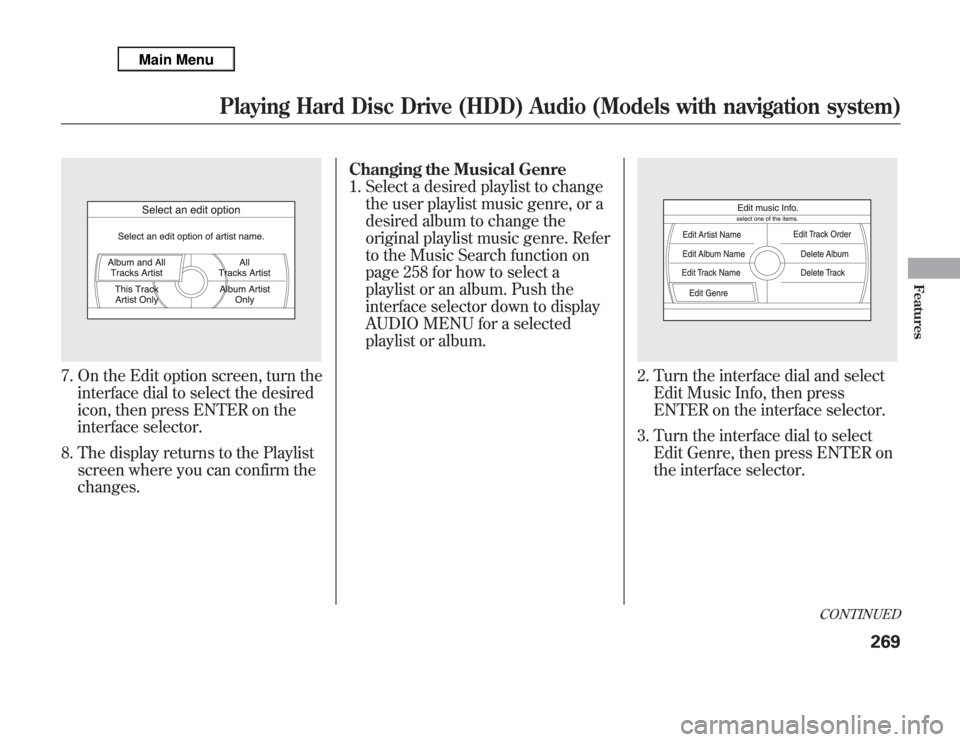
7. On the Edit option screen, turn the
interface dial to select the desired
icon, then press ENTER on the
interface selector.
8. The display returns to the Playlist
screen where you can confirm the
changes.Changing the Musical Genre
1. Select a desired playlist to change
the user playlist music genre, or a
desired album to change the
original playlist music genre. Refer
to the Music Search function on
page 258 for how to select a
playlist or an album. Push the
interface selector down to display
AUDIO MENU for a selected
playlist or album.
2. Turn the interface dial and select
Edit Music Info, then press
ENTER on the interface selector.
3. Turn the interface dial to select
Edit Genre, then press ENTER on
the interface selector.
CONTINUED
Playing Hard Disc Drive (HDD) Audio (Models with navigation system)
269
Features
Page 277 of 621
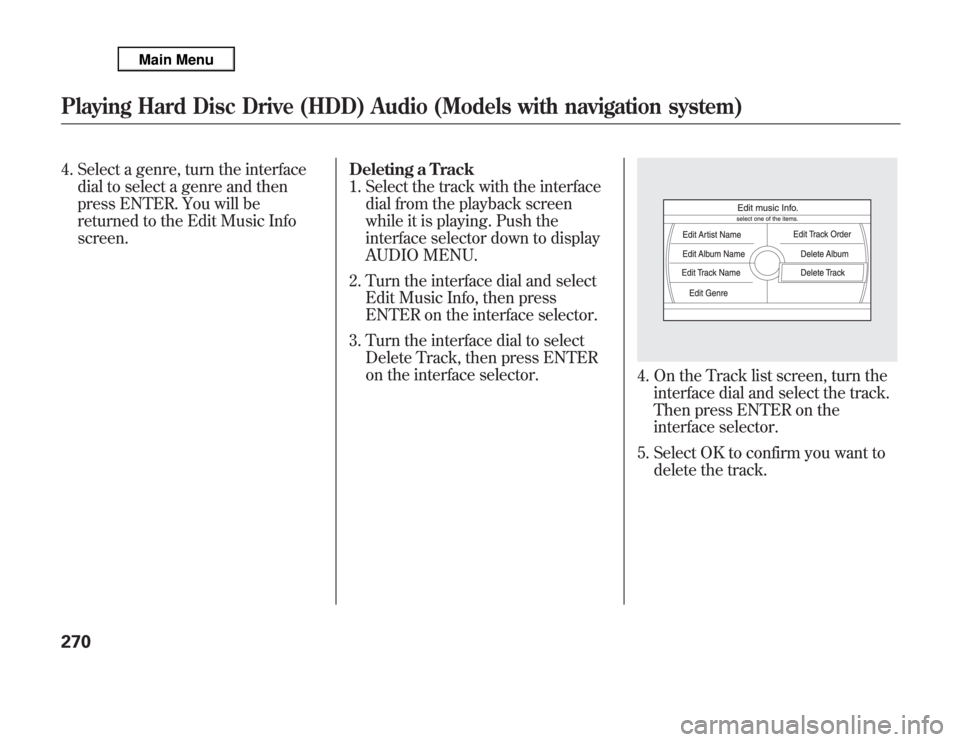
4. Select a genre, turn the interface
dial to select a genre and then
press ENTER. You will be
returned to the Edit Music Info
screen.Deleting a Track
1. Select the track with the interface
dial from the playback screen
while it is playing. Push the
interface selector down to display
AUDIO MENU.
2. Turn the interface dial and select
Edit Music Info, then press
ENTER on the interface selector.
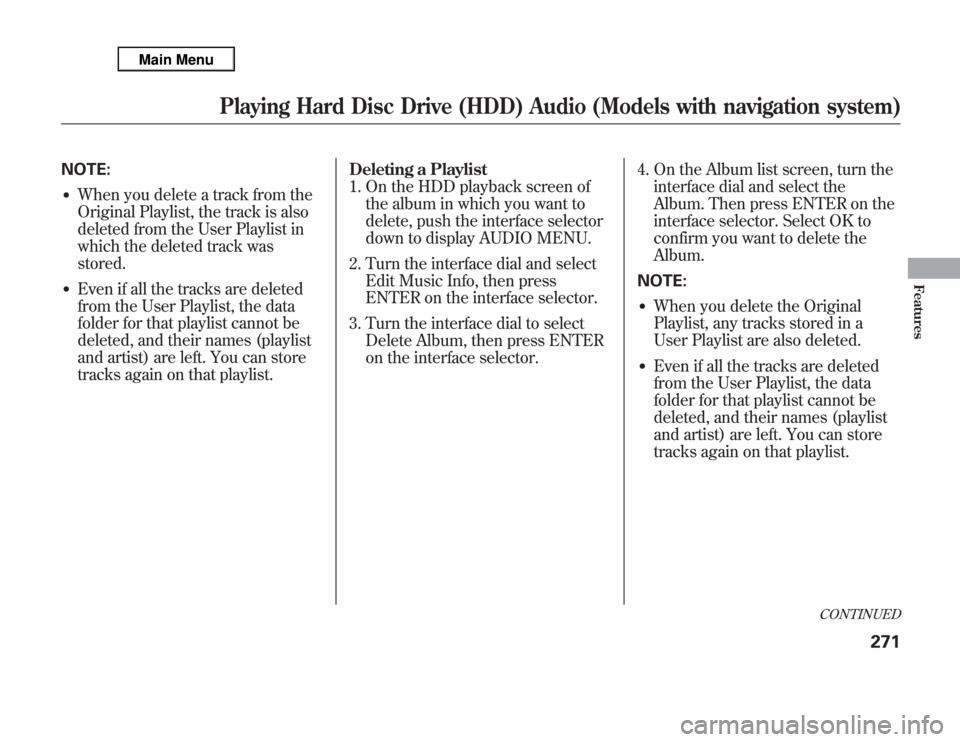
3. Turn the interface dial to select
Delete Track, then press ENTER
on the interface selector.
4. On the Track list screen, turn the
interface dial and select the track.
Then press ENTER on the
interface selector.
5. Select OK to confirm you want to
delete the track.
Playing Hard Disc Drive (HDD) Audio (Models with navigation system)270
Page 278 of 621
NOTE:●
When you delete a track from the
Original Playlist, the track is also
deleted from the User Playlist in
which the deleted track was
stored.
●
Even if all the tracks are deleted
from the User Playlist, the data
folder for that playlist cannot be
deleted, and their names (playlist
and artist) are left. You can store
tracks again on that playlist.Deleting a Playlist
1. On the HDD playback screen of
the album in which you want to
delete, push the interface selector
down to display AUDIO MENU.
2. Turn the interface dial and select
Edit Music Info, then press
ENTER on the interface selector.
3. Turn the interface dial to select
Delete Album, then press ENTER
on the interface selector.4. On the Album list screen, turn the
interface dial and select the
Album. Then press ENTER on the
interface selector. Select OK to
confirm you want to delete the
Album.
NOTE:
●
When you delete the Original
Playlist, any tracks stored in a
User Playlist are also deleted.
●
Even if all the tracks are deleted
from the User Playlist, the data
folder for that playlist cannot be
deleted, and their names (playlist
and artist) are left. You can store
tracks again on that playlist.
CONTINUED
Playing Hard Disc Drive (HDD) Audio (Models with navigation system)
271
Features
Page 279 of 621
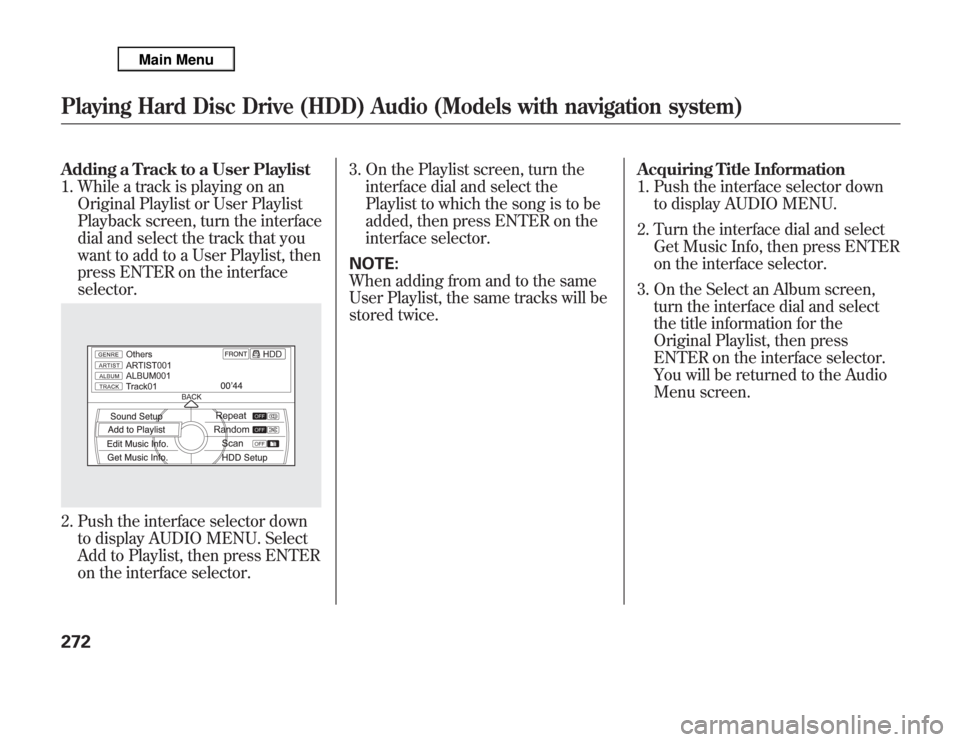
Adding a Track to a User Playlist
1. While a track is playing on an
Original Playlist or User Playlist
Playback screen, turn the interface
dial and select the track that you
want to add to a User Playlist, then
press ENTER on the interface
selector.2. Push the interface selector down
to display AUDIO MENU. Select
Add to Playlist, then press ENTER
on the interface selector.3. On the Playlist screen, turn the
interface dial and select the
Playlist to which the song is to be
added, then press ENTER on the
interface selector.
NOTE:
When adding from and to the same
User Playlist, the same tracks will be
stored twice.Acquiring Title Information
1. Push the interface selector down
to display AUDIO MENU.
2. Turn the interface dial and select
Get Music Info, then press ENTER
on the interface selector.
3. On the Select an Album screen,
turn the interface dial and select
the title information for the
Original Playlist, then press
ENTER on the interface selector.
You will be returned to the Audio
Menu screen.Playing Hard Disc Drive (HDD) Audio (Models with navigation system)272
Page 280 of 621
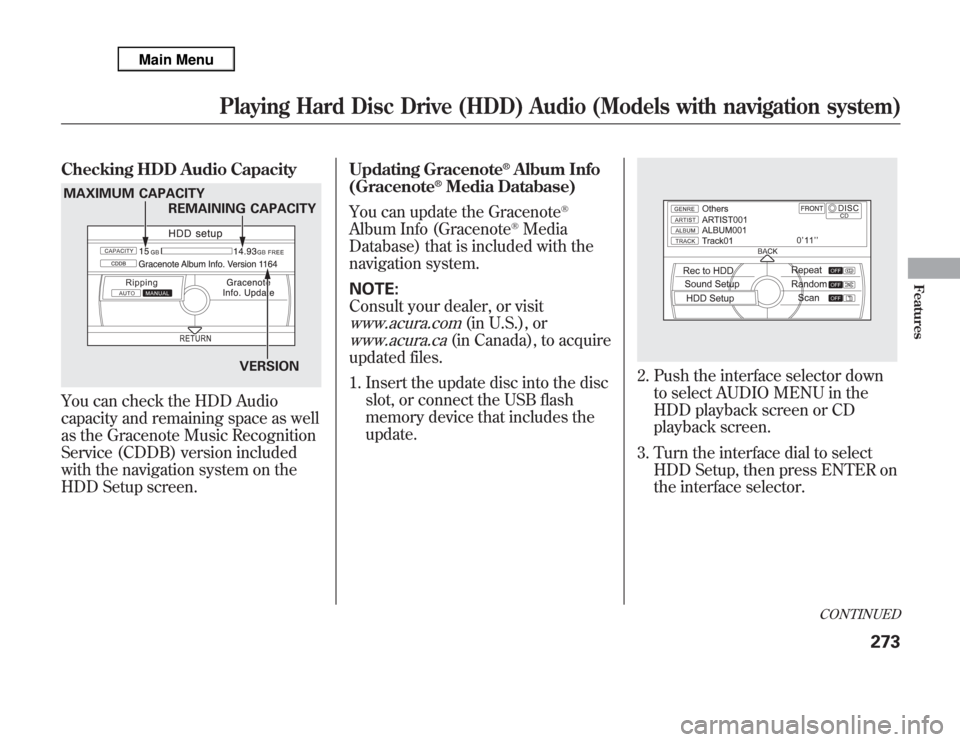
Checking HDD Audio CapacityYou can check the HDD Audio
capacity and remaining space as well
as the Gracenote Music Recognition
Service (CDDB) version included
with the navigation system on the
HDD Setup screen.Updating Gracenote
®Album Info
(Gracenote
®Media Database)
You can update the Gracenote
®
Album Info (Gracenote
®Media
Database) that is included with the
navigation system.
NOTE:
Consult your dealer, or visit
www.acura.com
(in U.S.), or
www.acura.ca
(in Canada), to acquire
updated files.
1. Insert the update disc into the disc
slot, or connect the USB flash
memory device that includes the
update.
2. Push the interface selector down
to select AUDIO MENU in the
HDD playback screen or CD
playback screen.
3. Turn the interface dial to select
HDD Setup, then press ENTER on
the interface selector.
MAXIMUM CAPACITY
REMAINING CAPACITY
VERSION
CONTINUED
Playing Hard Disc Drive (HDD) Audio (Models with navigation system)
273
Features