Acura MDX 2014 Navigation Manual
Manufacturer: ACURA, Model Year: 2014, Model line: MDX, Model: Acura MDX 2014Pages: 343, PDF Size: 15.72 MB
Page 111 of 343

110
Entering a Destination
Intersection
Navigation
IntersectionHMENU button
More Search Methods
Intersection
Select the intersection of two streets as th e destination. The state or province for
your current location is displayed at th e top of the screen (e.g., California).
1.Rotate i to select the
intersection search method. Press
u .
2. Set the route to your destination. 2 Calculating the Route
P. 114
The following options are available:
• City : Selects the city where the intersection is located. You are prompted to enter
the name of the two intersecting streets.
2 Selecting a City
P. 92
• Street : Selects the two intersecting streets. Th e city or cities that the streets are
located in are displayed.
2 Selecting a Street
P. 93
• Change State : Selects the state or province.
2Selecting the State or Province
P. 91
1Intersection
It is usually easier to select Street to find the
streets first. The city or cities that the streets are
in will be displayed. If you select City and your
city is not listed, it ma y be part of a larger
metropolitan area. Try entering the street first.
If the intersection is outside the state you are
currently in, rotate
i
to select Change State .
2 Selecting the State or Province P. 91
If there is more than one intersection, you are
prompted to select the intersection. If the two
streets that you have selected do not intersect,
no intersection is entered.
Page 112 of 343

111
Entering a Destination
Map Input
Navigation
Map InputHMENU button
More Search Methods
Map Input
Use the Interface Dial to manually select an icon or a location on the map screen as
the destination.
You are prompted to define the map area to display.
1.Rotate i to select an item. Press
u .
The following items are available:
• Current Position : Your current location is centered on the map.
• State : You are prompted to select the state.
2Selecting the State or Province
P. 91
• City : You are prompted to select the city.
2Selecting a City
P. 92
• USA, Canada and Mexico : Your current location is displayed on a map of the
country.
Continued
Page 113 of 343

112
Entering a Destination
Map Input
Navigation
2.Scroll the map to position the
cursor over your desired
destination, adjusting the map
scale as necessary.
If the address is not the desired
location, scroll the map to
another location and try again.
3. Press u to display the route
calculation menu.
2 Calculating the Route
P. 114
4. Rotate i to select Set as
Destination. Press u.
1Map Input
Auto Zoom
Press u repeatedly on the map to zoom in (to
the scale 1/4 mile) while scrolling the map.
Information icons are disp layed at scales from 1
mile to 1/4 mile. Plac e/landmark icons are
displayed at 1/8 mile or less. Roads are displayed
at 1/4 mile or less.
If you select multiple icons within the cursor
radius, you are prompted to select one of the
items from a list.
2 Selecting a Destination on the Map P. 138
Page 114 of 343

113
Entering a Destination
Coordinate
Navigation
CoordinateHMENU button
More Search Methods
Coordinate
Specify a location using latitude and longitude map coordinates. 1.Enter the latitude and select OK.
2. Enter the longitude and select OK.
3. Move w to scroll the map to
position the cursor over your
desired destination, adjusting the
map scale as necessary.
If the address is not the desired
location, scroll to another
location and try again.
4. Press u to display the route
calculation menu.
2 Calculating the Route
P. 114
5. Rotate i to select Set as
Destination. Press u.
1Coordinate
Latitude and longitude mu st be entered up to
the seconds’ value.
Page 115 of 343
114Navigation
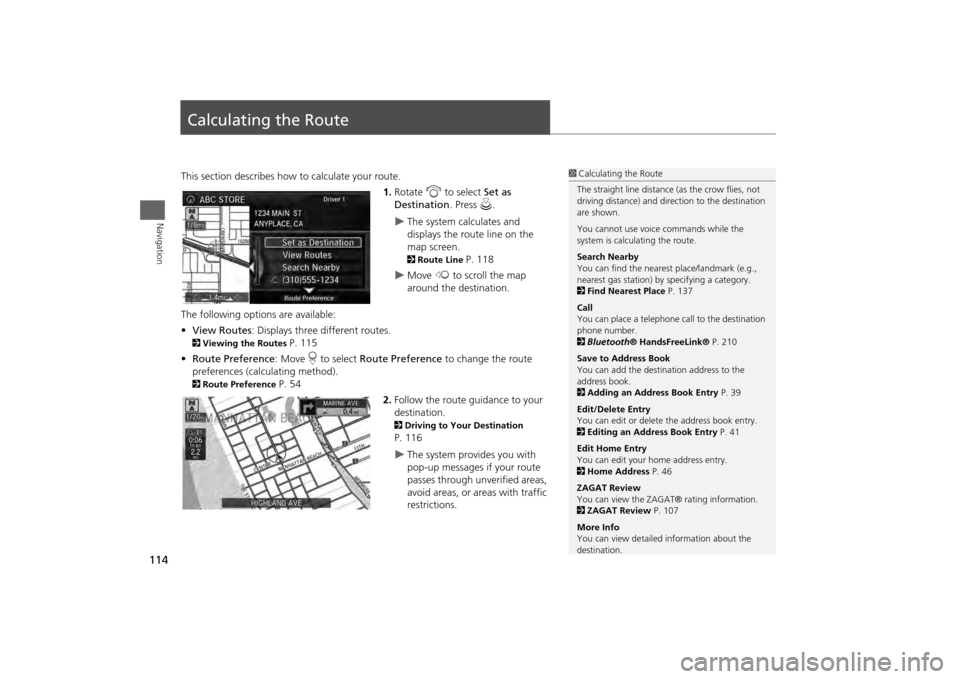
Calculating the RouteThis section describes how to calculate your route.1.Rotate i to select Set as
Destination . Press u.
The system calculates and
displays the route line on the
map screen. 2Route Line
P. 118
Move w to scroll the map
around the destination.
The following options are available:
• View Routes : Displays three different routes.
2Viewing the Routes
P. 115
• Route Preference : Move r to select Route Preference to change the route
preferences (calculating method).
2 Route Preference
P. 54
2.Follow the route guidance to your
destination.
2 Driving to Your Destination P. 116
The system provides you with
pop-up messages if your route
passes through unverified areas,
avoid areas, or areas with traffic
restrictions.
1Calculating the Route
The straight line distance (as the crow flies, not
driving distance) and dire ction to the destination
are shown.
You cannot use voice commands while the
system is calculating the route.
Search Nearby
You can find the nearest place/landmark (e.g.,
nearest gas station) by specifying a category.
2 Find Nearest Place P. 137
Call
You can place a telephone ca ll to the destination
phone number.
2 Bluetooth ® HandsFreeLink® P. 210
Save to Address Book
You can add the destination address to the
address book.
2 Adding an Address Book Entry P. 39
Edit/Delete Entry
You can edit or delete the address book entry.
2 Editing an Address Book Entry P. 41
Edit Home Entry
You can edit your home address entry.
2 Home Address P. 46
ZAGAT Review
You can view the ZAGA T® rating information.
2 ZAGAT Review P. 107
More Info
You can view detailed information about the
destination.
Page 116 of 343

115
Calculating the Route
Viewing the Routes
Navigation
Viewing the RoutesView three different routes to your destination.Rotate i to select a route. Press u.
The travel distance and estimated
travel time is displayed for each
route.The system calculat es and displays
the route line on the map screen. 2 Route Line
P. 118
■ Using the Server Route
The following items are available:
• Quick : Displays the route with the shortest travel time.
• Direct : Displays the route with the shortest travel distance.
• Eco : Displays the route with the best fuel efficiency.
1Viewing the Routes
It is not unusual for so me calculated route
options to be identical.
Page 117 of 343
116Navigation
Driving to Your DestinationThis section describes how to follow the route guidance to your destination, receive
traffic information and choose the icons displayed on the map screen.Viewing the Route
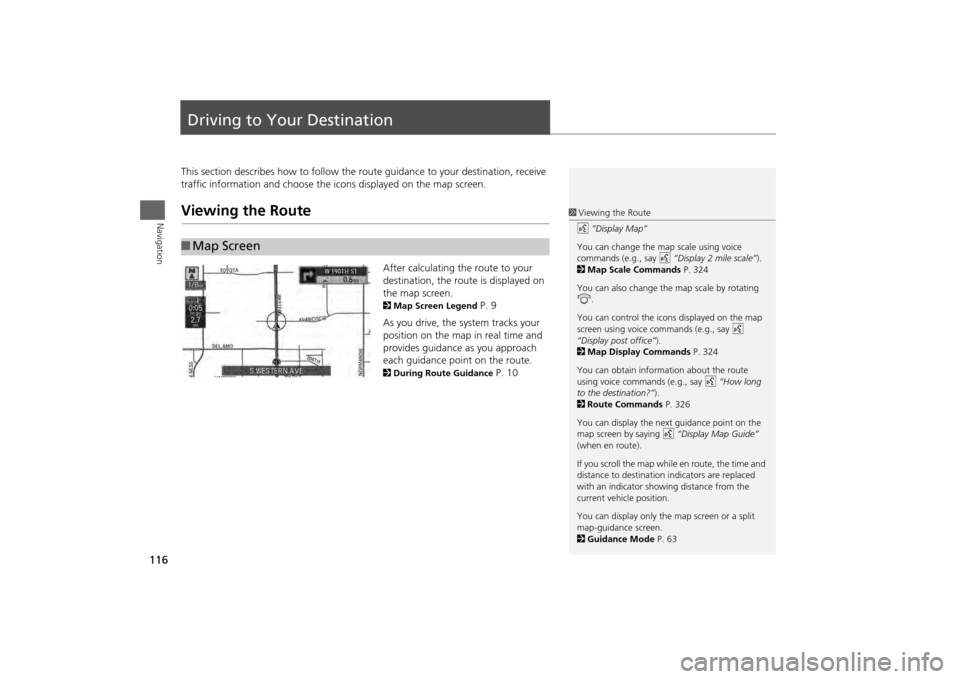
After calculating the route to your
destination, the route is displayed on
the map screen. 2Map Screen Legend
P. 9
As you drive, the system tracks your
position on the map in real time and
provides guidance as you approach
each guidance point on the route.
2 During Route Guidance
P. 10
■Map Screen
1 Viewing the Route
d “Display Map”
You can change the map scale using voice
commands (e.g., say d “Display 2 mile scale”).
2 Map Scale Commands P. 324
You can also change the map scale by rotating
i .
You can control the icons displayed on the map
screen using voice commands (e.g., say d
“Display post office” ).
2 Map Display Commands P. 324
You can obtain information about the route
using voice commands (e.g., say d “How long
to the destination?” ).
2 Route Commands P. 326
You can display the next guidance point on the
map screen by saying d “Display Map Guide”
(when en route).
If you scroll the map while en route, the time and
distance to destination indicators are replaced
with an indicator showing distance from the
current vehicle position.
You can display only the map screen or a split
map-guidance screen.
2 Guidance Mode P. 63
Page 118 of 343
117
Driving to Your Destination
Viewing the Route
Navigation
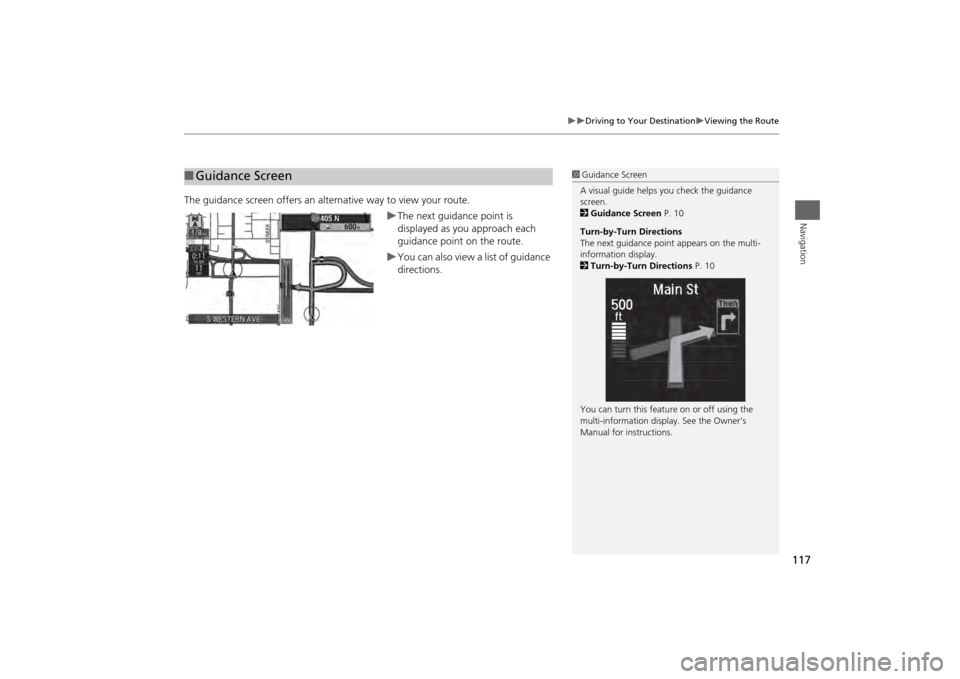
The guidance screen offers an alternative way to view your route.
The next guidance point is
displayed as you approach each
guidance point on the route.You can also view a list of guidance
directions.
■Guidance Screen
1 Guidance Screen
A visual guide helps you check the guidance
screen.
2 Guidance Screen P. 10
Turn-by-Turn Directions
The next guidance point appears on the multi-
information display.
2 Turn-by-Turn Directions P. 10
You can turn this feat ure on or off using the
multi-information display. See the Owner’s
Manual for instructions.
Page 119 of 343
118
Driving to Your Destination
Viewing the Route
Navigation
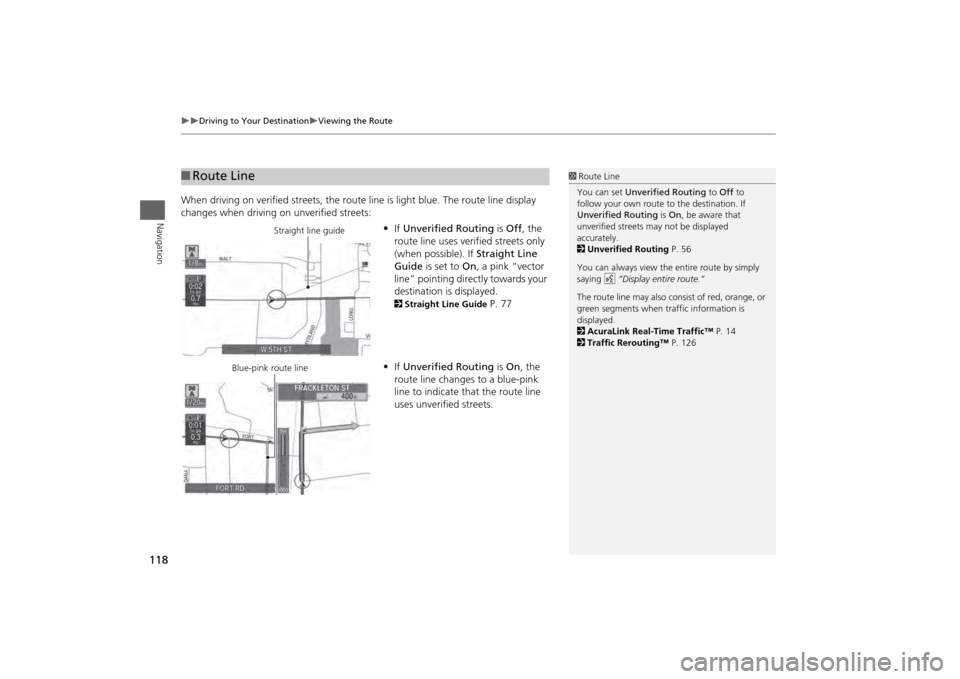
When driving on verified streets, the route line is light blue. The route line display
changes when driving on unverified streets:
•If Unverified Routing is Off , the
route line uses verified streets only
(when possible). If Straight Line
Guide is set to On, a pink “vector
line” pointing directly towards your
destination is displayed.
2 Straight Line Guide
P. 77
• If Unverified Routing is On , the
route line changes to a blue-pink
line to indicate that the route line
uses unverified streets.
■ Route Line
1 Route Line
You can set Unverified Routing to Off to
follow your own route to the destination. If
Unverified Routing is On, be aware that
unverified streets ma y not be displayed
accurately.
2 Unverified Routing P. 56
You can always view the entire route by simply
saying d “Display entire route.”
The route line may also c onsist of red, orange, or
green segments when traffic information is
displayed.
2 AcuraLink Real-Time Traffic™ P. 14
2 Traffic Rerouting™ P. 126
Straight line guide
Blue-pink route line
Page 120 of 343
119
Driving to Your Destination
Viewing the Route
Navigation
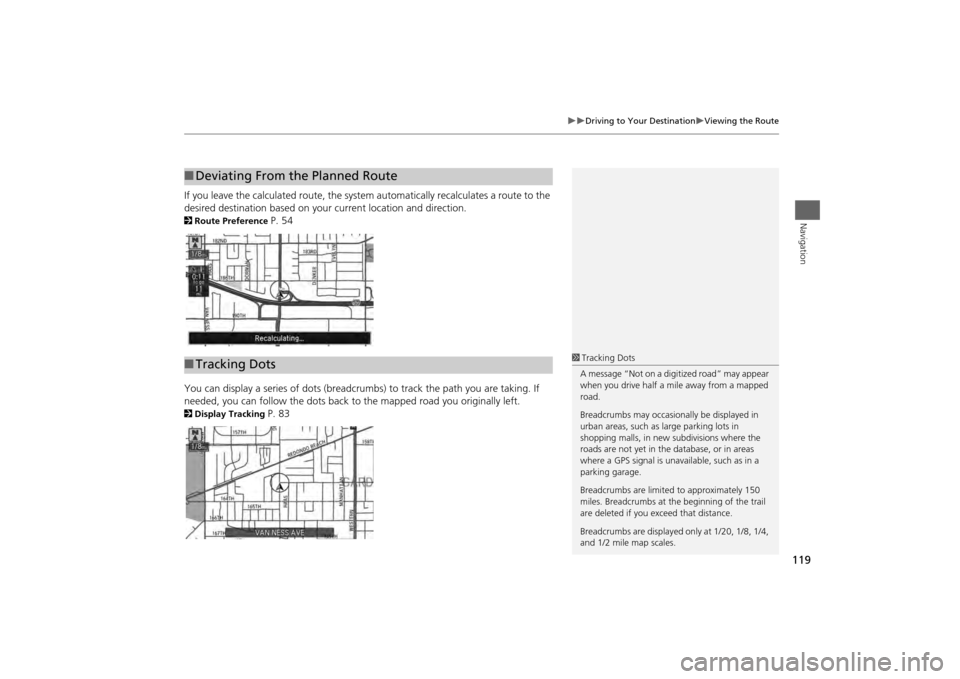
If you leave the calculated route, the system automatically recalculates a route to the
desired destination based on your current location and direction. 2Route Preference
P. 54
You can display a series of dots (breadcrumbs) to track the path you are taking. If
needed, you can follow the dots back to the mapped road you originally left.
2Display Tracking
P. 83
■Deviating From the Planned Route■Tracking Dots
1 Tracking Dots
A message “Not on a digi tized road” may appear
when you drive half a mi le away from a mapped
road.
Breadcrumbs may occasionally be displayed in
urban areas, such as large parking lots in
shopping malls, in new subdivisions where the
roads are not yet in the database, or in areas
where a GPS signal is unavailable, such as in a
parking garage.
Breadcrumbs are limite d to approximately 150
miles. Breadcrumbs at th e beginning of the trail
are deleted if you e xceed that distance.
Breadcrumbs are displayed only at 1/20, 1/8, 1/4,
and 1/2 mile map scales.