light Acura TL 2000 3.2 Service Manual
[x] Cancel search | Manufacturer: ACURA, Model Year: 2000, Model line: TL, Model: Acura TL 2000Pages: 311, PDF Size: 3.05 MB
Page 97 of 311

Seat Heaters
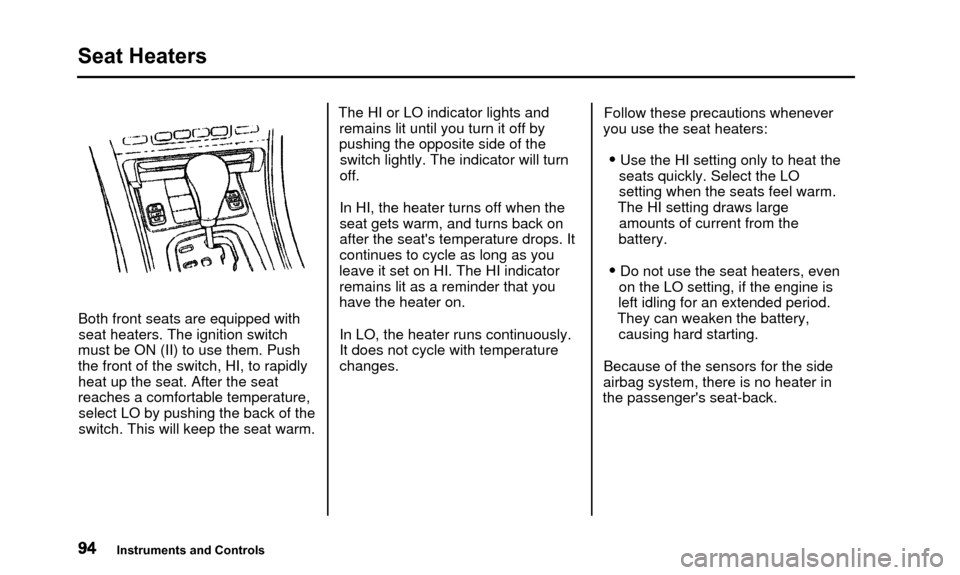
Both front seats are equipped withseat heaters. The ignition switch
must be ON (II) to use them. Push
the front of the switch, HI, to rapidly
heat up the seat. After the seat
reaches a comfortable temperature, select LO by pushing the back of the
switch. This will keep the seat warm. The HI or LO indicator lights and
remains lit until you turn it off by
pushing the opposite side of theswitch lightly. The indicator will turn
off.
In HI, the heater turns off when the
seat gets warm, and turns back on
after the seat's temperature drops. It
continues to cycle as long as you
leave it set on HI. The HI indicator
remains lit as a reminder that you
have the heater on.
In LO, the heater runs continuously.
It does not cycle with temperaturechanges. Follow these precautions whenever
you use the seat heaters:
• Use the HI setting only to heat the seats quickly. Select the LO
setting when the seats feel warm.
The HI setting draws large amounts of current from the
battery.
• Do not use the seat heaters, even on the LO setting, if the engine is
left idling for an extended period.
They can weaken the battery, causing hard starting.
Because of the sensors for the side
airbag system, there is no heater in
the passenger's seat-back.
Instruments and Controls
Page 99 of 311

Power Windows, Moonroof
The master control panel also con-tains these extra features:
AUTO - To open the driver's window fully, push the window switch firmly down and release it.
The window automatically goes all the way down. To stop the window
from going all the way down, pull
back on the window switch briefly.
To open the driver's window only partially, push the window switchdown lightly and hold it. The window
will stop as soon as you release the switch.
The AUTO function only works to lower the driver's window. To raise
the window, you must pull back on
the window switch and hold it until
the window reaches the desired
position. The MAIN switch controls power to
the passengers' windows. With thisswitch off, the passengers' windows
cannot be raised or lowered. The
MAIN switch does not affect the
driver's window. Keep the MAIN
switch off when you have children in
the car so they do not injure them- selves by operating the windows
unintentionally.
The power window system has a key- off delay function. The windows will
still operate for up to ten minutes
after you turn off the ignition.Opening either front door cancels
the delay function. You must turn
the ignition switch ON (II) again
before you can raise or lower the
windows. Moonroof
MOONROOF SWITCH
The moonroof has two positions: it
can be tilted up in the back for
ventilation, or it can be slid back into the roof. Use the switch under the
left dashboard vent to operate the
moonroof. The ignition switch must
be ON (II).
Instruments and Controls
Page 101 of 311

Mirrors
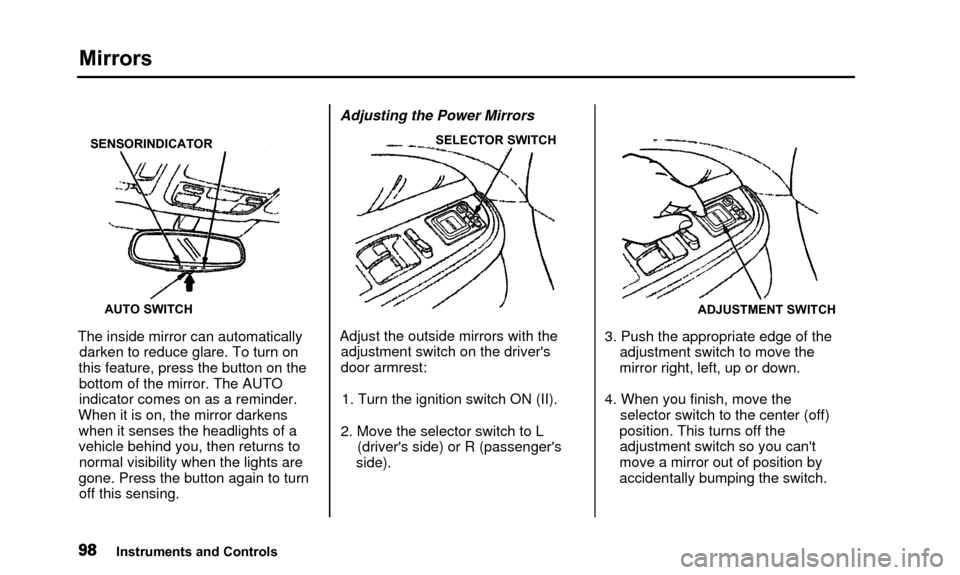
SENSORINDICATORAUTO SWITCH
The inside mirror can automaticallydarken to reduce glare. To turn on
this feature, press the button on the bottom of the mirror. The AUTO
indicator comes on as a reminder.
When it is on, the mirror darkens when it senses the headlights of a
vehicle behind you, then returns tonormal visibility when the lights are
gone. Press the button again to turn off this sensing. Adjusting the Power Mirrors
SELECTOR SWITCH
Adjust the outside mirrors with the
adjustment switch on the driver's
door armrest:
1. Turn the ignition switch ON (II).
2. Move the selector switch to L (driver's side) or R (passenger's
side).
ADJUSTMENT SWITCH
3. Push the appropriate edge of the adjustment switch to move the
mirror right, left, up or down.
4. When you finish, move the selector switch to the center (off)
position. This turns off the adjustment switch so you can't
move a mirror out of position by
accidentally bumping the switch.
Instruments and Controls
Page 102 of 311

Mirrors, Parking Brake
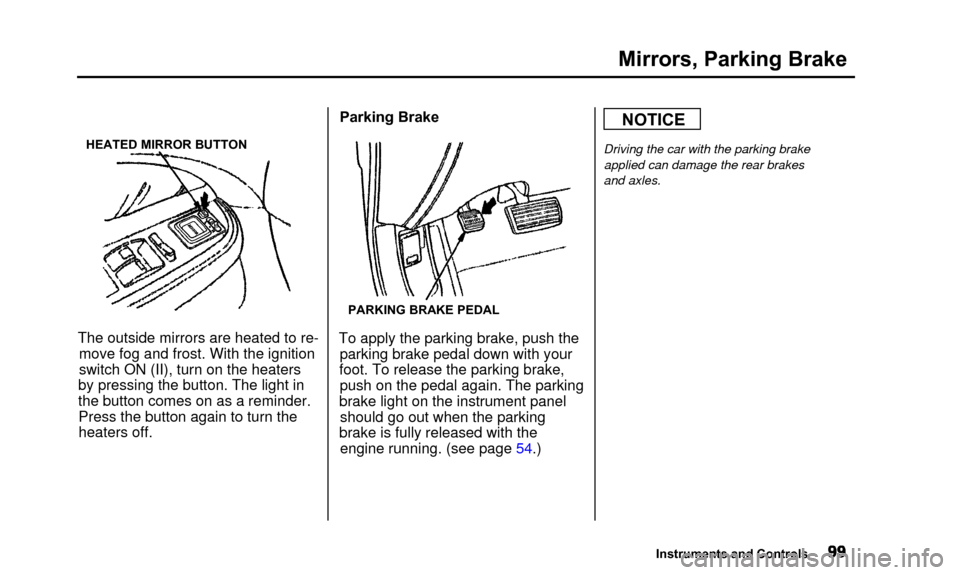
HEATED MIRROR BUTTON
The outside mirrors are heated to re-move fog and frost. With the ignition
switch ON (II), turn on the heaters
by pressing the button. The light in
the button comes on as a reminder. Press the button again to turn theheaters off. Parking Brake
PARKING BRAKE PEDAL
To apply the parking brake, push the
parking brake pedal down with your
foot. To release the parking brake, push on the pedal again. The parking
brake light on the instrument panel should go out when the parking
brake is fully released with the engine running. (see page 54.)
NOTICE
Driving the car with the parking brake
applied can damage the rear brakes
and axles.
Instruments and Controls
Page 107 of 311

Sun Visor, Vanity Mirror
Sun Visor
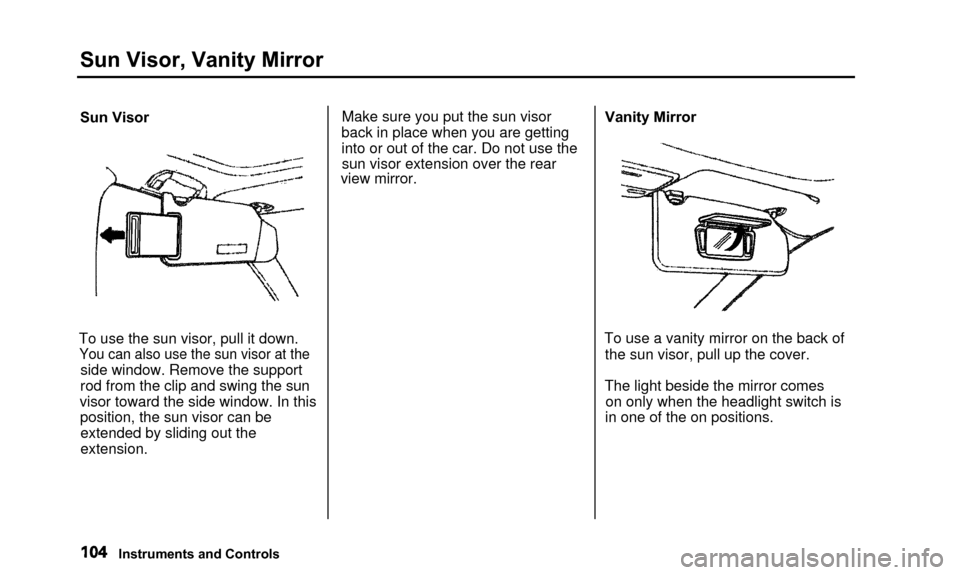
To use the sun visor, pull it down.
You can also use the sun visor at the
side window. Remove the support
rod from the clip and swing the sun
visor toward the side window. In this position, the sun visor can beextended by sliding out the
extension. Make sure you put the sun visor
back in place when you are getting
into or out of the car. Do not use the sun visor extension over the rear
view mirror. Vanity Mirror
To use a vanity mirror on the back of the sun visor, pull up the cover.
The light beside the mirror comes on only when the headlight switch is
in one of the on positions.
Instruments and Controls
Page 109 of 311

Accessory Power Sockets, Interior Lights
COVER
ACCESSORY POWER SOCKET
These sockets are intended to supply power for 12 volt DC accessories
that are rated 120 watts or less (10amps).
They will not power an automotive type cigarette lighter element. Ceiling Light
DOOR ACTIVATED
The ceiling light has a three-position
switch. In the OFF position, the light
does not come on. In the center
position, the ceiling light comes on
when you open any door. The light fades out after all doors are closed.
In the ON position, the ceiling lightstays on continuously.
The ceiling light (with the switch in the center position) also comes on
when you unlock the door with the remote transmitter (see page 78). Spotlights
Turn on the spotlight by pushing the button next to each light. Push the
button again to turn it off. You can
use the spotlights at all times.
Instruments and Controls
Page 110 of 311

Interior Lights, CD Holder
Courtesy Lights
IGNITION SWITCH LIGHT
DOOR LIGHT
Each door has a courtesy light. This
light comes on when you open the door.
Your car also has a courtesy light in the ignition switch. This light comeson when you open the driver's door.
It remains on for several seconds after the door is closed. CD Holder
You can store up to four CDs in the CD holder. Push on the center of the
holder to get it to pop out. Then
remove it by pulling it straight out. Lift the lid to reach the storage trays.
Instruments and Controls
Page 112 of 311

Comfort and Convenience Features
The climate control system in your
Acura provides a comfortable drivingenvironment in all weather condi-
tions.
The standard audio system hasmany features. This section de-
scribes those features and how to
use them.
The security system helps to dis- courage vandalism and theft of your
Acura.
Climate Control System.......... .......... 110
3.2 TL without Navigation System
Fully-automatic Operation............ 112
Semi-automatic Operation............ 113
Rear Window Defogger
Button.......... .............................. 116
Sunlight Sensor/ Temperature Sensor............ 117
3.2 TL with Navigation System
Fully-automatic Operation.......... 118
Semi-automatic Operation.......... 119
Rear Window Defogger Button........................................ 122
Audio System.............................. 123 Operating the Radio.......... .......... 124
Adjusting the Sound.................... 128
Audio System Lighting.......... .... 129
Radio Frequencies.................... 129
Radio Reception............
........ 129
Operating the CD Player......... ... 131
Operating the CD Changer.......... .. 133
Protecting Compact Discs.......... 134
CD Player Error Indications.......... 135
CD Changer Error
Indications.......... .................... 136Operating the Cassette
Player........................................ 137
Tape Search Functions.......... .. 138
Caring for the Cassette
Player........................................ 140
Remote Audio Controls............ 141
Theft Protection.......... ............ 142
Security System.............................. 143
Comfort and Convenience Features
Page 115 of 311

Climate Control System
3.2 TL without Navigation System
Fully-automatic Operation
To put the Automatic Climate Control in fully-automatic mode,
press the AUTO button and set the
fan control dial to AUTO, then set
the desired temperature by turning
the temperature control dial. You will see FULL AUTO in the system's
display. The light above the
button also shows you which
mode, Recirculation or Fresh Air, is selected.
The system automatically selects the proper mix of conditioned and/or
heated air that will, as quickly as
possible, raise or lower the interior
temperature from its current level to
the set temperature.
TEMPERATURE
CONTROL DIAL FULL AUTO FAN CONTROL DIAL
DISPLAY
AUTO BUTTON OFF BUTTON
When you set the temperature to its lower limit (60°F/18°C) or its upper
limit (90°F/32°C), the system runsat full cooling or heating only. It does
not regulate the interior temperature.
When the temperature is set between the lower and upper limits,the system regulates the interior
temperature to the set value.
Comfort and Convenience Features
Page 120 of 311

Climate Control System
Sunlight Sensor/Temperature
Sensor
SUNLIGHT SENSOR
The climate control system has twosensors. A sunlight sensor is located
in the top of the dashboard and a
temperature sensor is next to the steering column. Do not cover the
sensors or spill any liquid on them.
TEMPERATURE SENSOR
Comfort and Convenience Features