ECU ASTON MARTIN V8 VANTAGE 2010 User Guide
[x] Cancel search | Manufacturer: ASTON MARTIN, Model Year: 2010, Model line: V8 VANTAGE, Model: ASTON MARTIN V8 VANTAGE 2010Pages: 947, PDF Size: 43.21 MB
Page 35 of 947

Body Closures (01.03)
Body System (01.00)
May 2007 Workshop Manual 1-3-9
13. Remove nuts (x2) securing re lease switch to boot lid and
remove switch (see Figure 8).
14. Remove boot lid buffers (x2) from boot lid (see Figure 9).
15. Remove badge from boot lid. 16. Mark outline of hinges on
boot lid using a suitable
marker to aid installation (see Figure 10).
17. Release clips (x2) securing gas struts to boot lid, release struts and support boot lid (see Figure 11).
18. Using assistance, support b oot lid, remove bolts (x4)
securing hinges to boot lid and remove.
Installation
1. Using assistance, position trunk lid to body, fit bolts (x4) securing hinges to boot lid.
2. Position gas struts to boot lid and secure with clips.
3. Install tailgate buffers (x2) to boot lid.
4. Install release switch and secure with nuts.
5. Install stop light and secure with nuts and washers.
6. Install latch and secure with bolts and cable tie.
7. Position harness to hinge and secure with bolts.
8. Install harness in boot lid, secure grommet and clips.
Figure 8
Figure 9
Caution
Protect surrounding paintw ork using suitable tape.
Figure 10
Figure 11
Page 36 of 947

Body Closures (01.03)
Body System (01.00)1-3-10 Workshop Manual May 2007
9. Connect multiplugs to boot lid latch, boot lid release
switch, release solenoid and stop light.
10. Connect multiplug to antenna and fit to panel.
11. Install interior panel and secure with bolts.
12. Secure harness to interior panel using clip.
13. Install boot lid trim panel and secure with clips.
14. Connect cable to release lever and secure with clip.
15. Install strap and secure with bolt.
16. Close boot lid and check profile against body, adjust buffers as necessary.
17. Fit boot lid badge.
Boot Lid Hinge Assembly (Pair) - Renew
(Roadster Only)
Removal
1. Open boot lid.
2. Mark outline of hinge on boot lid using a suitable marker (see Figure 1). 3. Mark outline of hinge on body using a suitable marker
(see Figure 2).
4. Using assistance, support boot lid and remove bolts (x2) securing hinge to boot lid and bolts (x2) securing hinge
to body and remove hinge.
Installation
1. Install hinge, align to marked outline and secure to body and boot lid with bolts.
2. Open boot lid.
3. Mark outline of hinge on boot lid using a suitable
marker.
4. Mark outline of hinge on body using a suitable marker.
5. Remove clip securing gas strut to boot lid and release gas strut.
6. Using assistance, support boot lid and remove bolts (x2) securing hinge to boot lid and bolts (x2) securing hinge
to body and remove hinge.
7. Install hinge, align to marked outline and secure to body and boot lid with bolts.
8. Close boot lid.
Repair Operation Time (ROT)
Figure 2
Page 37 of 947

Body Closures (01.03)
Body System (01.00)
May 2007 Workshop Manual 1-3-11
Boot Gas Strut (Pair) - Renew (Roadster
Only)
Removal
1. Open boot lid.
2. Release clip securing LH gas strut to boot lid and release
gas strut (see Figure 1).
3. Release clip securing LH gas strut to body and remove gas strut (see Figure 2).
Installation
1. Clean gas strut, install and secure with clips.
2. Release clip securing RH gas strut to boot lid and release gas strut. 3. Release clip securing RH ga
s strut to body and remove
gas strut.
4. Clean gas strut, install and secure with clips.
5. Close boot lid.
Boot Lid Striker Assembly - Renew
(Roadster Only)
Removal
1. Access luggage compartment and remove floor carpet.
2. Release clips securing warning triangle in place and remove (see Figure 1).
3. Remove 2 bolts securing wa rning triangle bracket to
body and remove (see Figure 2).
Repair Operation Time (ROT)
Repair Operation Time (ROT)
Page 38 of 947

Body Closures (01.03)
Body System (01.00)1-3-12 Workshop Manual May 2007
4. Remove 2 bolts either side of striker pin securing striker panel to body.
5. Pull up rear carpet and secure in place.
6. Remove 2 lower bolts securing striker panel to body (see Figure 3).
7. Release centre of luggage compartment seal, remove striker panel and rear carpet (see Figure 4).
8. Release striker assembly from rear carpet and remove.
Installation
1. Attach rear carpet to striker panel and install, secure with lower bolts.
2. Release and install rear carpet.
3. Secure striker panel with upper bolts.
4. Install luggage compartment seal.
5. Install warning triangle bracket and secure with bolts.
6. Install warning triangle and secure with clips.
7. Install floor carpet and close luggage compartment.
Exterior Boot Lid Switch Release - Renew
(Roadster Only)
Removal
1. Open boot lid.
2. Remove bolt securing stra p to boot lid and remove
strap.
3. Remove clip securing cable to release lever and remove cable.
4. Release 8 clips and remove boot lid trim panel.
5. Disconnect multiplug release switch.
6. Remove nuts (x2) securing release switch to boot lid and remove switch (see Figure 1).
Installation
1. Install release switch and secure with nuts.
2. Connect multiplug release switch.
3. Install boot lid trim panel and secure with clips.
4. Connect cable to release lever and secure with clip.
5. Install strap and secure with bolt.
6. Close boot lid.
Tailgate Assembly - Renew
Removal
1. Battery isolation switch ‘OFF’.
2. Remove RH quarter upper trim panel (see Workshop
Manual procedure 01.05.CX Moulding Assembly -
Quarter Trim Upper - RH - Renew).
Figure 3
Figure 4
Repair Operation Time (ROT)
ItemCode
Exterior Boot Lid Release Switch-Renew 01.03.GF
Figure 1
Repair Operation Time (ROT)
ItemCode
Tailgate Assembly-Renew 01.03.GG
Page 39 of 947

Body Closures (01.03)
Body System (01.00)
May 2007 Workshop Manual 1-3-13
3. Remove LH quarter upper trim panel (see Workshop
Manual procedure 01.05.CY Moulding Assembly -
Quarter Trim Upper - LH - Renew).
4. Remove rear header trim panel (see Workshop Manual procedure 01.05.BK Panel Assembly - Rear Header -
Renew).
5. Disconnect LH and RH tailgate harnesses in cabin
6. Remove LH and RH harness grommets from body.
7. Remove tailgate trim panel (see Workshop Manual procedure 01.05.EF Trim - Tailgate Lid Assembly -
Renew).
8. Disconnect GPS antenna mult iplug, remove bolts (x3),
remove GPS antenna.
9. Disconnect multiplug form central high stop lamp, remove nuts (x2), remove central high stop lamp.
10. Disconnect multiplug from tailgate release switch,
remove nuts (x2), remove tailgate release switch.
11. Remove tailgate buffer stops (x2).
12. Install protection between tailgate corners and bodywork.
13. Release clips, disconnect gas struts (x2) from tailgate.
14. With assistance, remove bolt s (x4) securing tailgate to
hinges, remove tailgate assembly.
Installation
1. With assistance, install and align tailgate to hinges, install bolts (x4). Do not torque tighten at this stage.
2. Adjust alignment of tailgate and torque tighten hinge bolts.
3. Connect gas struts to tailgate and secure with clips.
4. Install tailgate buffers and adjust height as necessary
5. Install tailgate release switch, install and tighten nuts (x2), connect multiplug.
6. Install central high level st op lamp assembly, install and
tighten nuts (x2), connect multiplug.
7. Install GPS antenna, install and tighten bolts (x3), connect multiplug.
8. Install tailgate trim panel (see Workshop Manual procedure 01.05.EF Trim - Tailgate Lid Assembly -
Renew).
9. Install rear header trim panel (see Workshop Manual procedure 01.05.BK Panel Assembly - Rear Header -
Renew).
10. Install LH upper quarter trim panel (see Workshop Manual procedure 01.05.CY Moulding Assembly -
Quarter Trim Upper - LH - Renew).
11. Install RH upper quarter trim panel (see Workshop Manual procedure 01.05.CX Moulding Assembly -
Quarter Trim Upper - RH - Renew).
12. Remove protection from tailgate and body.
13. Battery isolation switch ‘ON’.
Tailgate Hinge Assembly (Pair) - Renew
Removal
1. Protect bodywork.
2. Mark position of hinges.
3. With assistance support and hold tailgate.
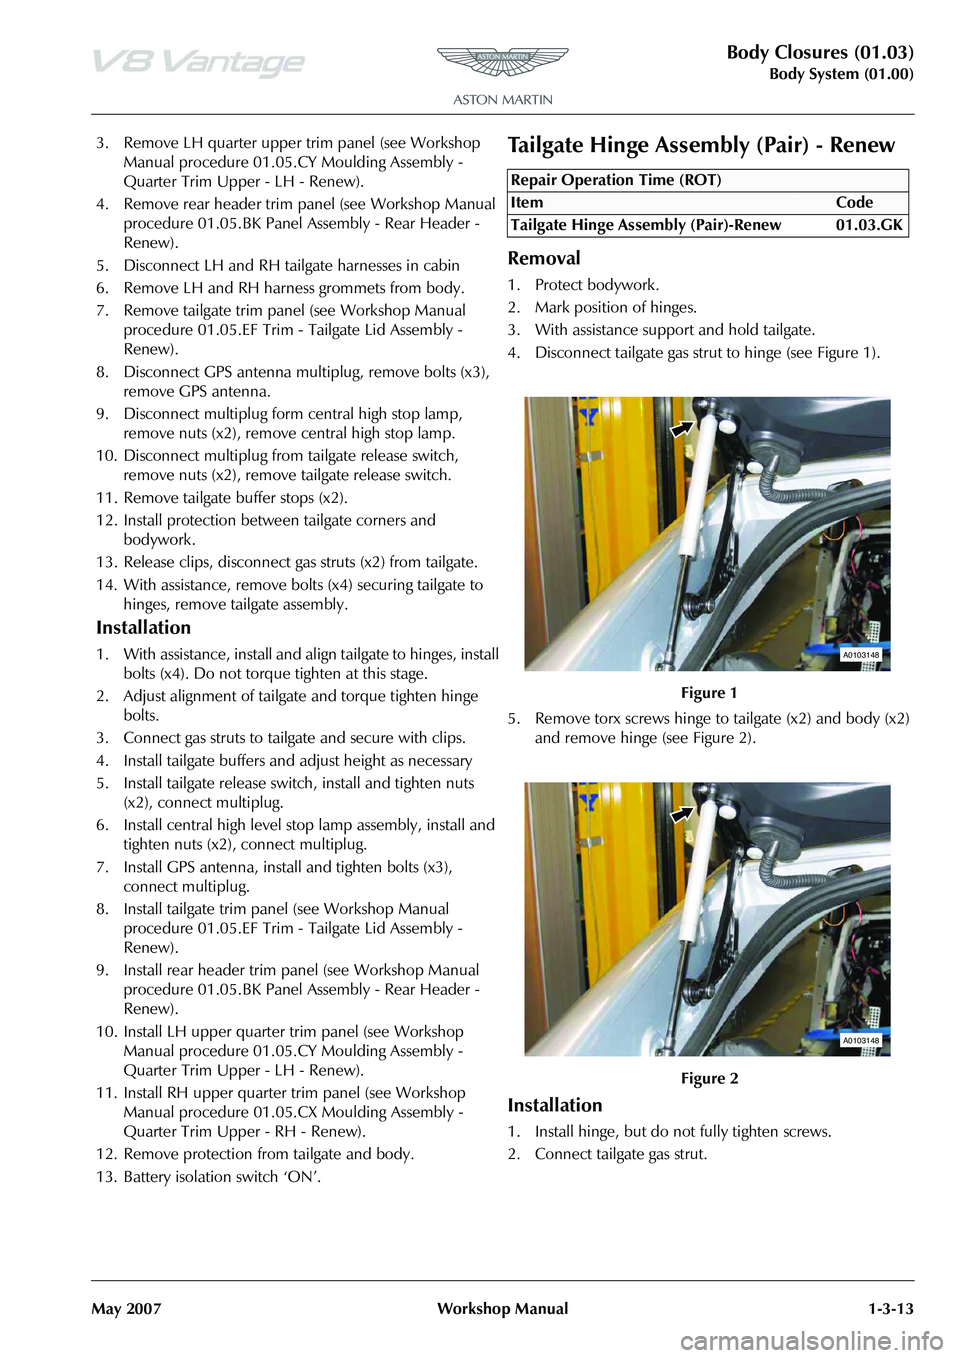
4. Disconnect tailgate gas strut to hinge (see Figure 1).
5. Remove torx screws hinge to tailgate (x2) and body (x2) and remove hinge (see Figure 2).
Installation
1. Install hinge, but do not fully tighten screws.
2. Connect tailgate gas strut.
Repair Operation Time (ROT)
A0103148
A0103148
Page 40 of 947

Body Closures (01.03)
Body System (01.00)1-3-14 Workshop Manual May 2007
3. Repeat remove and installa tion procedure for opposite
hinge (see Figure 1).
4. Check alignment of tailgate and adjust as necessary.
5. Fully tighten screws (x8) tailgate hinges.
6. Remove bodywork protection.
Hood Assembly - Renew
Removal
1. Open hood.
2. Disconnect windscreen wash pipe.
3. Remove cap nut, nut and release earth lead from hood.
4. Remove buffers from hood.
5. Remove Torx screws (x2) se curing striker plate to hood,
remove striker plate.
6. Remove Torx screws (x2) se curing safety catch to hood,
remove safety catch.
7. Remove hood sound insulation.
8. Remove cap nuts (x12) securing air intake grilles (x2) to
hood, remove grilles.
9. Disconnect screen washer hos e, reservoir to non-return
valve.
10. Loosen hood hinge bolts (4).
11. Disconnect gas struts and remove hinge bolts
12. With assistance, remove bolts (x4) and hood.
13. Remove ball studs from bonnet.
14. Remove screen washer jets (x2) and hoses from hood.
Installation
1. Install and torque tighten ball studs (x2).
2. Install screen washer hoses and jets (x2).
3. With assistance, position hood to hinges, install bolts
(x4). Do not torque tighten at this stage. 4. Install safety catch, install and torque tighten Torx
screws (x2).
5. Install striker plate, install and torque tighten Torx screws (x2).
6. Install air intake grilles (x2), install and tighten cap nuts (x12).
7. Install Buffers to hood.
8. Install sound insulation.
9. Align hood to aperture.
10. Raise hood and tighten up one hinge bolt either side.
11. Lower hood and check alignment
12. Raise hood and torque tighten hinge bolts (x4).
13. Install gas struts.
14. Install earth lead to hood, install and tighten nut and cap nut.
15. Connect screen washer hose.
16. Close hood to check enga gement of latch assembly,
adjust if necessary
17. Close hood and check operation of hood release lever.
Hood Hinge Assembly (Vehicle Set) -
Renew
Removal
1. Remove LH wing (see Workshop Manual procedure 01.02.LB Panel Assembly - Front Wing - LH - Renew).
2. Remove RH wing (see Workshop Manual procedure 01.02.KB Panel Assembly - Front Wing - RH - Renew).
3. Protect bodywork.
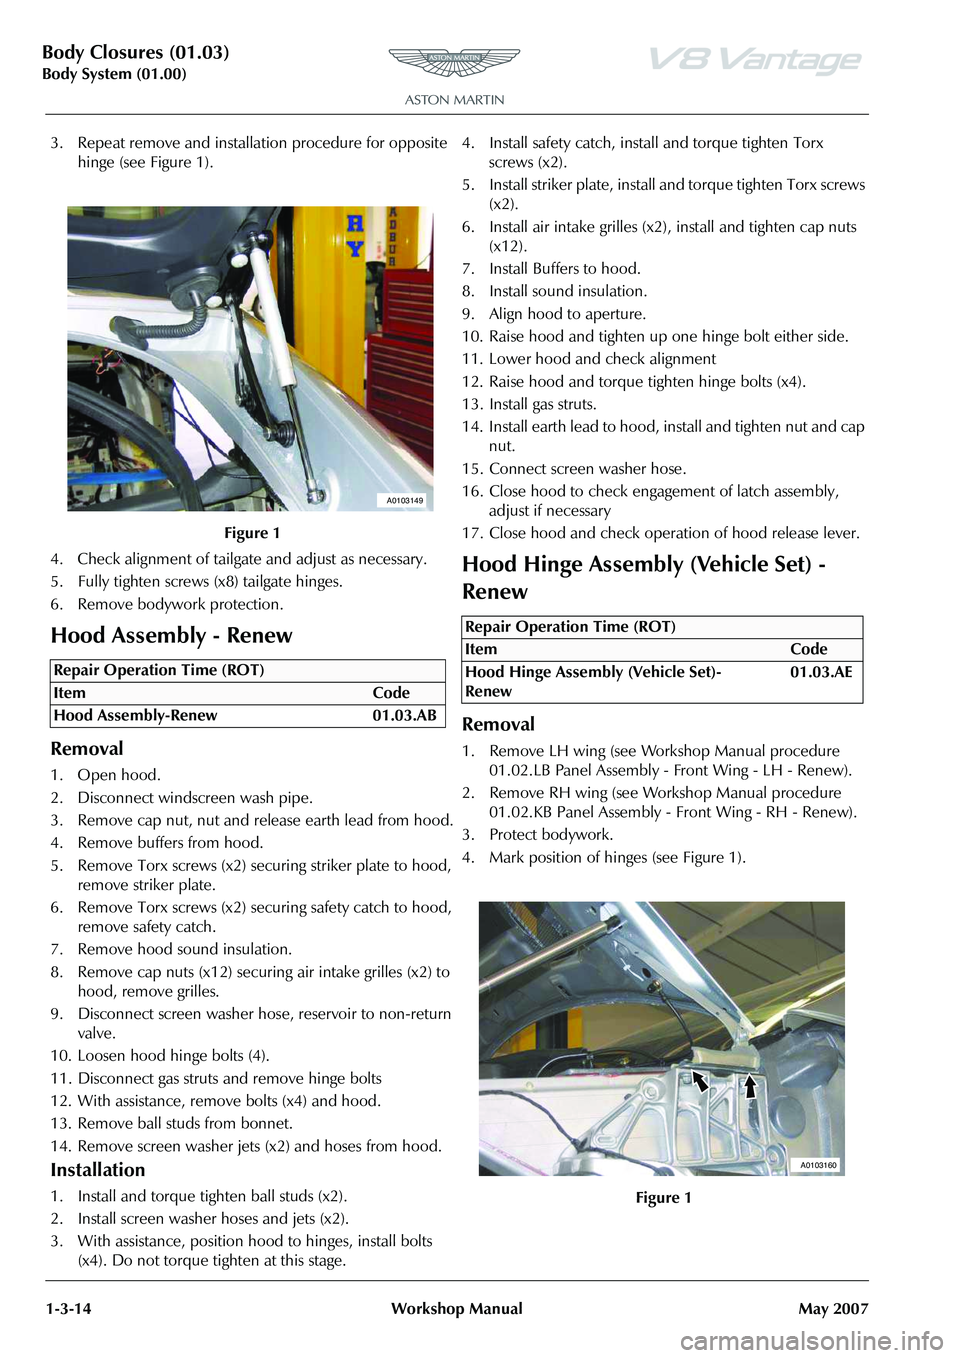
4. Mark position of hinges (see Figure 1).
Figure 1
Repair Operation Time (ROT)
A0103149
Repair Operation Time (ROT)
ItemCode
Hood Hinge Assembly (Vehicle Set)-
Renew 01.03.AE
Figure 1
A0103160
Page 43 of 947

Interior Trim (01.05)
Body System (01.00)
Issue 5, January 2010 Workshop Manual 1-4-1
Body System (01.00)
Interior Trim (01.05)
This section covers removal and installation of the interior mouldings and trim panels. In many instances, one component
overlaps another component. If this co ndition is found, it will be necessary to loosen or remove the overlapping
component before removal, to prevent damage to either component.
Maintenance
Rear Centre Console - Renew
Removal
1. Battery isolation switch ‘OFF’.
1. Remove storage compartment door.
2. Remove bolt and screws (x5) from support rail to body and remove support rail.
3. Remove screw (x1) centre arm rest to rear console panel assembly and remove arm rest (see Figure 1).
4. Remove nuts (x3), screws (x4) from panel assembly rear console (see Figure 2).
5. Remove screws (x2) ashtra y console panel assembly to
floor. 6. Remove rear console panel assembly.
Installation
1. Position rear console panel, install and tighten nuts (x3)
and screws (x4).
2. Install screws (x2) ashtray console panel to floor.
3. Install centre arm rest.
4. Install support rail, install and tighten screws (x5) and
bolt.
5. Install stowage compartment door.
Headlining - Renew (Roadster Only)
Removal
1. Remove header trim (see Workshop Manual procedure 01.05.BB Panel Assembly - Header - Renew).
2. Remove screws (x28) securing rear seal to tension bow, release seal and springs, collect brackets and rest seal on
tonneau (see Figure 1).
Repair Operation Time (ROT)
Repair Operation Time (ROT)
Page 44 of 947

Interior Trim (01.05)
Body System (01.00)1-4-2 Workshop Manual Issue 5, January 2010
3. Release headlining from double sided tape secured to tension bow (see Figure 2).
4. Disconnect heated rear sc reen connectors (x2) (see
Figure 3). 5. Pass connectors through securing loops (see Figure 4).
6. Release water pockets from B-post seal (see Figure 5).
Figure 2
Figure 3
Figure 4
Figure 5
Page 45 of 947

Interior Trim (01.05)
Body System (01.00)
Issue 5, January 2010 Workshop Manual 1-4-3
7. Release rear of canopy cover from tension bow and release velcro securing rear screen to headlining to gain
access to headlining screws (see Figure 6).
8. Position seat back rests in forward position.
9. Remove screws (x5) securing headlining to third cross bar and release headlini ng (see Figure 7). 10. Remove screw securing tension string to front of third
cross bar (see Figure 8).
11. Remove screws (x2) securing tension strings underside of third cross bar (see Figure 9).
Figure 6
Figure 7
Figure 8
Figure 9
Page 46 of 947

Interior Trim (01.05)
Body System (01.00)1-4-4 Workshop Manual Issue 5, January 2010
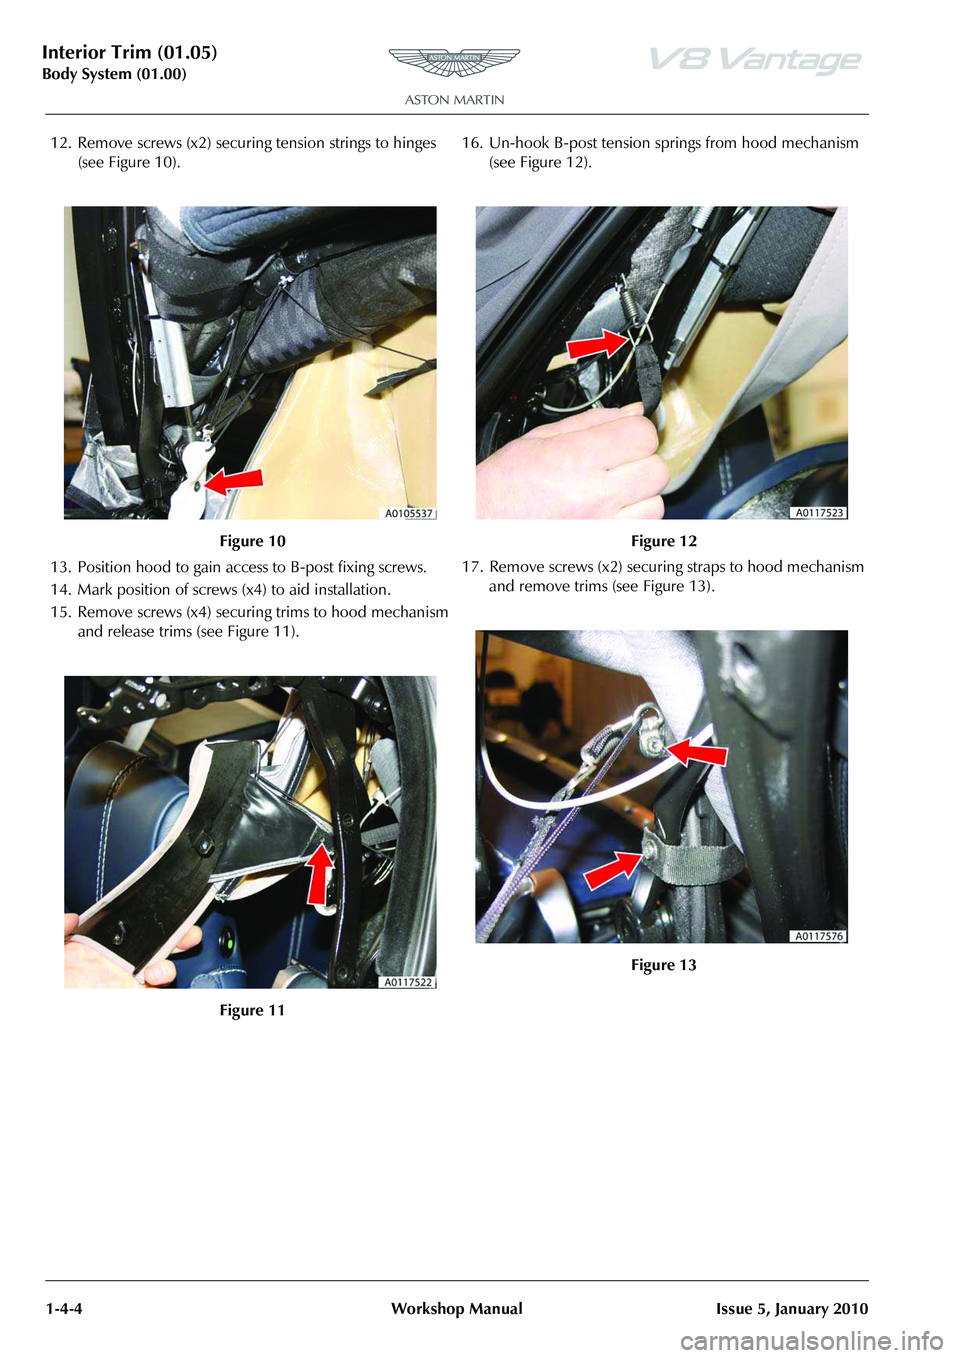
12. Remove screws (x2) securing tension strings to hinges (see Figure 10).
13. Position hood to gain acce ss to B-post fixing screws.
14. Mark position of screws (x4) to aid installation.
15. Remove screws (x4) securi ng trims to hood mechanism
and release trims (see Figure 11). 16. Un-hook B-post tension springs from hood mechanism
(see Figure 12).
17. Remove screws (x2) securi ng straps to hood mechanism
and remove trims (see Figure 13).
Figure 10
Figure 11
Figure 12
Figure 13