AUDI A4 2016 Workshop Manual
Manufacturer: AUDI, Model Year: 2016, Model line: A4, Model: AUDI A4 2016Pages: 278, PDF Size: 70.26 MB
Page 51 of 278

.... N
0
""' CX)
.... I.Cl U"I
.... I.Cl ....
the windshield in this area in order to
prevent malfunctions or failures.
- Some exterior lighting functions can be ad
justed
c:, page 49.
- When you remove your key from the igni
tion while the vehicle's lights are turned on,
a buzzer sounds as long as the driver's door
is open.
- In cool or damp weather, the inside of the
headlights, turn signals and tail lights can
fog over due to the temperature difference
between the inside and outside. They will
clear shortly after switching them on. This does not affect the service life of the light
ing .
- In the event of a light sensor malfunction,
the driver is notified in the instrument clus
ter display
c:, page 21.
Turn signals and high beam lever
The lever operates the turn signals, the high
beams and the headlight flasher.
Fig. 43 Turn signal and high beam lever
Turn signals¢¢
g N
0
~ CD
The turn signals activate when you move the lev
er into a turn signal position when the ignition is
switched on.
@ -right turn signal
@-left turn signal
The turn signal blinks three times if you just tap
the lever.
High beams and headlight flasher ~D
Move the lever to the corresponding position:
@-high beams on
Light and Vision
@-high beams off or headlight flasher
The indicator light
II in the instrument cluster
turns on.
Notes on these features
- The turn signals only work with the ignition
turned on. The indicator lights. or
II in the
instrument cluster also blink.
- After you have turned a corner, the turn signal
switches off automatically.
- The
high beam works only when the headlights
are on. The indicator light
II in the instrument
cluster illuminates when the high beams are
on.
- The
headlight flasher works only as long as you
hold the lever -even if there are no lights
switched on . The indicator light
II in the in
strument cluster illuminates when you use the
headlight flasher.
WARNING
Do not use the high beam or headlight flasher
if you know that these could blind oncoming
traffic.
Adjusting exterior lighting
The functions are selected in the radio or MMI* .
.,. Select: !CAR I function button> Exterior light
ing .
Or
.,. Select: 1-C~A ~ R-.l function button > Car systems*
control button > Vehicle settings > Exterior
lighting.
Coming home (light when leaving car)*,
Leaving home (light when unlocking car)*
The coming home function illuminates the area
around the vehicle when the ignition is switched
off and the driver's door is opened. Depending on
vehicle equipment, the function can be switched on and off or the length of time the lights remain
on* can be adjusted .
The
leaving home function illuminates the area
around the vehicle when unlocking it. This func-
tion can be switched on and off.
ll>
49
Page 52 of 278
Light and Vision
The coming home and leaving h ome functions
only operate when it is dark and t he light switch
is in the AUTO position
~ page 48, fig. 42.
Auto headlights*
W hen the light swi tch is in the A UTO ~ page 48
position, the sw itch-on po int of the lights can be
cha nged in the automatic driving light function.
Daytime running lights
USA models :
You can switch the daytime r unning
lights
on and off .
Canada models: The funct ion cannot be tu rned
off .
It is activated automatically each t ime the ig
n ition is switched on.
Tra vel mode*
The headlight beam is asymmetrical. This pro
vides stronger illumination on the side of the
road on which you are driving.
If you are driving
in a cou ntry that dr ives on the opposite side of
the road from you r own country, this will cause
g lar e fo r oncom ing dr ive rs . To p revent glare:
- Travel mode must be selected in veh icles w ith
Xenon headlights* .
- In vehicles with halogen headlights, certain
areas of the headlight lenses must be cove red
with waterproof adhesive covers that prev ent
l ight from passing through. For more informa
tion, ple ase see you r auth orized Audi dea le r or
a uthorized repair fa ci lity .
When travel mode is ac tiva ted, a disp lay in
t he dr ive r inf orm ation sys tem in dicates this
e ach t ime yo u sw itch the ignition on .
50
Emergency flashers
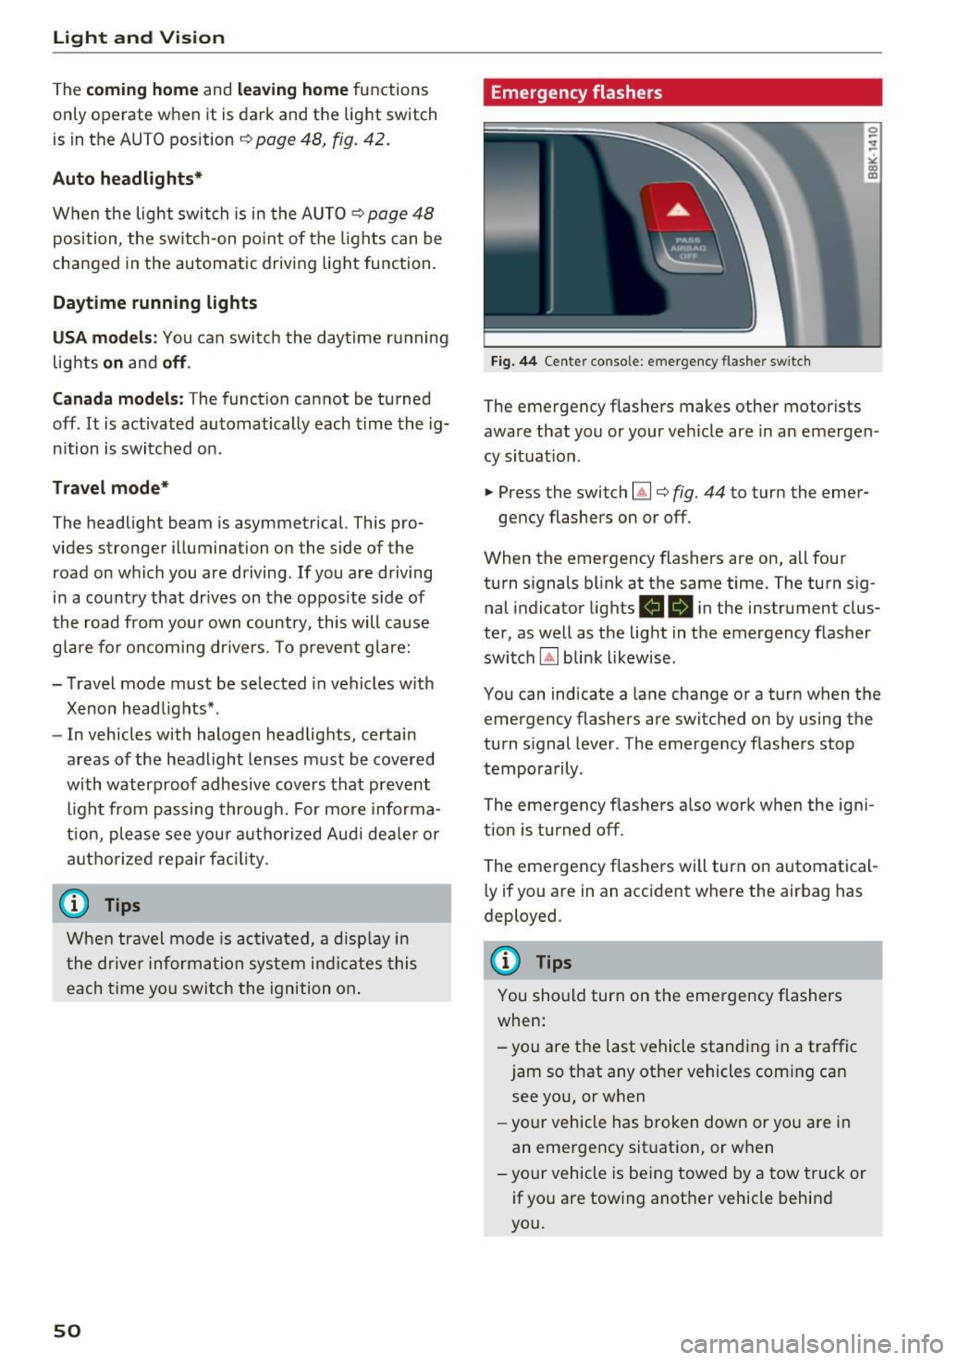
Fig. 44 Center console: emergency flashe r switc h
The emergency flashers makes other motorists
aware that you or your ve hicle are in an emergen
cy situat io n .
.. Press the switch~¢
fig. 44 to turn the emer-
gency flashers on or off .
When the emergency flashers are on, all four
turn s ignals b link at the same time. The turn sig
nal indicator lights
RB i n the instrument clus
ter, as well as the light in t he emergency flasher
switch
IA] blink likewise .
You can indicate a lane change or a turn when the
emergency flashers are switched on by using the
turn signal lever . The emergency flashers stop
tempora rily .
The emergency flashe rs a lso wor k when the ign i
tion is turned off.
The emergency flashers will turn on automatical
l y if you a re in an accident where the airbag has
deployed .
@ Tips
You should turn on the emergency flashers
when:
-you are the last vehicle standi ng in a traffic
jam so that any other vehicles com ing can
see yo u, or when
- yo ur ve hicle has broken down or yo u are in
an eme rge ncy sit uat ion, or w hen
-your vehicle is be ing towed by a tow tru ck or
if yo u are towing another vehicle behin d
you.
Page 53 of 278
..... N
0
""' CX)
..... I.Cl U"I
..... I.Cl .....
Interior Lighting
Front/rear interior lights
(• ' .,;,I
~~~
8 8
O. ~O
l
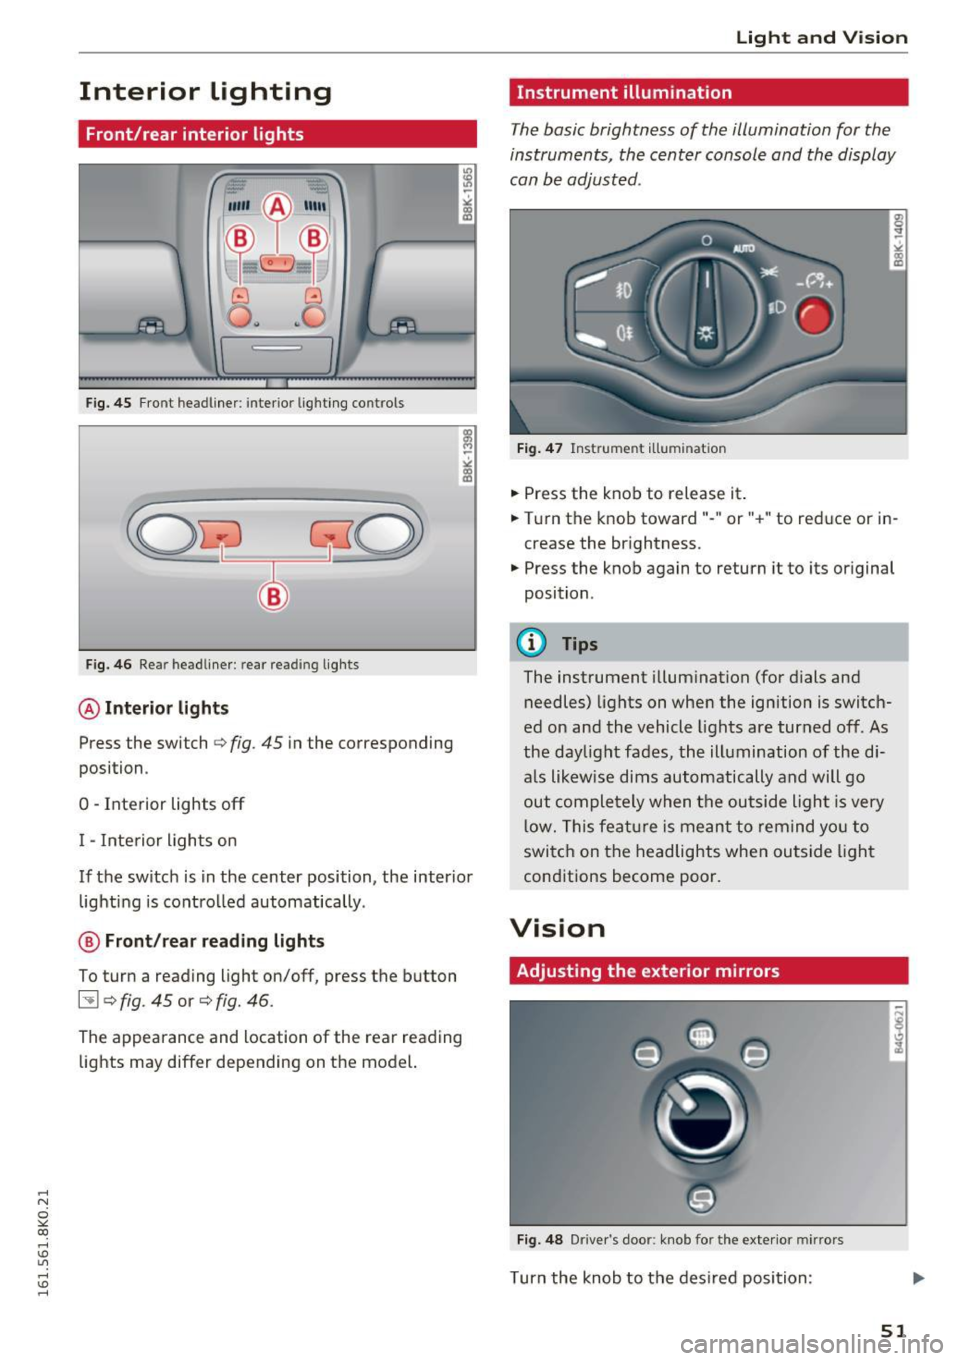
Fig. 45 Front headl iner : interio r lighting co ntrols
Fig. 46 Rear headliner : rear re ading lights
@Interior lights
Press the switch Qfig . 45 in the corresponding
position .
0 -Interior lights off
I - Interior lights on
If the switch is in the center position, the interior lighting is controlled automatically .
@ Front/rear re ading lights
To turn a reading light on/off, press the button
~ Q fig. 45 or Q fig. 46.
The appearance and location of the rear reading
lights may differ depending on the model.
Light and Vision
Instrument illumination
The basic brightness of the illumination for the
instruments, the center console and the display
can be adjusted .
Fig. 47 Instrume nt illumin atio n
• Press the knob to release it .
• Turn the knob toward"- " or"+" to reduce or in
crease the brightness .
• Press the knob again to return it to its o riginal
position .
@ Tips
The instrument illumination (for dials and
needles) lights on when the ignition is switch
ed on and the vehicle lights are turned off. As
the daylight fades, the illumination of the di
a ls likewise dims automatically and will go
out completely when the outside light is very
low. This feature is meant to remind you to
switch on the headlights when outside light
conditions become poor.
Vision
Adjusting the exterior mirrors
Fig. 48 Driver 's doo r: kno b fo r the exterio r mirrors
Turn the knob to the desired position :
51
Page 54 of 278
Light and Vision
Q/P -Adjusting the left/right exter ior mir ror.
Move th e knob in the des ired direction.
(@. -Heat ing the m irro r glass depending on the
ou tside temperat ure*.
.9 -Folding exterior mirrors* . In the Infotain
men t system, you can select if the mirrors fold in
automatically when you lock the vehicle
¢ page 36.
Front passenger's exterior mirror tilt
function*
To help you see the curb when ba cking in to a
pa rking space , the surface of the mirror tilts
slightly. For this to happen, the knob must be in
the posit ion for the front passenger's outs ide
mirror.
You can adjust the ti lted mi rror sur fa ce by turn
ing the knob in the desired direction. When you
move out of reverse and into another gear, the
new mirror position is sto red and assigned to the
key yo u are using.
The mirror goes back into its o riginal position
once yo u drive forward faster than 9 mph
(15 km/h) or tu rn the ignition off .
A WARNING
Curved mirror surfaces (convex or spherical *)
increase your f ield of view. Remember that
vehicles or other objects will appear smaller
and fa rther away than when seen in a flat mir
ror. If you use t his mirro r to est imate distan
ces of following vehicles whe n cha ng ing
lanes, yo u co uld estimate incor rectly and
c ause an accident .
(D Note
-If the mir ror housing was moved by outs ide
fo rces (such as an impac t when maneuver
in g), y ou must use the powe r fo ldi ng func
tion to fold the mirro r all the way out . The
mirror housing must not be moved back in
to place by hand beca use this would impa ir
the function of the m irror mechanism.
- If you wash the ve hicle in an automatic car
wash, yo u m ust fold the exte rior m irrors i n
to reduce the risk of damage to the mirrors.
52
N ever fold power fold ing ex terior mirrors *
by hand . On ly fold them in and out using
the power controls .
(D Tips
-If the power adjusting function malfunc
tions, the glass in both mirrors can be ad
justed by p ressing on the edge of it by hand .
- The exte rior m irro r settings are sto red w it h
the memory function* ¢
page 63.
Dimming the mirrors
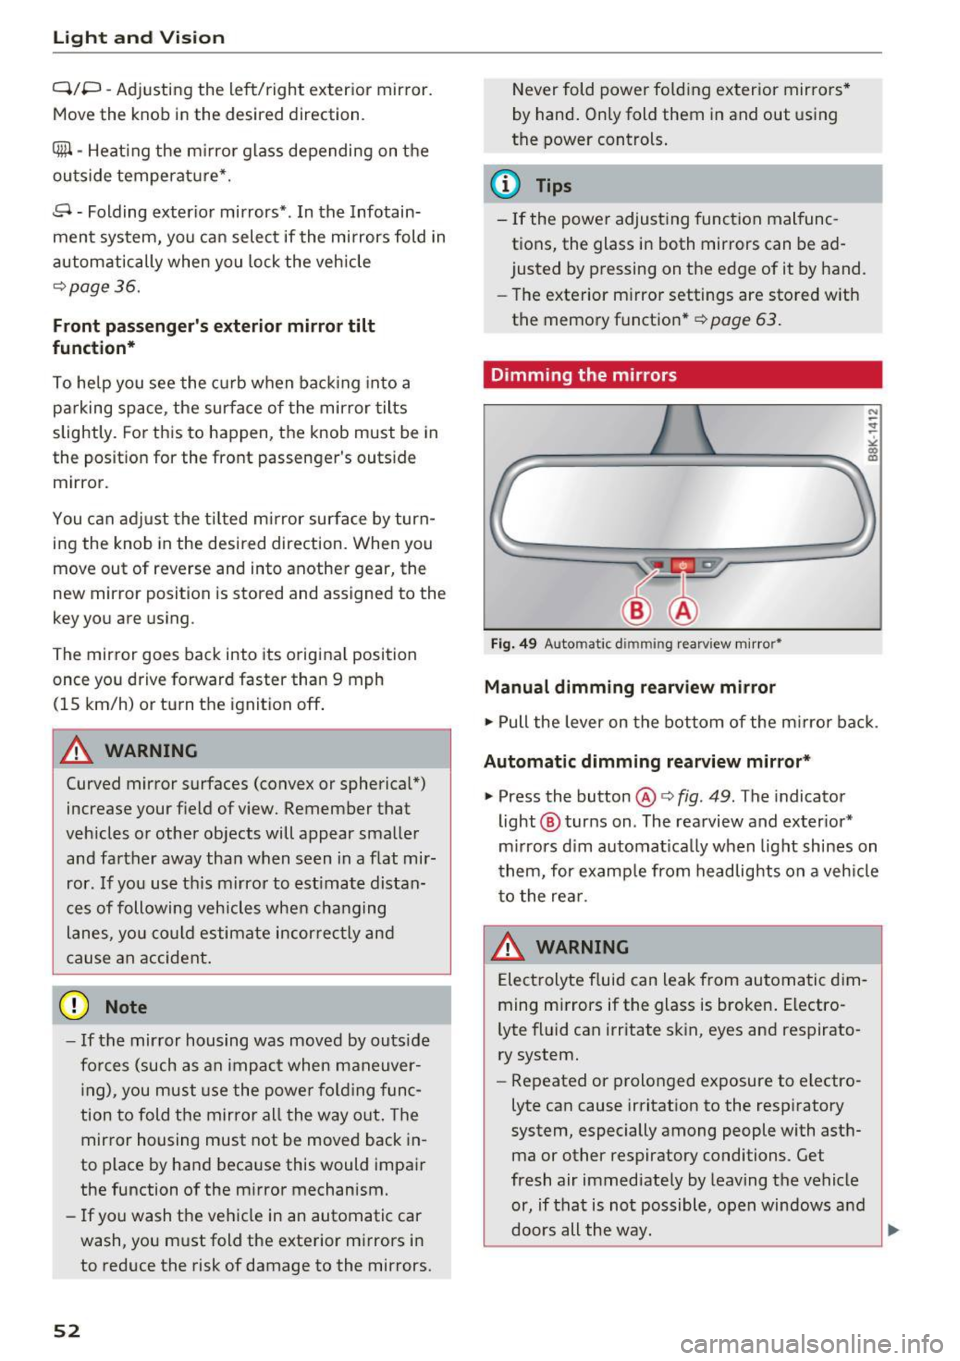
Fig. 49 Automat ic d immin g rear view m irro r•
Manual dimming rearview mirror
.,. Pull the lever on the bottom of the m irror ba ck .
Automatic dimming rearview mirror *
.,. Press the button@¢ fig. 49. The indicator
light @ turns on . The rearview and ex ter ior*
m irrors d im au tomat ica lly when light shines on
t hem, for e xamp le from headlig hts on a veh icle
to the re ar.
A WARNING
Electrolyte f luid can leak from automa tic di m
ming mi rrors if the glass is broken . Electro
lyte fl uid can irritate s kin, eyes and respirato
ry system.
- Repeated or prolonged exposure to electro
lyte ca n cause irritation to the respiratory
system, especially among people with asth ma or other respiratory conditions . Get
fresh air immediately by leaving the vehicle
or, if that is not possible, open windows a nd
doors all the way. ..,.
Page 55 of 278
.... N
0
""' CX)
.... I.Cl U"I
.... I.Cl ....
-If electrolyte gets into the eyes, flush them
thoroughly with large amounts of clean
water for at least 15 minutes; medical at
tention is recommended.
- If electrolyte contacts skin, flush affected
area with clean water for at least 15 mi
nutes and then wash affected area w ith
soap and water; medical attention is recom
mended. Thoroughly wash affected clothing
and shoes before reuse.
- If swallowed and person is conscious, rinse mouth with water for at least 15 m inutes.
Do not induce vomiting unless instructed to
do so by medical profession al. Get medical
attent ion immed iate ly.
(D Note
Liquid elect rolyte leaking from broken m irror
glass will damage any p lastic surfaces it
comes in co ntac t wi th. C lean up sp illed ele c
t rolyte immediately with clean water and a
sponge .
@ Tips
-Switch ing off the d imm ing f unction of the
i nside rear v iew m irror also deact ivates the
automat ic dimming function of the exterior
mirrors.
- Automat ic dimming for the m irror on ly op
erates properly if the sun shade* for the
rear window is not in use or the light strik
ing the ins ide mirror is not hindered by oth
er objects.
- The automatic d imm ing mirrors do not dim
when the interior lighting is turned on or
the reverse gear is selected .
Light and Vis ion
Sun visors
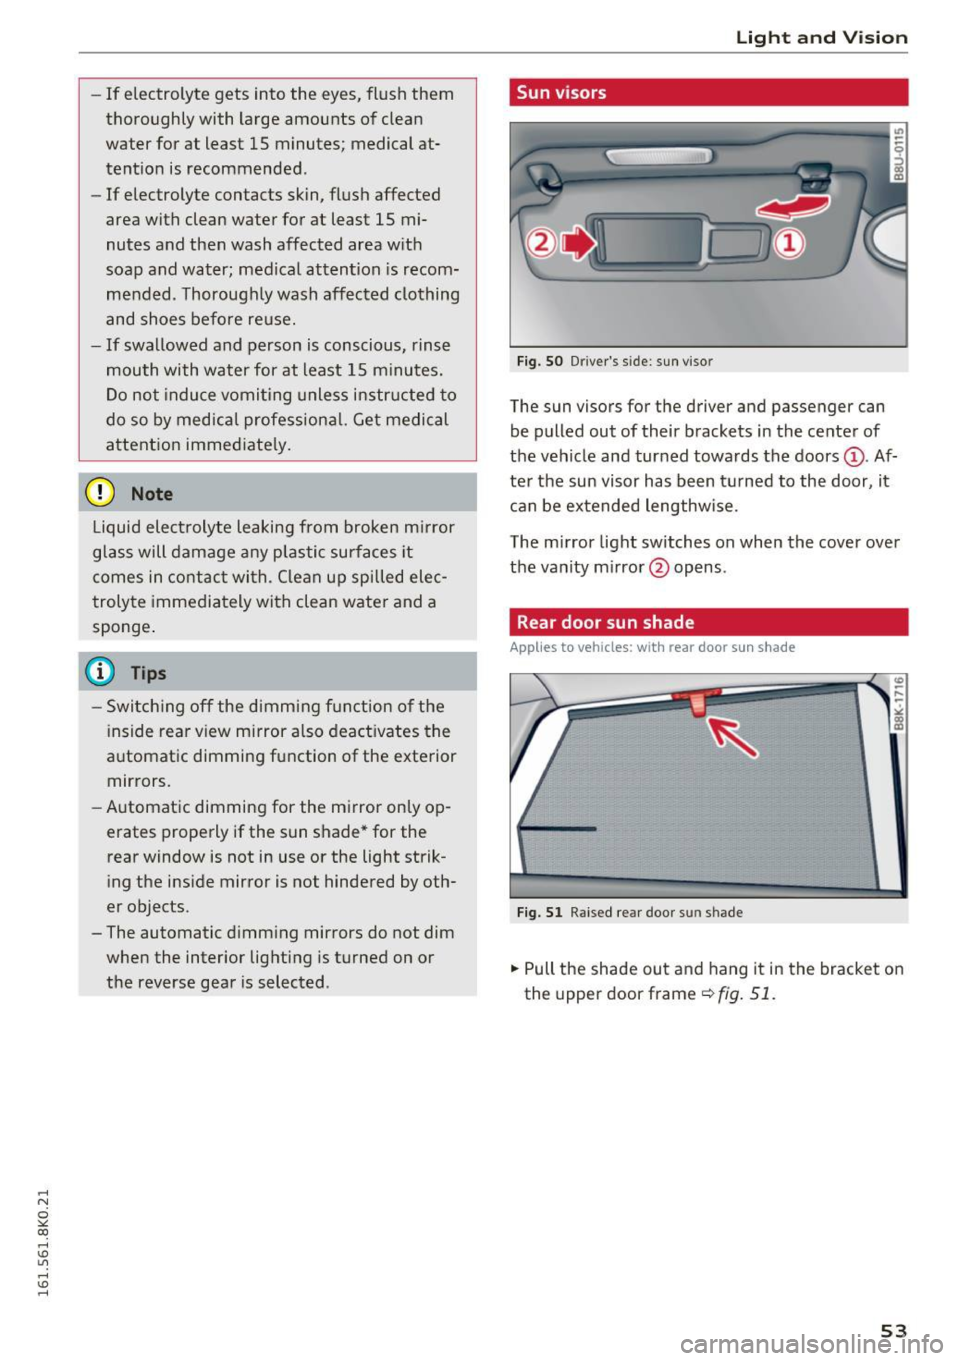
Fig. 50 D rive r's s ide: sun viso r
The sun visors for the driver and passenger can
be pulled out of their brackets in the center of
the vehicle and turned towards the doors
(D . Af
ter the sun visor has been t urned to the door, it
can be extended lengthwise.
The m irror light switches on when the cover over
the vanity m irror @opens .
Rear door sun shade
Applies to veh icles: w ith rear door sun shade
F ig. 5 1 Raised rear doo r sun shade
.,. Pull the shade out and hang it in the bracket on
the upper door frame~
fig. 51 .
53
Page 56 of 278

Light and Vision
Rear window sun shade
Applies to vehicles: with rear window sun shade
Fig. 52 With MMI: Button for rear window sun shade
F ig. 53 Withou t MMI: Button for rear window sun shade
• To extend/retract the sun shade, press the [iii)
button ¢ fig. 52 or ¢ fig. 53.
You can adjust the settings for the rear sun shade
so the shade retracts automatically when you se
lect the reverse gear. To do th is, select the
I CAR !
function button>
Window s> Rear blind > auto
matic > on
or! CAR ! function button> C ar sy s
tem s*
control button > Vehicle settings > Auto
matic rear blind > On .
The current se tting is au
tomatically stored and assigned to t he remo te
key. The sun shade is extended again as soon as
the vehicle is traveling forward at a speed greater
than 9 mph (15 km/h) if the ignition has not
been switched off in the meant ime.
A WARNING
Whe n lowering or ra is ing the sunshade, make
sure there is nothing in its way and that it has
a free path to travel. This could cause person
al injury.
54
@ Tips
- Pressing the button~ several times con
secut ive ly can t rigger the overload protec
t ion. The sun shade can only be extended/
retracted again after a brief wait ing per iod .
- The rear window sun shade o nly functions
when the veh icle inter ior is warmer than
14°F (-10°C).
Windshield wipers
Switching the windshield wipers on
f
• ®
• @
·®
• @
•®
Fi g. 54 Windshield wiper lever
* (!) ~ @
Fig. 55 allroa d: Rear wipe r actuat ion
Move the windshie ld w iper lever to the co rre
sponding posi tion:
@ -Windshie ld w iper off
0
0
~
"'
"
i ntervals, move the switch @ to the left/right. In
vehicles with a rain sensor* the wipers turn o n in
the rain once the vehicle speed exceeds approx i
mately 2 mph (4 km/h). The higher the sensitivi-
ty of the rain senso r* is set (sw itch @ to the
r ight), t he earlier the wi ndshield wipe rs reac t to
moist ure on the w indshield. In some models, yo u ..,.
Page 57 of 278

..... N
0 ::..:: co .....
mi ttent mode on in the MMI*. Select: I CARlfunc
tion button
> Ca r sys te m s* control button > Driv·
er a ssist
> Ra in se nsor . In interm ittent mode,
you c an adju st the interva l time u sing the @
switch .
@-Slow wiping
@-Fast wiping
© -Sing le wipe
® -Clean the windshield . To elimina te w ater
droplets, the windshield wiper performs one af
terwipe operat ion after several seconds while
driving . You can sw itch this function off by mov
i ng the lever to position ® within
10 seconds of
the afterwipe operat ion. The afte rw ipe funct io n
is reactivated the next t ime the ignit io n is switch
ed on.
allroad: The rear wiper automatically switches on
when the reverse gear is engaged and the fro nt
windsh ie ld w ipers are on and in operation .
C lean ing the headlights* . The headlight washer
system* ope rates on ly when t he headlights a re
on .
If you move t he leve r to pos ition ®· the
h eadligh ts a re washed in intervals.
@ -allroad: Wipe the rear window . The rear wip
e r moves about every 4 seconds.
(J) -allroad: Clean the rear window . The number
of wip ing operations depends on how long the
lever is held in posit ion
(J) .
A WARNING
- T he rain senso r is only intended to assist the
dr iver. The driver is still responsib le for
man ua lly switching the wipers on accord ing
to the visibility conditions.
- T he windshie ld may not be treated wi th wa
ter -repell ing windsh ield coa ting agents . Un
favorable conditions, s uch as wetness, dark
ness, low sun, can result in increased glare.
Wiper blade chatter is also possible .
- Properly function ing windshield wiper
blades are required for a clear view and safe
dr iv ing ¢
page 56, Replacing windshield
wiper blades .
Light and Vision
(D Note
-In the case of frost, check whether the
w indshield wiper blades are frozen to the
w indshield. Switching on the w indshield
w ipers can damage the w iper blades!
- Pr ior to using a car wash, the w indshield
w iper system must be sw itched off (lever in
position @). This helps to prevent un inten
tional switch ing on and damage to the
w indshield wiper system .
(D Tips
-The windshie ld w ipers are switched off
when the ig nit ion is turned off . Act ivate the
w indshield wipers after the ignition is
switched back on by moving the w indshield
w iper lever to a ny position.
- Worn or dirty windshie ld w iper blades resu lt
in st reaking. This can affect the rain sensor*
function. Che ck your w indshield w iper
blades reg ularly.
- T he washer f luid noz zles of the w indshie ld
washer system a re heated at low tempera
t u res when the ign ition is on .
- When s topping tempo rar ily, (e .g . at a t raf
fic ligh t) the set speed of the winds hield
wipers is a utomatically reduced by one
speed .
Cleaning windshield wiper blades
Clean the windshie ld wipe r blades when they be
gin to leave st reaks. Use a soft cloth and gla ss
cleaner to clean the windshield wiper blades.
Front wip er
.,. Place the windshie ld wiper arms in the service
position. R efe r to
c::> page 56 .
.,. Lift the w iper a rm away from the front window.
Rear wiper*
.,. Lift the w iper arm away from the rear w indow .
A WARNING p.----
Dirty windshie ld wiper blades can impair yo ur
v iew. This can lead to accidents .
55
Page 58 of 278
Lig ht a nd Visio n
Replacing windshield wiper blades
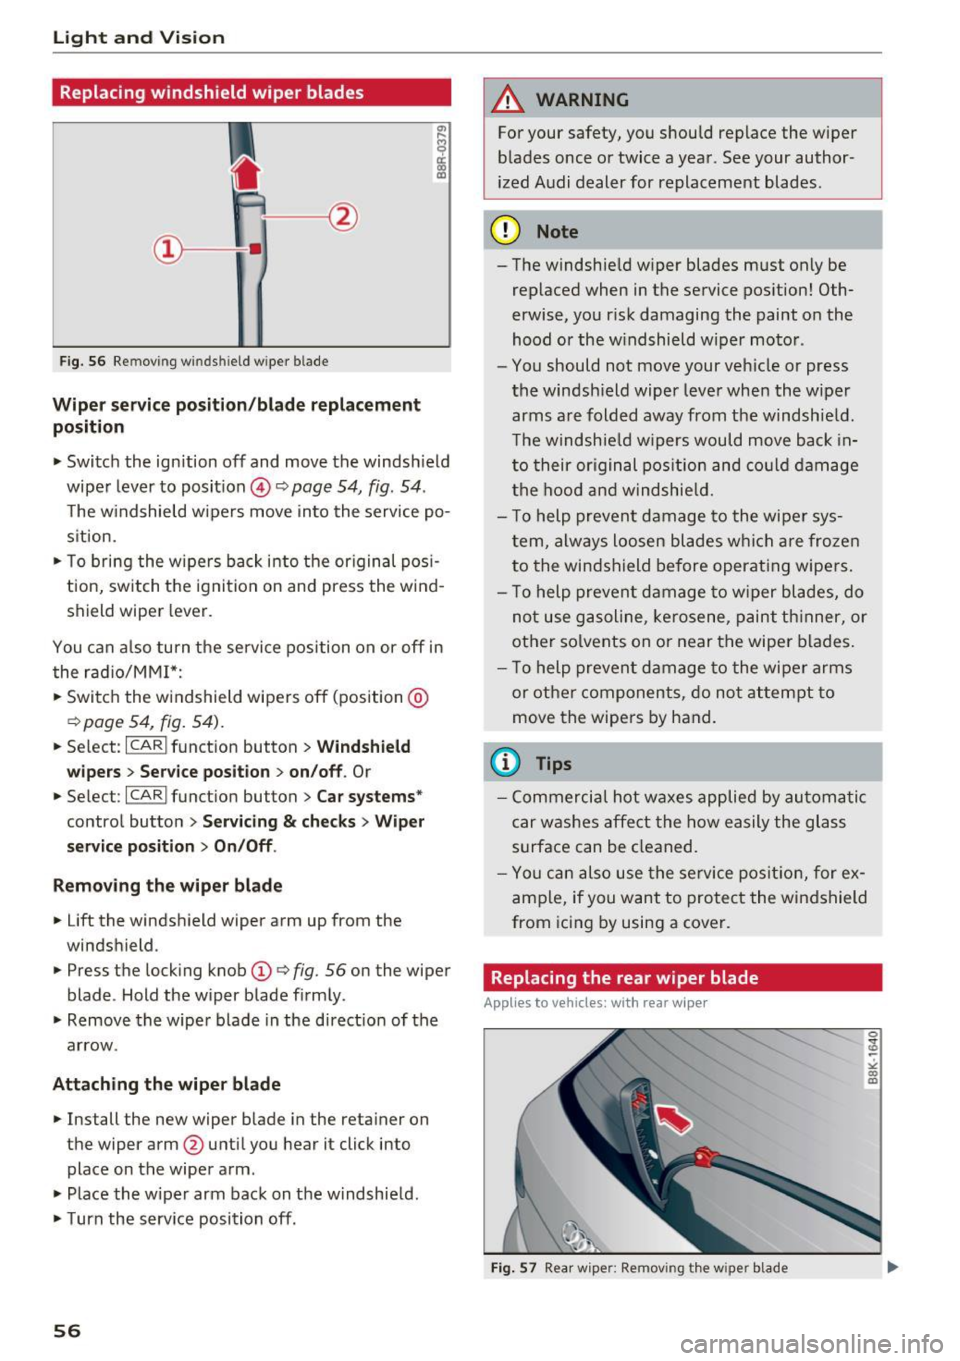
Fig. 56 Re mov ing w indshi eld w iper blade
Wiper service po siti on/b la de r eplac em ent
po sit ion
• Switch the ignition off and move the windsh ield
wiper lever to position @
Q page 54, fig. 54 .
The w indshield wipers move into the service po
sition.
• To bring the wipers back into the or iginal pos i
tion, switch the ignition on and press the wind
shield w iper lever.
You can a lso turn the service position on or off in
the radio/MM!*:
• Switch the windshield wipers off (position @
Qpage 54, fig. 54) .
• Select : ICARI function button > Windshi eld
wi pers > Servic e posit ion > on/off .
Or
• Select :
I CARI funct ion button > C ar syst ems*
control button > Servici ng & ch ecks > W ip er
se rvic e po sition
> O n/Off .
R emo ving th e wiper blad e
• Lift the w indshield w iper arm up from the
windshield.
• Press the locking knob
(D Q fig. 56 on the wiper
blade . Hold the wiper blade firmly .
• Remove the wiper b lade in the direct ion of the
arrow.
Attaching th e wiper blade
• Install the new wiper blade in the reta iner on
the wiper arm @untilyou hear it click into
place on the wiper arm .
• Place the w iper arm back on the w indshie ld.
• Turn the service position off.
56
A WARNING
For your safety, you should replace the wiper
blades once or twice a year . See your author
ized A udi dealer for replacement blades.
(D Note
- The windshield w iper blades must only be
replaced when in the service pos ition! Oth
erwise, you r isk damaging the paint on the
hood or the w indshield wiper motor .
- You should not move your vehicle or press
the windsh ield wiper lever when the wiper
arms are folded away from the windshie ld.
T he windshield w ipers would move back in
to their original pos ition and co uld damage
the hood and windshie ld.
- T o help prevent damage to the wiper sys
tem, always loosen blades which a re froze n
to the windshield before operat ing wipers.
- T o help prevent damage to w iper blades, do
not use gasoline, ke rosene, paint th inner, or
other solvents on or near the wiper blades.
- T o help prevent damage to the wiper arms
or othe r componen ts, do no t at tempt to
move the wipers by hand.
(l} Tips
- Commercia l hot waxes applied by automatic
car washes affect the how easily the glass
surface can be cleaned.
- You can also use the service pos it ion, for ex
ample, if you want to protect the windshield
from icing by using a cover .
Replacing the rear wiper blade
Applies to vehicles: with rear wipe r
Fig . 57 Rear wipe r: Remov ing t he w ipe r blade
Page 59 of 278

,....,
N
0
""' CX) ,....,
I.Cl U"I ,....,
I.Cl ,....,
Removing the wiper blade
• Fold the windshield wiper arm away from the
windshield.
• Pull the wiper blade and holder out of the
mount.
Attaching the wiper blade
• Press the wiper b lade holder in the arrow di rec
t ion
r::!> fig . 57 into the mount .
• Fold the windshield wiper arm back onto the
windshield.
A WARNING
For safety reasons, the windshield wiper
blades should be replaced once or tw ice each
year.
Digital compass
Switching the compass on and off
Applies to vehicles: with digital compass
The compass direction is shown in the rearview
mirror.
F ig . 58 Rea rview mirror: Digita l compass ac tivated
• To switch the compass on or off, press and hold
the button @until the compass display in the
mirror
r::!> fig. 58 appears or disappears.
The digital compass only works when the ignition is on. The directions are indicated with abbrevia
tions :
N (north), NE (northeast), E (east), SE
(southeast) , S (south), SW (southwest), W
(west), NW (northwest) .
Light and Vision
(D Tips
To prevent inaccurate compass readings, do
not bring any remote controls, electrical devi
ces or metallic objects near the mirror.
Adjusting the magnetic zone
Applies to vehicles: with digital compass
The magnetic zone must be adjusted correctly
for the compass to read accurately.
®
Fig. 59 North A meri ca: magnetic deflect io n zone bounda
ries
" Press and hold the button@r::!> fig. 59 until the
number of the magnetic zone appears in the
rearview mirror.
" Press the button @ repeated ly to select the
correct magnetic zone. The selection mode
turns off after a few seconds .
Calibrating the compass
Applies to vehicles: with digital compass
You must recalibrate the compass if it does not
display the correct direction.
" Press and hold the button @until a C appears
in the rearview mirror.
• Dr ive in a circle at about 6 mph (10 km/h) until
a direction is displayed in the rearview mirror. ..,.
57
Page 60 of 278

Light and Vi sion
A WARNING
- To avoid endangering yourself and other
drivers, calibrate the compass in an area
where there is no traffic .
- The digital compass is to be used as a d irec
t ional aid only . Even though you may want
to look at it while you are driv ing, you must
sti ll pay attention to traffic, road and
weather cond itions as well as other possible
hazards.
5 8