infotainment AUDI A4 2017 Owners Manual
[x] Cancel search | Manufacturer: AUDI, Model Year: 2017, Model line: A4, Model: AUDI A4 2017Pages: 386, PDF Size: 96.32 MB
Page 4 of 386
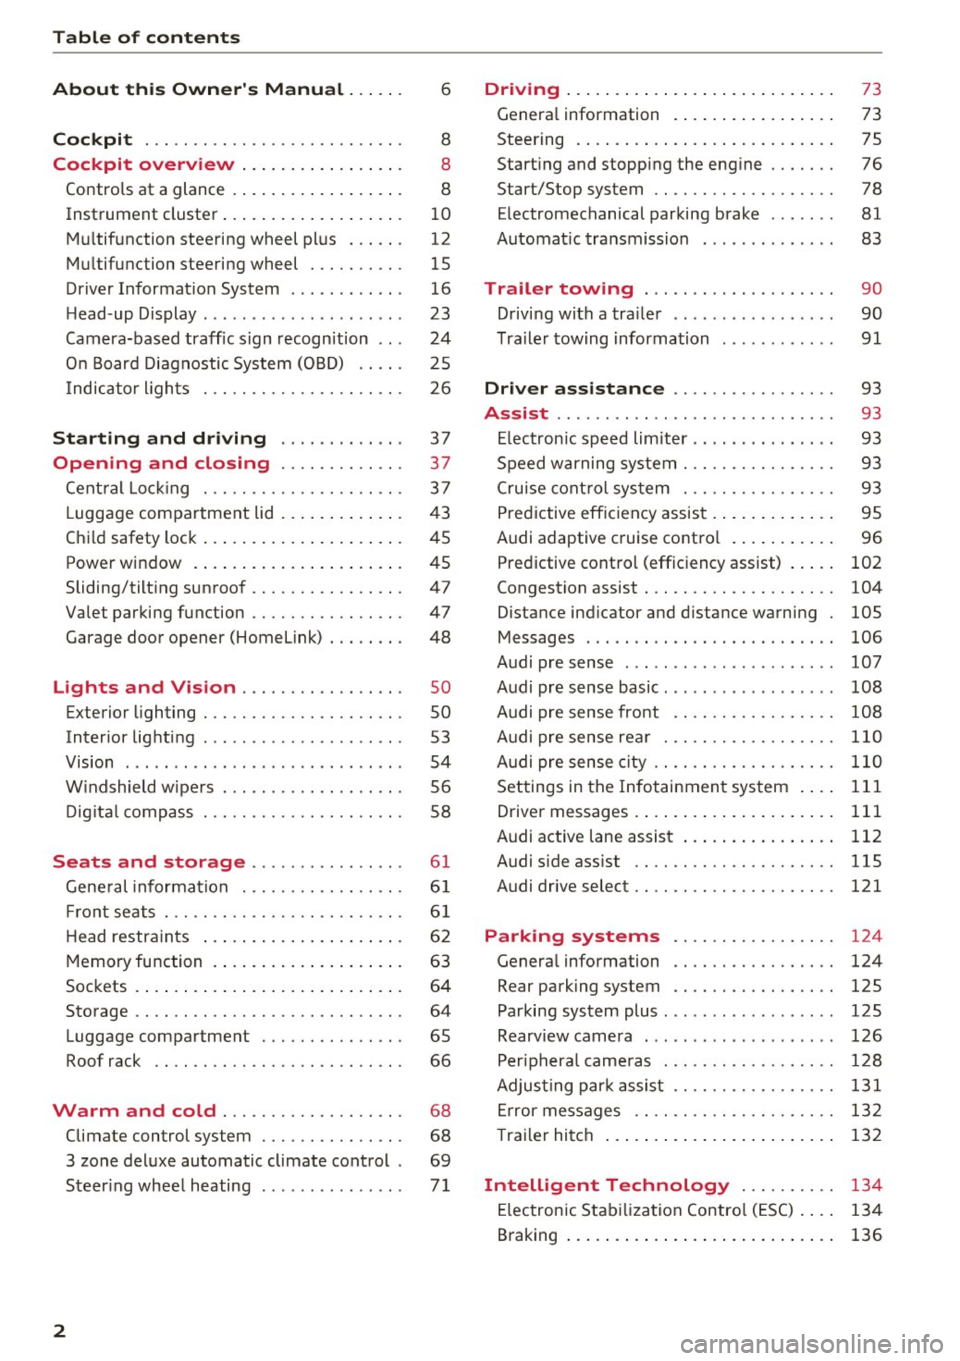
Table of contents
About this Owner's Manual ... .. .
Cockpit ... .. ............... .... .. .
Cockpit overview ................ .
Controls at a glance ... .......... .. .. .
Instrument cluster .. .......... .. .. .. .
Multifunction steering wheel plus ... .. .
Multifunction steering wheel ......... .
Driver Informat ion System ..... .. .... .
H ead-up Display .... .. .. ..... ... .. .. .
Camera-based traff ic sign recognition .. .
O n Board Diagnostic System (OBD) .... .
I ndicator l ights .............. .... .. .
Starting and driving
Opening and closing Cent ral Lock ing .............. .... .. .
L uggage compa rtment lid ... ..... .. .. .
Child safety lock .... .......... .. .. .. .
Power window ... .. .......... .. .. .. .
Sliding/tilting sunroof ......... .... .. .
Valet parking function ............. .. .
Garage door opener (Homelink) . .. .. .. .
L ights and Vision .............. .. .
Exterior lighting . .. . .......... .. .. .. .
Interior lighting ...... ........... ... .
V1s1on ....... .. ................ ... .
Windshield wipers . ... .... .... .. .. .. .
Digital compass . ............. .... .. .
Seats and storage ............ ... .
General information .......... .. .. .. . 6
8
8
8
10
12
15
16
23
24
25
26
37
37
3 7
43
45
45
47
47
48
so so
53
54
56
58
6 1
61
Front seats . . . . . . . . . . . . . . . . . . . . . . . . . 61
H ead restraints . . . . . . . . . . . . . . . . . . . . . 62
Memory function . . . . . . . . . . . . . . . . . . . . 63
Sockets . . . . . . . . . . . . . . . . . . . . . . . . . . . . 64
Storage . . . . . . . . . . . . . . . . . . . . . . . . . . . . 64
Luggage compartment . . . . . . . . . . . . . . . 65
Roof rack . . . . . . . . . . . . . . . . . . . . . . . . . . 66
Warm and cold . . . . . . . . . . . . . . . . . . . 68
Climate control system . . . . . . . . . . . . . . . 68
3 zone deluxe automatic climate control . 69
Steer ing whee l heating . . . . . . . . . . . . . . .
7 1
2
Driving ..... .. .. .. .. ... .......... . .
General information . ... ........... . .
Steering .......... .. .. . .......... . .
Start ing and stopping the eng ine ..... . .
Start/Stop system .. .. ............. . .
E le ctromechanical parking brake ...... .
Automat ic transmission
Trailer towing ... .. ... .. ..... ... . .
Driving with a trailer .. ........ ..... . .
Trailer towing information
Driver assistance .. ............ .. .
Assist ........... ... .............. .
Electronic speed limiter ... .. ... ... .. . . 73
73
75
76
78
81
83
90
90
91
93
93
93
Speed warning system . . . . . . . . . . . . . . . . 93
Cruise control system . . . . . . . . . . . . . . . . 93
Predictive efficiency assist . . . . . . . . . . . . . 95
Audi adaptive cruise control . . . . . . . . . . . 96
Predictive control (efficiency assist) . . . . .
102
Congestion assist . . . . . . . . . . . . . . . . . . . . 104
Distance ind icator and distance warning 105
Messages . . . . . . . . . . . . . . . . . . . . . . . . . . 106
Audi pre sense . . . . . . . . . . . . . . . . . . . . . . 107
Audi pre sense basic. . . . . . . . . . . . . . . . . . 108
Audi pre sense front . . . . . . . . . . . . . . . . . 108
Audi pre sense rear . . . . . . . . . . . . . . . . . . 110
Audi pre sense city . . . . . . . . . . . . . . . . . . . 110
Settings in the Infotainment system . . . . 111
Driver messages . . . . . . . . . . . . . . . . . . . . . 111
Audi active lane assist . . . . . . . . . . . . . . . . 112
Audi sid e ass ist . . . . . . . . . . . . . . . . . . . . . 115
Audi drive select . . . . . . . . . . . . . . . . . . . . . 121
Parking systems . . . . . . . . . . . . . . . . . 124
Genera l information . . . . . . . . . . . . . . . . . 124
Rear parking system . . . . . . . . . . . . . . . . . 125
Parking system plus . . . . . . . . . . . . . . . . . . 125
Rearview camera . . . . . . . . . . . . . . . . . . . . 126
Peripheral cameras . . . . . . . . . . . . . . . . . . 128
Adjusting park assist . . . . . . . . . . . . . . . . . 131
Error messages . . . . . . . . . . . . . . . . . . . . . 132
T railer hitch . . . . . . . . . . . . . . . . . . . . . . . . 132
Intelligent Technology . . . . . . . . . . 134
Electronic Stabilization Control (ESC) . . . . 134
Braking . . . . . . . . . . . . . . . . . . . . . . . . . . . . 136
Page 5 of 386
<( a, .... N ,....
N .... 0 0
3 a,
Electromechanical power steering,
dynamic steering . . . . . . . . . . . . . . . . . . . . 137
All whee l drive (quattro) . . . . . . . . . . . . . . 137
Energy management . . . . . . . . . . . . . . . . . 138
Notice about data recorded by the Event
Data Recorder and vehicle control
modules . . . . . . . . . . . . . . . . . . . . . . . . . . . 139
Infotainment system . . . . . . . . . . . . 141
Multi Media Interface . . . . . . . . . . . . 141
Traffic safety information . . . . . . . . . . . . . 141
Introduction . . . . . . . . . . . . . . . . . . . . . . . . 141
MMI On/Off knob w ith joyst ick function. . 141
Infotainment system display . . . . . . . . . . 142
Operating the MMI . . . . . . . . . . . . . . . . . . 142
MMI touch . . . . . . . . . . . . . . . . . . . . . . . . . 144
Control knob with joystick function . . . . . 146
Shortcut keys . . . . . . . . . . . . . . . . . . . . . . . 147
Letter/number speller . . . . . . . . . . . . . . . . 148
Free text search . . . . . . . . . . . . . . . . . . . . . 149
Menus and Symbols . . . . . . . . . . . . . . . . . . 150
Voice recognition system . . . . . . . . 153
Operating . . . . . . . . . . . . . . . . . . . . . . . . . . 152
Command overview information . . . . . . . . 154
Commands . . . . . . . . . . . . . . . . . . . . . . . . . 154
Telephone . . . . . . . . . . . . . . . . . . . . . . . . 160
Introduction . . . . . . . . . . . . . . . . . . . . . . . . 160
Setup . . . . . . . . . . . . . . . . . . . . . . . . . . . . . 160
Using the telephone . . . . . . . . . . . . . . . . . 162
F avorites . . . . . . . . . . . . . . . . . . . . . . . . . . . 165
Messages . . . . . . . . . . . . . . . . . . . . . . . . . . 165
List ening to voicemail . . . . . . . . . . . . . . . . 168
Directory. . . . . . . . . . . . . . . . . . . . . . . . . . . 168
Additional settings . . . . . . . . . . . . . . . . . . 170
Troubleshooting ..... .... .... ... .. .. . 171
Audi connect (Infotainment) . . . . 172
Introduction . . . . . . . . . . . . . . . . . . . . . . . . 172
Using a personal Wi- Fi hotspot . . . . . . . . . 172
Configuration through myAudi . . . . . . . . . 173
Opening Audi connect (Infotainment) . . . 173
Aud i connect (Infotainment) services . . . . 173
W i-F i hotspot . . . . . . . . . . . . . . . . . . . . . . . 177
Configuring the data connection . . . . . . . . 178
Audi connect (Infotainment) informat ion 178
Troubleshooting . . . . . . . . . . . . . . . . . . . . . 180
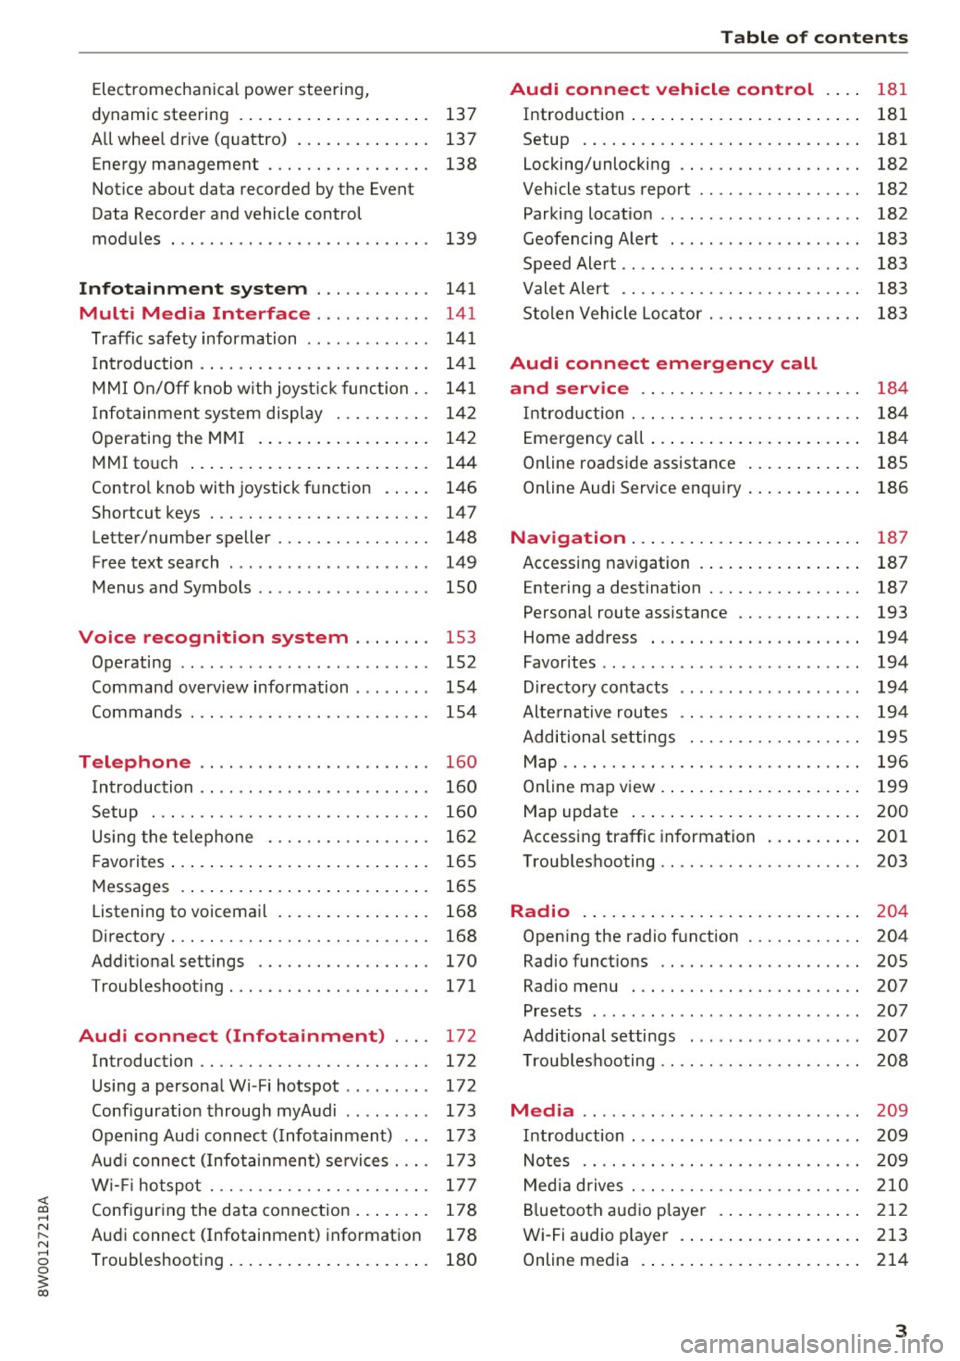
Table of contents
Audi connect vehicle control . . . .
181
Introduction . . . . . . . . . . . . . . . . . . . . . . . . 181
Setup . . . . . . . . . . . . . . . . . . . . . . . . . . . . . 181
Locking/unlocking . . . . . . . . . . . . . . . . . . . 182
Vehicle status report . . . . . . . . . . . . . . . . . 182
Parking location . . . . . . . . . . . . . . . . . . . . . 182
Geofencing Alert . . . . . . . . . . . . . . . . . . . . 183
Speed Alert . . . . . . . . . . . . . . . . . . . . . . . . . 183
Valet Alert . . . . . . . . . . . . . . . . . . . . . . . . . 183
Stolen Vehicle Locator . . . . . . . . . . . . . . . . 183
Audi connect emergency call
and service . . . . . . . . . . . . . . . . . . . . . . .
184
Introduction . . . . . . . . . . . . . . . . . . . . . . . . 184
Emergency call . . . . . . . . . . . . . . . . . . . . . . 184
Online roadside assistance . . . . . . . . . . . . 185
Online Audi S ervice enquiry . . . . . . . . . . . . 186
Navigation . . . . . . . . . . . . . . . . . . . . . . . . 187
Accessing navigation . . . . . . . . . . . . . . . . . 187
Entering a destination . . . . . . . . . . . . . . . . 187
Personal route assistance . . . . . . . . . . . . . 193
Home address . . . . . . . . . . . . . . . . . . . . . . 194
Favorites . . . . . . . . . . . . . . . . . . . . . . . . . . . 194
Directory contacts . . . . . . . . . . . . . . . . . . . 194
Alternative routes . . . . . . . . . . . . . . . . . . . 194
Additional settings . . . . . . . . . . . . . . . . . . 195
Map...... .. .. . ... ......... ...... .. 196
Online map view. . . . . . . . . . . . . . . . . . . . . 199
Map update . . . . . . . . . . . . . . . . . . . . . . . . 200
Accessing traffic information . . . . . . . . . . 201
Troubleshooting . . . . . . . . . . . . . . . . . . . . . 203
Radio ........ .. .. ................ . 204
Opening the radio function . . . . . . . . . . . . 204
Radio functions . . . . . . . . . . . . . . . . . . . . . 20S
Radio menu . . . . . . . . . . . . . . . . . . . . . . . . 207
Presets . . . . . . . . . . . . . . . . . . . . . . . . . . . . 207
Additional settings . . . . . . . . . . . . . . . . . . 207
T roubleshooting . . . . . . . . . . . . . . . . . . . . . 208
Media ........ .. .. ... ........... ... 209
Introduction . . . . . . . . . . . . . . . . . . . . . . . . 209
Notes .. .. .... .. .... ............. .. 209
Media drives . . . . . . . . . . . . . . . . . . . . . . . . 210
Bluetooth audio player . . . . . . . . . . . . . . . 212
Wi-Fi audio player . . . . . . . . . . . . . . . . . . . 213
Online media . . . . . . . . . . . . . . . . . . . . . . . 214
3
Page 11 of 386
<( a, .... N ,....
N .... 0 0
3 a,
(!) side assist displays, warning abo ut
exiting the vehicle ..... ... .. .. .
@ Door handle
@ Cent ral locking switch ....... .. .
@ Memory buttons ........... .. .
® Vent
® Thumbwhee l for vent
(J) Lever for:
- T urn signals and h igh beams
- Headl ight assistant ......... .
- Active lane assist .. ..... ... . .
- Congestion assist ....... .. .. .
@ Mul tifunction steer ing wheel with:
- Horn
- Driver's airbag . ..... ... .. .. .
- Drive r information system con -
t rols .. .. ............. .. .. .
- Audio/v ideo, telephone, nav iga
t ion and voice recognition con-
trols . ... .... .. .... ... .. .. .
- Button ~/steering wheel heating
- Sh ift paddles .............. .
® Instrument cluster ....... .. .. .
@
@
@
@
~
@
Reset trip odometer ........ .. .
W indshie ld w asher system lever
Emergency flashers .... ... .. .. .
Knee a irbag ........ ... .. ... . .
Adjustable steer ing column
Lever for:
- Cruise cont rol system ..... .. .
- Adaptive cruise cont rol .. ... . .
@ Instrument i llum ination ... .. .. .
@ Data link connector for On Board
Diagnostic System (OBD II) .. .. .
@ H ood release . ........... .. .. .
@ Button for switching the Head-up
d isplay on/off, adjust ing the
height .. .. ............... .. .
@ Lig ht switch ............... .. .
@ Buttons for :
- All weather lights
llS
41
63
5 1
5 1
112
104
25 7
12, 15
14, 15
1 4
86
10
12
56
53
269
75
93
96
54
25
305
23 50
50
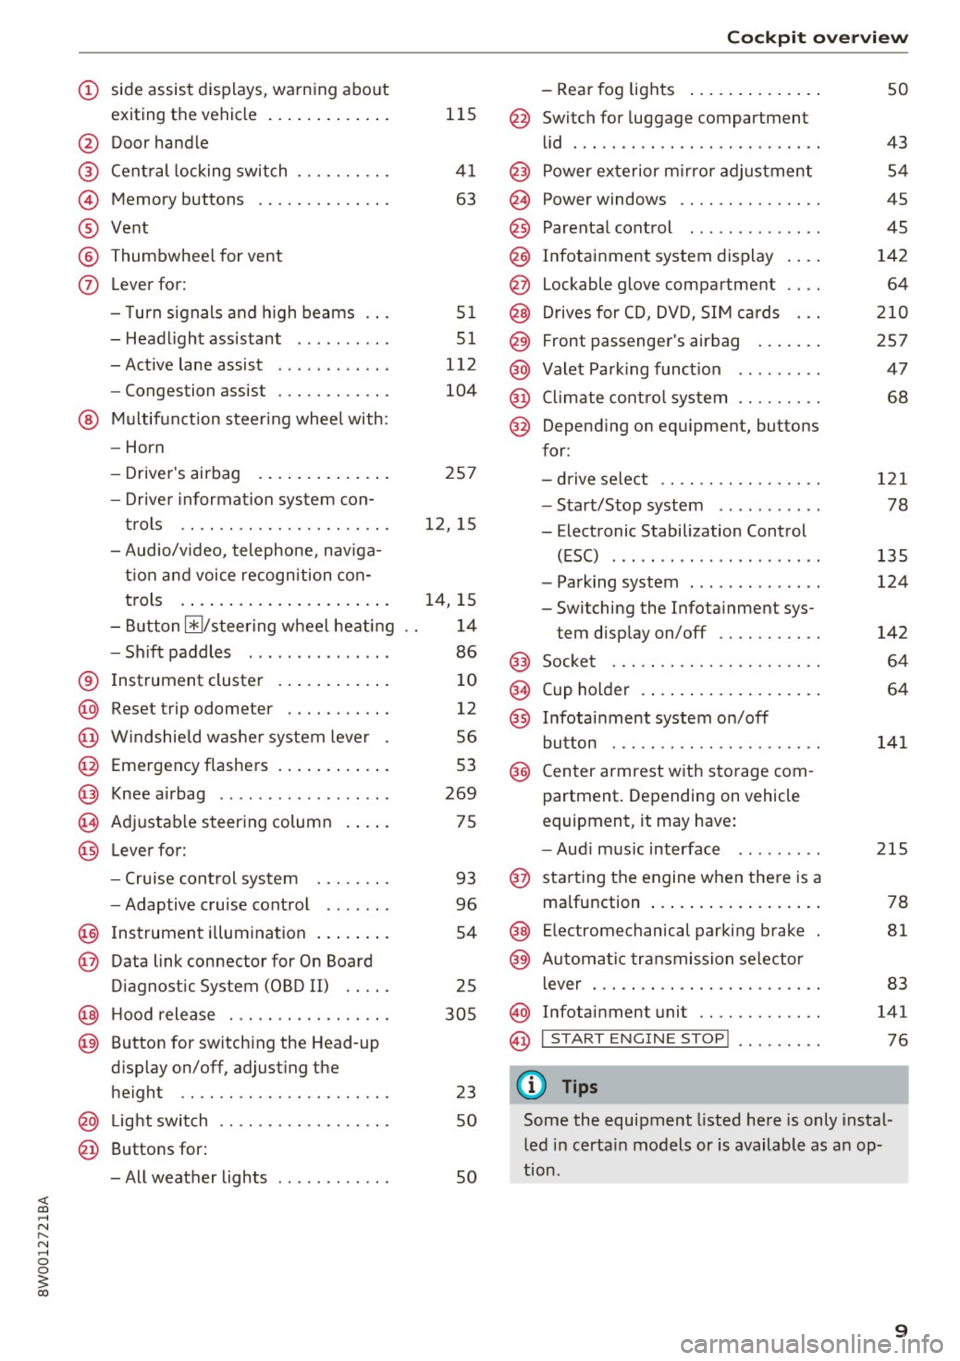
Coc kpit o ve rv iew
-Rear fog lights .. .. .. ..... .. .
@ Switch for luggage compartment
li d .... ... .. .. .. .... .. ... .. . .
@ Power exterior m irro r adjustment
@ Power windows .............. .
@ Parental cont rol ............. .
@ Infotainment system dis play . .. .
@ Lockable glove compartment ... .
@ Drives for CD, DVD, SI M cards .. .
@ Front passenger's airbag .... .. .
@ Valet Park ing funct ion ........ .
@ Climate cont ro l system ........ .
@ Depend ing on equ ipment, buttons
for:
- drive select .. .. ............ .
- Start/Stop system . ... ... .. . .
- Electronic Stabilization Control
(ESC) ..... .. .. ... ....... .. .
- Parking system . .... . ..... .. .
- Switching the Infota inment sys-
tem disp lay on/off .......... .
@) Socke t ... .. .. .. ............ .
@ Cup holder . ... .. .... . ..... .. .
@ Infotai nment system on/off
button ... .. .. .. .... .. ... .. . .
@ Center armrest w ith sto rage com
partment . Depending on vehicle
equipment, it may have:
- Aud i m usic interface ........ .
@ starting the engine when the re is a
ma lfunction .. ... .... . ..... .. .
@ E lectromechanical parking brake
@ Automa tic transmission se lector
lever ... .. .. . ... ............ .
@ Infotainment unit ............ .
@ I START EN GIN E STOP ! ........ .
(D Tips
50
43 54
45
45
142 64
2 10
257 47
68
121
78
135
124
142
64
64
141
215
78
81
83
141
76
Some the equipment listed here is only instal
l ed in certa in models or is available as an op-
tion .
9
Page 13 of 386
A WARNING
Do not assume the roads are free of ice based
on the outside temperature display. Be aware
that there may be ice on roads even when the outside temperature is around 41 °F (+5 °C)
and that ice can increase the risk of accidents.
@ Tips
-Depending on vehicle equipment, the in
strument illumination (needles and gauges) may turn on when the lights are off and the
ignition is switched on. The illumination for
the gauges reduces automatically and even
tually turns off as brightness outside in
creases. This function reminds the driver to
turn the low beams on at the appropriate
time.
- You can select the units used for tempera
ture, speed and other measurements in the
Infotainment system c::>
page 229.
-If your vehicle is stationary or if you are driv
ing at very low speeds, the temperature dis
played may be slightly higher than the ac
tual temperature outside due to the heat ra
diating from the engine.
- At temperatures below 41 °F (+5 °C), a
snowflake symbol appears in front of the
temperature display c::>
A.
Coolant temperature indicator
The coolant temperature display@c::> page 10,
fig . 3
or c::> page 10, fig. 4 only functions when
the ignition is switched on. To prevent engine
damage, please observe the following notes
about the temperature ranges.
Cold range
If only the LEDs at the bottom of the gauge turn
on, the engine has not reached operating tem
perature yet . Avoid high engine speeds, full ac
celeration and heavy engine loads.
Normal range
<( ~ The engine has reached its operating tempera-
~ ture once the LEDs up to the center of the gauge N
8 turn on under normal driving conditions. The 0
3
LEDs higher up may turn on if the engine is under
heavy load or the outside temperature is high.
This is no cause for concern as long as the. in
dicator light in the instrument cluster does not
turn on. If the LEDs in the upper area of the dis
play and the. indicator light in the instrument
cluster display turn on, the coolant temperature
is too high
c::> page 31.
(D Note
-Auxiliary headlights and other accessories in
front of the cooling-air intake impair the
cooling effect of the coolant. This increases
the risk of the engine overheating during
high outside temperatures and heavy en
gine load.
- The front spoiler also helps to distribute
cooling air correctly while driving. If the
spoiler is damaged, the cooling effect will
be impaired and the risk of the engine over
heating will increase. See an authorized
Audi dealer or authorized Audi Service Fa
cility for assistance.
(D Tips
Diesel engines: due to the high efficiency of
these engines, the engine may not always reach operating temperature in cold outside
temperatures. This is normal and not a cause
for concern .
Tachometer
The tachometer displays the engine speed in rev
olutions per minute (RPM) .
The beginning of the red zone in the tachometer
indicates the maximum permitted engine speed
for all gears once the engine has been broken in
and when it is warm . Before reaching this zone,
you should shift into the next highest gear, select
the D/S selector lever position, or remove your
foot from the accelerator pedal.
{Q) Note
The needle in the tachometer @c::> page 10,
fig. 3
or c::> page 10, fig. 4 may only be in the
red area of the gauge for a short time or there ..,.
11
Page 14 of 386
Cockpit overv iew
is a risk of engine damage . The location where
the red zone begins varies depe nding on the
eng ine.
@ For the sake of the environment
Upshifting early helps you to save fuel and re
duces operating noise.
Fuel level
T he display (J) c:> page 10, fig. 3 or c:> page 10,
fig . 4
only functions when the ignition is switch
ed on . When the display ha s reached the reserve
mark, the bottom LED turns red and the
tD ind i
cator l ight turns on
c:> page 34 . The bottom LED
blinks red when the fuel leve l is ve ry low.
F or the tank capacity in your vehicle, refer to the
Technical Data
c:> poge 362.
(D Note
Never drive until the tank is completely emp
ty . The irregular supply of fuel that results
from that can cause engine misfires . Uncom
busted fuel will the n enter the exhaus t sys
tem. This can cause overheating and damage
to the cata lytic conve rter.
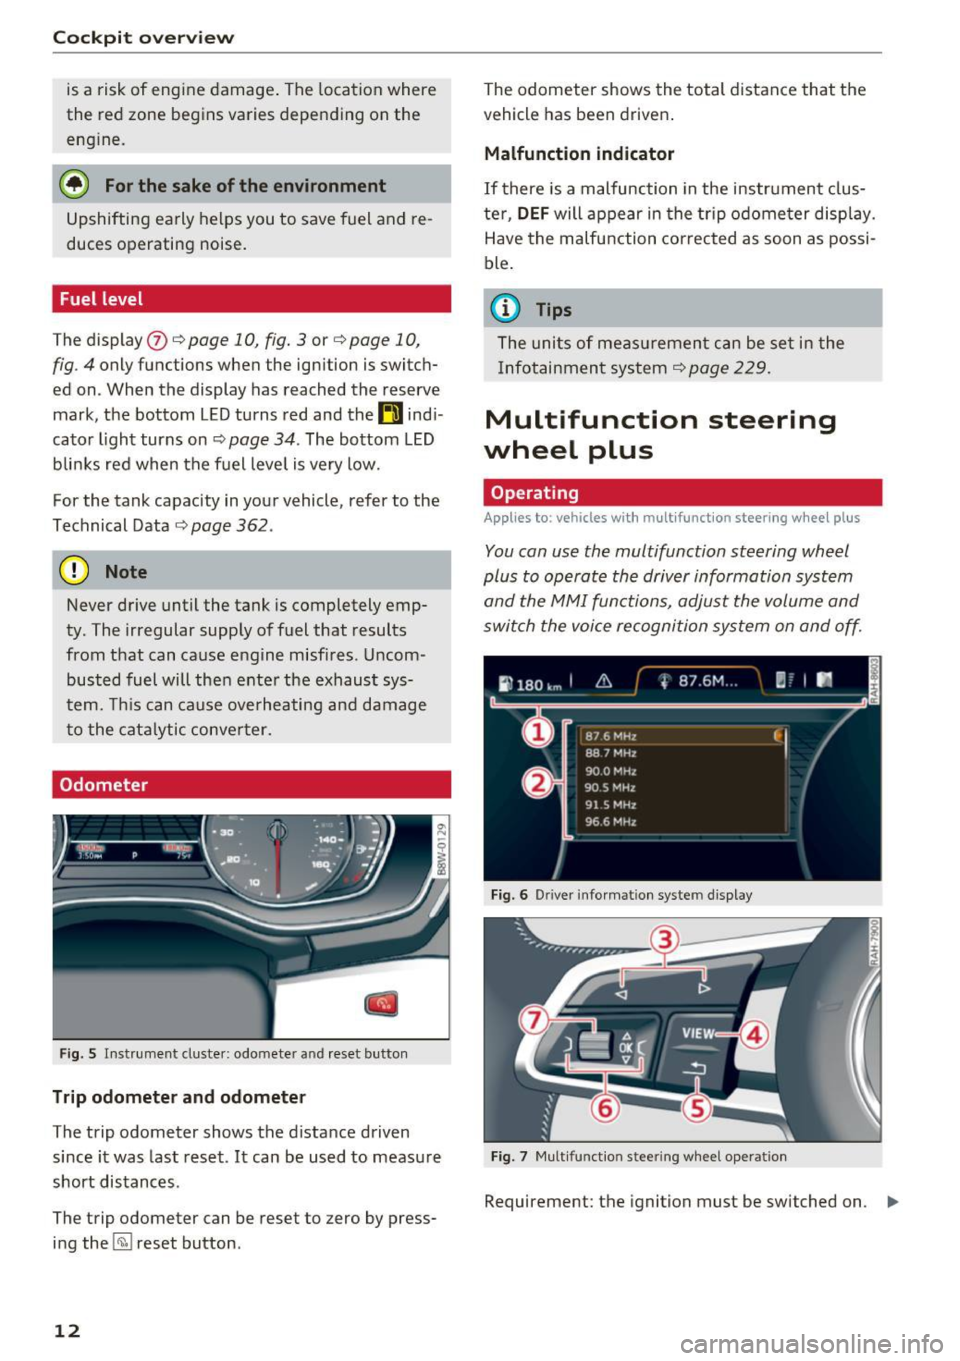
Odometer
F ig. S In strume nt cl uster : odometer a nd reset bu tton
Trip odometer and odomete r
The trip odometer shows the distance driven
since it was last reset. It can be used to measure
short distances .
The trip odometer can be reset to zero by press ing the ~ reset button .
12
The odometer shows the total distance that the
vehicle has been driven .
Malfunction indicat or
If there is a malfunction in the instrument clus
ter,
DEF will appear in the trip odometer display.
Have the malfunction co rrected as soon as possi
ble .
@ Tips
The units of measu rement can be set in the
Infotainment system
c:> page 229 .
Multifunction steering
wheel plus
Operating
Applies to: vehicles with multifunctio n steering wheel plus
You con use the multifunction steering wheel
plus to operate the driver information system
and the MMI functions, adjust the volume and
switch the voice recognition system on and off.
Fig. 6 D river informat ion syste m display
Fig. 7 Mult ifun ctio n stee rin g wheel opera tion
Requirement: the ignition must be switched on . ll>
Page 19 of 386
Fuel consumption
The current fuel consumption can be shown us
ing a bar graph¢
fig. 13. The average consump
tion stored in the short-term memory is also dis
played. If the bars are green or the gray tone on
the bars changes (depending on the equipment),
your vehicle is saving fuel by the following func
tion :
-Recuperation : electrical energy can be stored in
the battery when the vehicle is coasting or driv
ing downhill. The bar will move toward 0/0.
(D Tips
-The date, time of day and time and date for
mat can be set in the Infotainment system
¢page 229.
- If the vehicle battery is disconnected, all
memory values are erased.
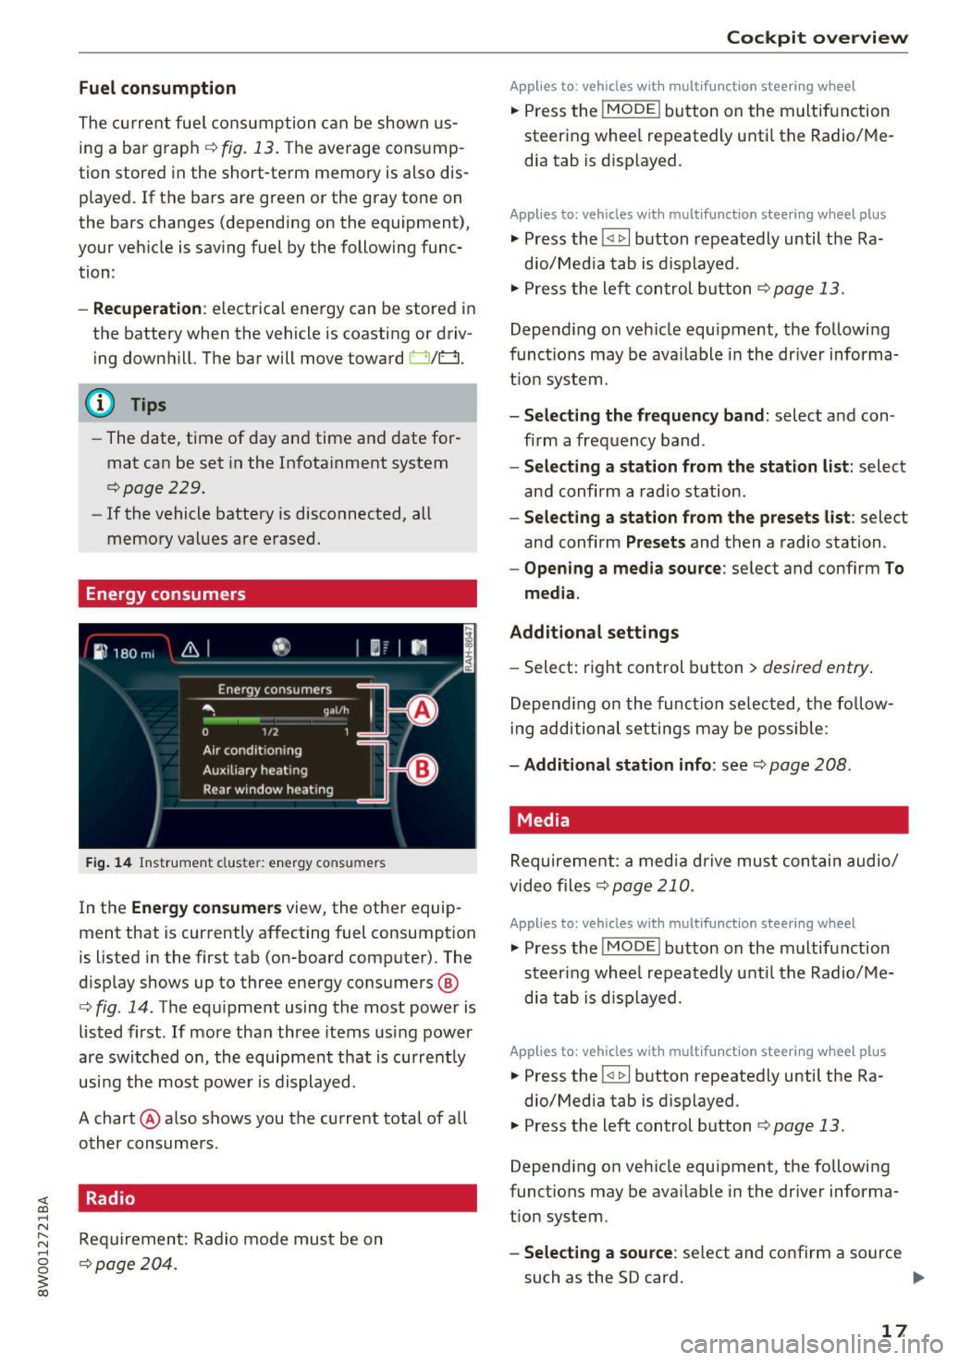
Energy consumers
Fig. 14 Instrument cluste r: energy consu mers
In the Energy consumers view, the other equip
ment that is currently affecting fuel consumption
is listed in the first tab (on-board computer) . The
display shows up to three energy consumers @
¢ fig. 14. The equipment using the most power is
listed first . If more than three items using power
are switched on, the equipment that is currently
using the most power is displayed.
A chart @ also shows you the current total of all
other consumers .
Radio
Requirement: Radio mode must be on
¢page 204.
Cockpit overview
Applies to : vehicles with mult ifunction steering wheel
.,. Press the !MODE ! button on the multifunction
steering wheel repeatedly until the Radio/Me
dia tab is displayed.
Applies to: vehicles with mult ifunction steering wheel plus
.,. Press the !<11>1 button repeatedly until the Ra-
dio/Media tab is displayed .
.,. Press the left control button ¢
page 13.
Depending on vehicle equipment, the following
functions may be available in the driver informa
tion system.
- Selecting the frequency band: select and con
firm a frequency band.
-Selecting a station from the station list: select
and confirm a radio station.
-Selecting a station from the presets list: select
and confirm
Presets and then a radio station.
-Opening a media source: select and confirm To
media.
Additional settings
- Select: right control button > desired entry.
Depending on the function selected, the follow
ing additional settings may be possible:
-Additional station info: see¢ page 208 .
Media
Requirement: a media drive must contain audio/
video files¢
page 210.
Applies to: vehicles with multifunct ion steering wheel
.,. Press the !MODE ! button on the multifunction
steering wheel repeatedly until the Radio/Me
dia tab is displayed.
Applies to: vehicles with multifunction steering wheel plus
.,. Press the !<1 1>I button repeatedly until the Ra-
dio/Media tab is displayed .
.,. Press the left control button ¢
page 13.
Depending on vehicle equipment, the following
functions may be available in the driver informa
tion system.
- Selecting a source : select and confirm a source
such as the SD card.
lli>-
17
Page 25 of 386
Head-up Display
Applies to: vehicles with Head-up Display
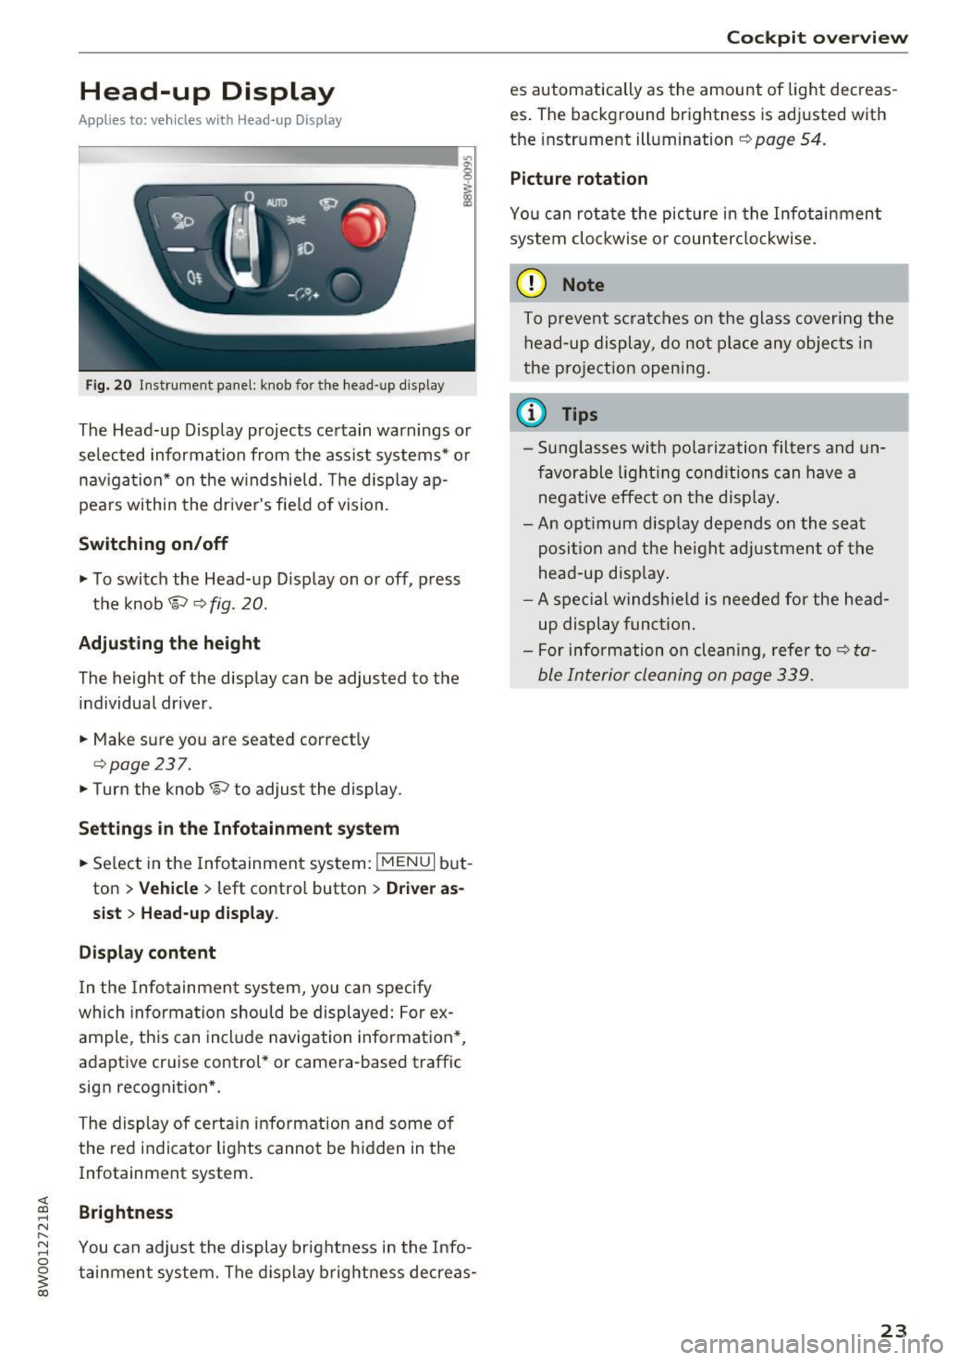
Fig. 20 Instrument panel : knob for the head-up display
The Head-up Display projects certain warnings or
selected information from the assist systems* or
navigation* on the windshield. The d isplay ap
pears within the drive r's field of vision.
Switching on/off
• To switch the Head-up Display on or off, press
the knob
1;) ¢ fig . 20.
Adjusting the height
The height of the display can be adjusted to the
individual driver.
• Make sure you are seated correctly
¢ page 237.
• Turn the knob 1;) to adjust the display.
Settings in the Infotainment system
• Se lect in the Infotainment system: !MENU I but
ton
> Vehicle > left contro l button > Driver as
sist
> Head-up display .
Display content
In the Infotainment system, yo u can specify
which information should be displayed: For ex
ample, this can include navigation information*,
adaptive cruise control* or camera-based traffic
sign recognit ion* .
The display of certain information and some of the red indicator lights cannot be hidden in the
Infotainment system.
Brightness
You can adjust the display brightness in the Info
tainment system. The display brightness decreas-
Cockpit overview
es automatically as the amount of light decreas
es. The background brightness is adjusted with
the instrument illumination ¢
page 54.
Picture rotation
You can rotate the picture in the Infotainment
system clockwise o r counterclockwise.
(D Note
To prevent scratches on the glass cover ing the
head-up display, do not place any objects in
the pro jection opening.
(D Tips
- Sunglasses with polarization filters and un
favorable lighting conditions can have a
negative effect on the display .
- An opt imum disp lay depends on the seat
posi tion and the heigh t adjustment of the
head -up disp lay.
- A special windshie ld is needed for the head
up display function.
- For information on cleaning, refer to¢
ta
ble Interior cleaning on page 339.
23
Page 39 of 386
Opening and closing
Central Locking
Description
You can lock and unlock the veh icle centrally . You
have the following choices:
- Remote control key¢
page 40,
-Sensors in the door handles * ¢ page 40
- Lock cylinder on the driver's door¢ page 42,
or
- Interior central locking switch ¢
page 41.
Turn signals
The turn s ignals flash twice when you unlock the
veh icle and flash once when you lock the veh icle.
If they do not flash, then one of the doors, the
rear lid or the hood is not closed.
Automatic locking (Auto Lock)
The Auto Lock funct ion locks all doors and the
luggage compartment lid once the speed has ex
ceeded approximately 9 mph (15 km/h).
The vehicle can be unlocked if the opening func
tion in the central locking system sw itch is used
or one of the door handles is pulled.
In the event of a crash with airbag deployment,
the doors will a lso automat ically unlock to allow
access to the vehicle.
Selective door unlocking
The doors and luggage compartment lid will lock
when they close . You can set in the Infotainment
system whether
only the driver's door or the en
tire vehicle should be unlocked when unlocking
¢page 41.
Unintentionally locking yourself out
The following conditions prevent you from lock
ing your remote control key in the vehicle:
- If the driver's door is open, the vehicle cannot
be locked by pressing the~ button on the re
mote control key or by touching the locking
<( a:i sensor* on a door . .... N ,....
N .... 0 0
3 a,
Opening and closing
- When locking using the~ button in the central
locking switch, the vehicle will not lock if a door
is open ¢
page 41.
-On vehicles with a convenience key*, the lug
gage compartment lid unlocks again after clos
ing if the most recently used key is in the lug
gage compartment. The emergency flashers blink four times.
Do not lock your vehicle with the remote control
key or convenience key* until all doors and the
luggage compartment lid are closed. This helps
to prevent you from locking yourself out acciden
tally .
A WARNING
-
-When you lock your vehicle from outs ide,
nobody -espec ially children -should rema in
inside the vehicle. Remember, when you
lock the vehicle from the outside the win
dows cannot be opened from the inside .
- When you leave the vehicle, always take the
ignition key with you. This will prevent pas
sengers (children, for examp le) from acci
dentally being locked in the vehicle should
they accidentally press the power locking
switch in the doors.
- Do not leave children inside the vehicle un
supervised. In an emergency it would be im
possible to open the doors from the outside
without the key.
(D Tips
- Do not leave valuables unattended in the ve
hicle. A locked vehicle is not a safe!
- The LED in the driver's door rail blinks when
you lock the vehicle. If the LED lights up for
approximately 30 seconds after locking,
there is a malfunction in the central locking
system . Have the problem repaired by an
authorized Audi dealer or authorized Audi
Service Facility.
37
Page 40 of 386
Opening and closing
Key set
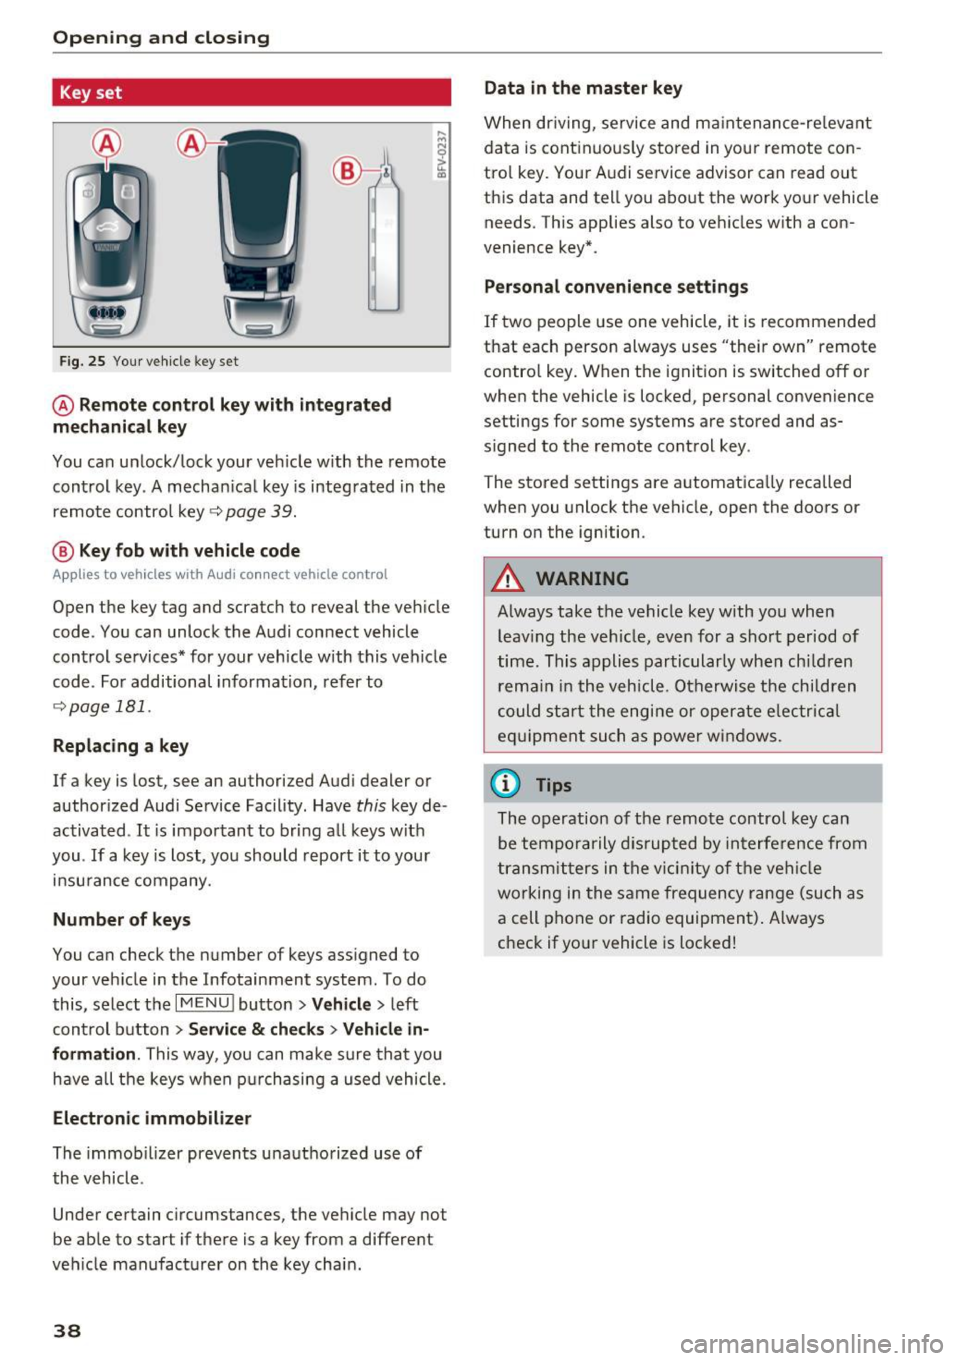
Fig. 25 Your veh icle key set
@ Remote control key with integrated
mechanical key
You can unlock/lock your veh icle w ith the remote
control key . A mechan ical key is integrated in the
remote control key~
page 39.
@ Key fob with vehicle code
Applies to veh icles with Audi connect vehicle control
Open the key tag and scratch to reveal the veh icle
code . You can unlock the Audi connect vehicle
control se rvices* for your vehicle with this vehicle
code . For additional information, refer to
~ page 181 .
Replacing a key
If a key is lost, see an authorized Audi dealer or
authorized Audi Service Facility. Have
this key de
activated .
It is important to bring all keys with
you .
If a key is lost, you should report it to your
insurance company.
Number of keys
You can check the number of keys assigned to
your vehicle in the Infotainment system . To do
this, select the
IM ENU I button > Vehicle > left
control button
> Service & checks> Vehicle in·
formation .
This way, you can make sure that you
have all the keys when purchasing a used vehicle.
Electronic immobilizer
The immob ilizer prevents unauthorized use of
the vehicle .
Under certain circumstances, the vehicle may not
be able to start if there is a key from a different
veh icle manufacturer on the key chain.
38
Data in the master key
When driving, service and maintenance-re levant
data is continuously stored in your remote con
trol key. Your A udi service advisor can read out
this data and tell you about the work your vehicle
needs . This applies also to vehicles with a con
venience key*.
Personal convenience settings
If two people use one vehicle, it is recommended
that each person always uses "their own" remote contro l key. When the ignition is switched off or
when the vehicle is locked, personal convenience
settings for some systems are stored and as
s igned to the remote control key .
The stored settings are automatically recalled
when you unlock the vehicle, open the doors or
turn on the ignition.
_&. WARNING
Always take the vehicle key with you when leaving the vehicle, even for a short period of
time. This applies particularly when children
r ema in in the vehicle . Otherwise the children
could start the engine or operate elec trical
equipment such as power windows.
(D Tips
-
The operation of the remote control key can
be temporarily disrupted by interference from
transmitters in the vicinity of the vehicle
working in the same frequency range (such as
a cell phone or radio equipment) . Always
check if yo ur vehicle is locked!
Page 42 of 386
Opening and clo sin g
Unlocking/locking with the remote control
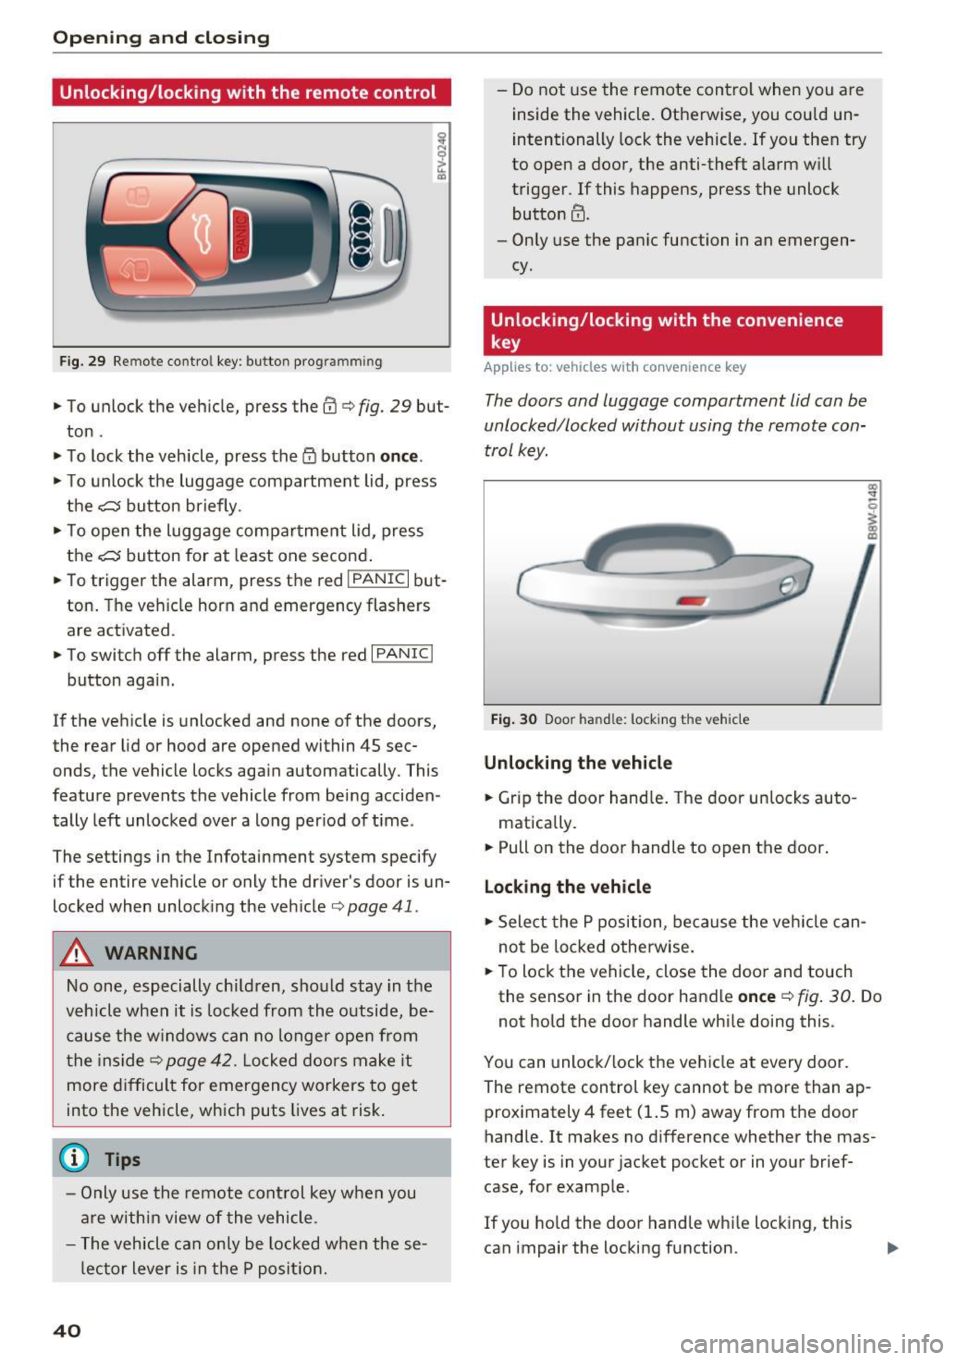
Fig. 29 Remote contro l key: button programmin g
• To unlock the vehicle, press the @c> fig. 29 but
ton.
• To lock the vehicle, press the
lD button onc e.
• To unlock the luggage compartment lid, press
the
cs bu tton br iefly .
• To open the luggage compartment lid, press
the
cs button for at least one second .
• To trigger the alarm, press the red
- 1 P-A -N ~IC ~ I but
ton. The veh icle horn and emergency flashers
are activated.
• To switc h off the alarm, press the red
I PANIC I
button again.
If the vehicle is unlocked and none of the doors,
the rear lid or hood are opened within 45 sec onds, the vehicle locks again automatically. This
feature prevents the vehicle from being acciden
tally left unlocked over a long per iod of t ime .
The settings in the Infotainment system specify if the entire veh icle or only the dr iver's door is un
locked when unlock ing the veh icle c>
page 41 .
_& WARNING
No one, especially chi ld ren, should stay in the
vehicle when it is locked from the outside, be
cause the w indows can no longer ope n from
t he inside c>
page 42. Locked doors make it
more d ifficult for emergency workers to get
into the vehicle, which puts lives at risk .
(D Tips
-Only use the remote cont rol key when you
ar e w ithin view of the vehicle.
- T he vehicle can only be locked when these
l ector lever is in the P posit ion.
40
- Do not use the remote con trol when you a re
inside the vehicle. Otherwise, you could un
intentionally lock the vehicle . If you then try
to open a door, the anti-theft a la rm w ill
t rigger. If this happens, press the unlock
button@.
- Only use the pan ic function in an emergen
cy.
Unlocking/locking with the convenience
key
App lies to: vehicles wit h convenience key
The doors and luggage compartment lid can be
unlocked/locked without using the remote con
trol key.
F ig. 30 Door handle: locking th e veh icle
Unlocking the vehicle
• Grip the door hand le . T he door un locks auto -
matically.
• Pull on the door handle to open the door .
Locking the vehicle
• Select the P position, be ca u se the veh icle can
not be lo cked otherwise.
• To lock the vehicle, close the door and touch
the sensor in the door handle
once c> fig . 30 . Do
not hold the door handle whi le doing this .
You can unlock/lock the ve hicl e at every door.
The remote control key cannot be more than ap prox imately 4 feet (1.5 m) away from the door
handle. It makes no d ifference whether the mas
ter key is in your jacket pocket or in your brief case, for example.
If you ho ld the door handle wh ile lock ing , this
can impair the locking function.