ron AUDI S4 2008 Owner's Manual
[x] Cancel search | Manufacturer: AUDI, Model Year: 2008, Model line: S4, Model: AUDI S4 2008Pages: 342, PDF Size: 15.01 MB
Page 52 of 342
Doors and windows
50•
Locked doors could delay assistance in an emergency, poten-
tially putting lives at risk. Do not leave anyone (especially children)
in the vehicle.Note
The doors and the boot lid are locked automatically when the
vehicle reaches a speed of about 15 km/h (Auto Lock) ⇒page 42 .
You can unlock the vehicle again via the central locking switch.Setting the central locking system
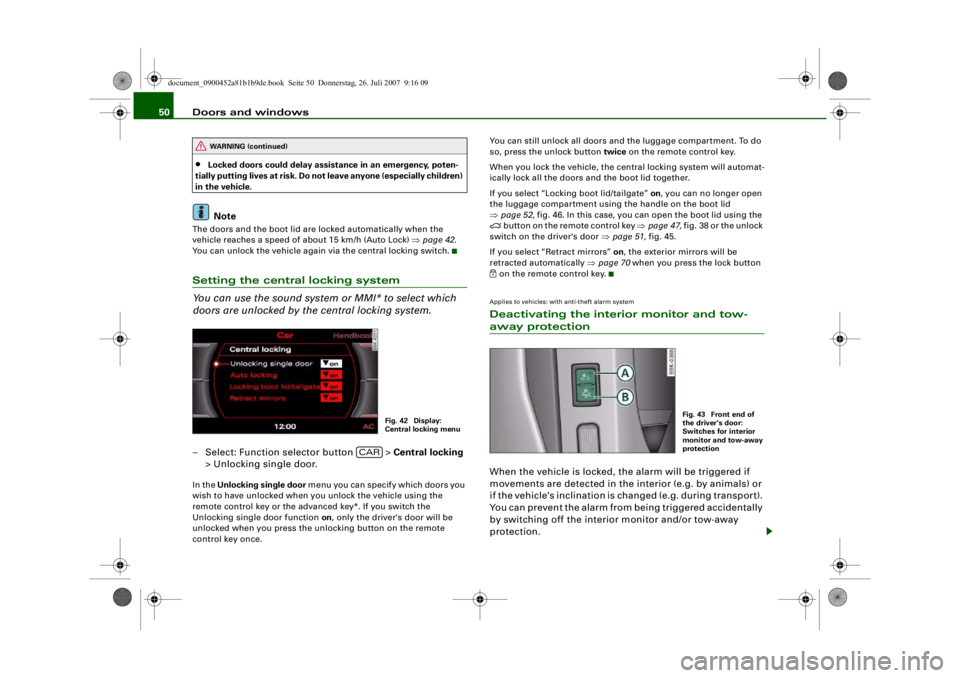
You can use the sound system or MMI* to select which
doors are unlocked by the central locking system.– Select: Function selector button > Central locking
> Unlocking single door.In the Unlocking single door menu you can specify which doors you
wish to have unlocked when you unlock the vehicle using the
remote control key or the advanced key*. If you switch the
Unlocking single door function on, only the driver's door will be
unlocked when you press the unlocking button on the remote
control key once. You can still unlock all doors and the luggage compartment. To do
so, press the unlock button
twice on the remote control key.
When you lock the vehicle, the central locking system will automat-
ically lock all the doors and the boot lid together.
If you select “Locking boot lid/tailgate” on, you can no longer open
the luggage compartment using the handle on the boot lid
⇒ page 52, fig. 46. In this case, you can open the boot lid using the
button on the remote control key ⇒ page 47, fig. 38 or the unlock
switch on the driver's door ⇒page 51, fig. 45.
If you select “Retract mirrors” on, the exterior mirrors will be
retracted automatically ⇒page 70 when you press the lock button
on the remote control key.Applies to vehicles: with anti-theft alarm systemDeactivating the interior monitor and tow-away protectionWhen the vehicle is locked, the alarm will be triggered if
movements are detected in the in terior (e.g. by animals) or
if the vehicle's inclination is changed (e.g. during transport).
You can prevent the alarm from being triggered accidentally
by switching off the interior monitor and/or tow-away
protection.
WARNING (continued)
Fig. 42 Display:
Central locking menu
CAR
Fig. 43 Front end of
the driver's door:
Switches for interior
monitor and tow-away
protection
document_0900452a81b1b9de.book Seite 50 Donnerstag, 26. Juli 2007 9:16 09
--4 -
-T
[I]
•
•
-+ +-
Page 53 of 342
Doors and windows51
Controls
Safety
Driving tips
General maintenance
Self-help
Technical data
Deactivating interior monitor
– Press switch ⇒page 50, fig. 43. The diode in the
switch will light up.
Deactivating tow-away protection
– Press switch . The diode in the switch will light up.The interior monitor and tow-away protection will be switched on
again automatically the next time the vehicle is locked.
WARNING
Do not leave anyone (especially chil dren) in the car if it is locked
from the outside and the deadlock mechanism is activated: the
doors and windows cannot then be opened from the inside.
Locked doors could delay assistance in an emergency, potentially
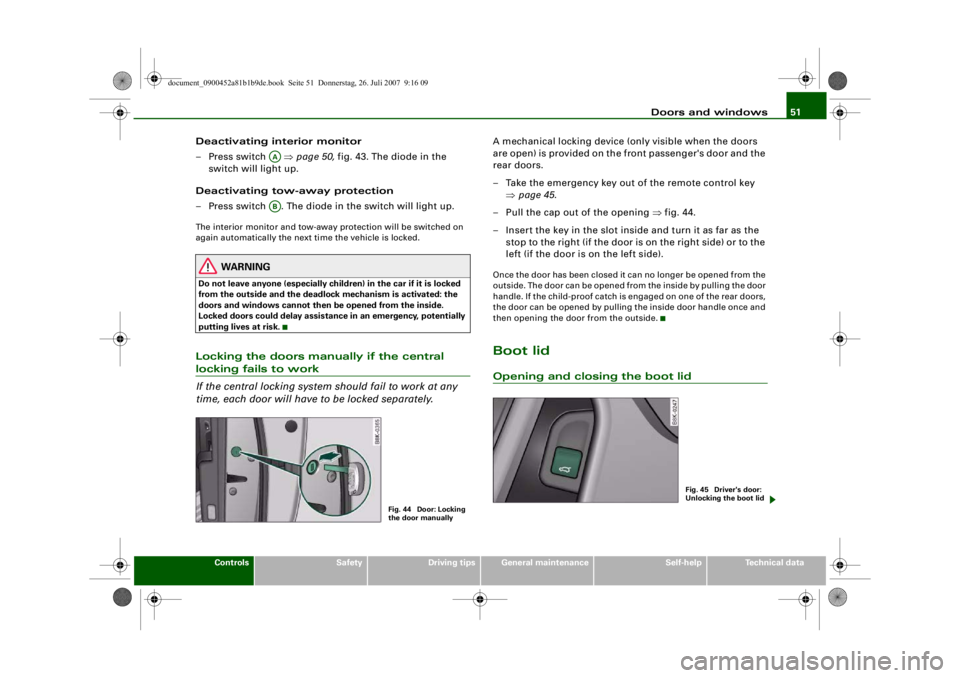
putting lives at risk.Locking the doors manually if the central locking fails to work
If the central locking system should fail to work at any
time, each door will have to be locked separately.
A mechanical locking device (only visible when the doors
are open) is provided on the front passenger's door and the
rear doors.
– Take the emergency key out of the remote control key ⇒page 45 .
– Pull the cap out of the opening ⇒fig. 44.
– Insert the key in the slot inside and turn it as far as the stop to the right (if the door is on the right side) or to the
left (if the door is on the left side).Once the door has been closed it can no longer be opened from the
outside. The door can be opened from the inside by pulling the door
handle. If the child-proof catch is engaged on one of the rear doors,
the door can be opened by pulling the inside door handle once and
then opening the door from the outside.Boot lidOpening and clos ing the boot lid
AAAB
Fig. 44 Door: Locking
the door manually
Fig. 45 Driver's door:
Unlocking the boot lid
document_0900452a81b1b9de.book Seite 51 Donnerstag, 26. Juli 2007 9:16 09
--4 -
-T
-+
•
•
+-
Page 55 of 342
Doors and windows53
Controls
Safety
Driving tips
General maintenance
Self-help
Technical data
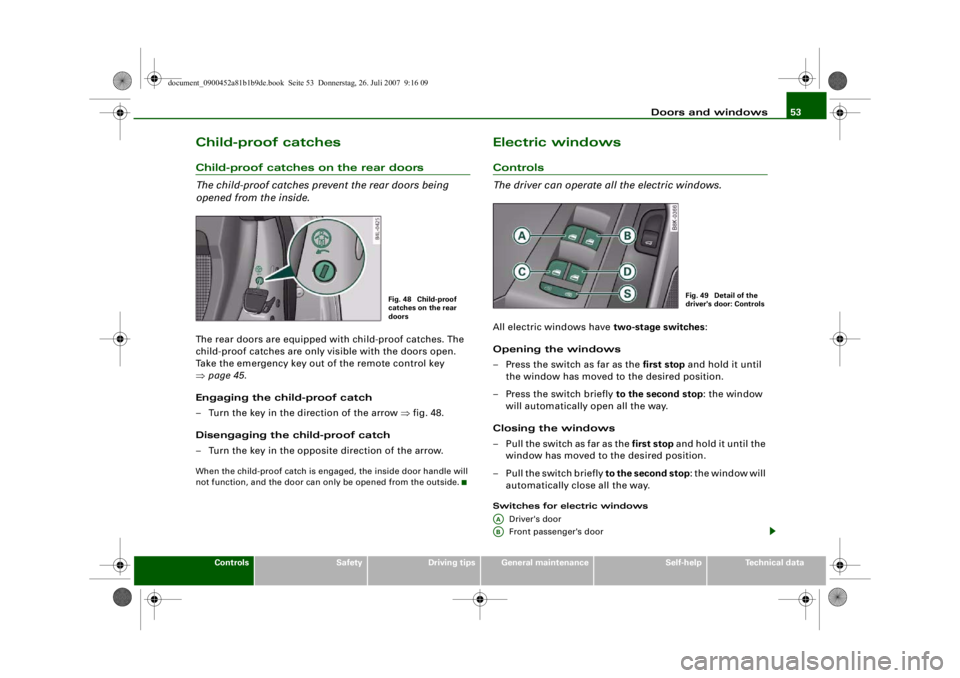
Child-proof catchesChild-proof catches on the rear doors
The child-proof catches prevent the rear doors being
opened from the inside.The rear doors are equipped with child-proof catches. The
child-proof catches are only visible with the doors open.
Take the emergency key out of the remote control key
⇒page 45 .
Engaging the child-proof catch
– Turn the key in the direction of the arrow ⇒fig. 48.
Disengaging the child-proof catch
– Turn the key in the opposite direction of the arrow.When the child-proof catch is engage d, the inside door handle will
not function, and the door can only be opened from the outside.
Electric windowsControls
The driver can operate all the electric windows.All electric windows have two-stage switches:
Opening the windows
– Press the switch as far as the first stop and hold it until
the window has moved to the desired position.
– Press the switch briefly to the second stop: the window
will automatically open all the way.
Closing the windows
– Pull the switch as far as the first stop and hold it until the
window has moved to the desired position.
–Pull the switch briefly to the second stop: the window will
automatically close all the way.Switches for electric windows
Driver's door
Front passenger's door
Fig. 48 Child-proof
catches on the rear
doors
Fig. 49 Detail of the
driver's door: Controls
AAAB
document_0900452a81b1b9de.book Seite 53 Donnerstag, 26. Juli 2007 9:16 09
--4 -
-T
-+ +-
•
Page 56 of 342
Doors and windows
54
Rear door (left-side)*
Rear door (right-side)*
Safety switch
Child safety switch
When the safety switch ⇒ page 53, fig. 49 is pressed in, the
symbol
in the switch lights up. The window switches in the rear
doors are deactivated.
WARNING
•
Always take the key with you when leaving the vehicle - even if
you only intend to be gone for a short time. This is especially
important if children are left in the car. They might otherwise be
able to start the engine or use power-operated equipment such as
the electric windows - this could lead to injuries. The window
switches are only deactivated when the driver's door or the front
passenger's do or is opened.
•
Always be careful when closing the windows. Careless use of
the electric windows can cause severe injuries.
•
When locking the vehicle from the outside, make sure that
nobody is inside the vehicle, as the windows cannot be opened
from the inside in an emergency.Note
The windows can be operated for about ten minutes after the igni-
tion has been switched off. The window switches are only deacti-
vated when the driver's door or the front passenger's door is
opened.
Convenience open/close function
The convenience open/close function allows you to open
and close the windows and the sun roof* with the remote
control key.You can select which windows are opened in the settings on
the sound system or MMI* ⇒page 55 .
Convenience open function
– Press and hold the unlocking button
on the remote
control key until the windows have reached the desired
position and the sun roof* is open.
Convenience close function
– Press and hold the locking button
on the remote
control key until the windows and the sun roof* are
closed ⇒.
Convenience close function with advanced key*
– Touch and keep your hand in contact with the locking sensor on the door handle until the windows and the sun
roof* are closed.
WARNING
•
Take care when closing the windows and the sun roof*. Care-
less or uncontrolled use can cause injuries.
•
For safety reasons, you should only use the remote control
open and close functions within about 2 metres of the vehicle. To
avoid injuries, always keep an ey e on the windows when pressing
the button to close them. The windows and sun roof stop moving
as soon as the button is released.
ACADAS
AS
document_0900452a81b1b9de.book Seite 54 Donnerstag, 26. Juli 2007 9:16 09
--4 -
-T
-+ +-
[I]
•
•
Page 57 of 342
Doors and windows55
Controls
Safety
Driving tips
General maintenance
Self-help
Technical data
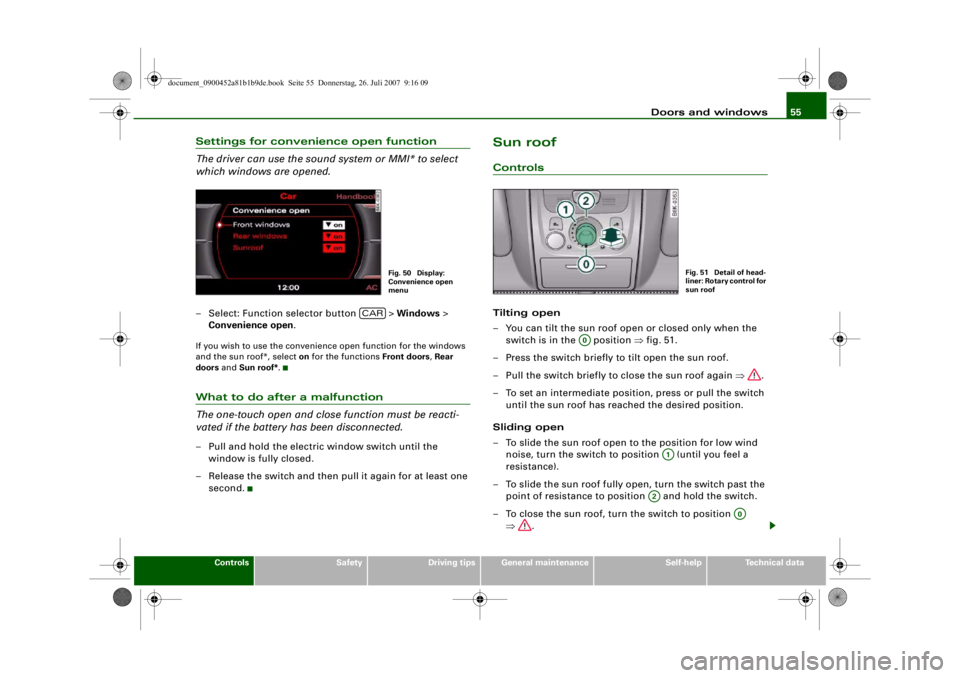
Settings for convenience open function
The driver can use the sound system or MMI* to select
which windows are opened.– Select: Function selector button > Windows >
Convenience open .If you wish to use the convenience open function for the windows
and the sun roof*, select on for the functions Front doors, Rear
doors and Sun roof* .What to do after a malfunction
The one-touch open and close function must be reacti-
vated if the battery has been disconnected.– Pull and hold the electric window switch until the
window is fully closed.
– Release the switch and then pull it again for at least one second.
Sun roofControlsTilting open
– You can tilt the sun roof open or closed only when the switch is in the position ⇒fig. 51.
– Press the switch briefly to tilt open the sun roof.
– Pull the switch briefly to close the sun roof again ⇒.
– To set an intermediate position, press or pull the switch until the sun roof has reached the desired position.
Sliding open
– To slide the sun roof open to the position for low wind noise, turn the switch to po sition (until you feel a
resistance).
– To slide the sun roof fully open, turn the switch past the point of resistance to position and hold the switch.
– To close the sun roof, turn the switch to position ⇒ .
Fig. 50 Display:
Convenience open
menu
CAR
Fig. 51 Detail of head-
liner: Rotary control for
sun roof
A0
A1
A2
A0
document_0900452a81b1b9de.book Seite 55 Donnerstag, 26. Juli 2007 9:16 09
--4 -
-T
-+
•
+-
•
Page 58 of 342
Doors and windows
56
– You can set the roof to an intermediate position by turning the switch to the desired position.The sun roof can be operated for about ten minutes after the igni-
tion has been switched off. The switch is deactivated immediately
when one of the front doors is opened.
Sliding sun blind with glass sun roof*
The sliding sun blind can be opened and closed manually in any
position. The sun blind opens automatically when you slide open
the sun roof. When the sun roof is ra ised to the tilt position, the rear
end of the sun blind is raised together with the sun roof.
WARNING
Take care when closing the sun roof. Careless or uncontrolled use
of the sun roof can cause injuries. For this reason, always take out
the ignition key when leaving the vehicle.
Caution
You should always close the sun roof when leaving the car. Sudden
rain could seriously damage your car's interior equipment, espe-
cially the on-board electronic systems.
Note
•
Should you not be able to close th e tilted sun roof, pull and hold
the switch until the sun roof is closed.
•
Details on the convenience open/close function ⇒page 54 .
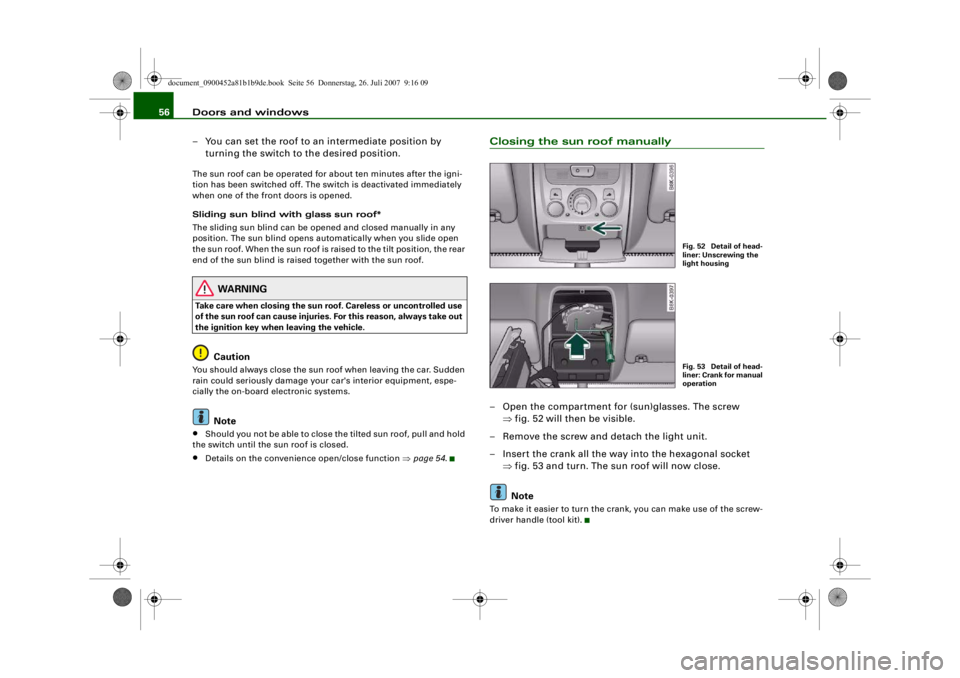
Closing the sun roof manually– Open the compartment for (sun)glasses. The screw
⇒fig. 52 will then be visible.
– Remove the screw and detach the light unit.
– Insert the crank all the way into the hexagonal socket ⇒fig. 53 and turn. The sun roof will now close.
NoteTo make it easier to turn the crank, you can make use of the screw-
driver handle (tool kit).
Fig. 52 Detail of head-
liner: Unscrewing the
light housingFig. 53 Detail of head-
liner: Crank for manual
operation
document_0900452a81b1b9de.book Seite 56 Donnerstag, 26. Juli 2007 9:16 09
--4 -
-T
-+
0
+-
[I]
•
[I]
•
Page 60 of 342
Lights and vision
58
WARNING
The automatic headlights are only intended to assist the driver.
The driver must always ensure th at the headlights are used when
required, and may have to switch th e m o n m a n u a l l y when the light
conditions or visibility are poor. For example, the light sensors are
not able to detect fog. Therefore, you should always switch on the
headlights
in these conditions and when driving after dark.
Note
•
The light sensor for automatic headlight control is located in the
mounting for the interior mirror. Do not affix any stickers on this
section of the windscreen to avoid malfunctioning of the sensor.
•
Some of the settings for the exterior lighting can be adjusted
⇒ page 59 .
•
If the lights are left on after the key has been taken out of the
ignition lock, a buzzer sounds when the driver's door is opened.
•
The use of the lighting described here is subject to the relevant
statutory requirements.
•
The coming home/leaving home function is active only when the
light switch is set to AUTO.
Fog lights
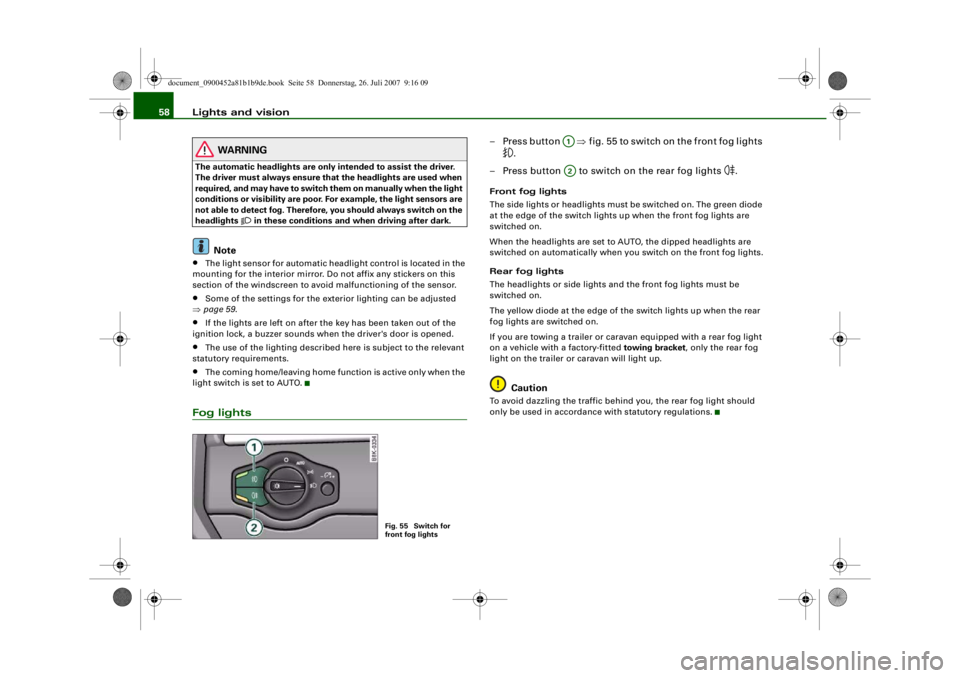
– Press button ⇒fig. 55 to switch on the front fog lights
.
– Press button to switch on the rear fog lights
.
Front fog lights
The side lights or headlights must be switched on. The green diode
at the edge of the switch lights up when the front fog lights are
switched on.
When the headlights are set to AUTO, the dipped headlights are
switched on automatically when you switch on the front fog lights.
Rear fog lights
The headlights or side lights and the front fog lights must be
switched on.
The yellow diode at the edge of the switch lights up when the rear
fog lights are switched on.
If you are towing a trailer or cara van equipped with a rear fog light
on a vehicle with a factory-fitted towing bracket , only the rear fog
light on the trailer or caravan will light up.
Caution
To avoid dazzling the traffic behind you, the rear fog light should
only be used in accordance with statutory regulations.
Fig. 55 Switch for
front fog lights
A1A2
document_0900452a81b1b9de.book Seite 58 Donnerstag, 26. Juli 2007 9:16 09
--4 -
-T
[I]
-+ +-
•
CD
•
Page 62 of 342
Lights and vision
60
– Turn the button clockwise +” to increase the brightness of the instrument lighting in dark conditions.
– Turn the button anti-clockwise -” to reduce the bright- ness of the instrument lighting in dark conditions.
– Press the knob in again to prevent the setting from being changed unintentionally.The instrument lighting (dials and needles), the centre console illu-
mination and the illumination of the displays are regulated by a
light sensor incorporated in the instrument cluster. In bright condi-
tions any changes made to the brig htness of the instrument lighting
have no effect.
Note
The instrument lighting (illumination of dials and needles) is
switched on when the ignition is on and the vehicle's lights are off.
The instrument lighting is dimme d automatically as the daylight
starts to fade; it is switched off completely when the light condi-
tions become very poor. This function is intended to remind the
driver to switch on the dipped-beam headlights in good time when
light conditions become poor.
Applies to vehicles: with headlight range controlHeadlight range control
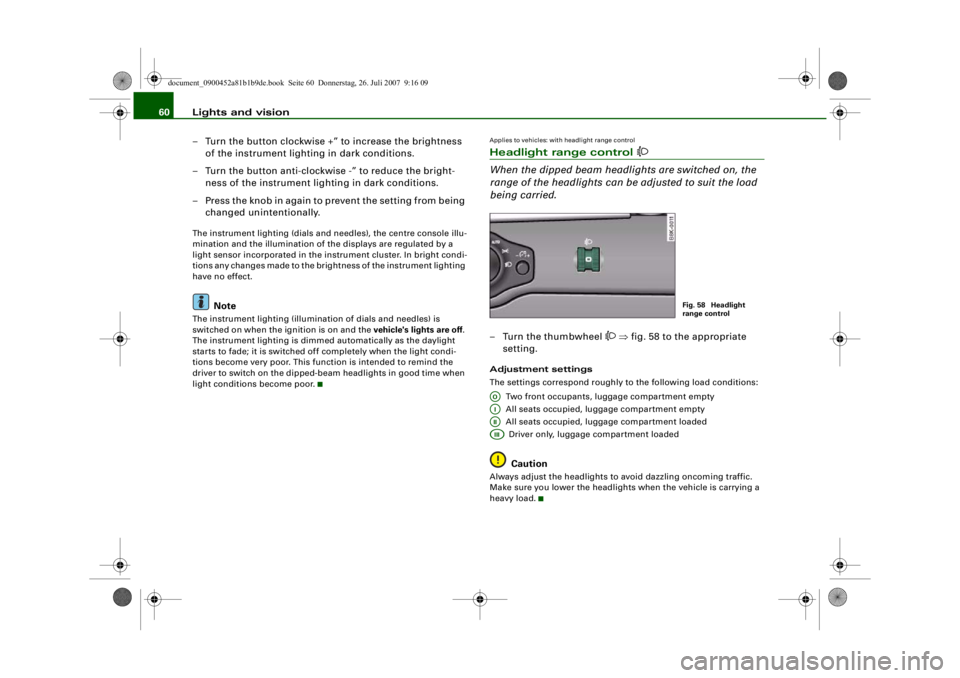
When the dipped beam headlights are switched on, the
range of the headlights can be adjusted to suit the load
being carried.– Turn the thumbwheel
⇒ fig. 58 to the appropriate
setting.
Adjustment settings
The settings correspond roughly to the following load conditions:
Two front occupants, luggage compartment empty
All seats occupied, luggage compartment empty
All seats occupied, luggage compartment loadedDriver only, luggage compartment loaded
Caution
Always adjust the headlights to avoid dazzling oncoming traffic.
Make sure you lower the headlights when the vehicle is carrying a
heavy load.
Fig. 58 Headlight
range control
AOAIAIIAIII
document_0900452a81b1b9de.book Seite 60 Donnerstag, 26. Juli 2007 9:16 09
--4 -
-T
II]
-+ +-
•
CD
•
Page 63 of 342
Lights and vision61
Controls
Safety
Driving tips
General maintenance
Self-help
Technical data
Applies to vehicles: with xenon headlight bulbsDynamic headlight range controlHeadlights with xenon gas-discharge bulbs automatically adapt to
suit the load being carried when the engine is switched on. The
headlights are also automatically adjusted when the vehicle is in
motion (e.g. when accelerating and braking).Applies to vehicles: with adaptive lightadaptive light
This feature provides better illumination when you drive
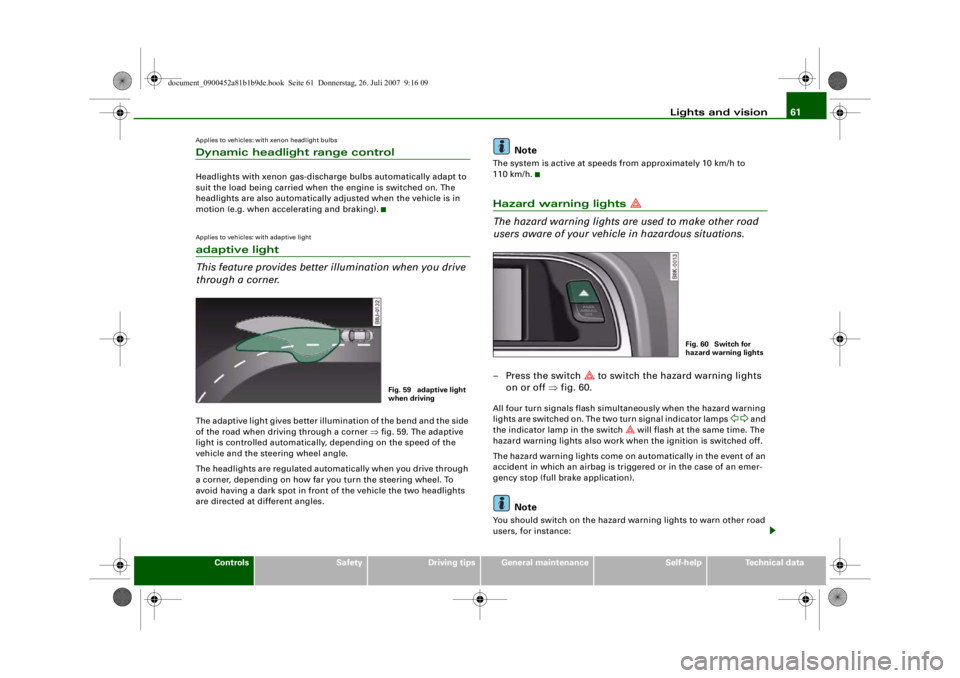
through a corner.The adaptive light gives better illumination of the bend and the side
of the road when driving through a corner ⇒fig. 59. The adaptive
light is controlled automatically, depending on the speed of the
vehicle and the steering wheel angle.
The headlights are regulated automatically when you drive through
a corner, depending on how far you turn the steering wheel. To
avoid having a dark spot in front of the vehicle the two headlights
are directed at different angles.
Note
The system is active at speeds from approximately 10 km/h to
110 km/h.Hazard warning lights
The hazard warning lights ar e used to make other road
users aware of your vehicle in hazardous situations.– Press the switch
to switch the hazard warning lights
on or off ⇒fig. 60.
All four turn signals flash simultaneously when the hazard warning
lights are switched on. The two turn signal indicator lamps
and
the indicator lamp in the switch
will flash at the same time. The
hazard warning lights also work when the ignition is switched off.
The hazard warning lights come on automatically in the event of an
accident in which an airbag is triggered or in the case of an emer-
gency stop (full br ake application).
Note
You should switch on the hazard warning lights to warn other road
users, for instance:
Fig. 59 adaptive light
when driving
Fig. 60 Switch for
hazard warning lights
document_0900452a81b1b9de.book Seite 61 Donnerstag, 26. Juli 2007 9:16 09
--4 -
-
[I]
T
•
•
-+ +-
[I]
Page 65 of 342
Lights and vision63
Controls
Safety
Driving tips
General maintenance
Self-help
Technical data
Caution
Do not use the main beam headlights or the headlight flasher if this
would dazzle oncoming traffic.Interior lightsFront interior lights
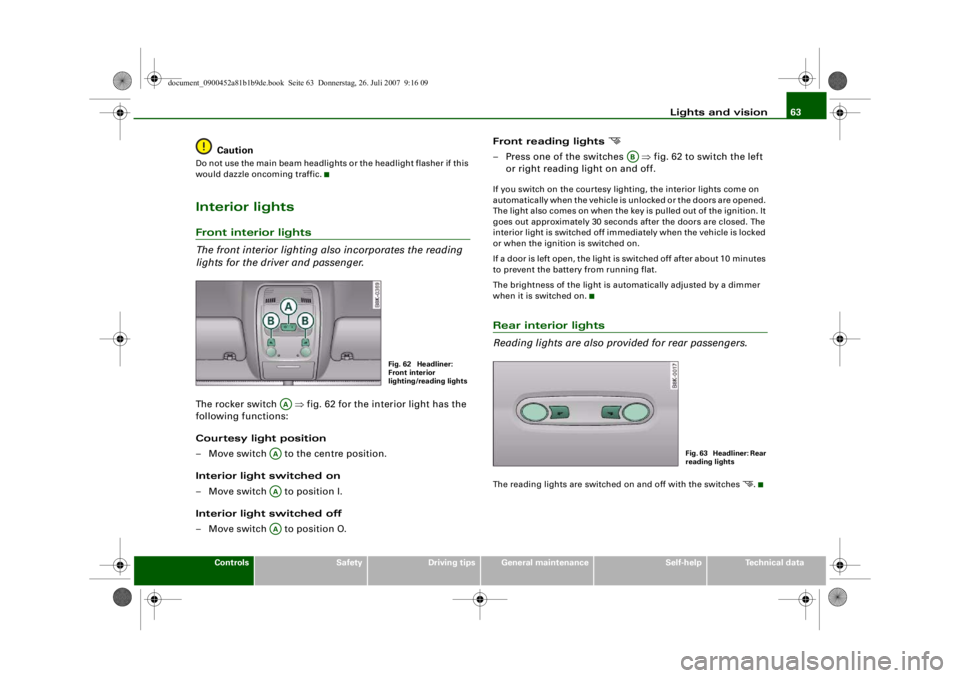
The front interior lighting also incorporates the reading
lights for the driver and passenger.The rocker switch ⇒ fig. 62 for the interior light has the
following functions:
Courtesy light position
– Move switch to the centre position.
Interior light switched on
– Move switch to position I.
Interior light switched off
– Move switch to position O. Front reading lights
– Press one of the switches
⇒fig. 62 to switch the left
or right reading light on and off.If you switch on the courtesy ligh ting, the interior lights come on
automatically when the vehicle is unlocked or the doors are opened.
The light also comes on when the key is pulled out of the ignition. It
goes out approximately 30 seconds after the doors are closed. The
interior light is switched off immediately when the vehicle is locked
or when the ignition is switched on.
If a door is left open, the light is switched off after about 10 minutes
to prevent the battery from running flat.
The brightness of the light is au tomatically adjusted by a dimmer
when it is switched on.Rear interior lights
Reading lights are also provided for rear passengers.The reading lights are switched on and off with the switches
.
Fig. 62 Headliner:
Front interior
lighting/reading lights
AA
AAAAAA
AB
Fig. 63 Headliner: Rear
reading lights
document_0900452a81b1b9de.book Seite 63 Donnerstag, 26. Juli 2007 9:16 09
--4 -
-
0
T
•
•
-+ +-
•