AUDI S6 2008 Manual PDF
Manufacturer: AUDI, Model Year: 2008, Model line: S6, Model: AUDI S6 2008Pages: 390, PDF Size: 88.42 MB
Page 71 of 390
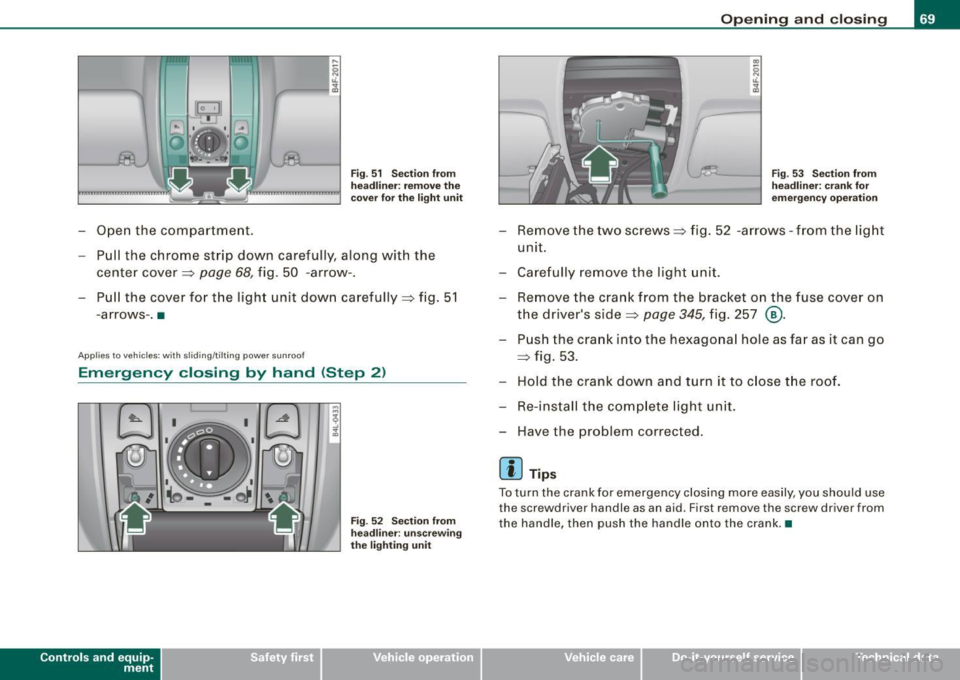
-Open the compartment.
Fig . 51 Section from
headliner: remove the
cover for the light unit
Pull the chrome strip down carefully, along w ith the
center cover=>
page 68, fig. 50 -arrow-.
- Pull the cover for the light unit down carefully=> fig. 51
- arrows -. •
A pplies to vehicl es : wit h sli ding/ tilt in g p ower su nroof
Emergency closing by hand (Step 2)
Con tro ls and eq uip
ment
.& 1
Fig. 52 Section from
headliner : unscrewing
the lighting unit
Opening and closing
Fig. 53 Section from
headliner: crank for
emergency operation
Remove the two screws=> fig. 52 -arrows -from the light
unit.
Carefully remove the light unit.
Remove the crank from the bracket on the fuse cover on
the driver's side=>
page 345, fig. 257 ®·
Push the crank into the hexagonal hole as far as it can go
=> fig. 53.
Hold the crank down and turn it to close the roof.
Re-install the complete light unit .
Have the problem corrected.
[ i] Tips
To turn the crank for emergency closing more easily , you should use
the scr ewd river handle as an a id . First remove the screw driver from
the handle, then push the handle onto the crank .•
Vehicle care I I Technical data
Page 72 of 390
Clear vision
Clear vision
Lights
Switching the headlights on and off ·t/.·
In the "AUTO" position, a light sensor automatically
s w itches the head- and taillights on an d off in resp onse to
l igh t co nditio ns.
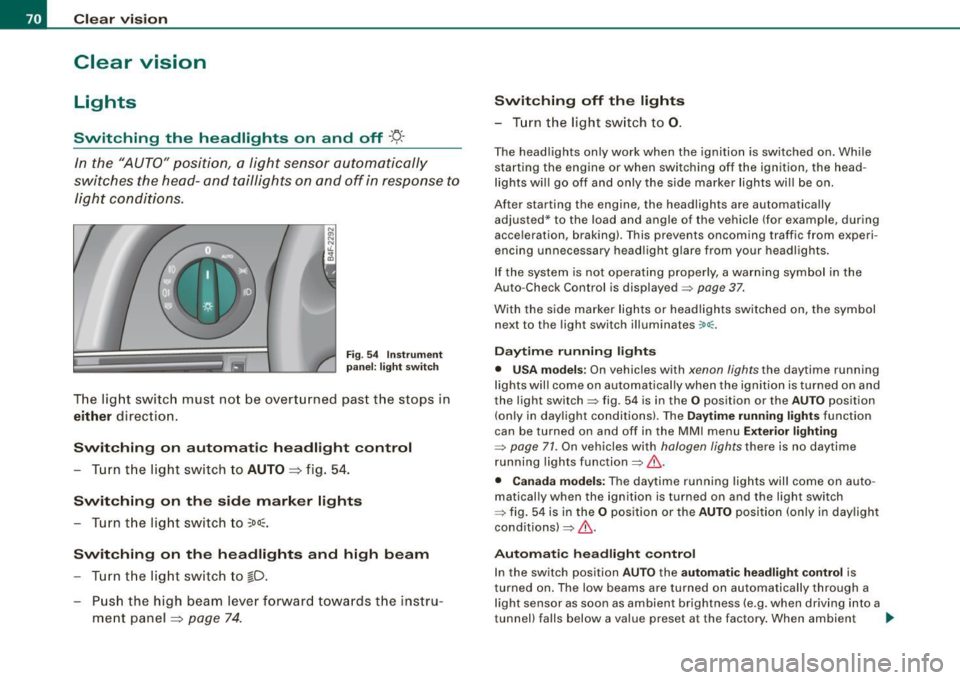
Fig . 54 In strument
p anel: light swit ch
T he lig ht switc h must no t be overt urned pas t the stops in
either direc tion .
Switching on automatic headlight control
-Tur n t he light switch to AUTO =:> fig. 5 4.
Switching on the side marker lights
- Turn t he lig ht s witch to ~oo~.
Switching on the headlights and high beam
- Turn t he lig ht switch to ~D.
- Pu sh th e high beam l ever f orwar d tow ards t he ins tru-
m en t panel =:>
page 74 .
Switching off th e lights
- T urn the light switch to 0.
The head lights only work when the ignition is swi tched on. Whi le
starting the engine or when switching off the ignition, the head
l ights wi ll go off and only the side marker lights wi ll be on.
After starting the engine, the headlights are automatically adjusted* to the load and angle of the vehicle (for example, dur ing
acce leration, braking) . T his prevents oncoming traffic from experi
encing unnecessary head ligh t glare from your headligh ts .
If the system is not ope rating properly, a warni ng sy mbol in the
Auto -Check Control is displayed =>
page 37.
With the side marker lights or headlights switched on, the symbol
next to the light switch illuminates
coo:.
Daytime running light s
• USA models : On vehicles with xenon lights the daytime running
l ights wil l come on a utomatica lly when th e ignition is t urned on an d
the light switch => fig. 54 is in the
O position or the AUTO position
(on ly in day light co nditions). The
Daytime running lights func tion
can be turned on and off in the MMI menu
Exterior lighting
=> page 71. On vehicles with halogen lights there is no daytime
running lights function=> &.
• Canada models: The daytime running lights wil l come on auto
matical ly when the ignition is turned on and the ligh t switch
=> fig. 54 is in the
O position or the AUTO position (only in day ligh t
conditions)=> &.
Automatic headlight control
In the switch position AUTO the automatic h eadlight control is
turned on . The low beams are tu rned on automatically through a
l ight sensor as soon as ambient brightness (e .g. when driving into a
tunnel) falls below a value preset at the factory . When ambient ...
Page 73 of 390
brightness increases again, the low beams are turned off again
automatically =>& .
In the
AU TO position the low beams are sw itched off automatically
when the ignition is turned off .
Light Sensor M alfun ction
In the event of a light sensor ma lfunction, the driver is notified in the
instrument cluster display:
Automat ic headl ights /autom ati c wipers defe ctive
Fo r safety reasons the low beams are turned on permanently with
the switch in
AUTO . However, you can continue to turn the lights on
and off using the light sw itch. Have the light sensor checked as so on
as possible at a dealership.
& WARNING
• Never use daytime running lights to see where you are go ing.
They are not bright enough and will not let you see far enough ahead for safet y, es peciall y at du sk or when it i s dark . Al way s
s witch on the low beam s at du sk or when it is dark.
• Autom ati c he adlight s are onl y intended to assist the dr iver .
They do not relieve the driver of his re spon sibility to check the
headlight s and to turn them on manu ally a ccordi ng to the current
light and visibility conditions. For ex ample , fog and rain c annot be
dete cted by the l ight sen so rs . S o al ways switch on the headlight s
und er the se we ather conditions and when dr iving in the dark
~D.
• Cra she s c an happen wh en you cannot see the road ahead and
when you cannot be seen by other motor ists.
- Alway s turn on the hea dl ight s so that you can see ahead and
so that others can see your car from the back.
[ i ) Tips
• With the switch in AUTO front fog lights and rear fog lights
cannot be turned on in addition .
Controls and equip
ment
Cl ea r vision
• The light sensor for headlight control is located in the rear view
mi rror moun t. Do n ot app ly any stickers to the windshie ld in this
area to prevent malfunct ions or failures.
• I f you remove the ign ition from the ign ition lock wh ile the head
lights are still on, a buzzer will sound as long as the driver's door is
open to remind you to tur n off the lights .
• Always observe the specific loca l regulations for your area as to
when t o use your ligh ts .•
Adjusting exterior lighting
The functions are set in the MM/.
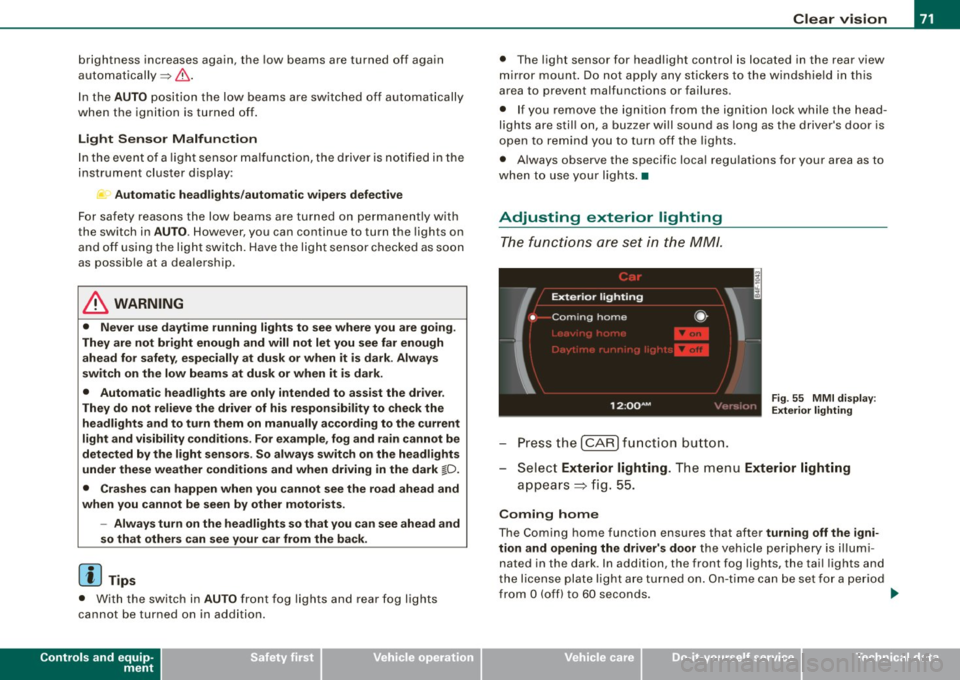
Fig . 55 MMI di splay:
Ex te ri or li ghting
- Press the [ CAR) fu nction button .
Selec t Exte rior lighting . The menu Exterior lighting
a p pears => fig. 55.
Coming home
The Coming home function ensures that after turnin g off the igni
tion and opening the driver' s door
the vehicle periphery is il lumi
nated in the dark . In addition, the front fog lights, the tai l lights and
the license plate l ight are turned on . On-time ca n be set for a pe riod
from
O (off) to 60 seconds. .,_
I • •
Page 74 of 390
Clear vision
Le av ing hom e
The Leaving home functions ensures that when unlock ing the
vehic le periphery is illumina ted in the dark. In addition, the front fog
lights, the tai l lights and the license plate light are tu rned on . This
f unction can be turned on and off .
Daytime running lights
USA models :
On vehicles with xenon lights the daytime runn ing
light s ca n be turned on or off using th is function . On veh ic les wi th
halogen lights there is no daytime runni ng lights funct ion .
Canad a models : The function cannot be turned off. It is activated
automat ically each time the ignition is turned on. Th is menu item is
shown "greyed out" .•
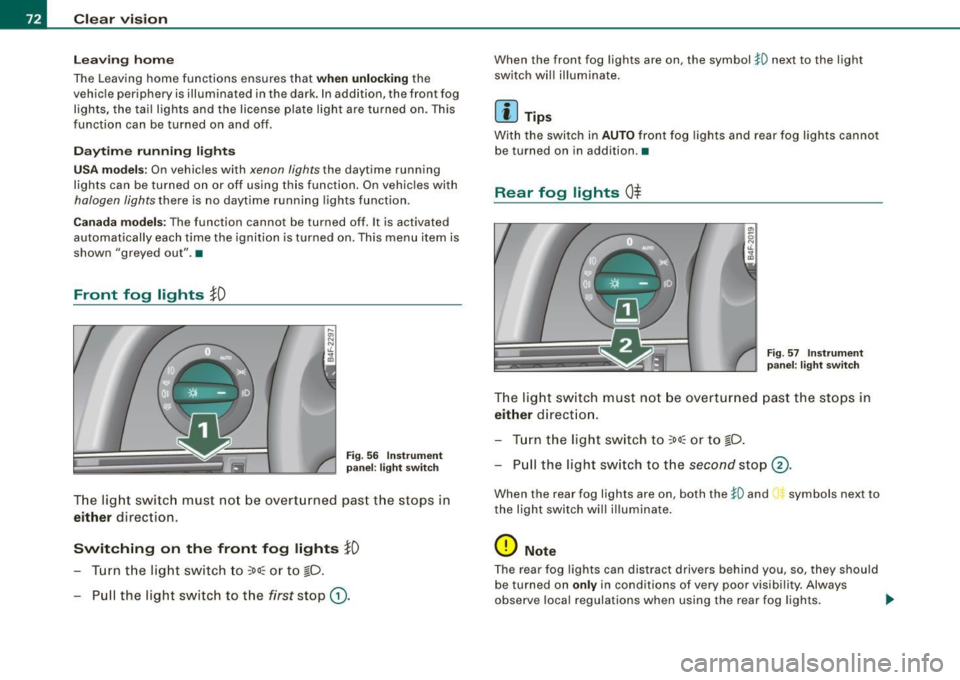
Front fog lights }0
Fig . 5 6 In strument
p ane l: light switch
T he lig ht switc h must no t be overtu rn ed past t he stops in
either direction.
Switching on the front fog lights }D
- Turn t he lig ht switch to ~oo~ or t o ~D .
- Pull the light switc h to the first stop
G).
When the front fog lights are on, the symbol $0 next to the light
switch wil l il lumina te.
Ii ] Tips
With the swi tc h in AUTO front fog lights and rear fog lights canno t
be turned on in addition. •
Rear fog lights Ot
-
--
Fig . 57 In strument
p an el: lig ht switch
T he ligh t switch must no t be ov erturned past th e stops in
either direct ion .
- Tur n t he light sw itch to
~oo~ or to ~D.
- Pull the light switch to t he
second stop ©-
When the rear fog lights are on, both the $0 and symbols next to
the light swi tch wi ll i llumina te .
0 Note
T he rear fog lights can distract d rivers be hind you, so, they shou ld
be turned on
only in conditions of very poor vis ibi lity. Always
observe local regulations when using the rea r fog lights . .,
Page 75 of 390
[ i J Tips
With the switch in AUTO front fog lights and rear fog l ights cannot
be turned on in addition. •
Applies to vehicl es: with Adap tive light
Adaptive Light
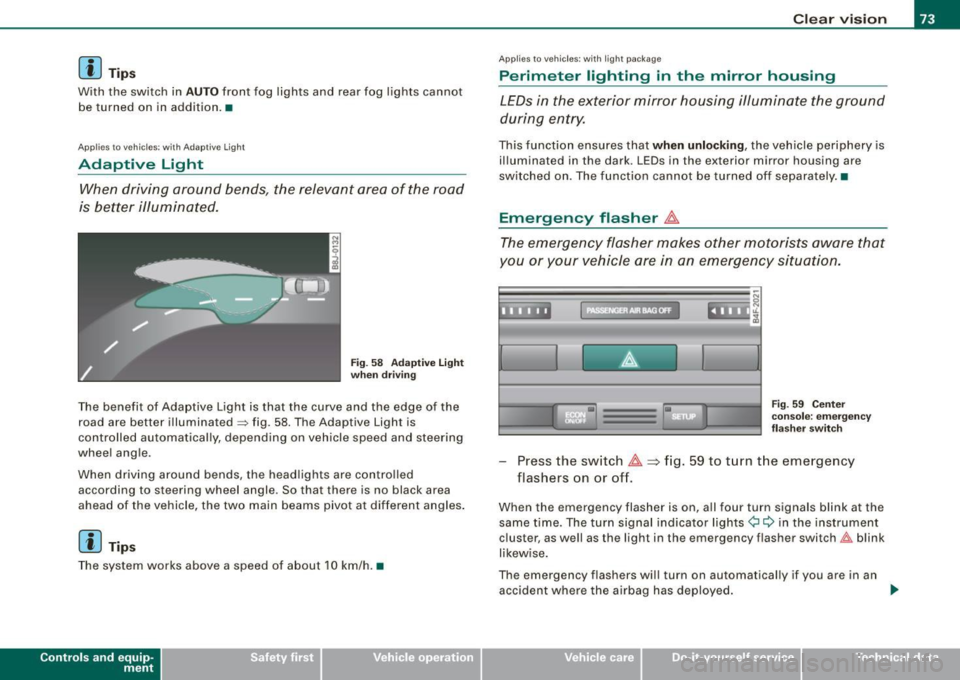
When driving around bends, the relevant area of the rood
is better illuminated.
Fig . 58 Adaptive Light
when driving
The benefit of Adaptive Light is that the curve and the edge of the
road are better illuminated => fig. 58. The Adaptive Light is
controlled automatically, depending on vehicle speed and steering
wheel angle .
When driving around bends, the head lights are controlled
according to steering wheel angle. So that there is no black area
ahead of the vehicle, the two main beams pivot at different angles .
[ i I Tips
The system works above a speed of about 10 km/h. •
Contro ls and eq uip
ment
Clear vision
Ap plies to vehicles: with light package
Perimeter lighting in the mirror housing
LEDs in the exterior mirror housing illuminate the ground
during entry.
This function ensures that when unlocking , the vehicle periphery is
illuminated in the dark. LEDs in the exterior mirror housing are
switched on. The function cannot be turned off separately. •
Emergency flasher tf1.
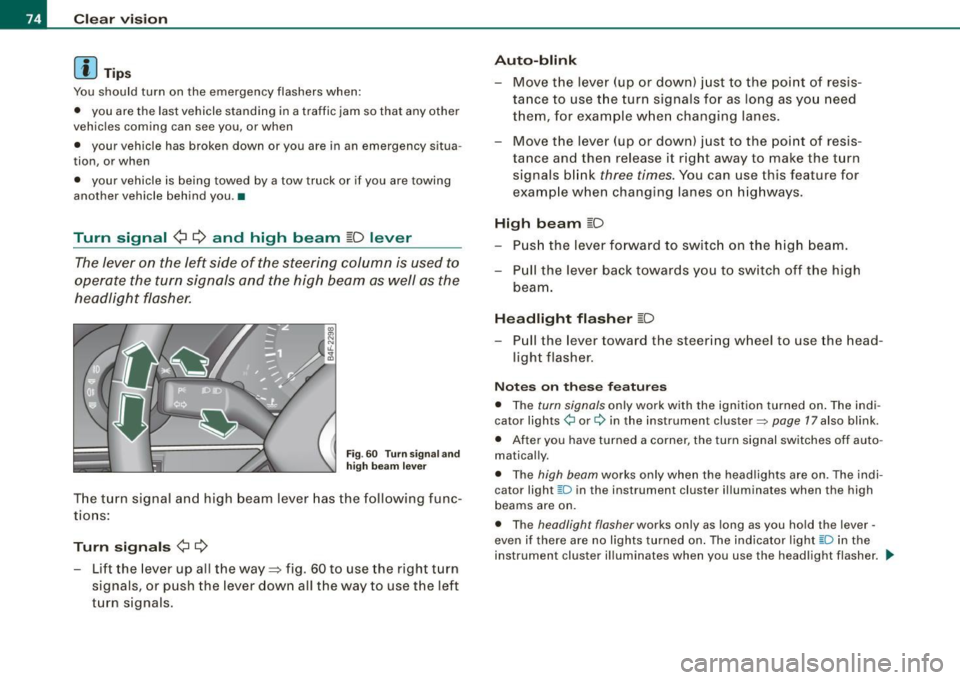
The emergency flasher makes other motorists aware that
you or your vehicle ore in on emergency situation.
:,• ' • ~ ' t' •
• Fig . 59 Center
console: emergency
fla sher switc h
Press the switch tf1. ~ fig. 59 to turn the emergency
flashers on or off.
When the emergency flasher is on, all four turn signals blink at the
same time. The turn signal indicator lights¢¢ in the instrument
c lust er, as well as the light in the emergency flasher switch~ blink
likewise.
The emergency flashers will turn on automatically if you are in an accident where the airbag has deployed . ..
Vehicle care I I irechnical data
Page 76 of 390
Clear vision
[ i J Tips
You should turn on the emergency flashers when:
• you are the last vehicle standing in a traffic jam so that any other
vehicles coming can see you, or when
• your vehicle has broken down or you are in an emergency situa
tion, or when
• your vehicle is being towed by a tow truck or if you are towing
another vehicle behind you. •
Turn signal ¢ ¢ and high beam ~D lever
The lever on the left side of the steering column is used to
operate the turn signals and the high beam as well as the
headlight flasher.
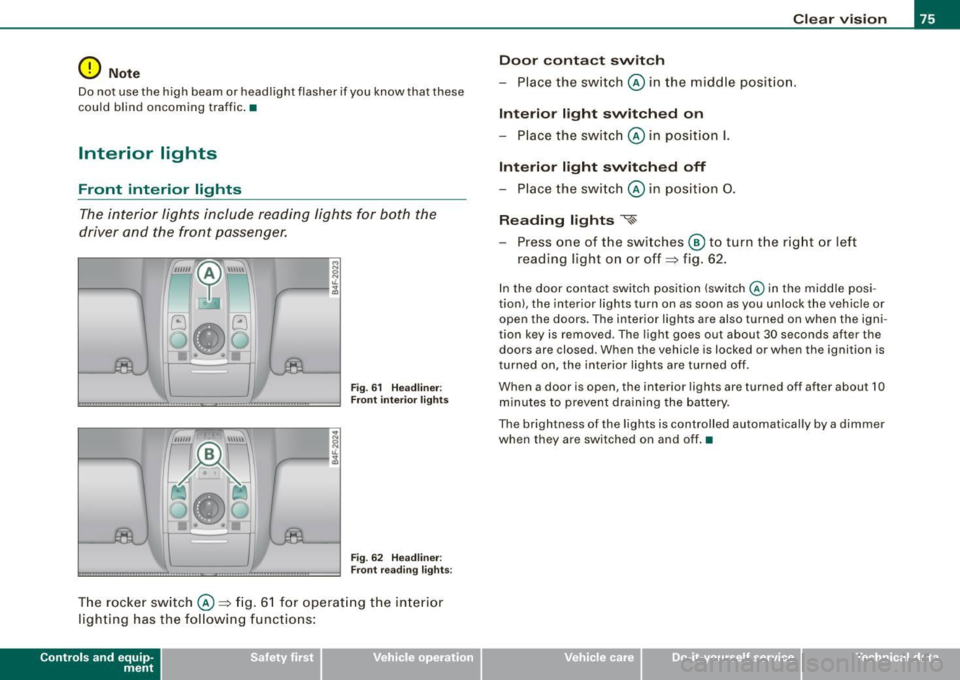
Fig . 60 Turn signa l and
high beam lever
The turn signal and high beam lever has the following func
tions :
Turn signals ¢ ¢
- Lift the lever up all the way=:> fig . 60 to use the right turn
signals, or push the lever down all the way to use the left
turn signals.
Auto -blink
- Move the lever (up or down) just to the point of resis
tance to use the turn signals for as long as you need
them, for example when changing lanes .
- Move the lever (up or down) just to the point of resis
tance and then release it right away to make the turn
signals blink
three times . You can use this feature for
example when changing lanes on highways.
High beam ~D
- Push the lever forward to switch on the high beam.
- Pull the lever back towards you to switch off the high
beam .
Headlight flasher ~D
Pull the lever toward the steering wheel to use the head
light flasher.
Notes on these features
• The turn signals only work with the ignition turned on. The indi
cator lights ¢ or¢ in the instrument cluster::::;, page 17 also blink.
• After you have turned a corner, the turn signal switches off auto
matically.
• The high beam works only when the head lights are on . The indi
cator light ~D in the instrument cluster illuminates when the high
beams are on.
• The headligh t flasher works only as long as you hold the lever -
even if there are no lights turned on. The indicator light ~Din the
instrument cluster illuminates when you use the headlight flasher. _.,
Page 77 of 390
0 Note
Do not use the high beam or headlight flasher if you know that these
could blind oncoming traffic.•
Interior lights
Front interior lights
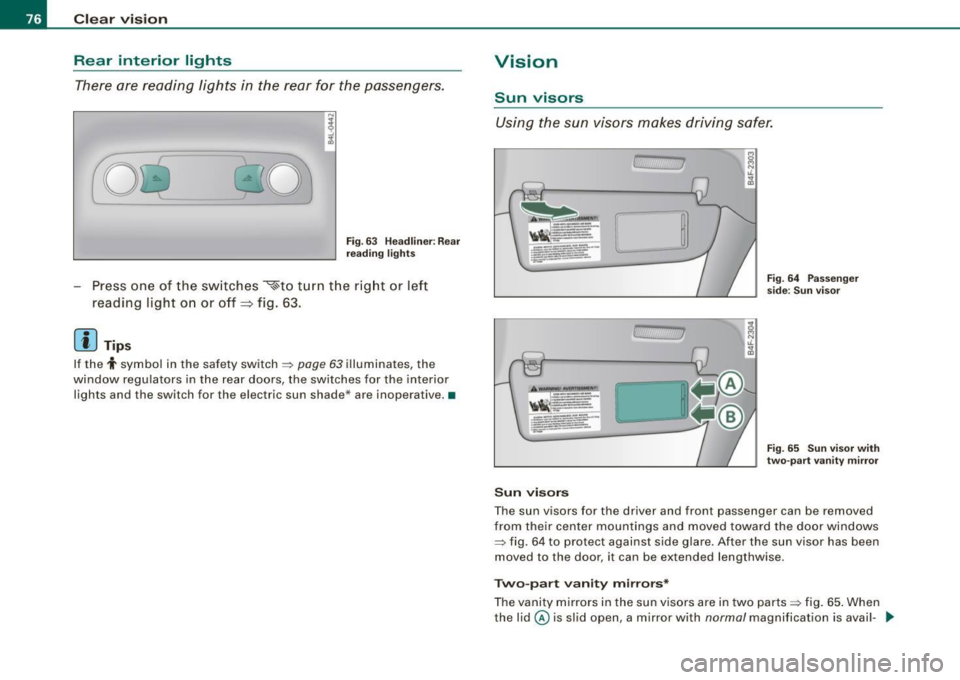
The interior lights include reading lights for both the
driver and the front passenger.
""'' ~ \\\\\
Fig. 61 Headliner :
Front interior lights
Fig . 62 Headliner :
Front reading lights :
The rocker switch @=:>fig. 61 for operating the interior
lighting has the following functions:
Contro ls and eq uip
ment
Clear vision
Door contact switch
- Place the switch @ in the middle position.
Interior light switched on
-Place the switch @ in position I.
Interior light switched off
- Place the switch @ in position 0.
Reading lights '<~
-Press one of the switches @ to turn the right or left
reading light on or off=:> fig. 62.
In the door contact switch position (switch @ in the middle posi
tion) , the interior lights turn on as soon as you unlock the vehicle or
open the doors. The interior lights are also turned on when the igni
tion key is removed . The light goes out about 30 seconds after the
doors are closed. When the vehicle is locked or when the ignition is
turned on, the interior lights are turned off .
When a door is open, the interior lights are turned off after about 10
minutes to prevent draining the battery.
The brightness of the lights is controlled automatically by a dimmer
when they are switched on and off. •
Vehicle care I I irechnical data
Page 78 of 390
Clear vision Rear interior lights There are reading lights in the rear for the passengers.
8Qj
------------
0
Fig . 63 Hea dlin er: Rear
reading lights
Press one of the switches ~to turn the right or left
reading light on or off~ fig. 63.
[ i J Tips
If the t symbol in the safety switch~ page 63 illuminates , the
window regulators in the rear doors, the switches for the interior
lights and the switch for the electric sun shade * are inoperative. •
Vision
Sun visors
Using the sun visors makes driving safer.
c;
'
Sun visors
Fig. 64 Passenger
side; Sun visor
Fig. 65 Sun visor with
two-part vanity mirror
The sun visors for the driver and front passenger can be removed
from their center mountings and moved toward the door windows
~ fig. 64 to protect against side glare . After the sun visor has been
moved to the door, it can be extended lengthwise.
Two-part vanity mirrors*
The vanity mirrors in the sun v isors are in two parts ~ fig. 65 . When
the lid@ is slid open, a mirror with
normal magnification is avail -..,.
Page 79 of 390
able and when the lid® is slid open, a high-power magnifying
mirror is available. In addition, when one of the lids is opened, the
mirror light in the headliner turns on automatically . It turns off when
the lid is closed and the visor is folded up again. •
Applies to vehicles: with sun shade
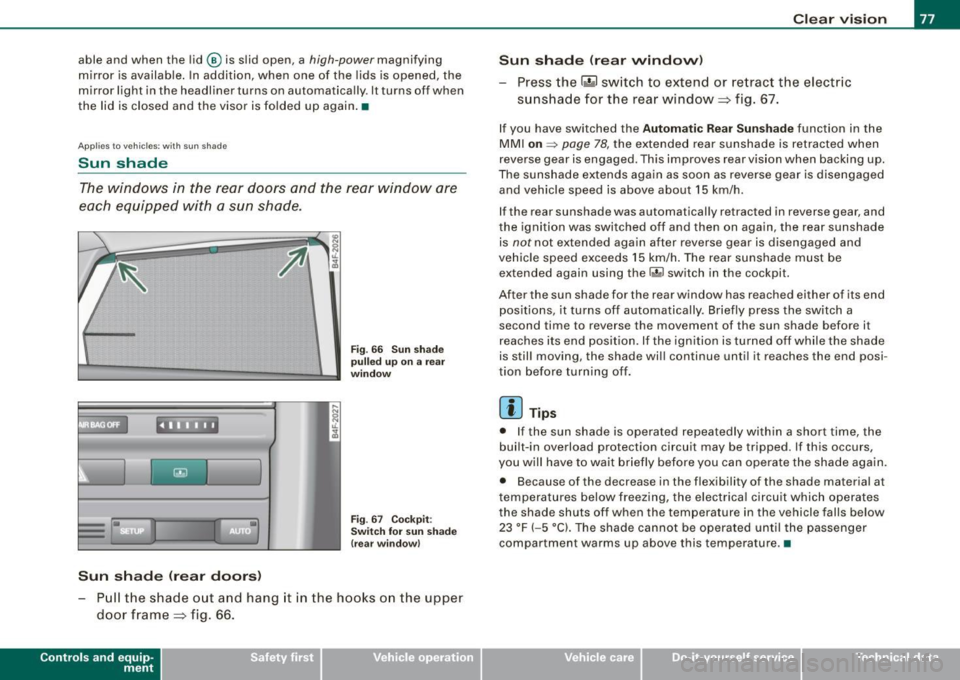
Sun shade
The windows in the rear doors and the rear window are
each equipped with a sun shade.
Sun shade (rear doors)
Fig. 66 Sun shade
pulled up on a rear
window
Fig . 67 Cockpit:
Switch for sun shade
(rear window)
- Pull the shade out and hang it in the hooks on the upper
door frame~ fig. 66.
Con tro ls and eq uip
ment
Clear vision
Sun shade (rear window)
Press the l~I switch to extend or retract the electric
sunshade for the rear window~ fig. 67.
If you have switched the Automatic Rear Sunshade function in the
MMI
on => page 78, the extended rear sunshade is retracted when
reverse gear is engaged. This improves rear vision when backing up.
The sunshade extends again as soon as reverse gear is disengaged
and vehicle speed is above about 15 km/h.
If the rear sunshade was automatically retracted in reverse gear, and
the ignition was switched off and then on again, the rear sunshade
is
not not extended again after reverse gear is disengaged and
vehicle speed exceeds 15 km/h . The rear sunshade must be
extended again using the
li.iil switch in the cockpit.
After the sun shade for the rear window has reached either of its end positions, it turns off automatically . Briefly press the switch a
second time to reverse the movement of the sun shade before it
reaches its end position. If the ignition is turned off while the shade
is still moving, the shade will continue until it reaches the end posi
tion before turning off.
[ i ] Tips
• If the sun shade is opera ted repeatedly with in a short time, the
built-in overload protection circuit may be tripped. If this occurs,
you will have to wait briefly before you can operate the shade again.
• Because of the decrease in the flexibility of the shade material at
temperatures below freezing, the electrica l circuit which operates
the shade shuts off when the temperature in the vehicle falls below
23 °F
( - 5 °Cl. The shade cannot be operated until the passenger
compartment warms up above this temperature. •
Vehicle care I I irechnical data
Page 80 of 390
Clear vision
Rear window blind -settings
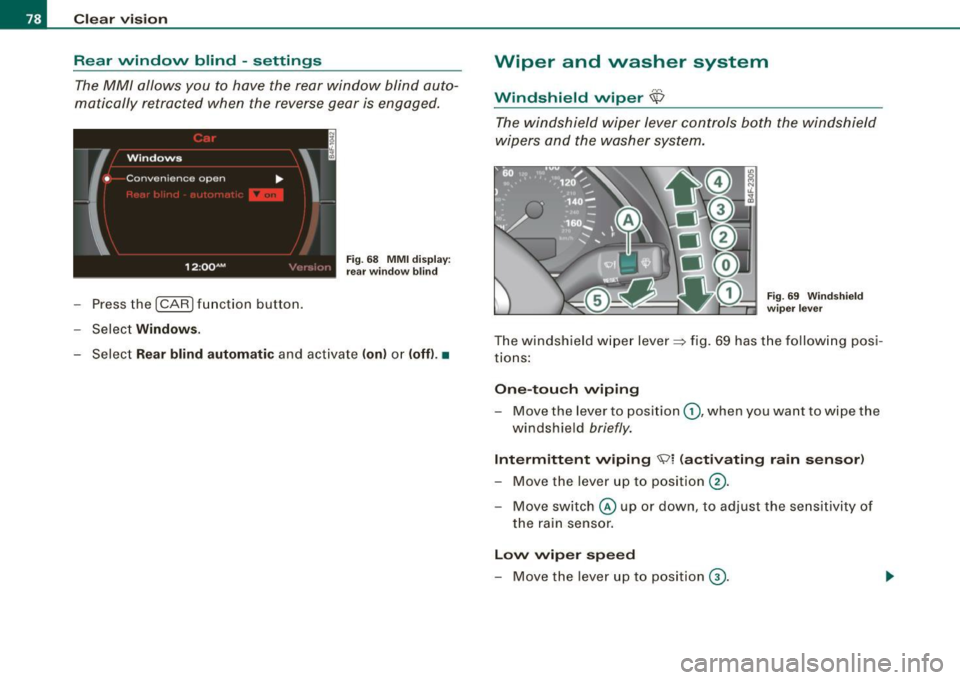
The MM/ allows you to have the rear window blind auto
matically retracted when the reverse gear is engaged.
- Press the {CAR )function button.
- Select
Windows.
Fig. 68 MMI display :
rear window blind
- Select Rear blind automatic and activate (on) or (off) .•
Wiper and washer system
... , ...
Windshield wiper \\/
The windshield wiper lever controls both the windshield
wipers and the washer system.
Fig . 69 Windshield
wiper lever
The w indsh ield wiper lever~ fig. 69 has the following posi
tions:
One-touch wiping
- Move the lever to pos it ion G) , when you want to wipe the
w indsh ield
briefly.
Intermittent wiping \?1 (activating rain sensor)
- Move the lever up to position 0-
- Move switch© up or down, to adjust the sensitivity of
the rain sensor.
Low wiper speed
- Move the lever up to position G).