tow AUDI TT ROADSTER 2017 Owners Manual
[x] Cancel search | Manufacturer: AUDI, Model Year: 2017, Model line: TT ROADSTER, Model: AUDI TT ROADSTER 2017Pages: 314, PDF Size: 76.54 MB
Page 4 of 314
Table of content s
About this Owne r's Manual . .. .. .
5
Cockpi t . . . . . . . . . . . . . . . . . . . . . . . . . . . 6
Cockpit overview . . . . . . . . . . . . . . . . . 6
Controls at a glance . . . . . . . . . . . . . . . . . . 6
Instruments and indicator lights 8
Instruments . . . . . . . . . . . . . . . . . . . . . . . . 8
Indicator lights . . . . . . . . . . . . . . . . . . . . . 9
On-Board Diagnostic system (OBD) . . . . .
17
Drive r information system . . . . . . 19
Overview . . . . . . . . . . . . . . . . . . . . . . . . . . . 19
M ultifunction steering wheel plus . . . . . . 20
Mu ltifunction steering wheel . . . . . . . . . . 22
Tachometer . . . . . . . . . . . . . . . . . . . . . . . . 23
Odometer . . . . . . . . . . . . . . . . . . . . . . . . . . 23
On-board computer . . . . . . . . . . . . . . . . . . 23
Start ing and driving . . . . . . . . . . . . . 24
Opening and clo sing ........... . .
Cent ral lock ing .... ........... .... .. . 24
24
L uggage compa rtment lid . . . . . . . . . . . . . 29
P ower w indow . . . . . . . . . . . . . . . . . . . . . . 30
Garage doo r opener (Home link) . . . . . . . .
3 1
Power top . . . . . . . . . . . . . . . . . . . . . . . . 34
P ower top . . . . . . . . . . . . . . . . . . . . . . . . . . 34
Wind deflector . . . . . . . . . . . . . . . . . . . . . . 36
Power top emergency operation . . . . . . . . 37
Ligh ts and Vi sion . . . . . . . . . . . . . . . . . 39
Exterior lighting . . . . . . . . . . . . . . . . . . . . . 39
Interior lighting . . . . . . . . . . . . . . . . . . . . .
41
V1s1on . . . . . . . . . . . . . . . . . . . . . . . . . . . . . 42
W indshield wipers . . . . . . . . . . . . . . . . . . . 43
Dig ital compass . . . . . . . . . . . . . . . . . . . . . 45
Seats and storage ................ 47
General information . . . . . . . . . . . . . . . . . 47
Front seats . . . . . . . . . . . . . . . . . . . . . . . . . 47
Ashtray . . . . . . . . . . . . . . . . . . . . . . . . . . . . 48
Cigarette lighter and socket . . . . . . . . . . . 48
S to rage . . . . . . . . . . . . . . . . . . . . . . . . . . . . 49
L uggage compartment . . . . . . . . . . . . . . . 5 0
2
Warm and cold . . . . . . . . . . . . . . . . . . . 52
Climate contro l system . . . . . . . . . . . . . . . 52
Dr1v1ng ... .. .. .. .. .. .. .. .. .... ... . .
Genera l information .. ... . .. .... ... . .
Steering . ... .. .. .. .. ... .. ..... ... . .
Start ing and stopping the engine
Electromechanical parking brake ...... .
Start ing from a stop .. ... ....... ... . .
Automat ic transmission ....... ..... . .
Tra ile r towing ...................... .
Driver assistance .............. .. .
Assist ............................ .
Electronic speed lim iter ..... ....... .. .
Speed warning sy stem . .. ........... . .
Cruise cont rol sys tem
Audi active lane assist ... . ... .... ... . .
Audi side assist . ... ... .. .. ..... ... . .
Audi drive select (drive settings) ... ... . .
Park ing sy stem s
Genera l information
Rear parking system
Parking system plus . .. .. ........... . .
Rearv iew camera . .. .. .............. .
Adjusting the d isplay and the warning
tones ........ ... ................ .. .
Er ror messages .. .. .. ... ....... ... . .
Intelligent Technology ......... .
Electron ic stabilization control (ESC) .. . .
B rakes ............................ .
El ectrome chanical steering .......... .
A ll wheel drive (quattro) .. .. ..... ... . .
Rear spoiler ... .. .. .. ... .. ..... ... . .
Energy management .. .. . ... .... ... . .
Information about data recorded by
57
57
59
59
62
63
63
71
72
72
72
72
72
74
76
79
82
82
83
83
84
86
86
88
88 89
91
91
92
93
vehicle control modules . . . . . . . . . . . . . . 94
Infotainment system . . . . . . . . . . . . 96
Multi Media Inte rface . . . . . . . . . . . . 96
Traffic safety information . . . . . . . . . . . . . 96
Introduction . . . . . . . . . . . . . . . . . . . . . . . . 96
MMI On/Off knob with joystick function . . 96
MM I ope ration . . . . . . . . . . . . . . . . . . . . . . 97
MM I touch . . . . . . . . . . . . . . . . . . . . . . . . . 98
Operat ing . . . . . . . . . . . . . . . . . . . . . . . . . .
101
Page 5 of 314
co
co
.... N
" N .... 0
" "' c:o
Opening the selection/options menu with
the control knob . . . . . . . . . . . . . . . . . . . . 102
Letter/number speller . . . . . . . . . . . . . . . . 102
Free text search . . . . . . . . . . . . . . . . . . . . . 104
Menus and Symbols . . . . . . . . . . . . . . . . . . 105
Voice recognition system . . . . . . . . 108
Operating . . . . . . . . . . . . . . . . . . . . . . . . . . 107
Command overview information . . . . . . . . 108
Commands . . . . . . . . . . . . . . . . . . . . . . . . . 109
Telephone . . . . . . . . . . . . . . . . . . . . . . . . 114
Introduction . . . . . . . . . . . . . . . . . . . . . . . . 114
Setup . . . . . . . . . . . . . . . . . . . . . . . . . . . . . 114
Using the te lephone . . . . . . . . . . . . . . . . . 116
Favorites . . . . . . . . . . . . . . . . . . . . . . . . . . . 119
Messages . . . . . . . . . . . . . . . . . . . . . . . . . . 119
L istening to voicemail . . . . . . . . . . . . . . . . 121
Emergency call functions . . . . . . . . . . . . . 122
Directory . . . . . . . . . . . . . . . . . . . . . . . . . . . 122
Settings . . . . . . . . . . . . . . . . . . . . . . . . . . . 124
Safety belt microphone . . . . . . . . . . . . . . . 125
Troubleshooting . . . . . . . . . . . . . . . . . . . . . 126
Audi connect . . . . . . . . . . . . . . . . . . . . . 127
Introduction . . . . . . . . . . . . . . . . . . . . . . . . 127
Setup . . . . . . . . . . . . . . . . . . . . . . . . . . . . . 127
Configuration through myAudi . . . . . . . . . 128
Audi connect services. . . . . . . . . . . . . . . . . 129
W i-F i hotspot . . . . . . . . . . . . . . . . . . . . . . . 131
Configur ing the data connect ion . .. .. .. .
About Audi connect ............ ..... .
Troubleshooting .................... .
N .
. av1gat1on .. ................ ..... .
132
133
135
136
Opening navigation . . . . . . . . . . . . . . . . . . 136
Entering a destination . . . . . . . . . . . . . . . . 137
Cancel route guidance . . . . . . . . . . . . . . . . 141
Home address . . . . . . . . . . . . . . . . . . . . . . 142
Favorites . . . . . . . . . . . . . . . . . . . . . . . . . . . 142
Directory contacts . . . . . . . . . . . . . . . . . . . 142
Addit ional settings . . . . . . . . . . . . . . . . . . 142
Map ... .. ... ... .. .. .... ... .. .. .. .. . 144
Online map display . . . . . . . . . . . . . . . . . . 147
Accessing traffic information . . . . . . . . . . 148
Troubleshooting . . . . . . . . . . . . . . . . . . . . . 150
Table of contents
Radio ...... .. .. .................. .
151
Opening the radio . . . . . . . . . . . . . . . . . . . 151
Radio funct ions . . . . . . . . . . . . . . . . . . . . . 152
Radio menu . . . . . . . . . . . . . . . . . . . . . . . . 153
Favorites . . . . . . . . . . . . . . . . . . . . . . . . . . . 153
Additional settings . . . . . . . . . . . . . . . . . . 154
Troubleshooting . . . . . . . . . . . . . . . . . . . . . 155
Med ia .... .. .. .. .... .. .. .... ... .. .. 156
Introduction ... .. .. ...... ....... .. .. 156
Notes . . . . . . . . . . . . . . . . . . . . . . . . . . . . . 156
Media drives . . . . . . . . . . . . . . . . . . . . . . . . 157
Bluetooth audio player . . . . . . . . . . . . . . . 159
Wi-Fi audio player . . . . . . . . . . . . . . . . . . . 160
Online media and Internet radio . . . . . . . . 161
Multimedia connections . . . . . . . . . . . . . . 162
Playing media . . . . . . . . . . . . . . . . . . . . . . . 164
Additional settings . . . . . . . . . . . . . . . . . . 167
Supported media and file formats . . . . . . 169
Troubleshooting .. .. ................. 171
Audi smartphone interface . . . . . . 173
Setup . . . . . . . . . . . . . . . . . . . . . . . . . . . . . 173
Operating . . . . . . . . . . . . . . . . . . . . . . . . . . 173
Troubleshooting .. .. ................. 174
System settings .................. 175
Setting the date and time . . . . . . . . . . . . . 175
MM I settings . . . . . . . . . . . . . . . . . . . . . . . 175
Connection manager . . . . . . . . . . . . . . . . . 176
System update . . . . . . . . . . . . . . . . . . . . . . 178
Sound settings . . . . . . . . . . . . . . . . . . . . . . 179
Vo lume settings . . . . . . . . . . . . . . . . . . . . . 179
Restarting the MMI (Reset) . . . . . . . . . . . . 180
Software license information . . . . . . . . . . 180
Safety . . . . . . . . . . . . . . . . . . . . . . . . . . . . 181
Safe driving . . . . . . . . . . . . . . . . . . . . . . 181
Basics . . . . . . . . . . . . . . . . . . . . . . . . . . . . . 181
Correct passenger seating positions . . . . . 182
Driver and passenger side footwell . . . . . . 184
Pedal area . . . . . . . . . . . . . . . . . . . . . . . . . . 184
Stow ing luggage . . . . . . . . . . . . . . . . . . . . 185
Reporting Safety Defects . . . . . . . . . . . . . . 187
Safety belts . . . . . . . . . . . . . . . . . . . . . . 189
General notes . . . . . . . . . . . . . . . . . . . . . . . 189
Why safety belts? . . . . . . . . . . . . . . . . . . . 190
3
Page 6 of 314
Table of content s
Safety belts . . . . . . . . . . . . . . . . . . . . . . . . 192
Safety belt tensioner . . . . . . . . . . . . . . . . . 194
Airbag system ... . ...... ... .. .. ... 19 6
I mportant info rmation . . . . . . . . . . . . . . . 196
F ront airbags . . . . . . . . . . . . . . . . . . . . . . . 200
Mon itoring the Advanced Airbag System . 207
Knee airbags........................ 212
Side airbags . . . . . . . . . . . . . . . . . . . . . . . . 214
Ch ild safety . . . . . . . . . . . . . . . . . . . . . . 218
Important information . . . . . . . . . . . . . . . 218
Ch ild seats . . . . . . . . . . . . . . . . . . . . . . . . . 223
Secur ing ch ild seats . . . . . . . . . . . . . . . . . . 227
Add it io nal info rmation . . . . . . . . . . . . . . . 230
Maintenanc e and Care . . . . . . . . . . . 23 1
Checking and Filling . . . . . . . . . . . . . 23 1
F ue l... .. .. .. .. ... .......... .... .. . 23 1
Refueling . . . . . . . . . . . . . . . . . . . . . . . . . . 232
E ng ine compartment . . . . . . . . . . . . . . . . . 235
Eng ine oi l .... .. ... .. ..... ... .. .. ... 237
Cooling system . . . . . . . . . . . . . . . . . . . . . . 241
Brake fluid . . . . . . . . . . . . . . . . . . . . . . . . . 242
Battery . . . . . . . . . . . . . . . . . . . . . . . . . . . . 243
W indshield washer system . . . . . . . . . . . . 244
Service interval display . . . . . . . . . . . . . . . 245
Wheels ... .. ... ............ .... .. . 246
Wheels and Tires . . . . . . . . . . . . . . . . . . . . 246
Tire pressure monitoring system 263
Care and cleaning . . . . . . . . . . . . . . . . 266
General information . . . . . . . . . . . . . . . . . 266
Ca r washes . . . . . . . . . . . . . . . . . . . . . . . . . 266
C lea ning and care information . . . . . . . . . 267
P lacing your veh icle o ut of se rvice 27 1
Troubleshooting . . . . . . . . . . . . . . . . . 27 2
Emergency assistance . . . . . . . . . . . 272
T runk es cape l atch . . . . . . . . . . . . . . . . . . . 27 2
G eneral informa tion . . . . . . . . . . . . . . . . . 272
Equipment . . . . . . . . . . . . . . . . . . . . . . . . . 272
Tire mobility k it . . . . . . . . . . . . . . . . . . . . . 273
Replac ing whee ls . . . . . . . . . . . . . . . . . . . . 275
Spare tire . . . . . . . . . . . . . . . . . . . . . . . . . . 279
4
Fuses and bulbs . . . . . . . . . . . . . . . . . . 281
E lectrica l fuses . . . . . . . . . . . . . . . . . . . . . . 281
Bu lbs. . . . . . . . . . . . . . . . . . . . . . . . . . . . . . 283
Emergency situations . . . . . . . . . . . . 2 8 4
Genera l . . . . . . . . . . . . . . . . . . . . . . . . . . . . 284
Start ing by push ing or tow ing . . . . . . . . . . 284
Start ing with jumper cables . . . . . . . . . . . 284
Use o f jumper cables . . . . . . . . . . . . . . . . . 28S
T owing with a tow truck . . . . . . . . . . . . . . 286
Raising the vehicle . . . . . . . . . . . . . . . . . . . 288
Accessories and technical data . . 290
Technical data . . . . . . . . . . . . . . . . . . . . 290
Vehicle spec ificat ions . . . . . . . . . . . . . . . . 290
Weights . . . . . . . . . . . . . . . . . . . . . . . . . . . 290
D imens ions. . . . . . . . . . . . . . . . . . . . . . . . . 291
Capaci ties . . . . . . . . . . . . . . . . . . . . . . . . . . 291
Gasoline engines . . . . . . . . . . . . . . . . . . . . 292
Consumer information and
technical data . . . . . . . . . . . . . . . . . . . .
293
Consumer information . . . . . . . . . . 293
Warranty coverages . . . . . . . . . . . . . . . . . . 293
Operat ing your vehicle outside the U.S.A.
or Canada . . . . . . . . . . . . . . . . . . . . . . . . . . 293
Audi Service Repair Manuals and Lite rat ure . . . . . . . . . . . . . . . . . . . . . . . . . . 293
Maintenance. . . . . . . . . . . . . . . . . . . . . . . . 293
Accessor ies a nd techn ica l changes 295
Index .......... ... ............. ... 297
Page 15 of 314
co
co
.... N
" N .... 0
" "' c:o
@ Tips
The oil pressure warning is not an o il level in
dicator. Always check the oil level reg ularly .
D Generator/vehicle battery
• Electric system: malfunction! Battery is not
being charged
There is a malfunction in the alternator or the ve
h icle elect rical system.
Dr ive t o an autho rized Aud i dea le r o r a uth orized
Au di Service Facility immediately. Tur n off all un
necessa ry e lectr ica l equi pment because it w ill
drain the batte ry. See your authorized A udi deal
er or authori zed Audi Service Facility if the bat
tery charge level is too low .
(•) Electrical system: low battery charge. Bat
tery w ill be charged while driving
The start ing a bili ty may be impai red.
I f t his message tu rns off aft er a lit tle while , the
ve hicl e ba ttery charged enough w hile dr iving.
If the message does not turn off, have an a uthor
iz ed A udi dealer o r au tho riz ed Aud i Serv ice Fac ili
ty repa ir th e malfunction.
~ Engine stop while driving
• Engine stopped : no power steering or brake
servo possible
There is a malfunction in the eng ine o r in the fue l
supp ly sys tem .
Mo re force is needed to steer and bra ke the mov
in g vehicle when t he engine is stopped. If the ve
hi cle is roll ing , try to b ring it to a stop off to the
side from moving traffic. See an au thoriz e d Au di
dea le r or autho riz e d Au di Serv ice Fa cility fo r as
sis tance.
A WARNING
If the eng ine stops while dr iving , yo u will
nee d to use more fo rce to bra ke the vehicle .
Th is increases the r isk o f an acci dent . There
w ill st ill be power steering if the ignit ion is
switched on w hil e the vehicle is rolling and
Instruments and ind icator lights
the re is suff ic ient battery charge. Ot herwise,
you must use greater force when stee ring.
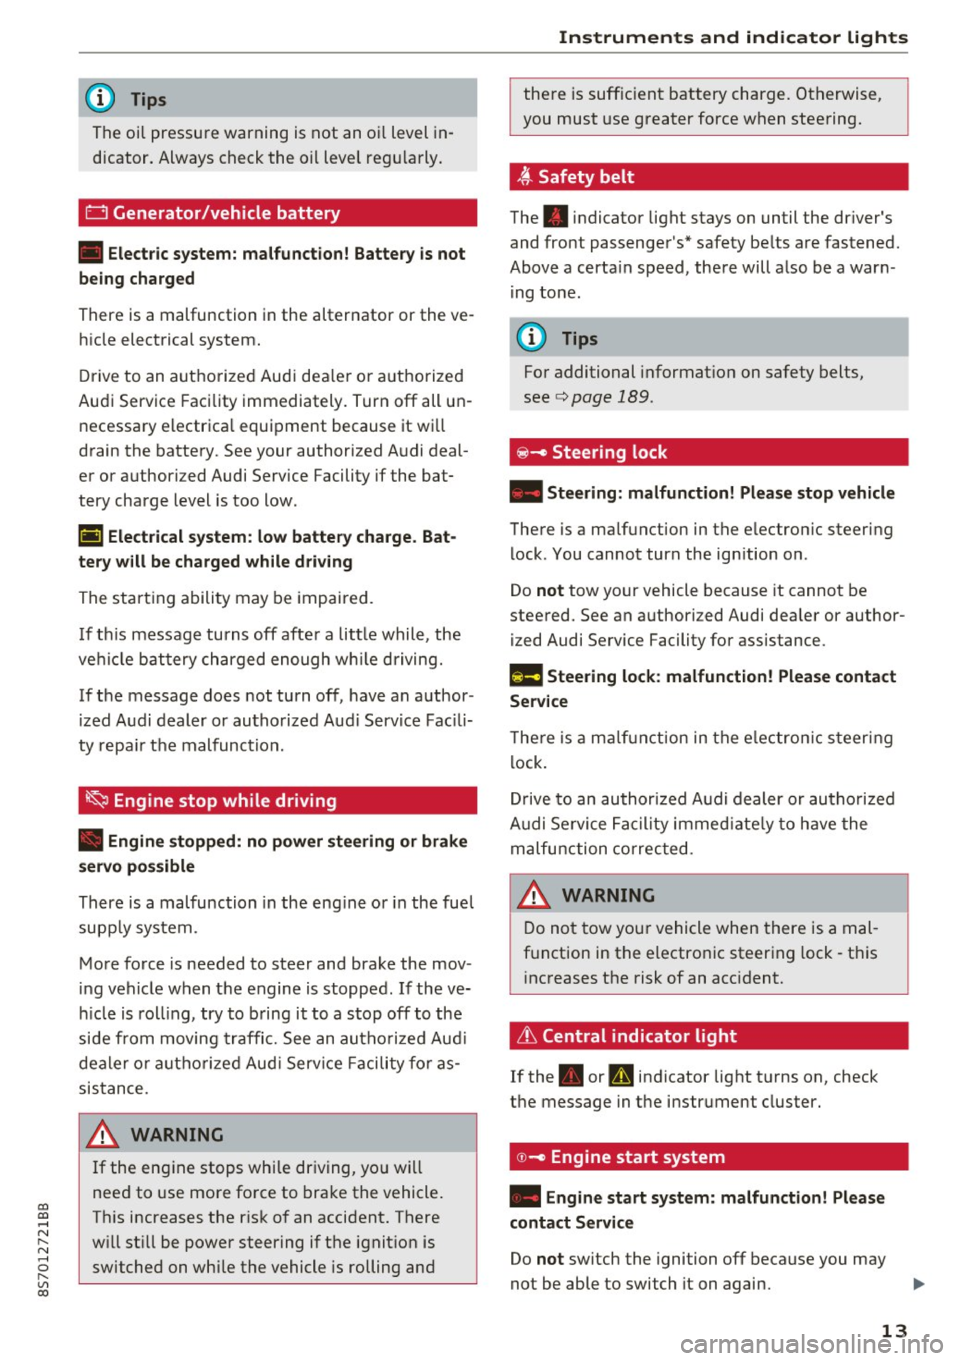
~ Safety belt
The . indicator light stays on until the dr iver's
and fro nt passenger's* safety be lts a re fastened .
Above a certa in speed, the re will a lso be a war n
i ng tone .
(D Tips
For additional informat ion on safety belts,
se e
c:> page 189 .
@-c, Steering lock
• Steering: malfunction! Please stop veh icle
The re is a ma lfunction in the e lectron ic steering
lock . You cannot tur n the ign ition on .
Do
not tow yo ur vehicle because it cannot be
stee red. See an a uthori zed Audi dea ler or author
ized Audi Service Facility for ass istance.
f!m Steering lock: malfunction! Please contact
Service
T he re is a m alfu n cti on in the e lectron ic st eering
l ock .
Dr ive to an author ized A udi dealer or au tho riz e d
A udi Se rvice Fa cility i mmed iate ly to h ave the
ma lfunction correcte d.
D o not tow yo ur vehicle when there is a mal
f u nction in t he electron ic steer ing lock -th is
i nc reases the risk of an acc iden t.
6 Central indicator light
If the . or Pm in dicator light t urns on, check
t h e message in the i nstr ument cluster.
© -c> Engine start system
• Engine start system: malfunction! Please
contact Service
Do not switch the ignition off because you may
not be able to switch it on again.
Ill>-
13
Page 25 of 314
CD
CD
.... N
" N .... 0
" V, co
Tachometer
The tachometer displays the engine speed in rev
olutions per minute (RPM) .
The beginning of the red zone in the tachometer
indicates the maximum permissible engine speed
for all gears once the engine has been broken in
and when it is warm. Before reaching the red
zone, you should shift into the next higher gear,
choose the Dor S selector lever position, or re
move your foot from the accelerator pedal.
@ Note
The needle in the tachometer may only be in
the red area of the gauge for a short per iod of
time or there is a risk of damaging the engine .
The location where the red zone begins varies
depending on the engine.
@) For the sake of the environment
Upshifting early helps you to save fuel and re
duce operating noise.
Odometer
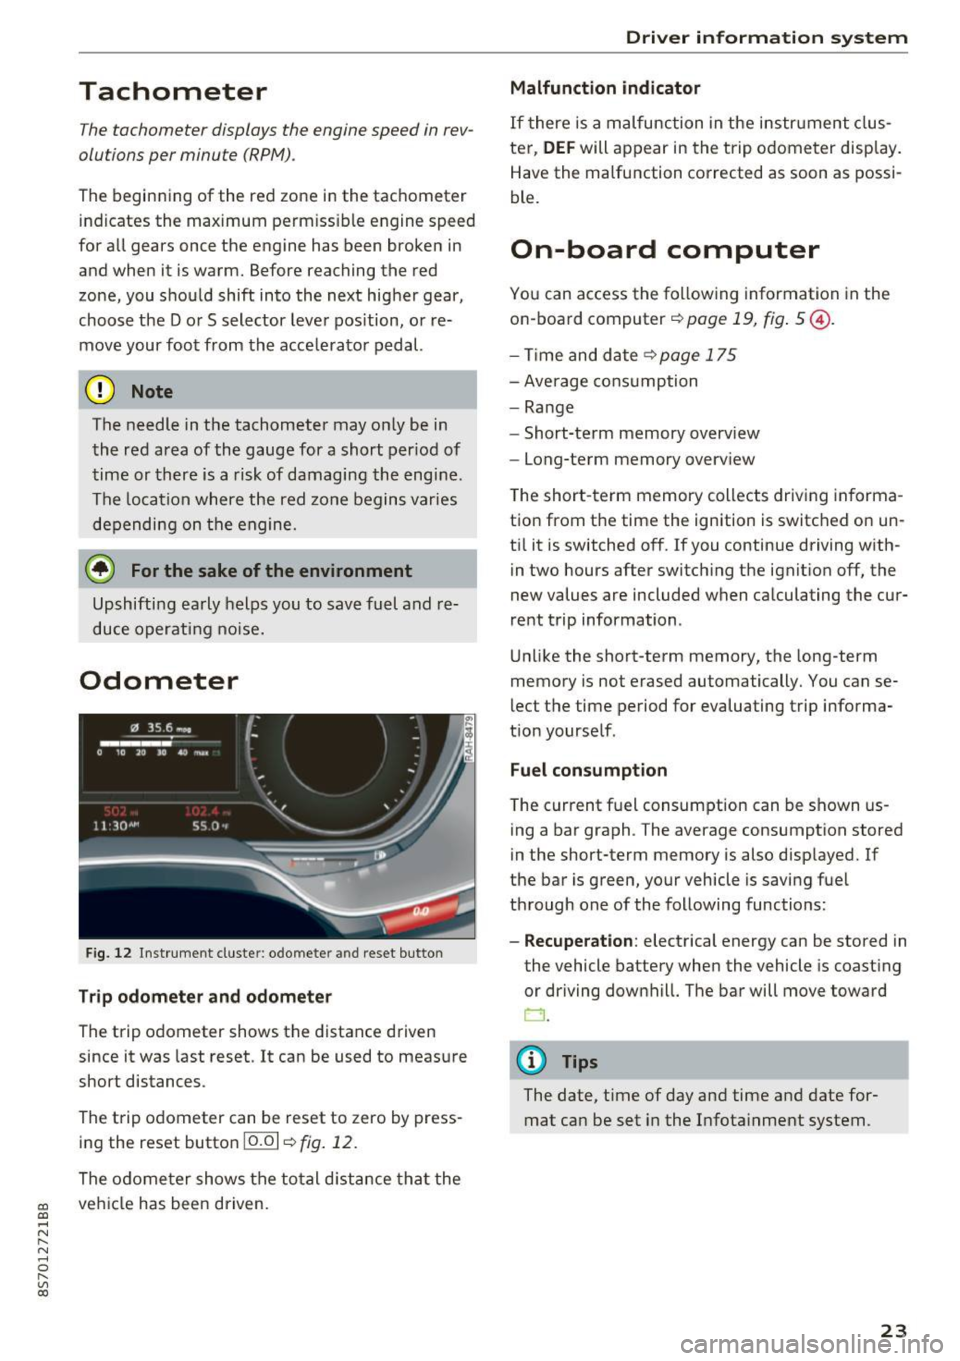
Fig. 12 Instrument cluste r: odomete r and reset button
Trip odometer and odometer
The trip odometer shows the distance driven
since it was last reset . It can be used to measure
short distances .
The trip odometer can be reset to zero by press ing the reset button 10.01
r=> fig. 12.
The odometer shows the total d istance that the
veh icle has been driven.
Driver in forma tion system
Malfunction indicator
If there is a malfunction in the instrument clus
ter,
DEF will appear in the trip odometer disp lay.
Have the malfunction corrected as soon as possi
ble.
On-board computer
You can access the following information in the
on-board computer
r=> page 19, fig . 5 @ .
-Time and date ~page 175
-Average consumption
-Range
- Short-term memory overv iew
- Long-term memory overview
The short -term memory collects driving informa
tion from the time the ignition is switched on un
til it is switched off. If you continue driving with·
in two hours after switching the ignition off, the
new values are included when calculating the cur
rent trip information .
Unlike the short-term memory, the long-term
memory is not erased automatically. You can se
lect the time period for evaluating trip informa
tion yourself .
Fuel consumption
The current fuel consumption can be shown us
ing a bar graph . The average consumption stored
in the short-term memory is also displayed. If
the bar is green, your vehicle is saving fuel
through one of the following functions:
- Recuperation : electrical energy can be stored in
the vehicle battery when the vehicle is coasting or driving downhill. The bar will move toward
CJ .
(D Tips
The date, time of day and time and date for
mat can be set in the Infotainment system.
23
Page 36 of 314
Power top
Power top
Power top
General information
The power top opens and closes automatically .
When open, the power top is stored completely
in the power top compartment. The power top
can be opened or closed at speeds up to 30 mph
(SO km/h).
Under normal conditions, the power top is wind
and waterproof. In rare cases, small droplets of
water may form under extreme weather condi
tions such as torrential or prolonged rain. That is
normal and no cause for concern.
Follow the care instructions to keep the power
top free of leaks and to maintain its appearance
~ page 266, Core and cleaning. Also observe the
following:
- Open and stow the power top only when it is
clean and dry . Sharp-edged dirt particles can
cause damage to the rear window and the pow
er top . Stowing the power top when it is damp
can create imprints in it, and if it is left that
way for long periods of time, mildew and other
damage can form .
- Do not leave the power top open for several weeks or the creases in it may become discol
ored.
- Remove ice and snow before opening the power
top. Do not use any sharp edged objects to re move ice and snow or the power top could be
scratched or damaged . The rear window may be
cleared with a standard ice scraper .
- Do not open the power top when the tempera
ture is below 32 °F (0 °C). The fabric in the
power top loses elasticity in sub-zero tempera
tu res .
34
Opening and closing the power top
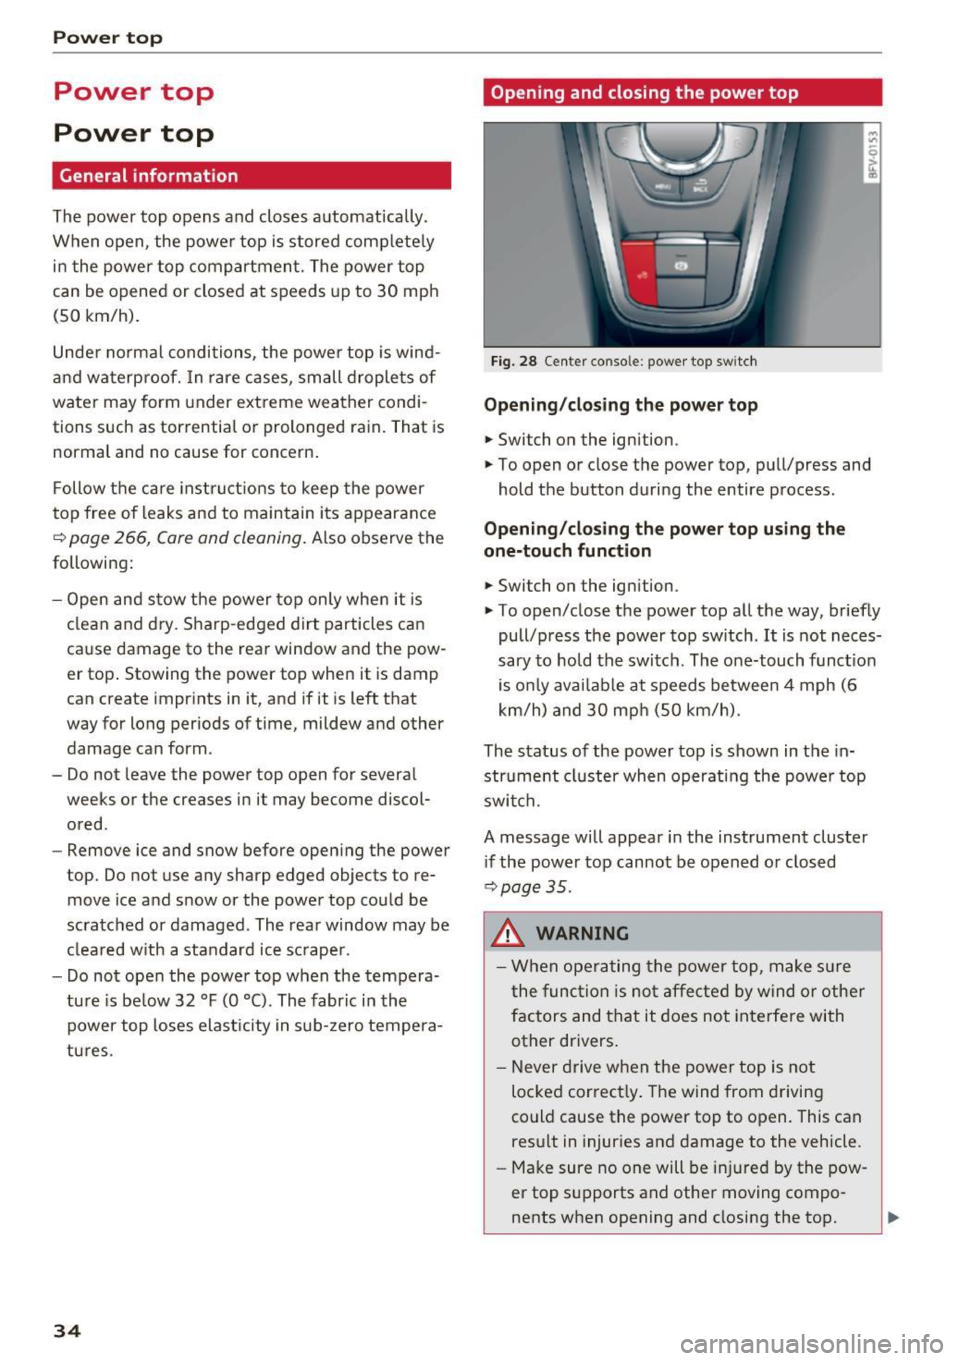
Fig. 28 Center conso le: power top sw itch
Opening/closing the power top
.,. Switch on the ignition.
.,. To open or close the power top, pull/press and
hold the button during the entire process.
Opening/closing the power top using the
one-touch function
.,. Switch on the ignition .
.,. To open/close the power top all the way, briefly
pull/press the power top switch. It is not neces
sary to hold the switch. The one-touch function
is only available at speeds between 4 mph (6
km/h) and 30 mph (SO km/h).
The status of the power top is shown in the in
strument cluster when operating the power top
switch.
A message will appear in the instrument cluster
if the power top cannot be opened or closed
~ page 35.
A WARNING
-When operating the power top, make sure
the function is not affected by wind or other
factors and that it does not interfere with
other drivers.
- Never drive when the power top is not
locked correctly. The wind from driving
could cause the power top to open. This can
result in injuries and damage to the vehicle .
- Make sure no one will be injured by the pow
er top supports and other moving compo
nents when opening and closing the top.
Page 41 of 314
CD
CD
.... N
" N ...... 0
" V, co
Lights and Vision
Exterior Lighting
Switching lights on and off
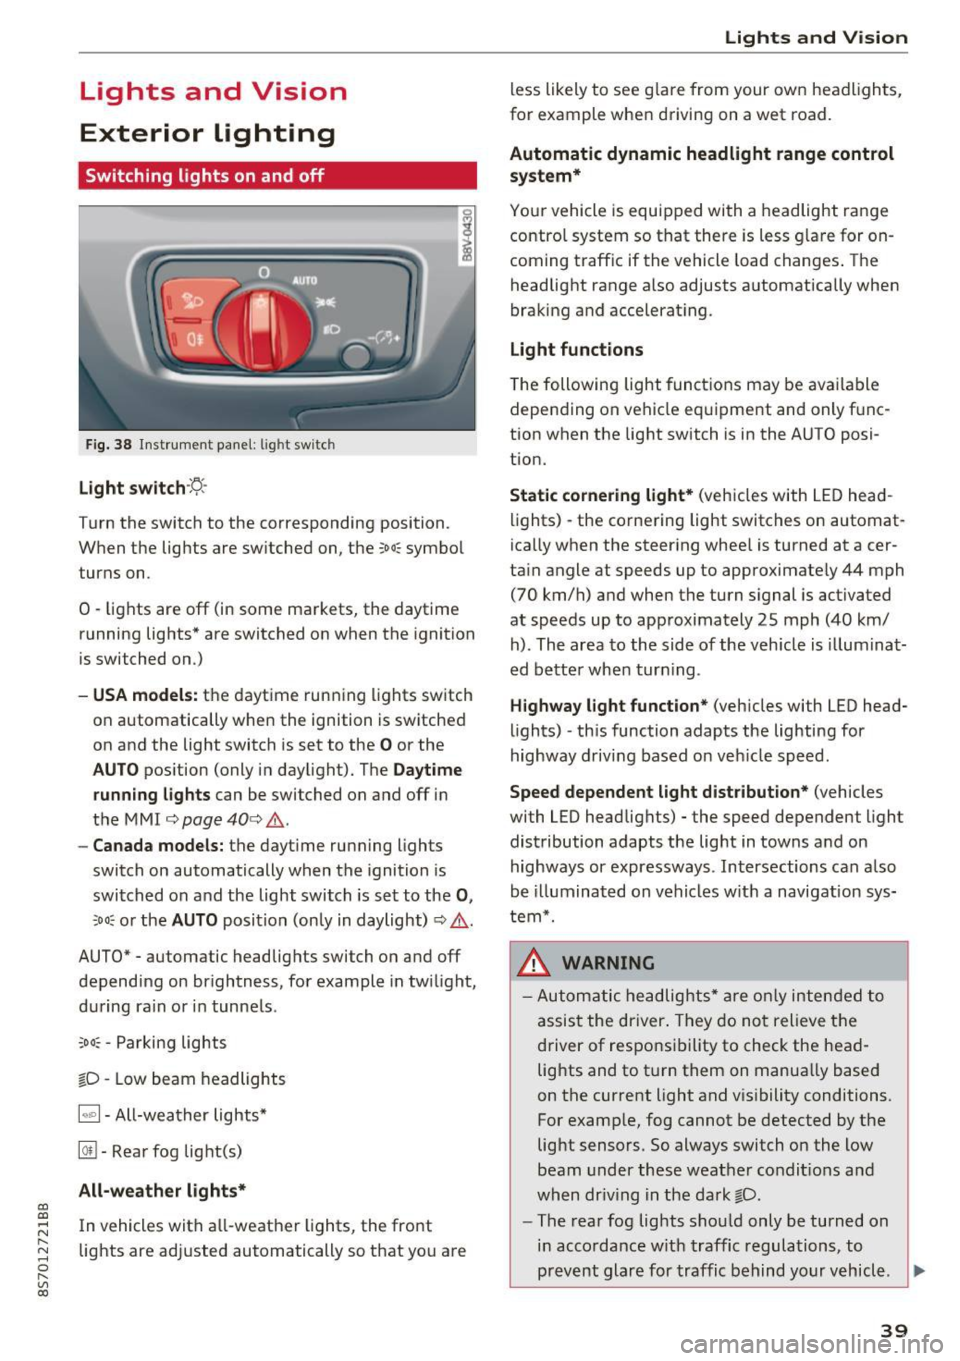
Fig. 38 Instrument panel: l ig ht switc h
Light switch ·:<'>'.·
Turn the switch to the corresponding position.
When the lights are switched on, the
;oo: symbol
turns on.
0 · lights are off (in some markets, the daytime
running lights* are switched on when the ignition
is switched on.)
-USA model s: the daytime running lights sw itch
on automatically when the ignition is switched
on and the light switch is set to the
O or the
AUTO pos ition (only in daylight). The D aytime
runn ing lights
can be switched on and off i n
the MMI
¢ page 40 ¢ &.
- Canada models: the dayt ime running lights
switch on automatically when the ignition is
switched on and the light switch is set to the
0 ,
;oo: or the AUTO posit ion (only in daylight) ¢ & .
AUTO* - automatic headlig hts switch on and off
depending on brightness, for example in tw ilight,
during ra in or in tunne ls .
~oo: -Parking lights
gD -Low beam headlights
IQ., 1-All-weather lights*
@il -Rear fog lig ht(s)
All-weather light s*
In vehicles with all-weather lights, the front
lights are adjusted automatically so that yo u are
Lights and V ision
less likely to see g lare from your own headlights,
for example when driving on a wet road.
Automatic dynamic headlight range control
system*
Your vehicle is equipped with a headlight range
contro l system so that there is less g lare for on
coming traff ic if the vehicle load changes . The
headlight range also adjusts automatically when
braking and accelerat ing .
Light function s
The following light funct ions may be avai lable
depending on vehicle eq uipment and only f unc
tion when the lig ht switch is in the AUTO posi
tion.
Static cornering light * (vehicles with LED head
li ghts) - the cornering light switches on automat
ica lly when the steer ing whee l is turned at acer
ta in angle at speeds up to approximate ly 44 mph
(70 km/h) and when the turn signal is activated
at speeds up to approximately 25 mph (40 km/
h) . The area to the side of the veh icle is illumina t
ed bette r when turn ing .
Highway l ight function * (vehicles with LED head
lights) -th is function adapts the lighting for
highway driving based o n veh icle speed.
Speed dependent light distribution* (vehicles
with LED headlights) - the speed dependent l ight
distribution adapts the lig ht in towns a nd on
highways or expressways . Intersections can a lso
be illuminated on vehicles w ith a navigation sys
tem*.
_& WARNING
- Autom atic headlights * are only inten ded to
a ssis t the driver . They do no t relieve t he
d river of respo nsibility to check the head
lig hts and to t urn them on manua lly based
on the current light and v is ibility conditions.
For example, fog cannot be detected by the
light sensors . So always switch on the low
beam under these weather condit ions a nd
when dr iv ing in the da rk
gD .
-The rear fog lights shou ld only be turned on
i n acco rdanc e w ith traffic regulations, to
prevent glare for traffic behind yo ur v ehicl e.
~
39
Page 43 of 314
CD
CD
.... N
" N .... 0 r--. V, co
Canada models: this function cannot be switched
off . They activate automatically each time the ig
n ition is switched on . This menu item is shown
with a "gray background".
Coming home, Leaving home
The coming home function illuminates the area
outside the vehicle when you turn the ignition off
and open the driver's door. To switch on the func
tion, se lect
Entry/exit lighting.
The leaving home illumi nates the area outs ide
the vehicle when you unlock the vehicle . To
switch on the function, select
Entry/exit light
ing .
The coming home and leaving home funct ions
only operate when it is dark and the light switch
is in the
AUTO position.
Emergency flasher
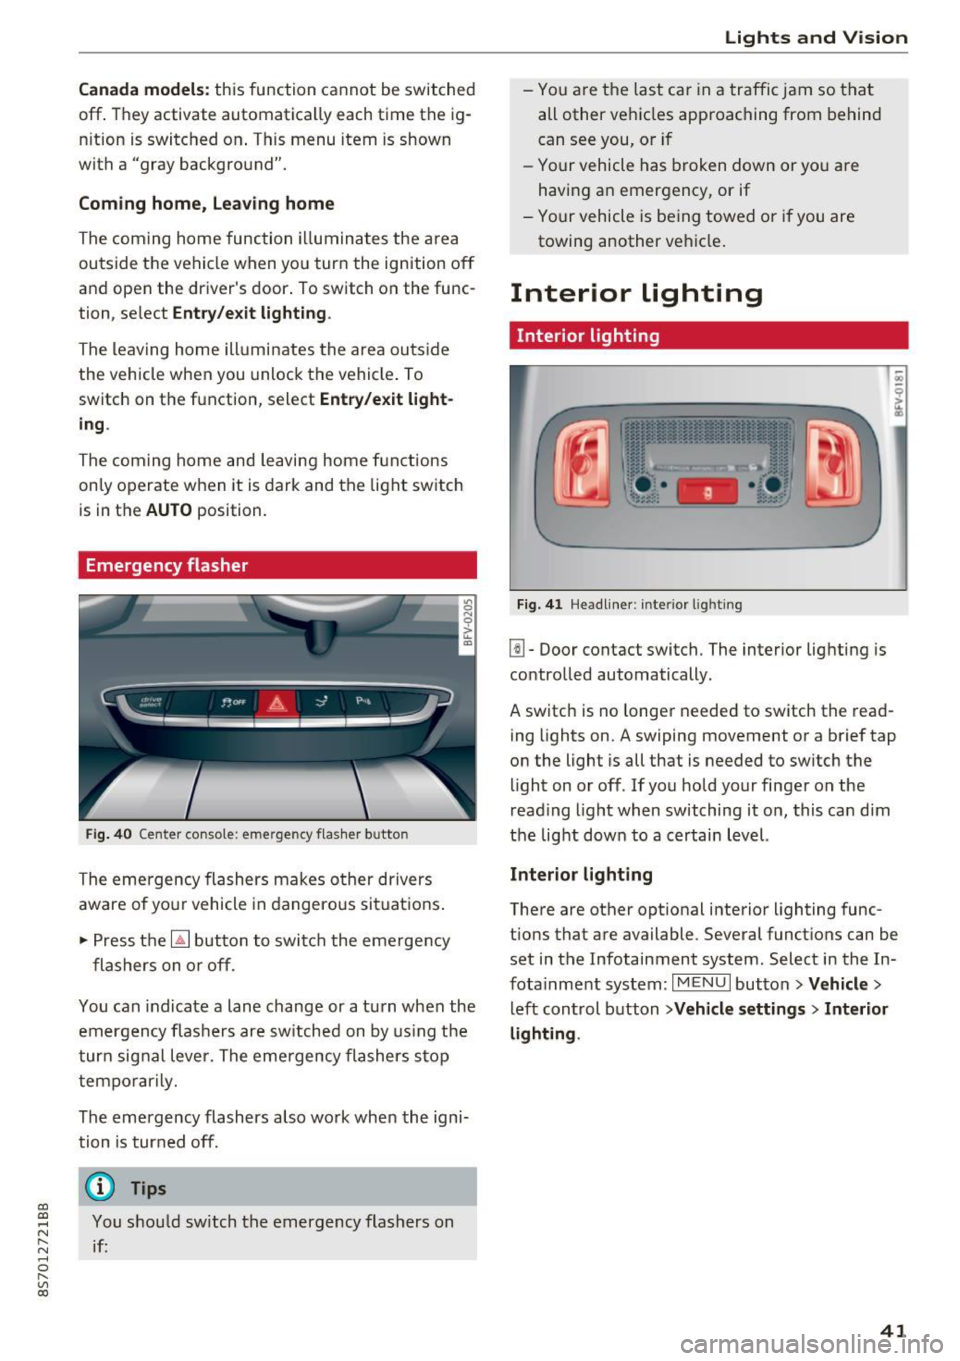
Fig. 40 Center conso le: emergency f las her button
The emergency flashers makes other drivers
aware of yo ur vehicle in dangerous situations .
.. Press the
[!J button to switch the emergency
flashers on or off.
You can indicate a lane change or a turn when the
emergency flas hers are switched on by using the
turn signal lever. The eme rgency flashers s top
temporarily.
The emergency flashers also wo rk when the igni
tion is turned off.
(D} Tips
You should sw itch the emergency flashers on
if:
Lights and V ision
-You are the last ca r in a traffic jam so that
all other vehicles approaching from behind
can see you, or i f
- Your vehicle has broken down or yo u are
having an emergency, or if
- Your vehicle is be ing towed o r if you are
towing another vehicle .
Interior lighting
Interior lighting
Fig. 41 Headliner: interior lighti ng
[!l-Door contact switch. The interior lighting is
controlled automatically.
A switch is no longer needed to switch the read
ing lights on.
A swiping movement or a brief tap
on the light is all that is needed to switch the
light on or off. If you hold your finger on the
read ing light when switching it on, this can d im
the light down to a certain level.
Interior lighting
There are other opt ional interior lighting func
tions that are available . Several functions can be
set in the Infotainment system. Select in the In
fotainment system:
I MENU I button> Vehicle>
left control button >Vehicle settings > Interior
lighting .
41
Page 44 of 314
Lights and Vision
Instrument illumination
Fig . 42 Inst ru m ent illuminat io n
"' ~ 0 0
~ (0
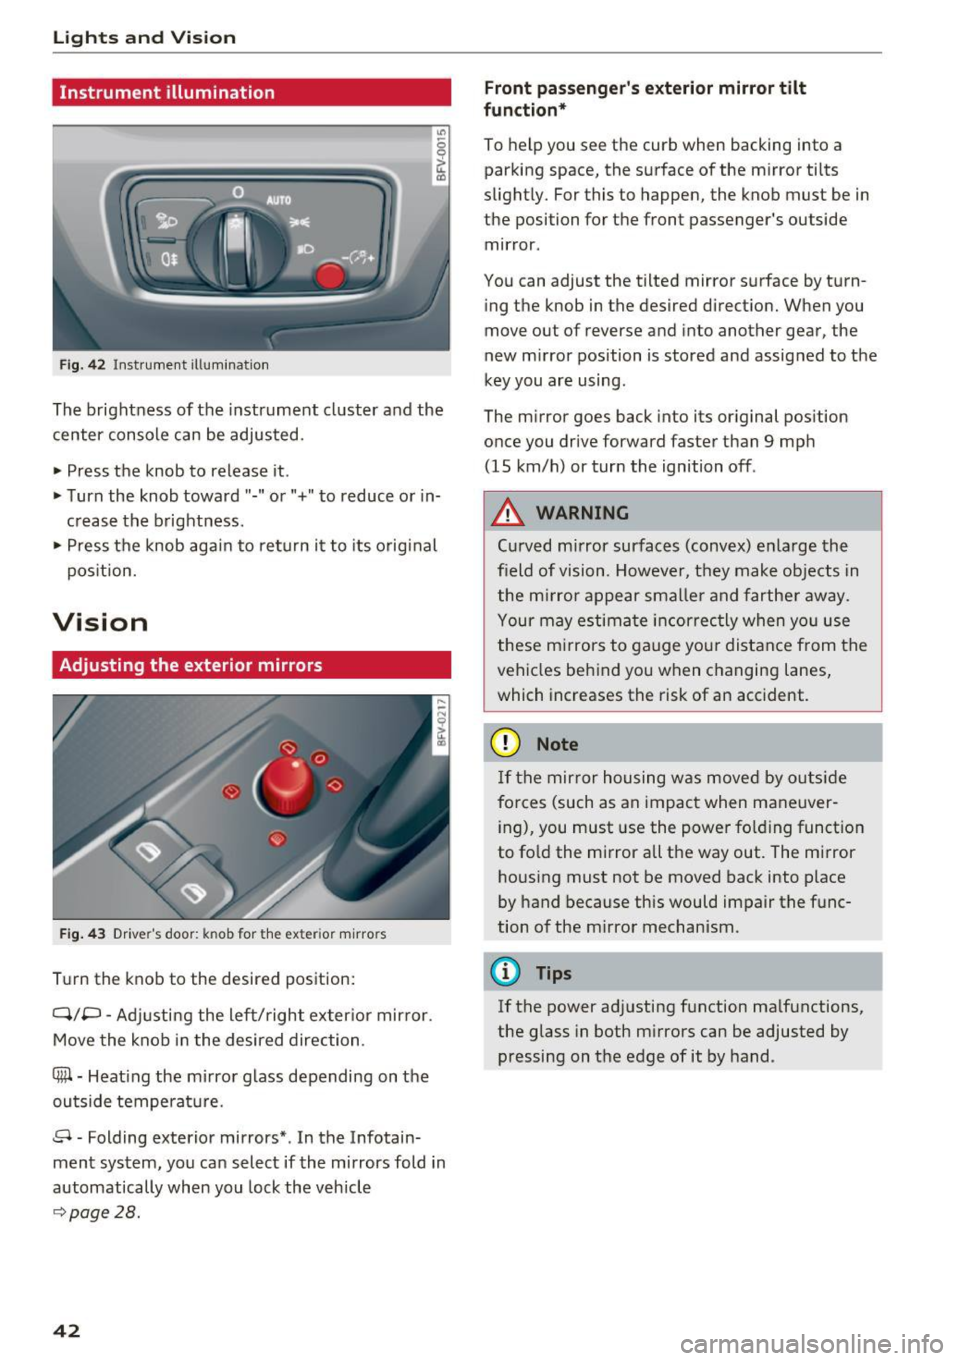
The brightness of the instrument cluster and the
center console can be adjusted.
• Press the knob to release it .
• Turn the knob toward"-" or"+" to reduce or in
c rease the b rightness .
• Press the knob again to ret urn it to its original
pos ition.
Vision
Adjusting the exterior mirrors
F ig. 4 3 Driver's door: knob for the exter ior m irrors
T u rn the knob to the desired pos ition:
Q/P -Adjusti ng the left/right exter ior mir ror.
Move the knob in the desired direction.
®-Heat ing the mi rror g lass depending on the
outside temperat ure.
8 -Folding exterior mirrors *. In the Infotain
ment system, you can select if the mirrors fold in
automatically when you lock the vehicle
9 page28.
42
Front passenge r's exterior mirror tilt
function *
To help you see the cur b when backing into a
parking space, the surface of the m irror tilts
slight ly. For this to happen, the knob must be in
the position for the front passenger's outside
mir ror .
You can adjust the tilted mirror s urface by turn
i ng the knob in the desired direct ion. When you
move out of reverse and into another gear, the
new m irror position is stored and assigned to the
key you are using.
The m irror goes back into its or ig inal pos ition
once you drive forward faster than 9 mp h
(15 km/h) or turn the ignition off .
,&. WARNING
Curved mirror surfaces (convex) e nla rge the
field of vision. Howeve r, they make objec ts in
the m irror appear s maller and fart he r aw ay.
Your may estima te inc orrec tly when yo u use
these m irrors to ga uge you r distan ce from the
vehicles behind you w hen changing la nes ,
which increases the risk of an accident.
(D Note
If th e mir ror h ousing w as move d by o utsid e
forces (such as an imp act when ma neuver
i ng), you must use the power fo lding funct ion
to fo ld the m irror all the way out. The m irror
h ousing must not be moved back into place
by hand because this would impair the func
tion o f the m irro r mechan ism.
(D Tips
If the power ad justing function ma lfunctions ,
the glass in both m irrors can be adjusted by
pressing on t he edge of it by hand.
-
Page 46 of 314
Lights and Vi sion
Move the windshield wiper lever to the corre
sponding position:
@ -windshield w ipers off
(D -interval mode. To increase/decrease the wip
er intervals , move the sw itch @ to the left/right .
I n vehicles with a rain sensor*, the wipe rs turn on
i n the rai n once the vehicle speed exceeds ap
p roximate ly 2 mph (4 km/h) . T he higher the sen
sitivity of the rain sensor * is set (switch @ to the
right), the earlier the windshield wipers react to
mo isture on the windshield. You can deact ivate
the rain sensor mode* in the Infotainment sys
tem, which switches the intermittent mode on .
Select in the Infotainment system:
I MENU I but
ton>
V ehicle > left control button >Dri ver a ssis
tan ce > Rain sensor> Off.
@-slow wip ing
@ -fast wiping
©-sing le w ipe If yo u ho ld the leve r in th is posi
tion longer, the wipers sw itch from s low w iping
to fast wiping .
®-clean the windsh ie ld To elim inate water
droplets, the winds hield wipers pe rform one af
terwipe after several seconds w hile driving in
temperatures above 39 °F (4 °C) . You can switch
this function off by moving the lever to position
@ within 10 seconds of the afterwipe. The after
wipe function is reactivated the next t ime you
sw itch the ignition on.
C leaning the headlights *. T he headlight washer
system* on ly functions when the lights are
sw itched on. The headlights are automat ica lly
cleaned the first t ime and every f ifth time the
lever is moved to position
® ·
A WARNING
- The rain senso r* is o nly intended to ass ist
the d river . The drive r may st ill be responsi
ble fo r manua lly switching t he wipe rs on
based on v is ibility conditions.
- T he w indshield may not be treated with wa
te r-repell ing windsh ield coa ting age nts . U n
favor able conditions, such as wetness, dark
ness, and when the s un is low, can cause in
creased g lare, which increases the risk of an
44
-
accident. Wiper b lade chatter is also possi
ble.
- Properly functioning windshield wiper
blades are required for a clear v iew and safe
driving
¢ page 45, Replacing windshield
wiper blades.
(D Note
- If there is frost, make sure the windshield
wiper blades are not frozen to the wind
shield. Switching on the w indshield w ipers
when the blades are frozen to the wind shield can damage the w iper blades .
- Pr ior to us ing a car wash, the w indshield
wiper system must be sw itched off (lever in
posit ion 0) . This prevents the wipers from
switching on unintentionally and causing
damage to the windsh ield wiper system.
('O Tips
- The windshield w ipers sw itch off when the
ignition is switched off . You can activate the
windshield wipe rs after the ignition is
switched back on by moving the windshield
wiper lever to any posi tion.
- Wor n or dirty w indshie ld w iper blades resu lt
in streaking. This can affect the rain senso r*
function. Check your w indshield wiper
blades regularly.
'
- T he washer fluid noz zles in t he windsh ie ld
washer system are heated* at low tempera
tures when the ignition is on .
- When s topping temporar ily, such as at a
traffic light, the speed of the windshield
wipers automatica lly reduces by one level.
Cleaning windshield wiper blades
Clean the wiper blades when you see w iper
streaks. Clean the wiper blades with a soft towel
and glass cleaner.
.,. Place the windshie ld wiper arms in the serv ice
position
¢ page 45.
.,. Fold the windshie ld w iper arms away from the
w indshield. ..,.