low BMW 740LI SEDAN 2015 Owner's Guide
[x] Cancel search | Manufacturer: BMW, Model Year: 2015, Model line: 740LI SEDAN, Model: BMW 740LI SEDAN 2015Pages: 314, PDF Size: 7.9 MB
Page 73 of 314
Roller sunblinds in the side windows
Overview
Buttons for the roller sunblinds in the
side windows.
Controls Press the button to open the closed
roller sunblind or to close the open
roller sunblind.
If the button is pressed again during the move‐
ment, the roller sunblind is moved in the oppo‐
site direction.
Glass sunroof General information
The glass sunroof and the front sliding visor
can be operated together or separately using
the same switch. The rear sliding visor is oper‐
ated using separate buttons.
The glass sunroof is operational when the
standby state is switched on.
Information WARNING
Body parts can be jammed on operating
the glass sunroof. There is risk of injuries.
Make sure that the area of movement of the
glass sunroof is clear during opening and clos‐
ing.◀
WARNING
Unattended children or animals can
move the vehicle and endanger themselves
and traffic, e.g. with the following actions:▷Pressing the Start/Stop button.▷Releasing the parking brake.▷Opening and closing of doors or windows.▷Shifting the selector lever into neutral.▷Using vehicle equipment.
There is risk of accidents or injuries. Do not
leave children or animals unattended in the ve‐
hicle. Carry remote control along when exiting
and lock the vehicle.◀
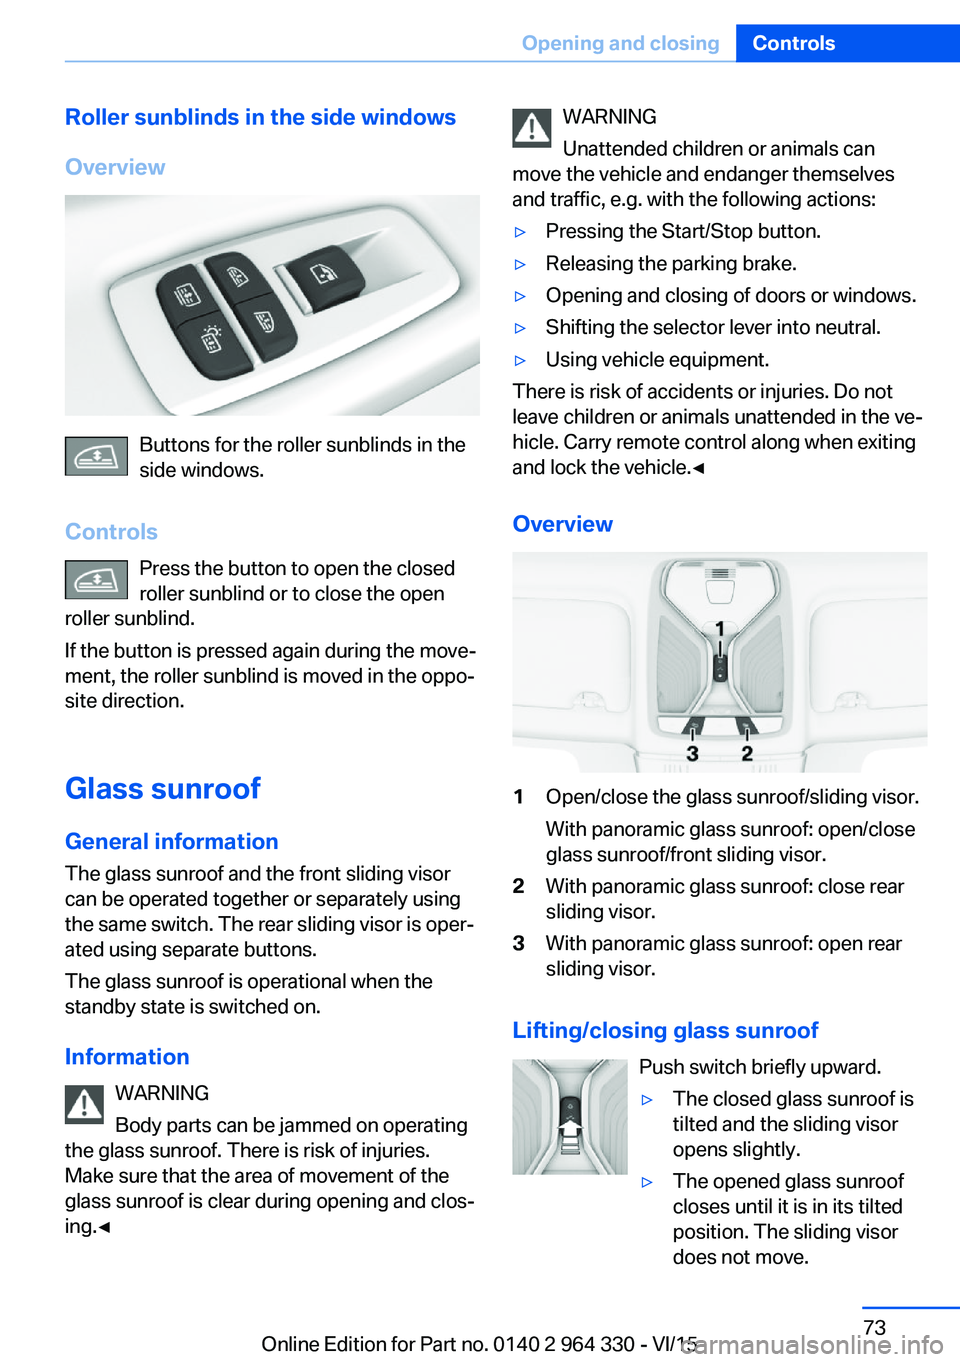
Overview
1Open/close the glass sunroof/sliding visor.
With panoramic glass sunroof: open/close
glass sunroof/front sliding visor.2With panoramic glass sunroof: close rear
sliding visor.3With panoramic glass sunroof: open rear
sliding visor.
Lifting/closing glass sunroof
Push switch briefly upward.
▷The closed glass sunroof is
tilted and the sliding visor
opens slightly.▷The opened glass sunroof
closes until it is in its tilted
position. The sliding visor
does not move.Seite 73Opening and closingControls73
Online Edition for Part no. 0140 2 964 330 - VI/15
Page 75 of 314
Pinch protection systemIf the closing force when closing the glass sun‐
roof exceeds a certain value, the closing move‐
ment is stopped, beginning at approximately
the middle of the opening in the roof, or from
the tilted position during closing.
The glass sunroof reopens slightly.
WARNING
Body parts can be jammed on operating
the glass sunroof. There is risk of injuries.
Make sure that the area of movement of the
glass sunroof is clear during opening and clos‐
ing.◀
Closing from the open position
without pinch protection
If there is an external danger, proceed as fol‐
lows:1.Press the switch forward beyond the re‐
sistance point and hold.
The pinch protection is limited and the
glass sunroof reopens slightly if the closing
force exceeds a certain margin.2.Press the switch forward again beyond the
resistance point and hold until the glass
sunroof closes without jam protection.
Make sure that the closing area is clear.
Closing from the raised position
without pinch protection
If there is an external danger, push the switch
forward past the resistance point and hold it.
The glass sunroof closes without jam protec‐
tion.
Initializing after a power failure After a power failure during the opening or
closing process, the glass sunroof can only be
operated to a limited extent.
Initializing the system
The system can be initialized when the vehicle
is stationary and the engine is running.
During the initialization, the glass sunroof
closes without jam protection.
WARNING
Body parts can be jammed on operating
the glass sunroof. There is risk of injuries.
Make sure that the area of movement of the
glass sunroof is clear during opening and clos‐
ing.◀
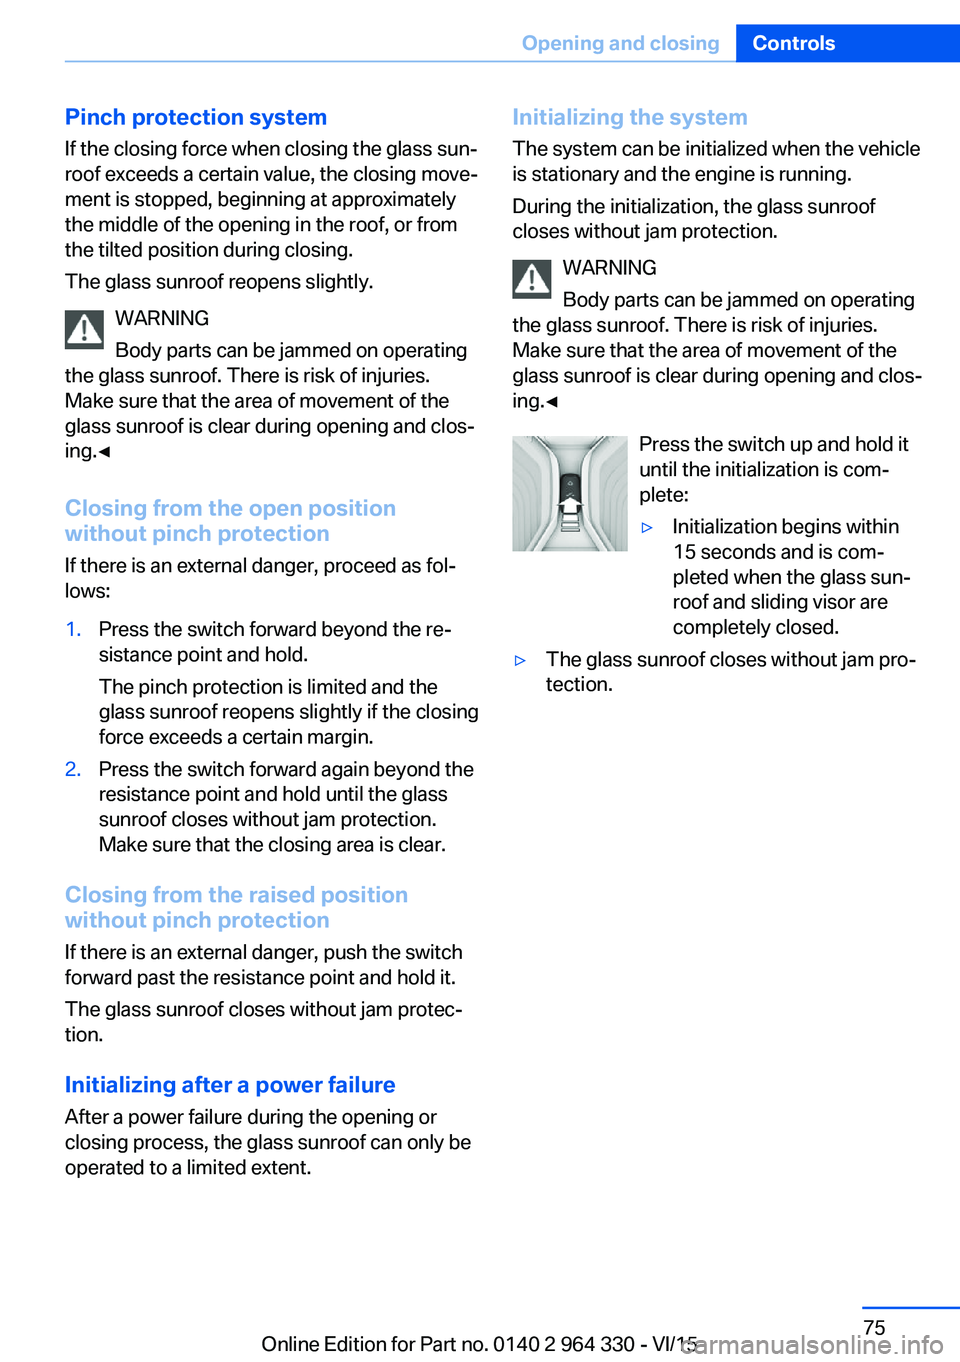
Press the switch up and hold it
until the initialization is com‐
plete:▷Initialization begins within
15 seconds and is com‐
pleted when the glass sun‐
roof and sliding visor are
completely closed.▷The glass sunroof closes without jam pro‐
tection.Seite 75Opening and closingControls75
Online Edition for Part no. 0140 2 964 330 - VI/15
Page 77 of 314
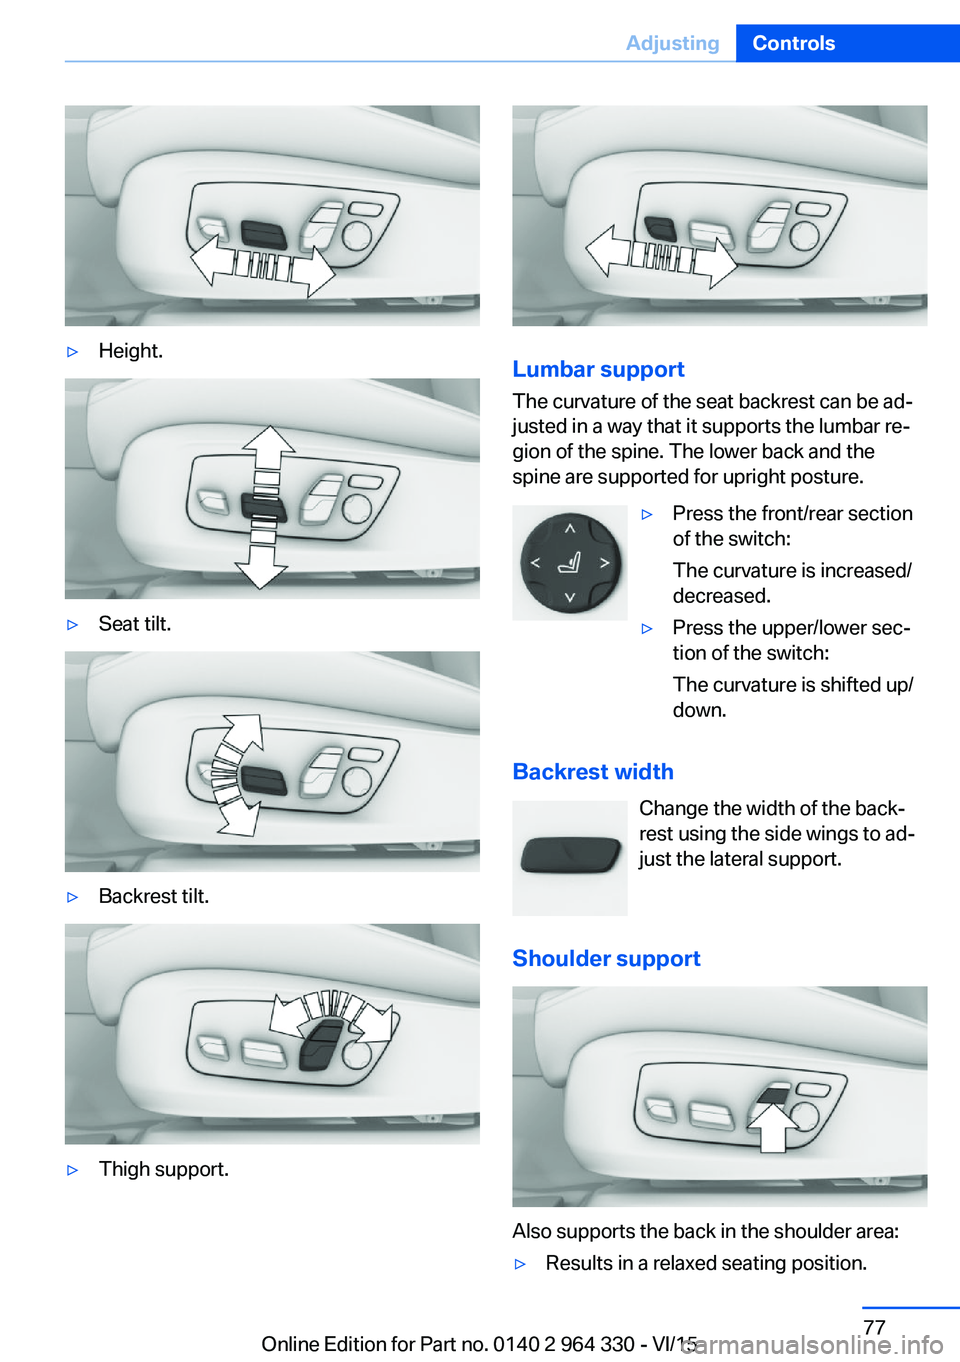
▷Height.▷Seat tilt.▷Backrest tilt.▷Thigh support.
Lumbar support
The curvature of the seat backrest can be ad‐
justed in a way that it supports the lumbar re‐
gion of the spine. The lower back and the
spine are supported for upright posture.
▷Press the front/rear section
of the switch:
The curvature is increased/
decreased.▷Press the upper/lower sec‐
tion of the switch:
The curvature is shifted up/
down.
Backrest width
Change the width of the back‐
rest using the side wings to ad‐
just the lateral support.
Shoulder support
Also supports the back in the shoulder area:
▷Results in a relaxed seating position.Seite 77AdjustingControls77
Online Edition for Part no. 0140 2 964 330 - VI/15
Page 79 of 314
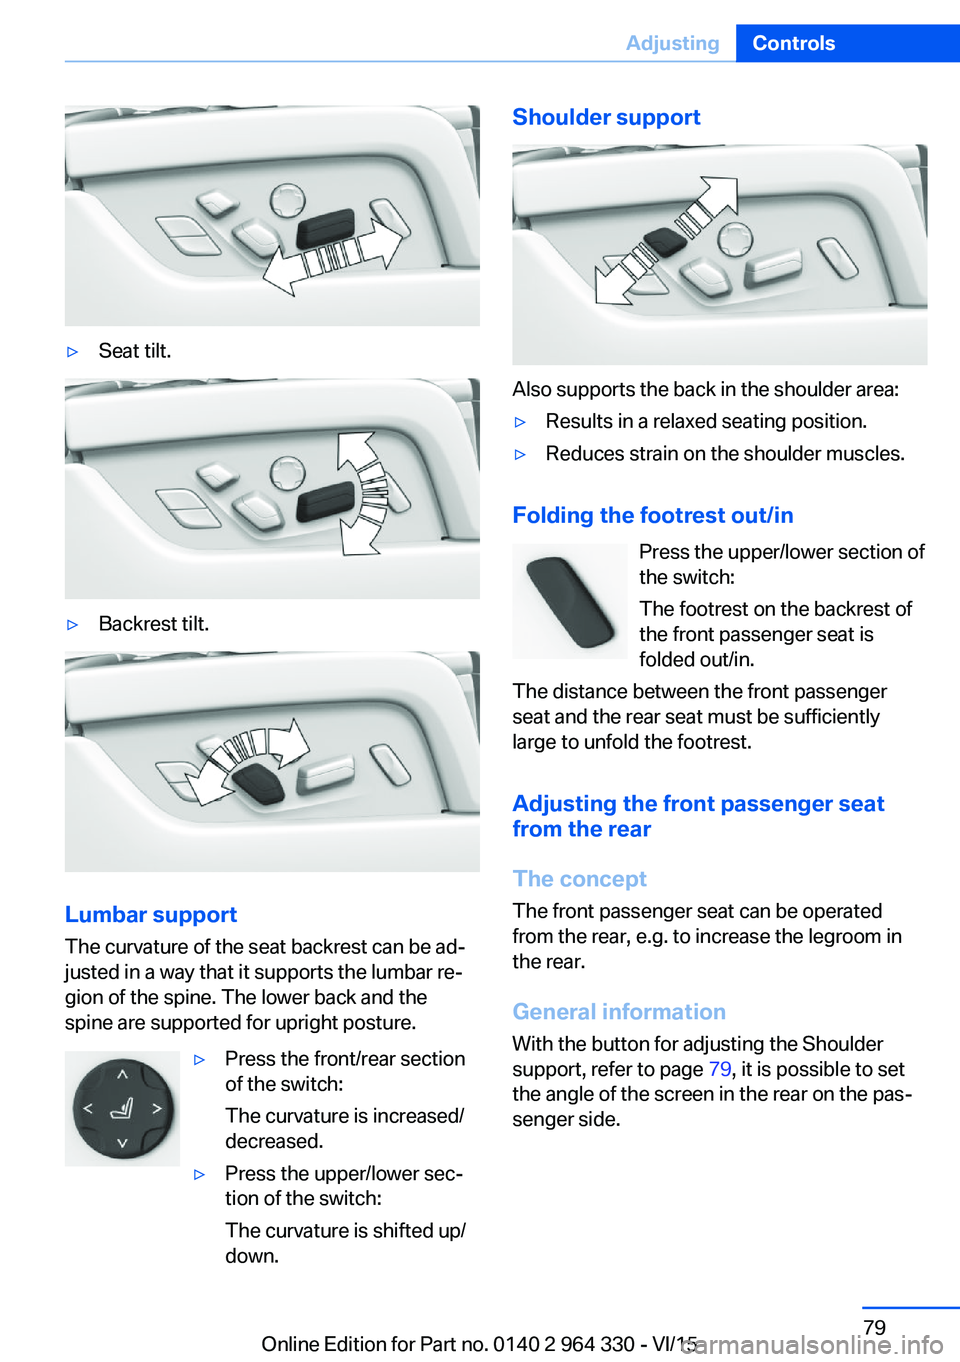
▷Seat tilt.▷Backrest tilt.
Lumbar support
The curvature of the seat backrest can be ad‐
justed in a way that it supports the lumbar re‐
gion of the spine. The lower back and the
spine are supported for upright posture.
▷Press the front/rear section
of the switch:
The curvature is increased/
decreased.▷Press the upper/lower sec‐
tion of the switch:
The curvature is shifted up/
down.Shoulder support
Also supports the back in the shoulder area:
▷Results in a relaxed seating position.▷Reduces strain on the shoulder muscles.
Folding the footrest out/in
Press the upper/lower section of
the switch:
The footrest on the backrest of
the front passenger seat is
folded out/in.
The distance between the front passenger
seat and the rear seat must be sufficiently
large to unfold the footrest.
Adjusting the front passenger seat from the rear
The concept The front passenger seat can be operated
from the rear, e.g. to increase the legroom in
the rear.
General information
With the button for adjusting the Shoulder
support, refer to page 79, it is possible to set
the angle of the screen in the rear on the pas‐
senger side.
Seite 79AdjustingControls79
Online Edition for Part no. 0140 2 964 330 - VI/15
Page 80 of 314
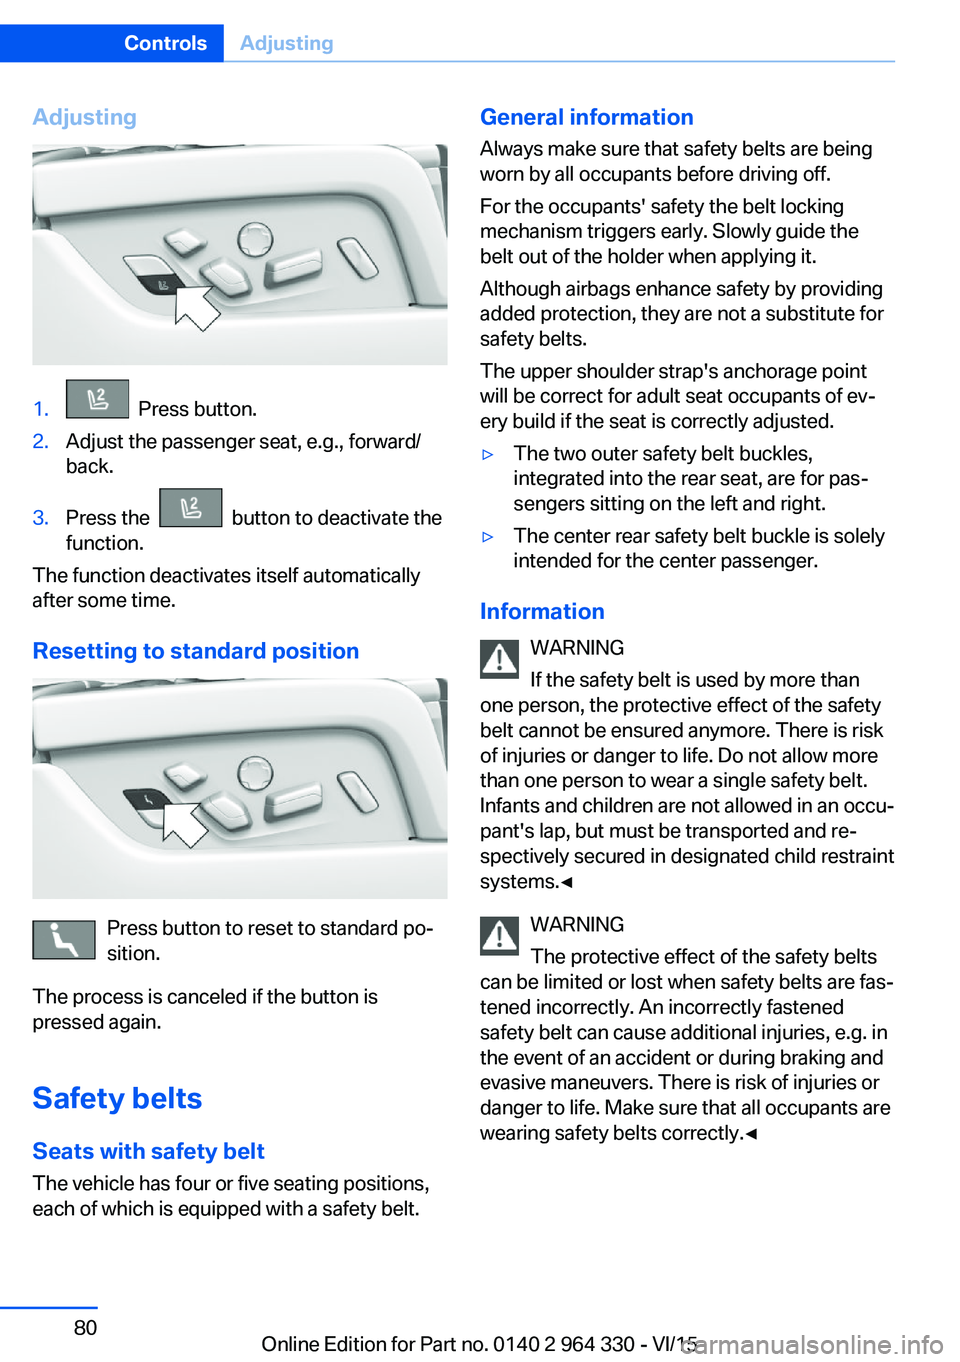
Adjusting1. Press button.2.Adjust the passenger seat, e.g., forward/
back.3.Press the button to deactivate the
function.
The function deactivates itself automatically
after some time.
Resetting to standard position
Press button to reset to standard po‐
sition.
The process is canceled if the button is
pressed again.
Safety belts Seats with safety belt
The vehicle has four or five seating positions,
each of which is equipped with a safety belt.
General information
Always make sure that safety belts are being
worn by all occupants before driving off.
For the occupants' safety the belt locking
mechanism triggers early. Slowly guide the
belt out of the holder when applying it.
Although airbags enhance safety by providing
added protection, they are not a substitute for
safety belts.
The upper shoulder strap's anchorage point
will be correct for adult seat occupants of ev‐
ery build if the seat is correctly adjusted.▷The two outer safety belt buckles,
integrated into the rear seat, are for pas‐
sengers sitting on the left and right.▷The center rear safety belt buckle is solely
intended for the center passenger.
Information
WARNING
If the safety belt is used by more than
one person, the protective effect of the safety
belt cannot be ensured anymore. There is risk
of injuries or danger to life. Do not allow more
than one person to wear a single safety belt.
Infants and children are not allowed in an occu‐
pant's lap, but must be transported and re‐
spectively secured in designated child restraint
systems.◀
WARNING
The protective effect of the safety belts
can be limited or lost when safety belts are fas‐
tened incorrectly. An incorrectly fastened
safety belt can cause additional injuries, e.g. in
the event of an accident or during braking and
evasive maneuvers. There is risk of injuries or
danger to life. Make sure that all occupants are
wearing safety belts correctly.◀
Seite 80ControlsAdjusting80
Online Edition for Part no. 0140 2 964 330 - VI/15
Page 81 of 314
Correct use of safety belts▷Wear the belt twist-free and as tight to
your body as possible over your lap and
shoulders.▷Wear the belt deep on your hips over your
lap. The belt may not press on your stom‐
ach.▷Do not wear the belt on your throat, rub it
on sharp edges, guide it or jam it in across
hard or fragile objects.▷Avoid thick clothing.▷Re-tighten the belt frequently upward
around your upper body.
Buckling the belt
General information
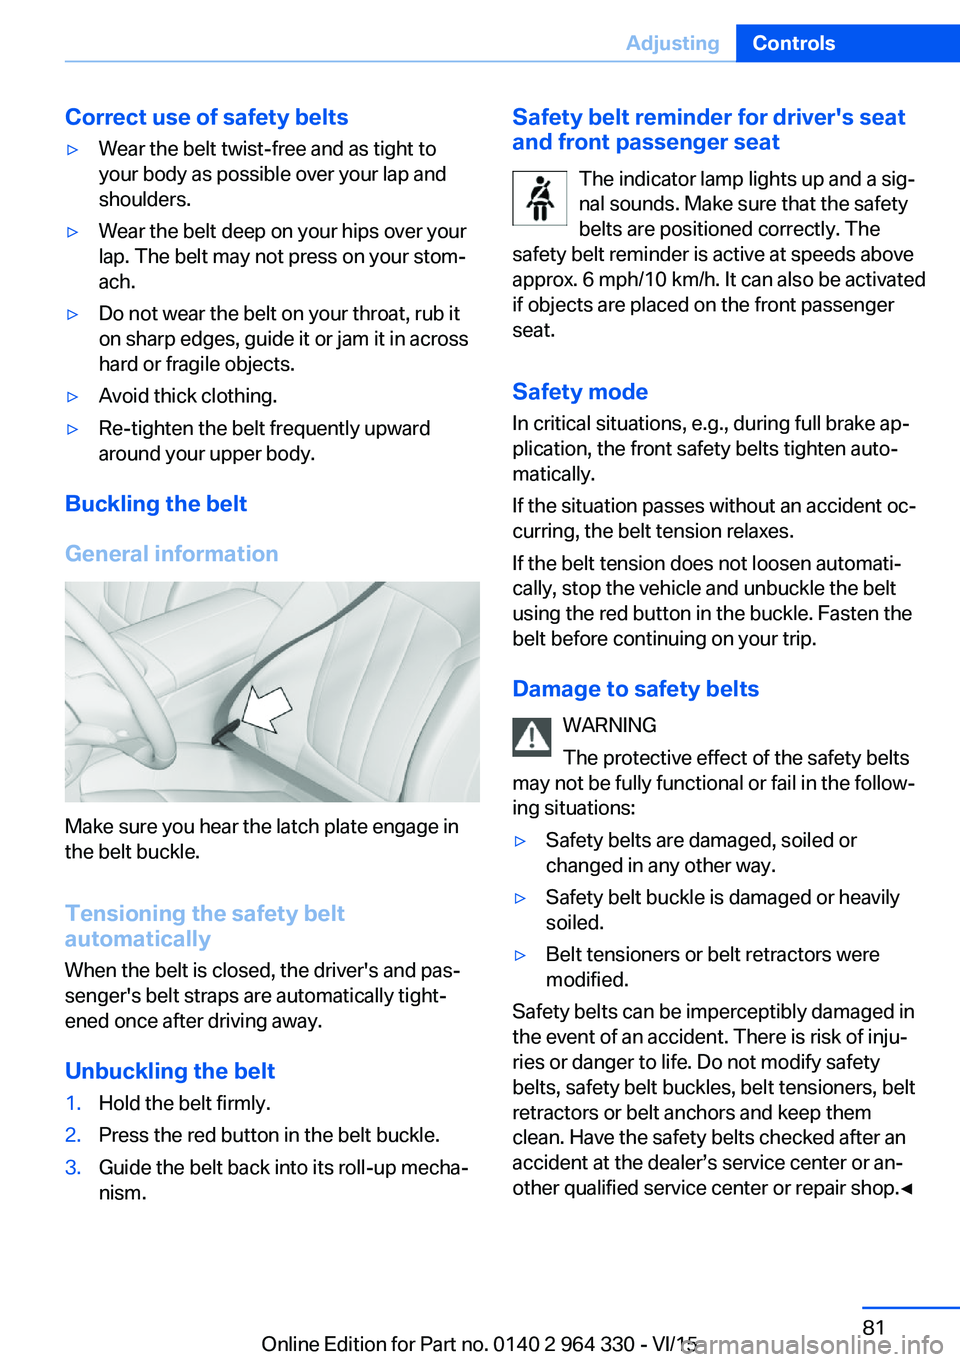
Make sure you hear the latch plate engage in
the belt buckle.
Tensioning the safety belt
automatically
When the belt is closed, the driver's and pas‐
senger's belt straps are automatically tight‐
ened once after driving away.
Unbuckling the belt
1.Hold the belt firmly.2.Press the red button in the belt buckle.3.Guide the belt back into its roll-up mecha‐
nism.Safety belt reminder for driver's seat and front passenger seat
The indicator lamp lights up and a sig‐
nal sounds. Make sure that the safety
belts are positioned correctly. The
safety belt reminder is active at speeds above
approx. 6 mph/10 km/h. It can also be activated
if objects are placed on the front passenger
seat.
Safety mode
In critical situations, e.g., during full brake ap‐
plication, the front safety belts tighten auto‐
matically.
If the situation passes without an accident oc‐
curring, the belt tension relaxes.
If the belt tension does not loosen automati‐
cally, stop the vehicle and unbuckle the belt
using the red button in the buckle. Fasten the
belt before continuing on your trip.
Damage to safety belts WARNING
The protective effect of the safety belts
may not be fully functional or fail in the follow‐
ing situations:▷Safety belts are damaged, soiled or
changed in any other way.▷Safety belt buckle is damaged or heavily
soiled.▷Belt tensioners or belt retractors were
modified.
Safety belts can be imperceptibly damaged in
the event of an accident. There is risk of inju‐
ries or danger to life. Do not modify safety
belts, safety belt buckles, belt tensioners, belt
retractors or belt anchors and keep them
clean. Have the safety belts checked after an
accident at the dealer’s service center or an‐
other qualified service center or repair shop.◀
Seite 81AdjustingControls81
Online Edition for Part no. 0140 2 964 330 - VI/15
Page 82 of 314
Front head restraintsInformation WARNING
A missing protective effect due to re‐
moved or not correctly adjusted head re‐
straints can cause injuries in the head and
neck area. There is risk of injuries. Install head
restraints on occupied seats prior to driving
and make sure that the center of the head re‐
straint supports the back of the head at eye
level.◀
WARNING
Objects on the head restraint reduce the
protective effect in the head and neck area.
There is risk of injuries.▷Do not use seat or head restraint covers.▷Do not hang objects, e.g., clothes hangers,
directly on the head restraint.▷Only use accessories that have been de‐
termined to be safe for attachment to a
head restraint.▷Do not use any accessories, e.g. pillows,
while driving.◀
Correctly adjusted head restraint
General information
A correctly adjusted head restraint reduces the
risk of injury to cervical vertebrae in the event
of an accident.
Height Adjust the head restraint so that its center is
approximately at ear level.
Distance
Adjust the distance so that the head restraint
is as close as possible to the back of the head.
Active head restraint
In the event of a rear-end collision with a cer‐
tain severity, the active head restraint automat‐
ically reduces the distance from the head.
Wear and tear after accidents or when dam‐
aged otherwise:
Have the active head restraint checked and if
needed replaced.
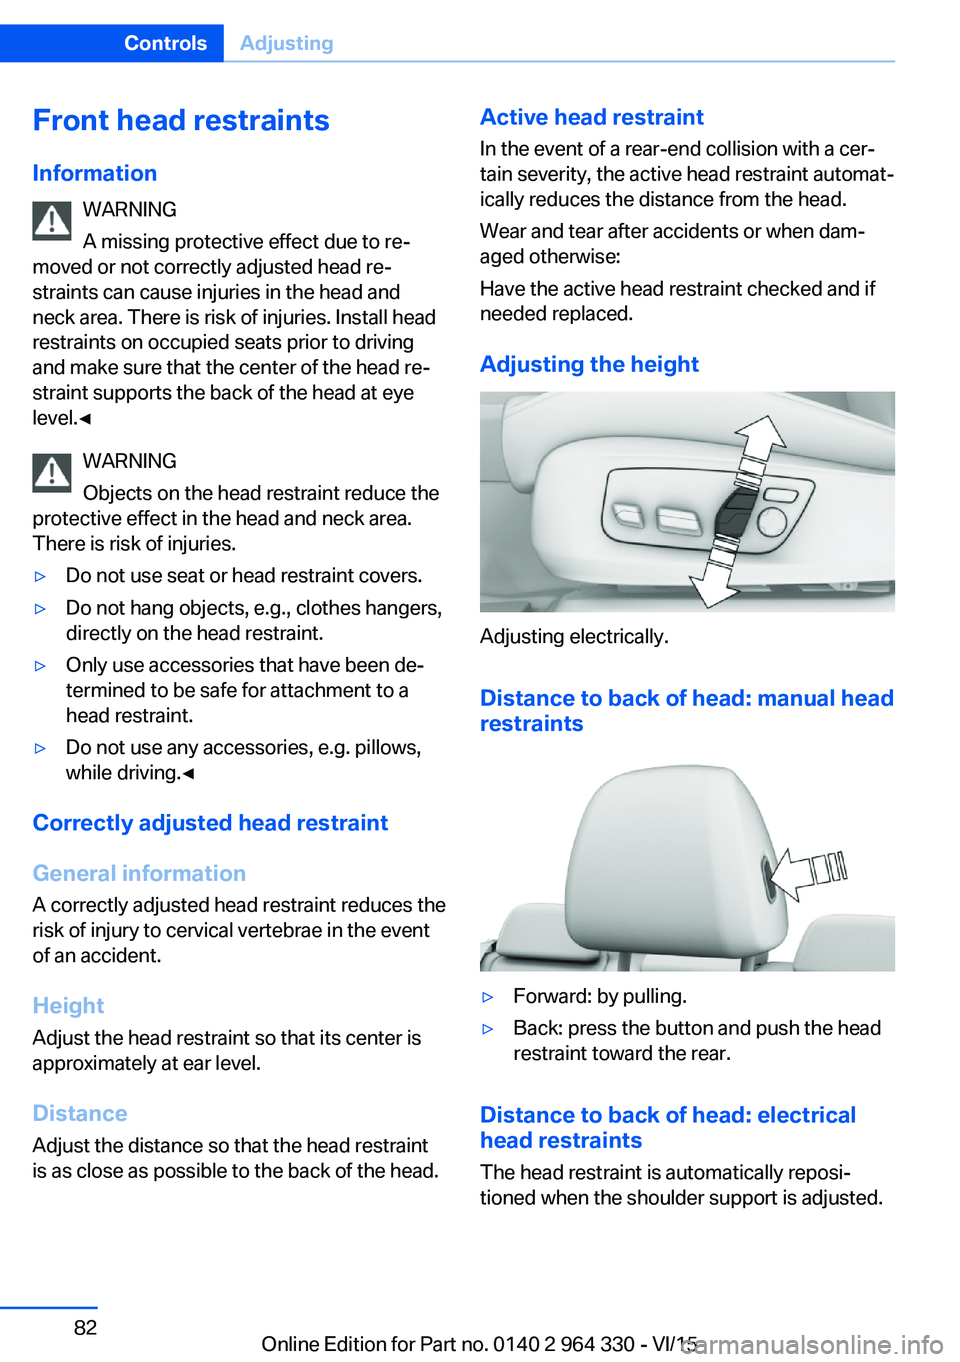
Adjusting the height
Adjusting electrically.
Distance to back of head: manual headrestraints
▷Forward: by pulling.▷Back: press the button and push the head
restraint toward the rear.
Distance to back of head: electrical
head restraints
The head restraint is automatically reposi‐
tioned when the shoulder support is adjusted.
Seite 82ControlsAdjusting82
Online Edition for Part no. 0140 2 964 330 - VI/15
Page 83 of 314
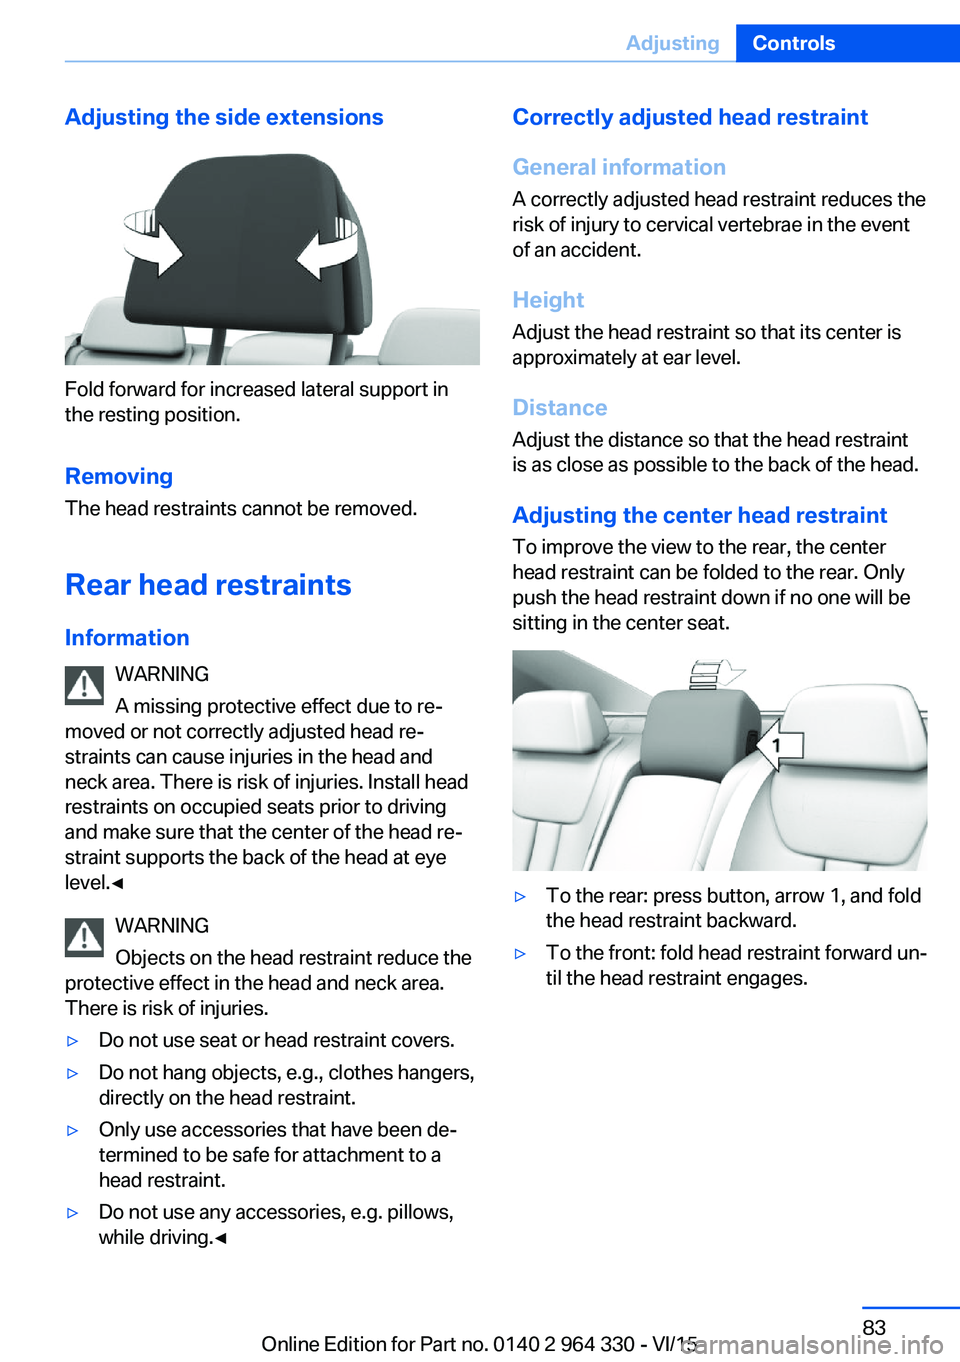
Adjusting the side extensions
Fold forward for increased lateral support in
the resting position.
Removing The head restraints cannot be removed.
Rear head restraints
Information WARNING
A missing protective effect due to re‐
moved or not correctly adjusted head re‐
straints can cause injuries in the head and
neck area. There is risk of injuries. Install head
restraints on occupied seats prior to driving
and make sure that the center of the head re‐
straint supports the back of the head at eye
level.◀
WARNING
Objects on the head restraint reduce the
protective effect in the head and neck area.
There is risk of injuries.
▷Do not use seat or head restraint covers.▷Do not hang objects, e.g., clothes hangers,
directly on the head restraint.▷Only use accessories that have been de‐
termined to be safe for attachment to a
head restraint.▷Do not use any accessories, e.g. pillows,
while driving.◀Correctly adjusted head restraint
General information
A correctly adjusted head restraint reduces the
risk of injury to cervical vertebrae in the event
of an accident.
Height Adjust the head restraint so that its center is
approximately at ear level.
Distance
Adjust the distance so that the head restraint
is as close as possible to the back of the head.
Adjusting the center head restraint To improve the view to the rear, the center
head restraint can be folded to the rear. Only
push the head restraint down if no one will be
sitting in the center seat.▷To the rear: press button, arrow 1, and fold
the head restraint backward.▷To the front: fold head restraint forward un‐
til the head restraint engages.Seite 83AdjustingControls83
Online Edition for Part no. 0140 2 964 330 - VI/15
Page 84 of 314
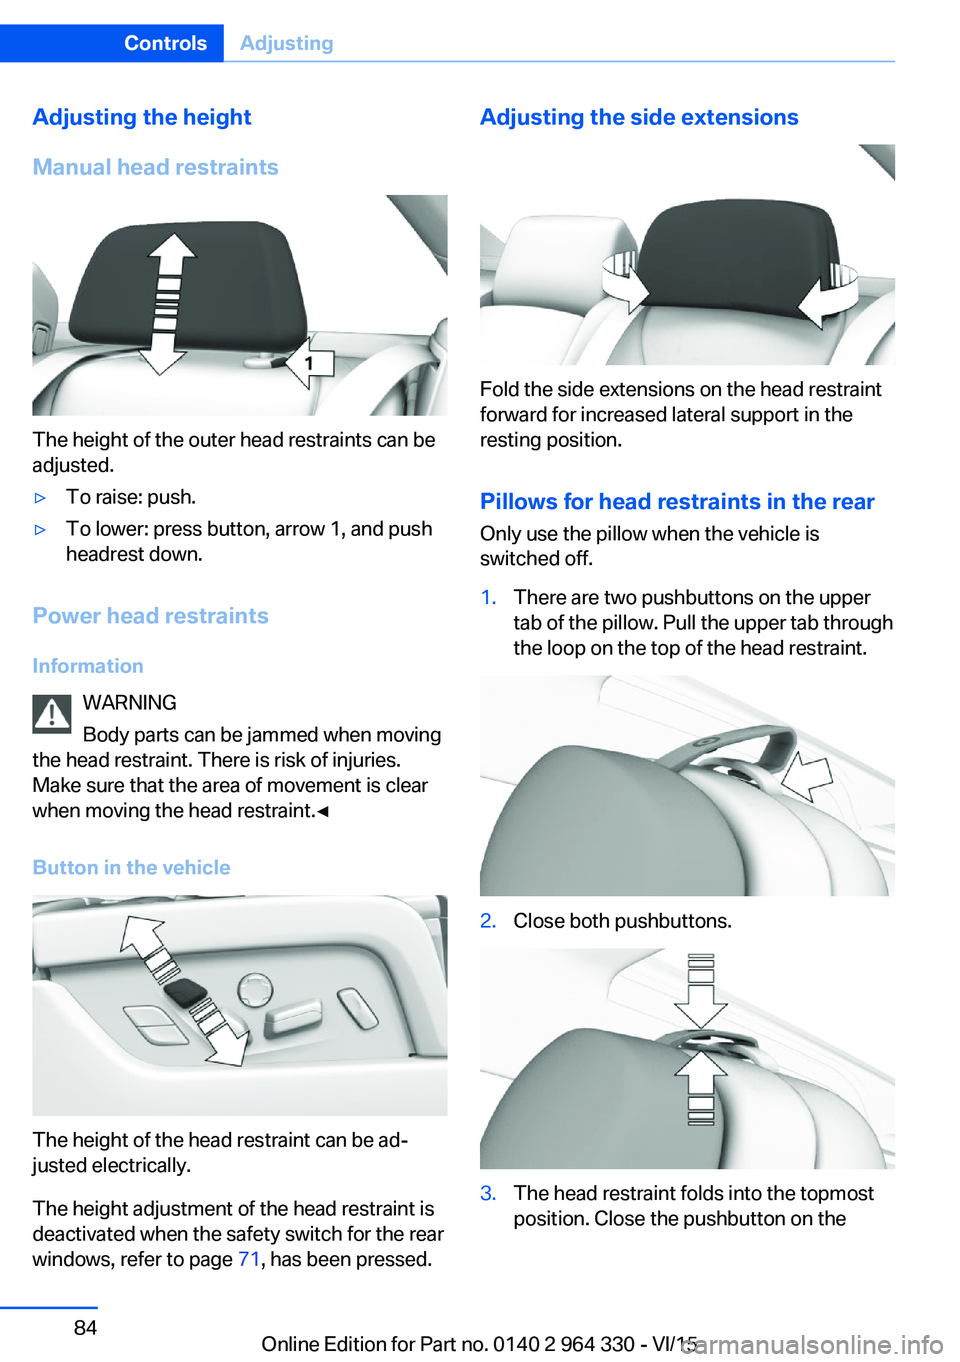
Adjusting the height
Manual head restraints
The height of the outer head restraints can be
adjusted.
▷To raise: push.▷To lower: press button, arrow 1, and push
headrest down.
Power head restraints
Information WARNING
Body parts can be jammed when moving
the head restraint. There is risk of injuries.
Make sure that the area of movement is clear
when moving the head restraint.◀
Button in the vehicle
The height of the head restraint can be ad‐
justed electrically.
The height adjustment of the head restraint is
deactivated when the safety switch for the rear
windows, refer to page 71, has been pressed.
Adjusting the side extensions
Fold the side extensions on the head restraint
forward for increased lateral support in the
resting position.
Pillows for head restraints in the rear
Only use the pillow when the vehicle is
switched off.
1.There are two pushbuttons on the upper
tab of the pillow. Pull the upper tab through
the loop on the top of the head restraint.2.Close both pushbuttons.3.The head restraint folds into the topmost
position. Close the pushbutton on theSeite 84ControlsAdjusting84
Online Edition for Part no. 0140 2 964 330 - VI/15
Page 85 of 314
lower tab and the pushbutton on the bot‐
tom of the head restraint.
Removing
The head restraints cannot be removed.
Mirrors
Exterior mirrors
General information The mirror on the passenger side is more
curved than the driver's side mirror.
Depending on the vehicle equipment, the mir‐
ror setting is stored for the profile currently
used. When the vehicle is unlocked via the re‐
mote control, the position is automatically re‐
trieved if this function is active.
Information WARNING
Objects reflected in the mirror are closer
than they appear. The distance to the traffic
behind could be incorrectly estimated, e.g.
while changing lanes. There is risk of an acci‐
dent. Estimate the distance to the traffic be‐
hind by looking over your shoulder.◀
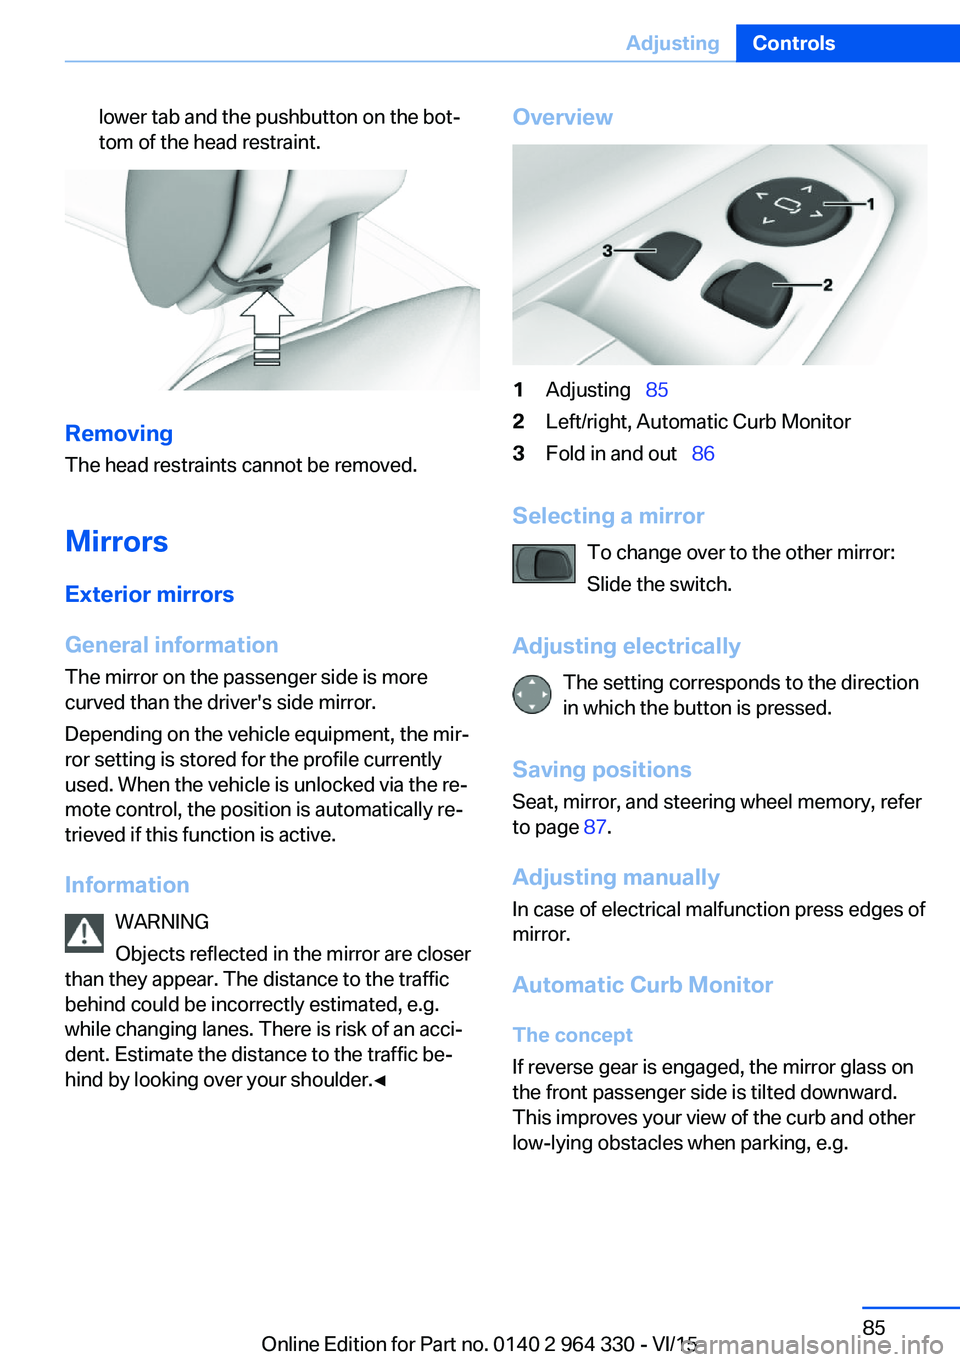
Overview1Adjusting 852Left/right, Automatic Curb Monitor3Fold in and out 86
Selecting a mirror
To change over to the other mirror:
Slide the switch.
Adjusting electrically The setting corresponds to the direction
in which the button is pressed.
Saving positions Seat, mirror, and steering wheel memory, refer
to page 87.
Adjusting manually
In case of electrical malfunction press edges of
mirror.
Automatic Curb Monitor
The concept
If reverse gear is engaged, the mirror glass on
the front passenger side is tilted downward.
This improves your view of the curb and other
low-lying obstacles when parking, e.g.
Seite 85AdjustingControls85
Online Edition for Part no. 0140 2 964 330 - VI/15