BMW M3 CONVERTIBLE 2011 Owners Manual
Manufacturer: BMW, Model Year: 2011, Model line: M3 CONVERTIBLE, Model: BMW M3 CONVERTIBLE 2011Pages: 174, PDF Size: 2.68 MB
Page 91 of 174
91
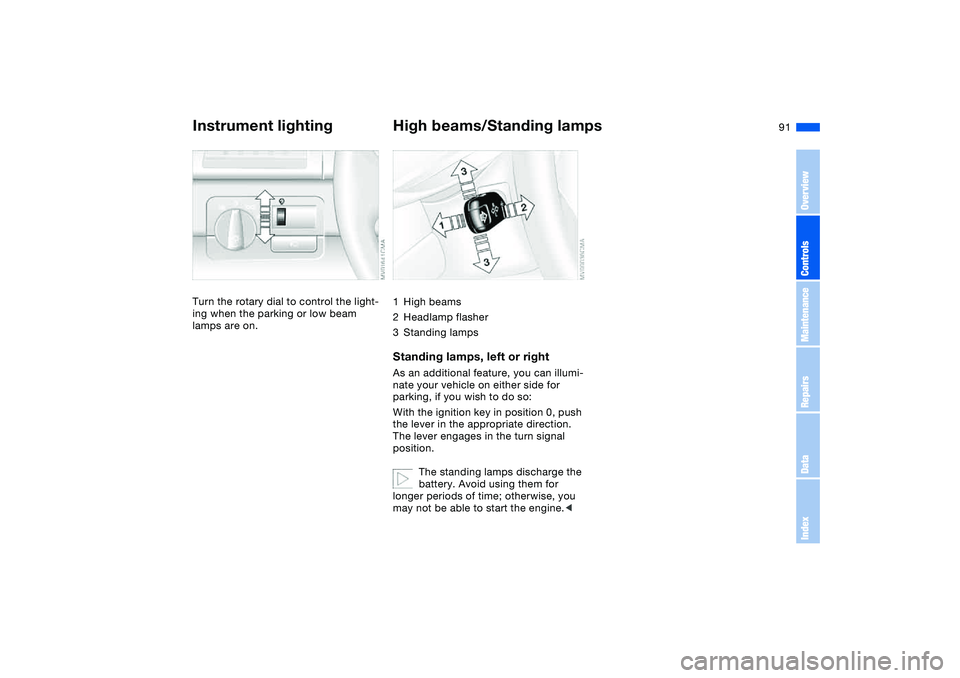
Instrument lightingTurn the rotary dial to control the light-
ing when the parking or low beam
lamps are on.
High beams/Standing lamps1High beams
2Headlamp flasher
3Standing lampsStanding lamps, left or rightAs an additional feature, you can illumi-
nate your vehicle on either side for
parking, if you wish to do so:
With the ignition key in position 0, push
the lever in the appropriate direction.
The lever engages in the turn signal
position.
The standing lamps discharge the
battery. Avoid using them for
longer periods of time; otherwise, you
may not be able to start the engine.<
OverviewControlsMaintenanceRepairsDataIndex
Page 92 of 174
92
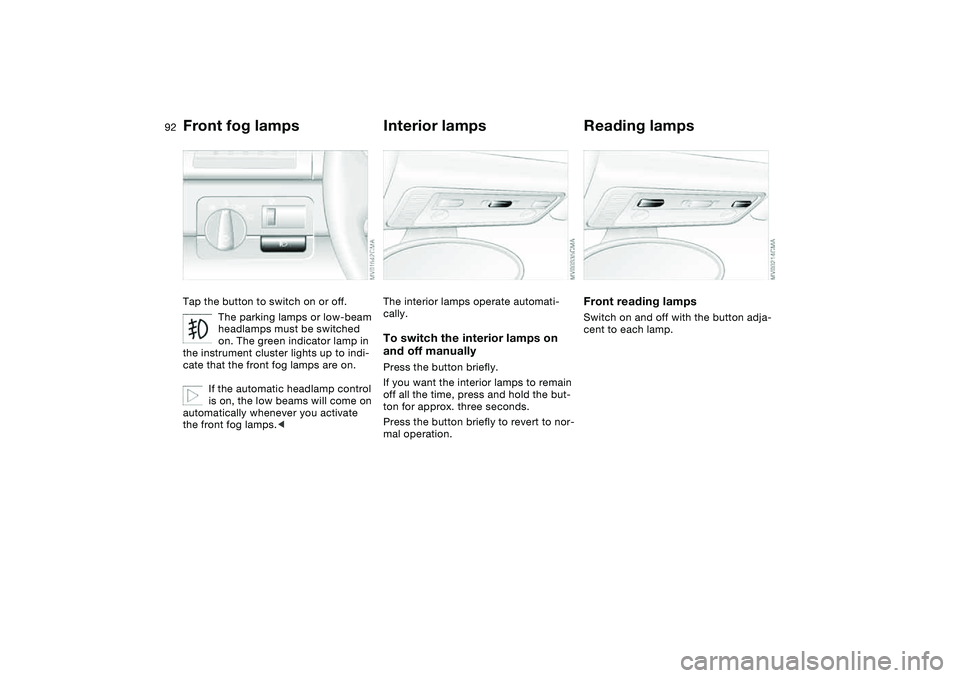
Front fog lampsTap the button to switch on or off.
The parking lamps or low-beam
headlamps must be switched
on. The green indicator lamp in
the instrument cluster lights up to indi-
cate that the front fog lamps are on.
If the automatic headlamp control
is on, the low beams will come on
automatically whenever you activate
the front fog lamps.<
Interior lampsThe interior lamps operate automati-
cally.To switch the interior lamps on
and off manuallyPress the button briefly.
If you want the interior lamps to remain
off all the time, press and hold the but-
ton for approx. three seconds.
Press the button briefly to revert to nor-
mal operation.
Reading lampsFront reading lampsSwitch on and off with the button adja-
cent to each lamp.
Page 93 of 174
93
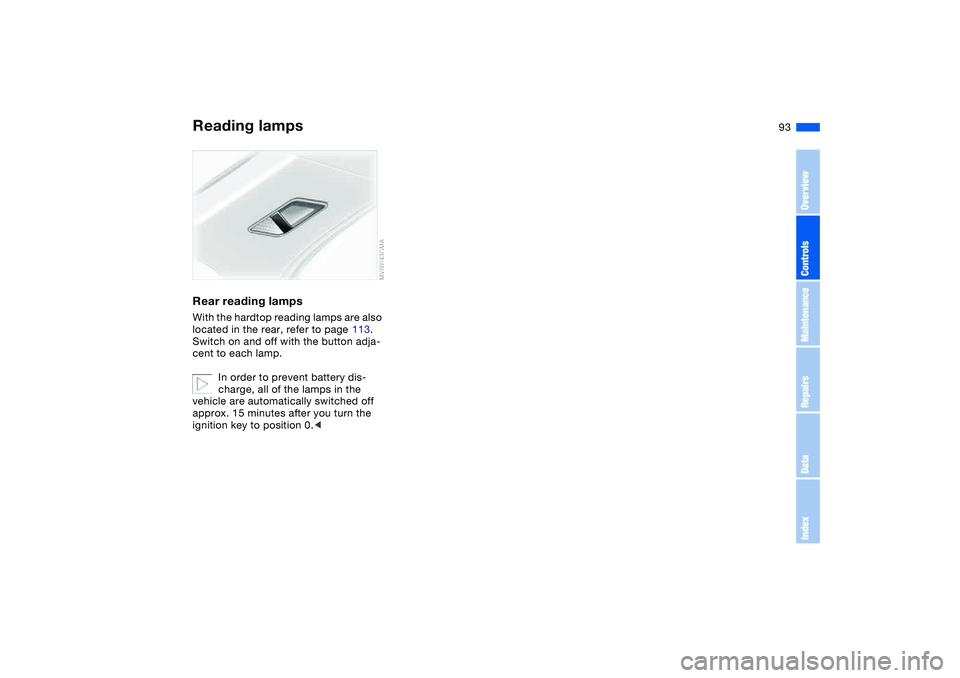
Rear reading lampsWith the hardtop reading lamps are also
located in the rear, refer to page 113.
Switch on and off with the button adja-
cent to each lamp.
In order to prevent battery dis-
charge, all of the lamps in the
vehicle are automatically switched off
approx. 15 minutes after you turn the
ignition key to position 0.
Page 94 of 174
94Controlling the climate for pleasant driving
Automatic climate control
Page 95 of 174
95
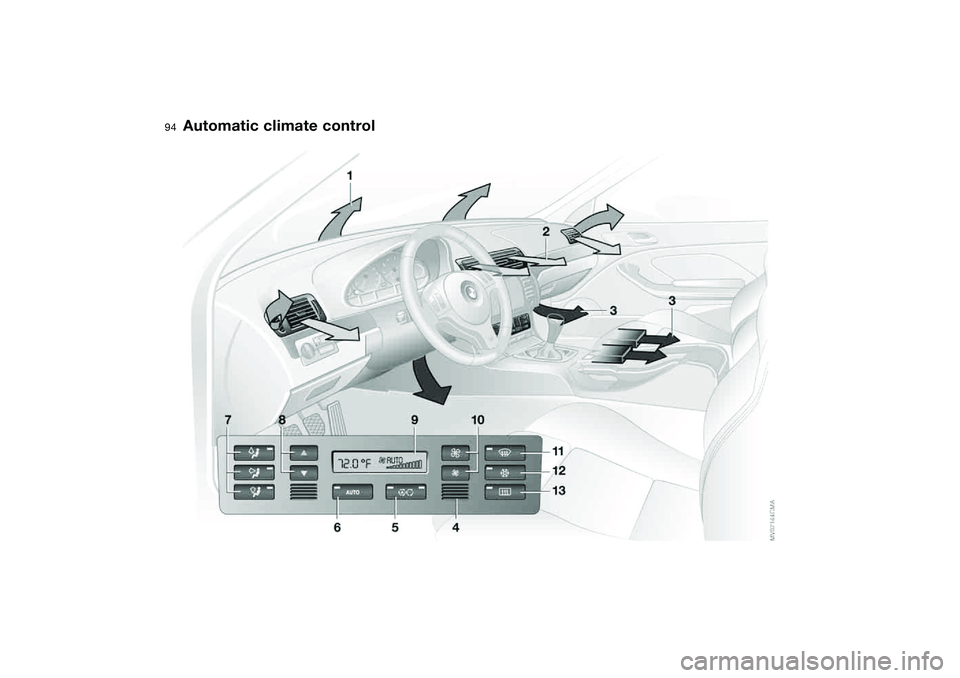
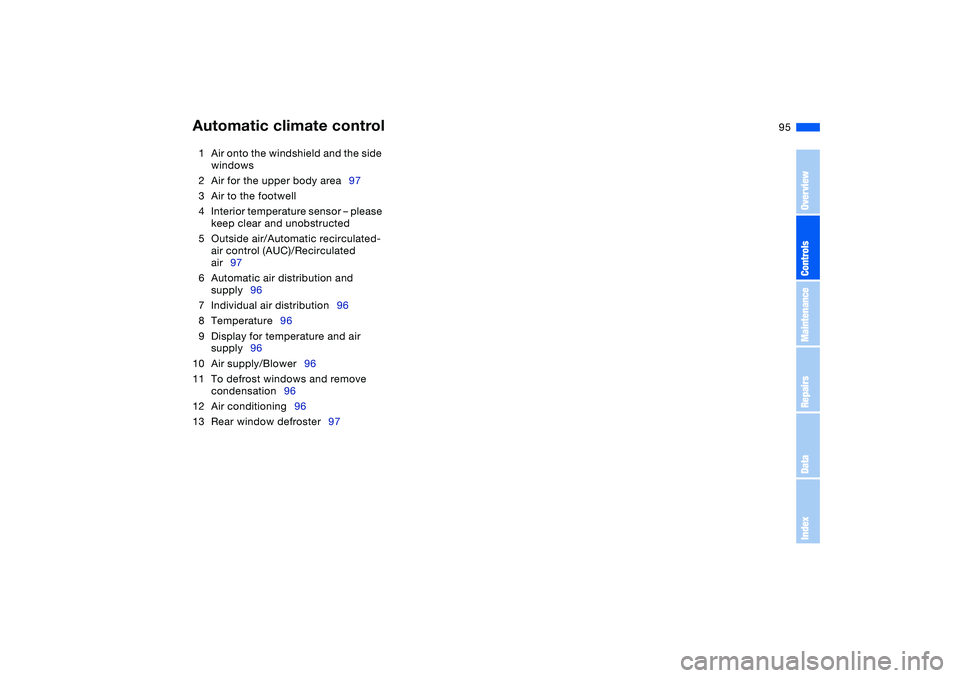
1Air onto the windshield and the side
windows
2Air for the upper body area97
3Air to the footwell
4Interior temperature sensor – please
keep clear and unobstructed
5Outside air/Automatic recirculated-
air control (AUC)/Recirculated
air97
6Automatic air distribution and
supply96
7Individual air distribution96
8Temperature96
9Display for temperature and air
supply96
10 Air supply/Blower96
11 To defrost windows and remove
condensation96
12 Air conditioning96
13 Rear window defroster97Automatic climate control
OverviewControlsMaintenanceRepairsDataIndex
Page 96 of 174
96
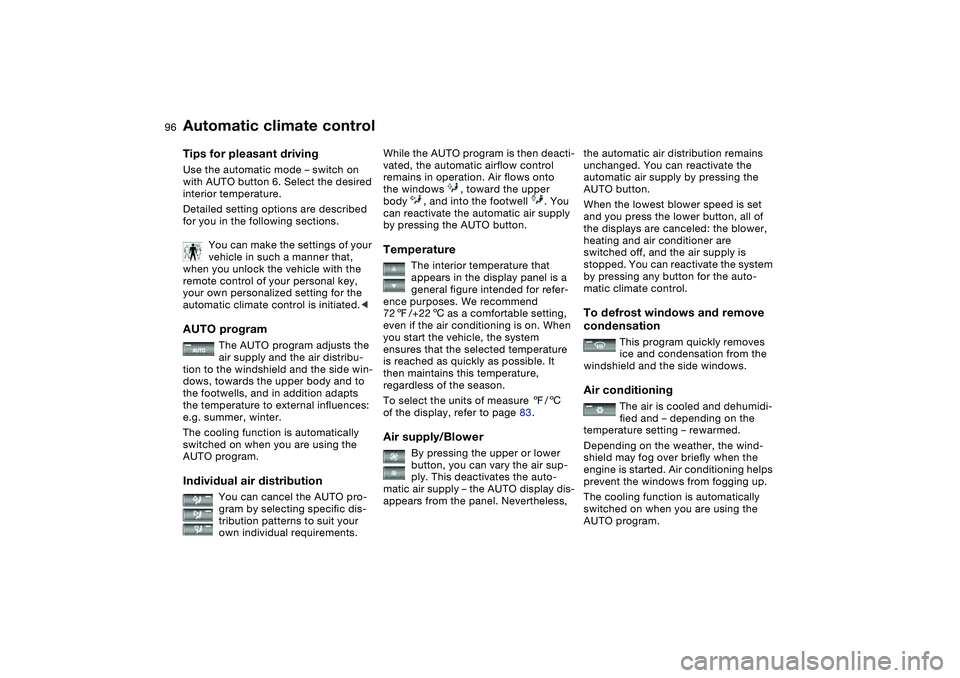
Tips for pleasant drivingUse the automatic mode – switch on
with AUTO button 6. Select the desired
interior temperature.
Detailed setting options are described
for you in the following sections.
You can make the settings of your
vehicle in such a manner that,
when you unlock the vehicle with the
remote control of your personal key,
your own personalized setting for the
automatic climate control is initiated.
air supply and the air distribu-
tion to the windshield and the side win-
dows, towards the upper body and to
the footwells, and in addition adapts
the temperature to external influences:
e.g. summer, winter.
The cooling function is automatically
switched on when you are using the
AUTO program.
Individual air distribution
You can cancel the AUTO pro-
gram by selecting specific dis-
tribution patterns to suit your
own individual requirements.
While the AUTO program is then deacti-
vated, the automatic airflow control
remains in operation. Air flows onto
the windows , toward the upper
body , and into the footwell . You
can reactivate the automatic air supply
by pressing the AUTO button.Temperature
The interior temperature that
appears in the display panel is a
general figure intended for refer-
ence purposes. We recommend
727/+226 as a comfortable setting,
even if the air conditioning is on. When
you start the vehicle, the system
ensures that the selected temperature
is reached as quickly as possible. It
then maintains this temperature,
regardless of the season.
To select the units of measure 7/6
of the display, refer to page 83.
Air supply/Blower
By pressing the upper or lower
button, you can vary the air sup-
ply. This deactivates the auto-
matic air supply – the AUTO display dis-
appears from the panel. Nevertheless,
the automatic air distribution remains
unchanged. You can reactivate the
automatic air supply by pressing the
AUTO button.
When the lowest blower speed is set
and you press the lower button, all of
the displays are canceled: the blower,
heating and air conditioner are
switched off, and the air supply is
stopped. You can reactivate the system
by pressing any button for the auto-
matic climate control.To defrost windows and remove
condensation
This program quickly removes
ice and condensation from the
windshield and the side windows.
Air conditioning
The air is cooled and dehumidi-
fied and – depending on the
temperature setting – rewarmed.
Depending on the weather, the wind-
shield may fog over briefly when the
engine is started. Air conditioning helps
prevent the windows from fogging up.
The cooling function is automatically
switched on when you are using the
AUTO program.
Automatic climate control
Page 97 of 174
97
Condensation forms during opera-
tion of the air conditioning system,
which then exits under the vehicle.
Traces of condensed water of this kind
are thus normal.<
Outside air/Automatic
recirculated-air control (AUC)/
Recirculated air
You can respond to unpleasant
external odors or pollutants by
temporarily stopping the flow of outside
air. The system then recirculates the air
currently within the vehicle.
By repeatedly pressing the button, you
can select one of three different operat-
ing modes.
>Indicator lamps off: outside air always
flowing into the vehicle
>Left-hand indicator lamp on – auto-
matic mode: the system detects pol-
lutants in the outside air and
responds by deactivating the outside
airflow as required. The system then
recirculates the air currently within
the vehicle.
Depending on air quality require-
ments, the system automatically
switches between outside air supply
and recirculation of the air already
within the vehicle
>Right-hand indicator lamp on: the
flow of outside air is permanently
blocked. The system recirculates the
air already within the vehicle.
If the windows fog over in the
recirculated-air mode, switch the
recirculated-air mode off and increase
the air supply as required.
or with the hardtop* mounted,
press the button. The indicator lamp
remains on. The rear window defroster
switches off automatically after a short
while.
You can have your vehicle pro-
grammed in such a way that the
rear window defroster switches on
automatically. This occurs within 5 min-
utes after starting the engine when out-
side temperatures are below approx.
397/+46.<
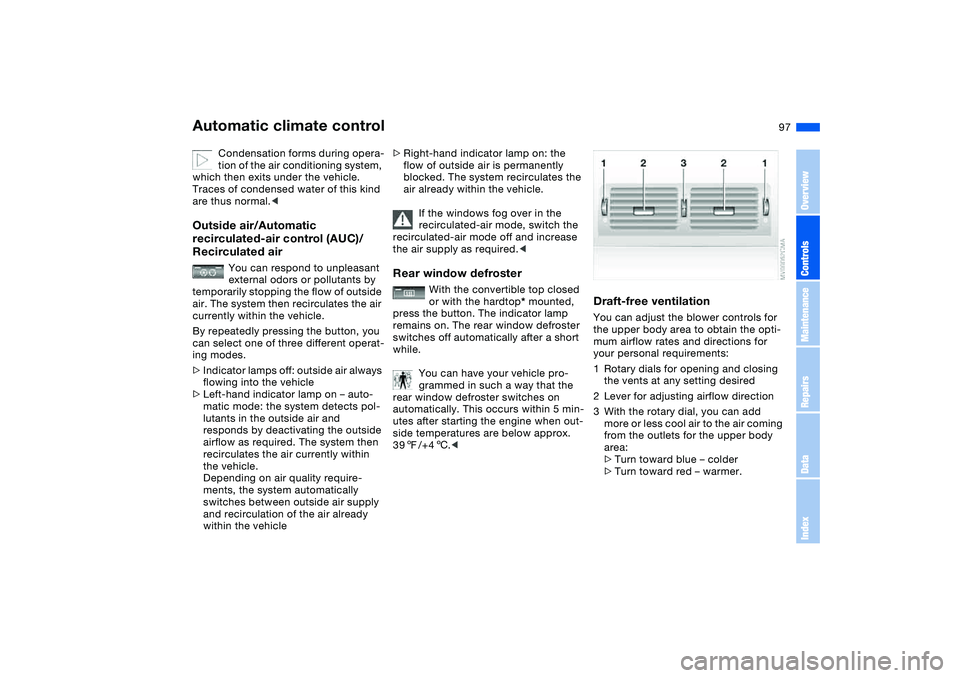
Draft-free ventilationYou can adjust the blower controls for
the upper body area to obtain the opti-
mum airflow rates and directions for
your personal requirements:
1Rotary dials for opening and closing
the vents at any setting desired
2Lever for adjusting airflow direction
3With the rotary dial, you can add
more or less cool air to the air coming
from the outlets for the upper body
area:
>Turn toward blue – colder
>Turn toward red – warmer.
Automatic climate control
OverviewControlsMaintenanceRepairsDataIndex
Page 98 of 174
98
Microfilter, activated-charcoal
filterThe built-in microfilter removes dust
and pollen from the incoming air. The
activated-charcoal filter provides addi-
tional protection by filtering gaseous
pollutants from the outside air. Your
BMW center will replace the combined
filter as a standard part of your sched-
uled maintenance. A substantial reduc-
tion in airflow indicates that the filter
needs to be replaced early.Automatic climate control
Page 99 of 174
99 Interior conveniences
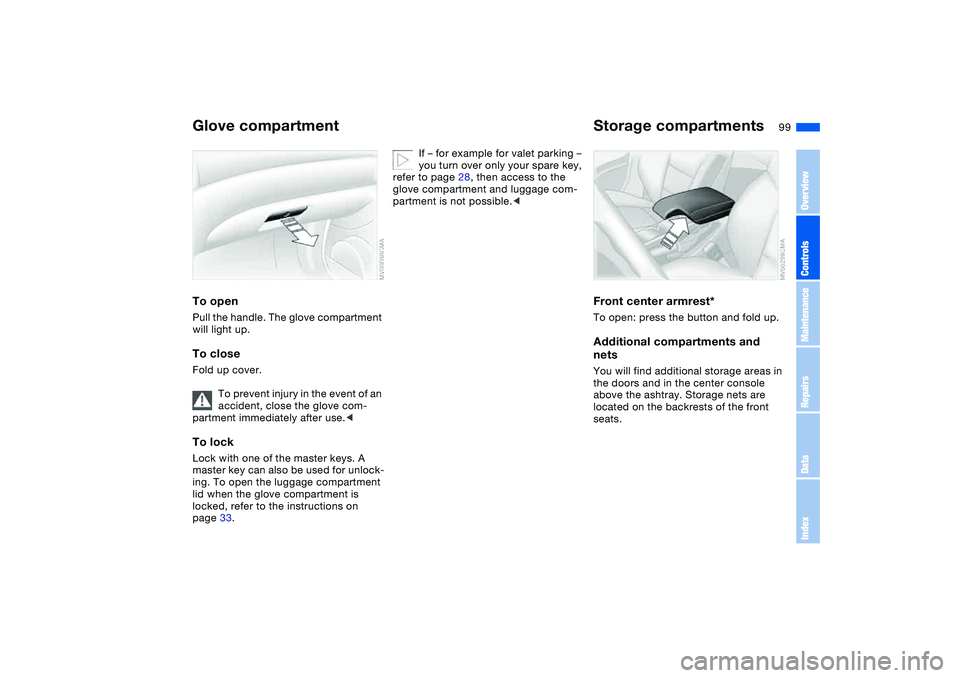
Glove compartmentTo openPull the handle. The glove compartment
will light up.To closeFold up cover.
To prevent injury in the event of an
accident, close the glove com-
partment immediately after use.
ing. To open the luggage compartment
lid when the glove compartment is
locked, refer to the instructions on
page 33.
If – for example for valet parking –
you turn over only your spare key,
refer to page 28, then access to the
glove compartment and luggage com-
partment is not possible.<
Storage compartmentsFront center armrest*To open: press the button and fold up.Additional compartments and
netsYou will find additional storage areas in
the doors and in the center console
above the ashtray. Storage nets are
located on the backrests of the front
seats.
OverviewControlsMaintenanceRepairsDataIndex
Page 100 of 174
100
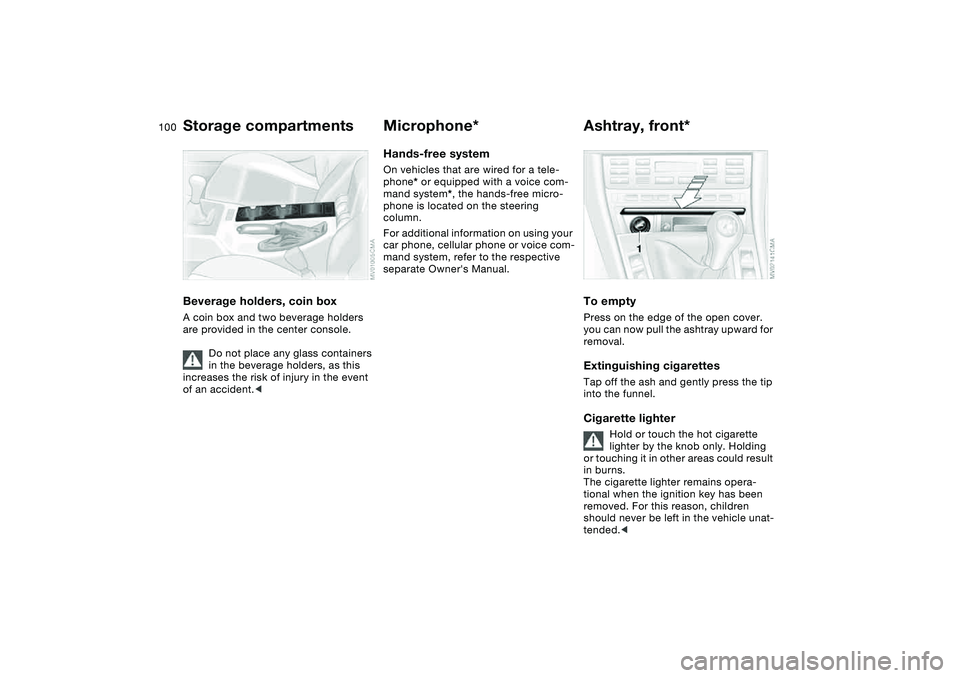
Beverage holders, coin boxA coin box and two beverage holders
are provided in the center console.
Do not place any glass containers
in the beverage holders, as this
increases the risk of injury in the event
of an accident.<
Microphone*Hands-free systemOn vehicles that are wired for a tele-
phone* or equipped with a voice com-
mand system*, the hands-free micro-
phone is located on the steering
column.
For additional information on using your
car phone, cellular phone or voice com-
mand system, refer to the respective
separate Owner's Manual.
Ashtray, front*To emptyPress on the edge of the open cover.
you can now pull the ashtray upward for
removal.Extinguishing cigarettesTap off the ash and gently press the tip
into the funnel.Cigarette lighter
Hold or touch the hot cigarette
lighter by the knob only. Holding
or touching it in other areas could result
in burns.
The cigarette lighter remains opera-
tional when the ignition key has been
removed. For this reason, children
should never be left in the vehicle unat-
tended.<
Storage compartments