brake BMW MOTORRAD K 1200 RS 2004 Rider's Manual (in English)
[x] Cancel search | Manufacturer: BMW MOTORRAD, Model Year: 2004, Model line: K 1200 RS, Model: BMW MOTORRAD K 1200 RS 2004Pages: 80, PDF Size: 5.57 MB
Page 33 of 80

31
Maintenance and care
2
e Important:
Use only wheel studs with
length code “55”. Do not oil or
grease the wheel studs.
Avoid damage to brake lines,
brake disc, brake pads and
wheels when installing.
Do not damage the ABS sensor
cable, toothed ring or sensor. Check that the wheel center-
ing spigot and the wheel hub
contact faces 3 are free from
grease
Push spacing washer 3 on to
the wheel centering spigot
Tilt the rear wheel, guide it past the exhaust, and lower it
to the ground
Carefully place brake caliper
over the brake disc
Insert rear wheel into center-
ing hole
3 Installing the rear wheel
20k41bkg3.book Seite 31 Mittwoch, 26. Mai 2004 3:33 15
Page 34 of 80

32
Maintenance and care
2
Installing the rear wheel
Hand-tighten central screw1
with taper ring 2
Insert four wheel studs 4 with
taper rings 3 and hand-
tighten, then tighten to the
specified preload torque in
diagonally opposite sequence
Tighten central screw 1 to the
specified torque
Tighten four wheel studs 4 in
diagonally opposite sequence
to the specified tightening
torque
e Important:
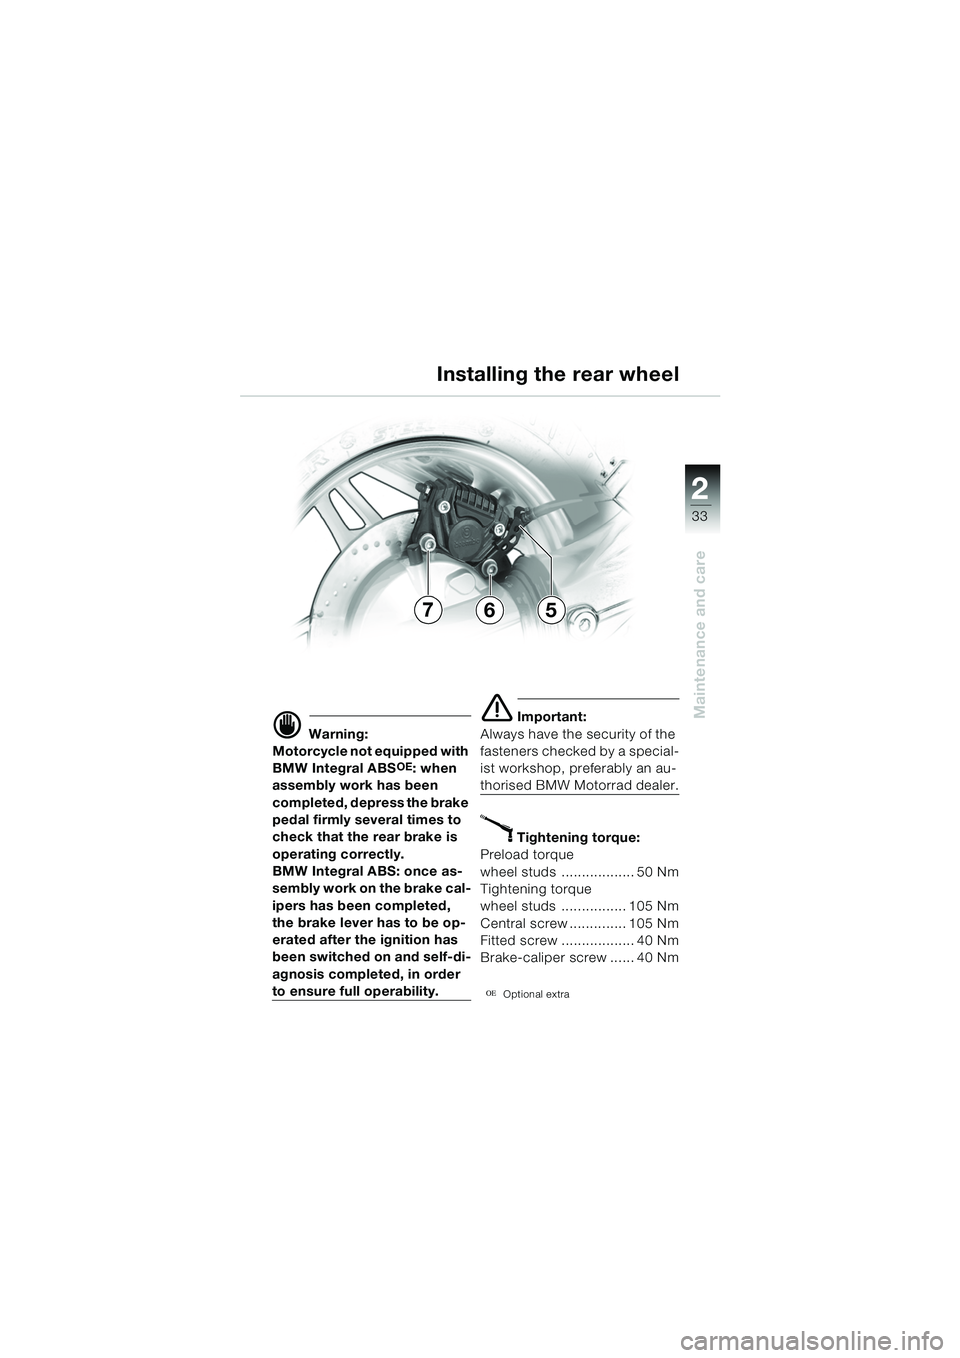
Make sure that bracket 5for
brake line is correctly
positioned.
Tighten fitted bolt 6 with
bracket 5 and brake caliper
screw 7 with washer to the
specified tightening torque
4
1
1
4
2
3
20k41bkg3.book Seite 32 Mittwoch, 26. Mai 2004 3:33 15
Page 35 of 80
33
Maintenance and care
2
d Warning:
Motorcycle not equipped with
BMW Integral ABS
OE: when
assembly work has been
completed, depress the brake
pedal firmly several times to
check that the rear brake is
operating correctly.
BMW Integral ABS: once as-
sembly work on the brake cal-
ipers has been completed,
the brake lever has to be op-
erated after the ignition has
been switched on and self-di-
agnosis completed, in order
to ensure full operability.
e Important:
Always have the security of the
fasteners checked by a special-
ist workshop, preferably an au-
thorised BMW Motorrad dealer.
X Tightening torque:
Preload torque
wheel studs .................. 50 Nm
Tightening torque
wheel studs ................ 105 Nm
Central screw .............. 105 Nm
Fitted screw .................. 40 Nm
Brake-caliper screw ...... 40 Nm
OEOptional extra
Installing the rear wheel
576
20k41bkg3.book Seite 33 Mittwoch, 26. Mai 2004 3:33 15
Page 36 of 80

34
Maintenance and care
2
Front brake
e Important:
Have the brake pads replaced
before the minimum permitted
thickness is reached.
L Note:
For your safety, we recommend
having work on the brake sys-
tem performed by a specialist
workshop, preferably an au-
thorised BMW Motorrad dealer.
Place the motorcycle on its main stand, making sure that
the surface is flat Visually inspect both brake
pads and the brake caliper
and make sure that they all
bear the same colour mark 2
Visually check brake pad thickness
Minimum pad thickness:
To ensure that the brakes
operate safely, wear
indicator 1 on the pads must
be clearly visible.
– If the wear indicator is no
longer clearly visible:
Have the brake pads changed
by a specialist workshop,
preferably an authorised
BMW Motorrad dealer.
Checking brake pads
1
2
20k41bkg3.book Seite 34 Mittwoch, 26. Mai 2004 3:33 15
Page 37 of 80

35
Maintenance and care
2
Rear brake
e Important:
Have the brake pads replaced
before the minimum permitted
thickness is reached.
L Note:
For your safety, we recommend
having work on the brake sys-
tem performed by a specialist
workshop, preferably an au-
thorised BMW Motorrad dealer. Place the motorcycle on its
main stand, making sure that
the surface is flat
Remove cover 1 from the
brake caliper
Visually check brake pad
thickness
– Minimum pad thickness: Make sure that the tip of the
wear indicator 2 does not con-
tact the opposing brake pad.
If the wear indicator is in con- tact with the opposing brake
pad:
Have the brake pads
changed by a specialist
workshop, preferably an
authorised BMW Motorrad
dealer.
Checking brake pads
1
2
20k41bkg3.book Seite 35 Mittwoch, 26. Mai 2004 3:33 15
Page 39 of 80
37
Maintenance and care
2
Information on changing bulbs
Your motorcycle is equipped
with Digital Motor Electronic
(MOTRONIC) engine manage-
ment and a high-output ignition
system.
d Warning:
Only carry out work on the
electrical system when the
circuit has been interrupted
(switch off ignition). For
greater safety, disconnect
and insulate the negative bat-
tery lead.
When the engine is running or
the ignition is switched on, do
not touch any electrically live
components, terminals or
wiring.
–Risk of fatal accident!
e Important:
Your vehicle has a high-beam/
low-beam bulb, a brake-light
bulb/rear-light bulb, a parking-
light bulb, a bulb for the
number-plate light, and four
bulbs for the turn indicators.
If any of these bulbs fail, you
may have problems in seeing
and being seen.
You should therefore always
carry spare bulbs on the motor-
cycle.
L Note:
Do not touch the glass of new
bulbs with the fingers.
Use a clean, dry cloth to hold
the bulbs when inserting them.
Dirt deposits, in particular oil
and grease, interfere with heat
radiation from the bulb. This
leads to overheating and short-
ens the bulb’s operating life.
20k41bkg3.book Seite 37 Mittwoch, 26. Mai 2004 3:33 15
Page 40 of 80

38
Maintenance and care
2
Tail light/brake light
e Important:
Switch off the ignition before
changing a bulb.
L Note:
Do not touch the glass of new
bulbs with the fingers. Use a
clean, dry cloth to hold the
bulbs when inserting them.
Place the motorcycle on its
main stand on a firm, flat
surface
Remove the rear seat Remove 2 retaining screws 1
Pull rear light
2 to the rear to
remove
Turn bulb socket 4 counter-
clockwise to disengage and
remove it from the rear light
Press the bulb 3 into its
socket and turn it counter-
clockwise to release it
Remove the bulb
Installation is the reverse of the removal procedure
– Brake/rear light bulb 3:
12 V 21/5 W
3
4
Changing bulbs
22
1
20k41bkg3.book Seite 38 Mittwoch, 26. Mai 2004 3:33 15
Page 56 of 80
54
Maintenance and care
2
9
87
1
4
3
Battery
Installing the battery
d Warning:
Before connecting the bat-
tery, switch off the ignition.
To avoid short-circuits:
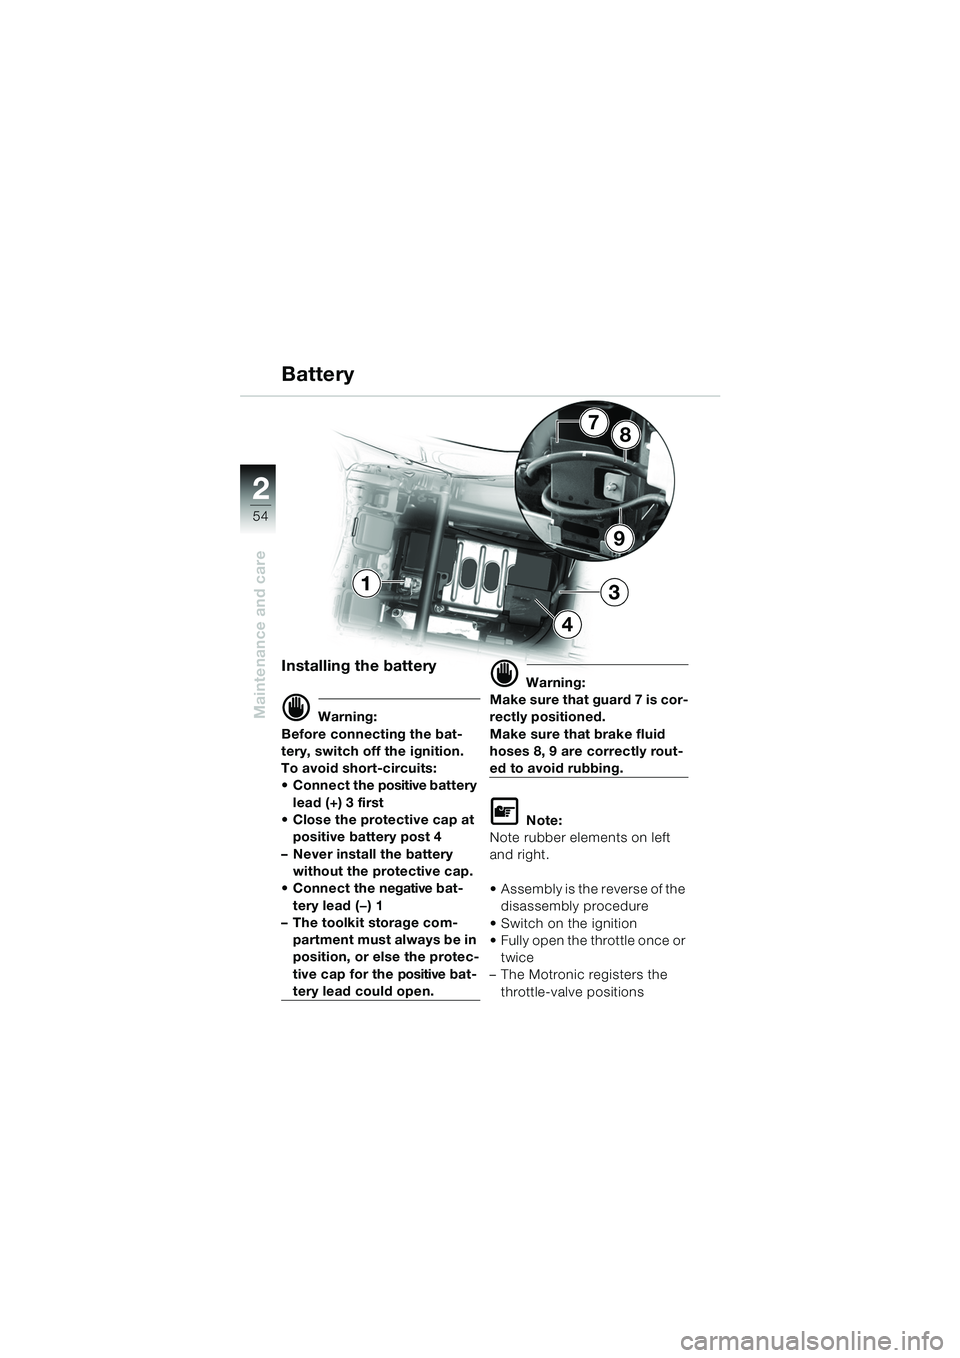
Connect the positive battery lead (+) 3 first
Close the protective cap at positive battery post 4
– Never install the battery without the protective cap.
Connect the negative bat- tery lead (—) 1
– The toolkit storage com-
partment must always be in
position, or else the protec-
tive cap for the positive bat-
tery lead could open.
d Warning:
Make sure that guard 7 is cor-
rectly positioned.
Make sure that brake fluid
hoses 8, 9 are correctly rout-
ed to avoid rubbing.
L Note:
Note rubber elements on left
and right.
Assembly is the reverse of the disassembly procedure
Switch on the ignition
Fully open the throttle once or twice
– The Motronic registers the
throttle-valve positions
20k41bkg3.book Seite 54 Mittwoch, 26. Mai 2004 3:33 15
Page 57 of 80
55
Maintenance and care
2
L Note:
Correct and regular cleaning of
the battery is an important fac-
tor in maintaining the value of
your motorcycle.
It also ensures that safety-rele-
vant parts remain in full working
order.
e Important:
Avoid damage to rubber and
plastic parts caused by aggres-
sive or penetrating cleaning
agents or solvents.
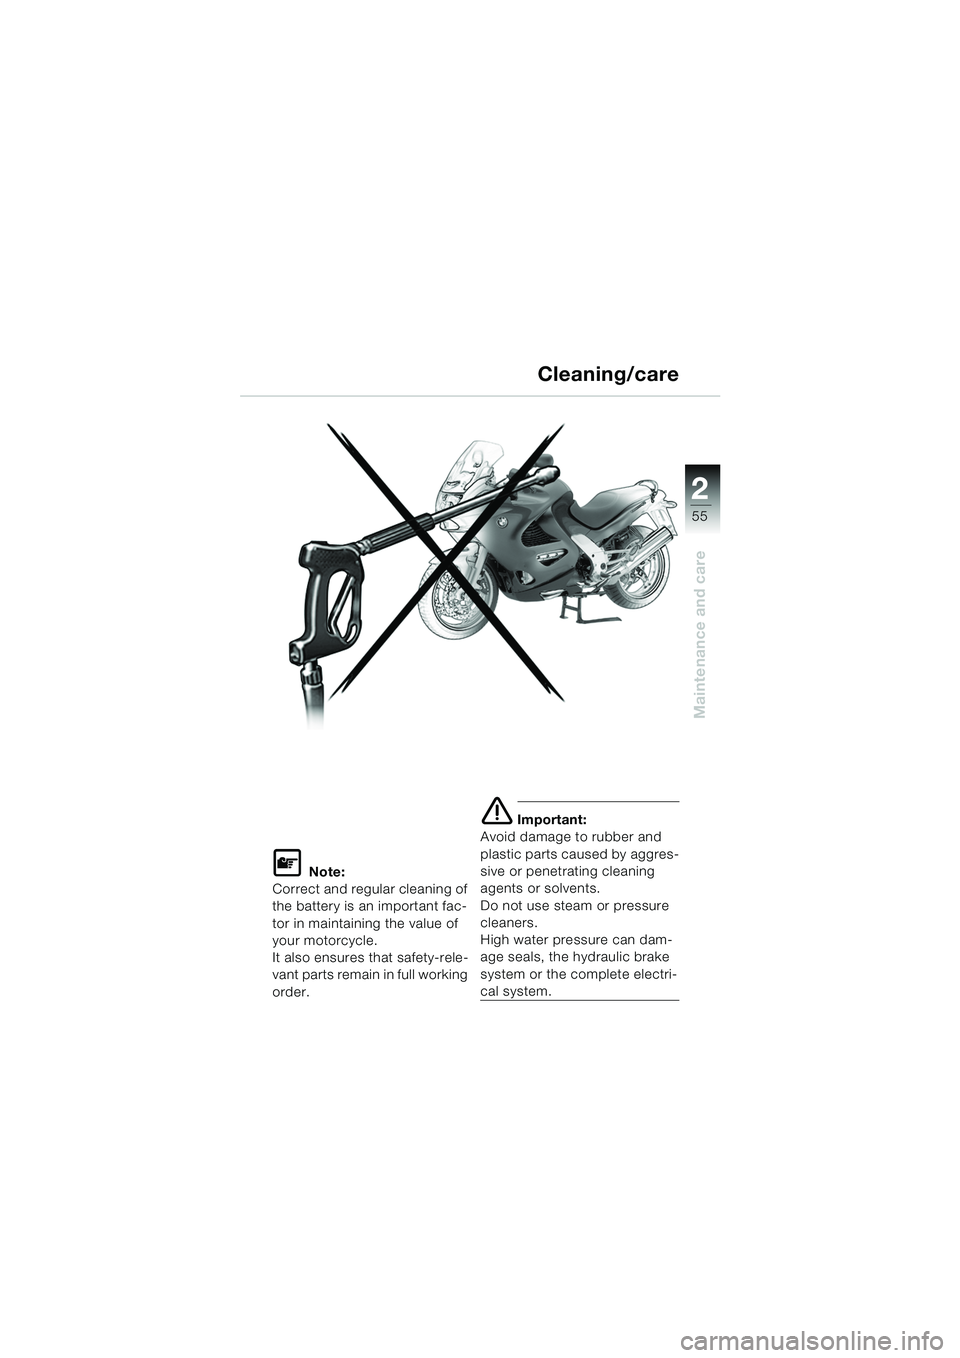
Do not use steam or pressure
cleaners.
High water pressure can dam-
age seals, the hydraulic brake
system or the complete electri-
cal system.
Cleaning/care
20k41bkg3.book Seite 55 Mittwoch, 26. Mai 2004 3:33 15
Page 58 of 80
56
Maintenance and care
2
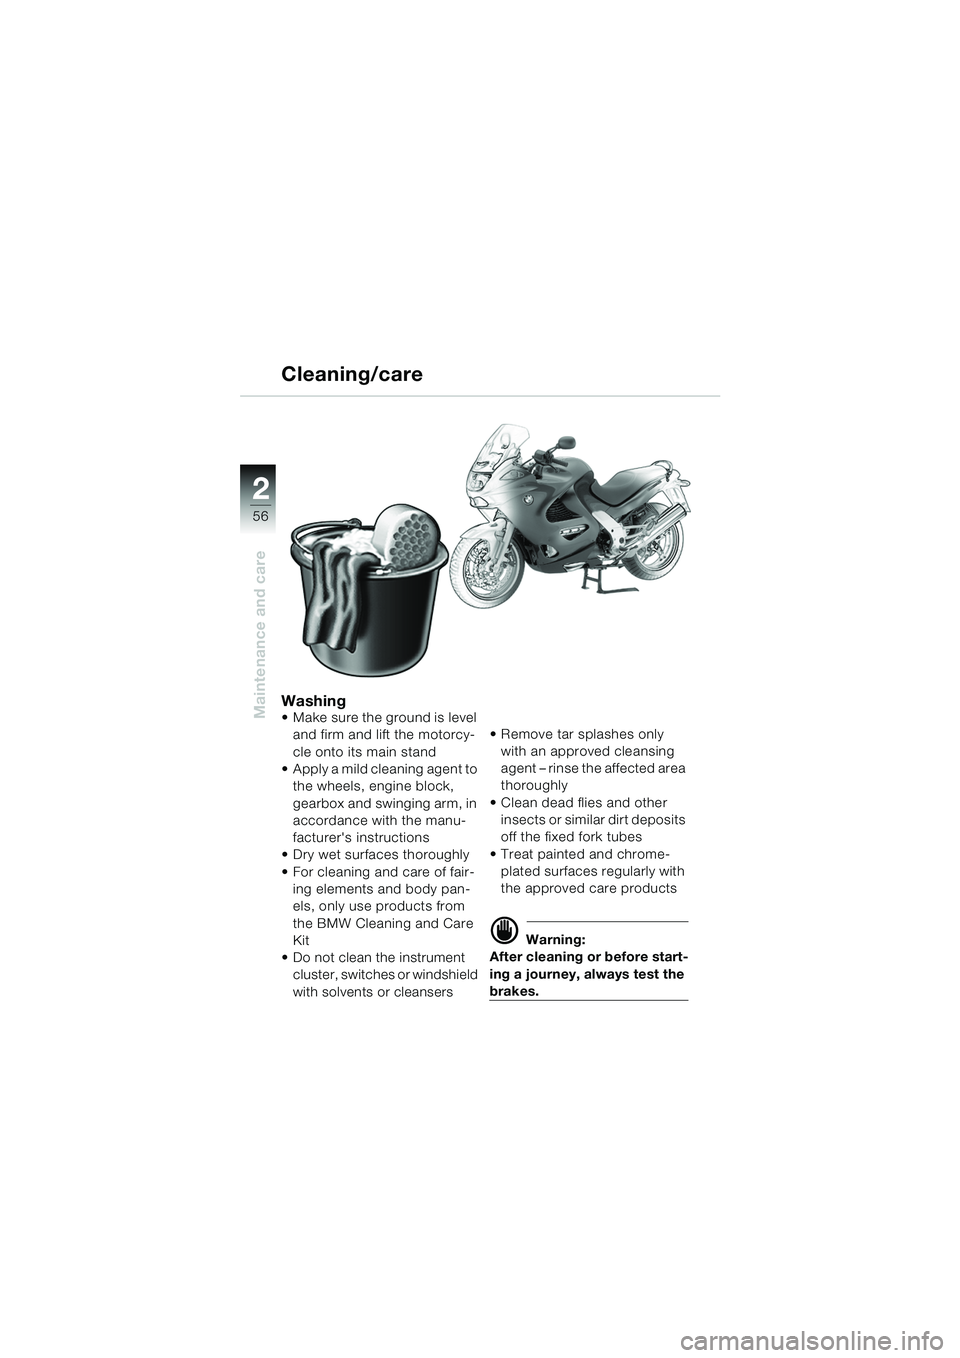
Washing Make sure the ground is level and firm and lift the motorcy-
cle onto its main stand
Apply a mild cleaning agent to
the wheels, engine block,
gearbox and swinging arm, in
accordance with the manu-
facturer's instructions
Dry wet surfaces thoroughly
For cleaning and care of fair-
ing elements and body pan-
els, only use products from
the BMW Cleaning and Care
Kit
Do not clean the instrument cluster, switches or windshield
with solvents or cleansers Remove tar splashes only
with an approved cleansing
agent – rinse the affected area
thoroughly
Clean dead flies and other insects or similar dirt deposits
off the fixed fork tubes
Treat painted and chrome- plated surfaces regularly with
the approved care products
d Warning:
After cleaning or before start-
ing a journey, always test the
brakes.
Cleaning/care
20k41bkg3.book Seite 56 Mittwoch, 26. Mai 2004 3:33 15