BMW MOTORRAD K 1200 RS 2004 Rider's Manual (in English)
Manufacturer: BMW MOTORRAD, Model Year: 2004, Model line: K 1200 RS, Model: BMW MOTORRAD K 1200 RS 2004Pages: 80, PDF Size: 5.57 MB
Page 51 of 80
49
Maintenance and care
2
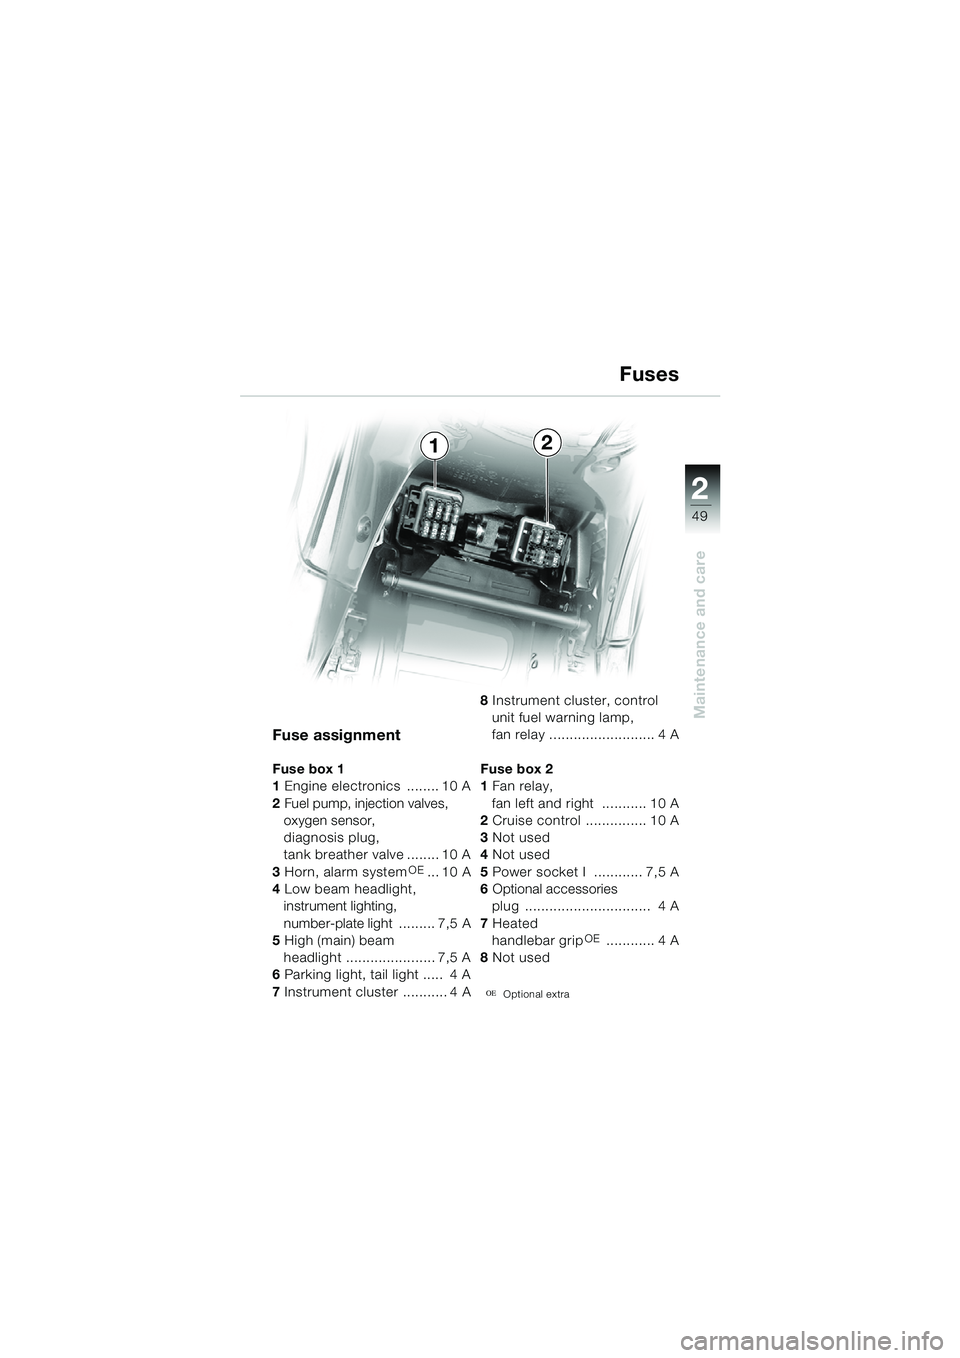
Fuse assignment
Fuse box 1
1 Engine electronics ........ 10 A
2 Fuel pump, injection valves,
oxygen sensor,
diagnosis plug,
tank breather valve ........ 10 A
3 Horn, alarm system
OE... 10 A
4 Low beam headlight,
instrument lighting,
number-plate light ......... 7,5 A
5 High (main) beam
headlight ...................... 7,5 A
6 Parking light, tail light ..... 4 A
7 Instrument cluster ........... 4 A 8
Instrument cluster, control
unit fuel warning lamp,
fan relay .......................... 4 A
Fuse box 2
1 Fan relay,
fan left and right ........... 10 A
2 Cruise control ............... 10 A
3 Not used
4 Not used
5 Power socket I ............ 7,5 A
6 Optional accessories
plug ............................... 4 A
7 Heated
handlebar grip
OE ............ 4 A
8 Not used
OEOptional extra
Fuses
12
20k41bkg3.book Seite 49 Mittwoch, 26. Mai 2004 3:33 15
Page 52 of 80
50
Maintenance and care
2
Battery safety instructions
Gel batteries are maintenance-
free. Compliance with the
instructions below is important
in order to maximise battery life:
e Attention:
– Keep the surface of the battery clean and dry
– Do not attempt to open the battery
– Do not attempt to top up the battery with water
– Use only electronically
controlled battery chargers
with a limit voltage of 14.4 V to
charge the battery.
Correct upkeep, recharging
and storage will prolong the life
of the battery and are essential
if warranty claims are to be con-
sidered.
d Warning:
Do not attempt to jump-start
the motorcycle using the on-
board socket
–Risk of fire!
Push-start the motorcycle only when the engine is
cold.
The load capacity of the
electrical wiring to the power
socket is not sufficient to start
the motorcycle from an outside
source.
e Attention:
Do not attempt to jump-start
the motorcycle if the battery is
completely flat: recharge the
battery instead.
Risk of damaging the control
units.
20k41bkg3.book Seite 50 Mittwoch, 26. Mai 2004 3:33 15
Page 53 of 80
51
Maintenance and care
2
Battery maintenance instructions
Motorcycle out of use for a
lengthy period
The battery has to be charged prior to lay-up periods of
more than one month.
e Attention:
If the battery is not
disconnected, the on-board
electronics (clock, etc.) will
discharge the battery. This can
cause the battery to run flat. If
this happens, warranty claims
will not be accepted.
Disconnect the ground (earth)
lead from the battery prior to a
lay-up. – Batteries that are not in use
must be stored in a cool
place. Do not store a
discharged battery
– If the battery is in storage for an extended period of time,
recharge it at regular intervals
of approx. 4 months. If the
battery is not disconnected
from the motorcycle's
systems, recharge it every 2
months at the latest
– Always fully recharge the bat-
tery before restoring it to use
In case of doubt ask a specialist,
preferably an authorised BMW
motorcycle dealer, to prepare
the vehicle for laying up and to
carry out the necessary battery
maintenance and storage
20k41bkg3.book Seite 51 Mittwoch, 26. Mai 2004 3:33 15
Page 54 of 80
52
Maintenance and care
2
1
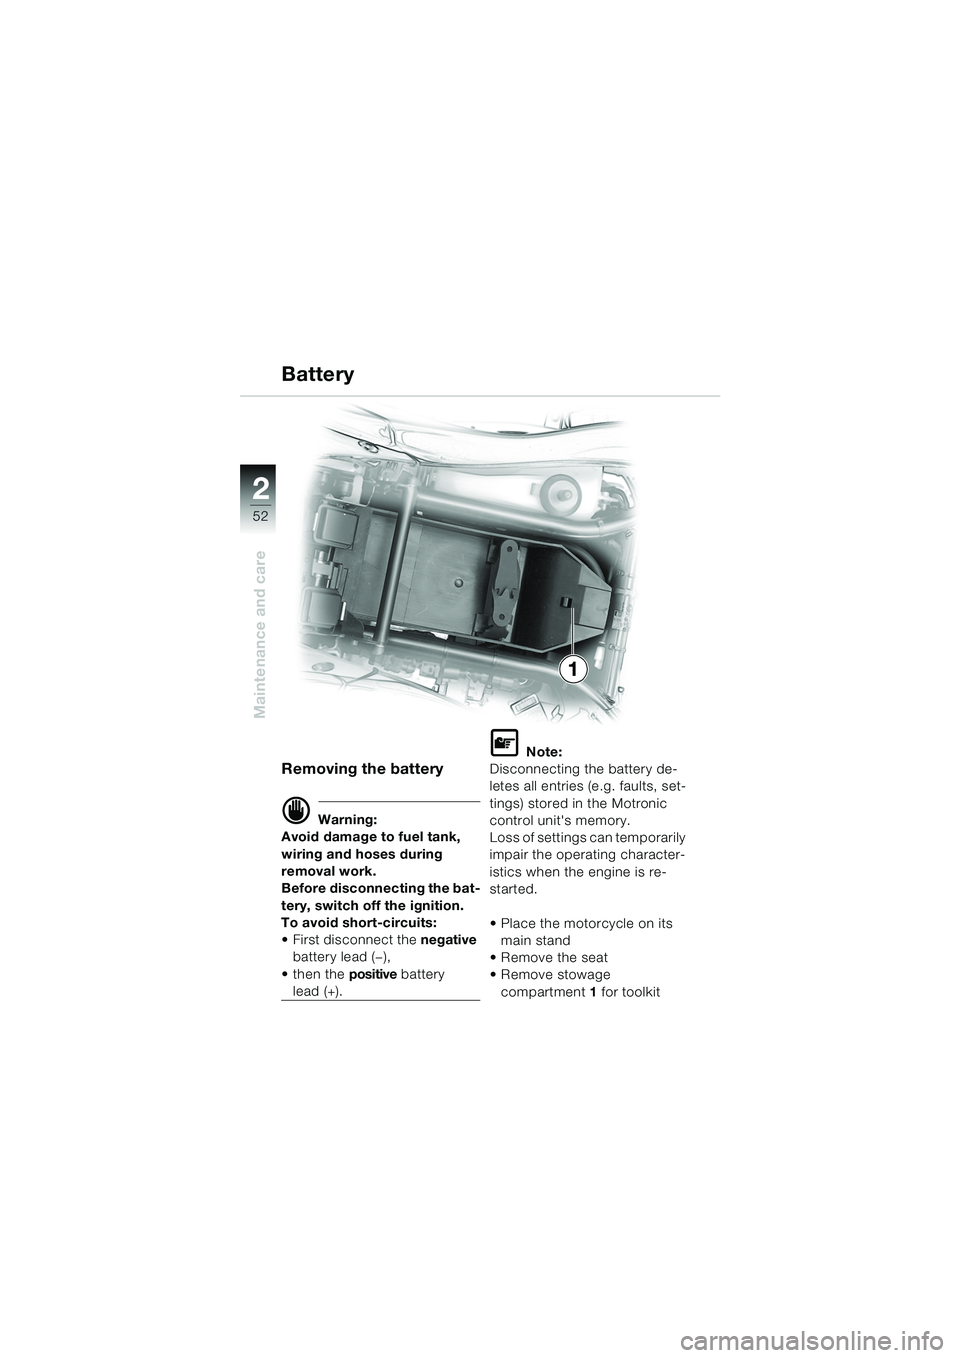
Removing the battery
d Warning:
Avoid damage to fuel tank,
wiring and hoses during
removal work.
Before disconnecting the bat-
tery, switch off the ignition.
To avoid short-circuits:
First disconnect the negative
battery lead (—),
then the positive battery
lead (+).
L Note:
Disconnecting the battery de-
letes all entries (e.g. faults, set-
tings) stored in the Motronic
control unit's memory.
Loss of settings can temporarily
impair the operating character-
istics when the engine is re-
started.
Place the motorcycle on its main stand
Remove the seat
Remove stowage compartment 1 for toolkit
Battery
20k41bkg3.book Seite 52 Mittwoch, 26. Mai 2004 3:33 15
Page 55 of 80
53
Maintenance and care
2
4
6
1
3
2
5
5
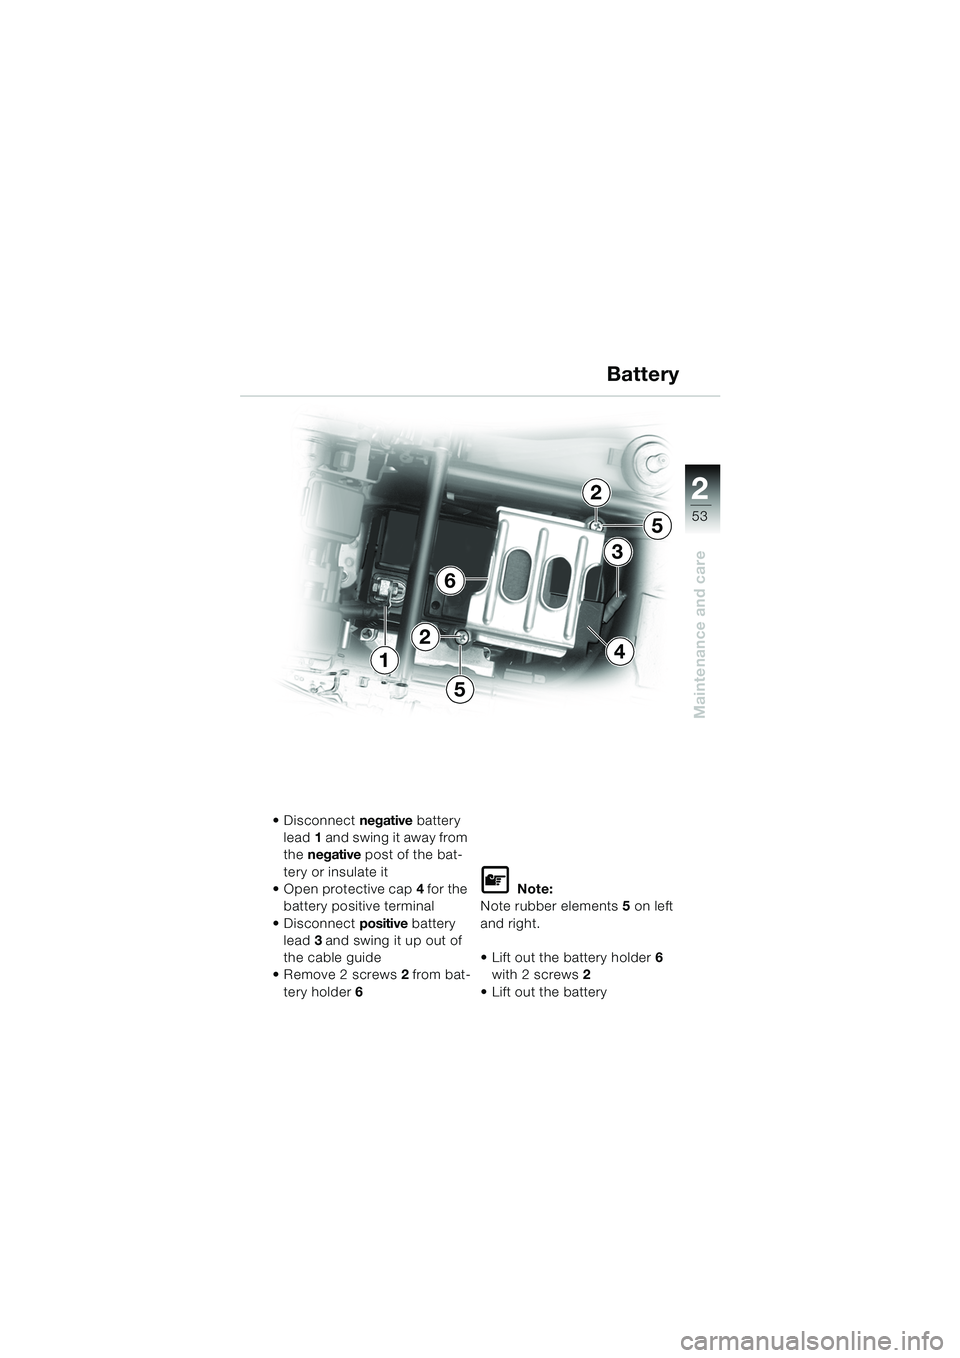
2
Disconnect negative battery
lead 1 and swing it away from
the negative post of the bat-
tery or insulate it
Open protective cap 4 for the
battery positive terminal
Disconnect positive battery
lead 3 and swing it up out of
the cable guide
Remove 2 screws 2 from bat-
tery holder 6
L Note:
Note rubber elements 5 on left
and right.
Lift out the battery holder 6
with 2 screws 2
Lift out the battery
Battery
20k41bkg3.book Seite 53 Mittwoch, 26. Mai 2004 3:33 15
Page 56 of 80
54
Maintenance and care
2
9
87
1
4
3
Battery
Installing the battery
d Warning:
Before connecting the bat-
tery, switch off the ignition.
To avoid short-circuits:
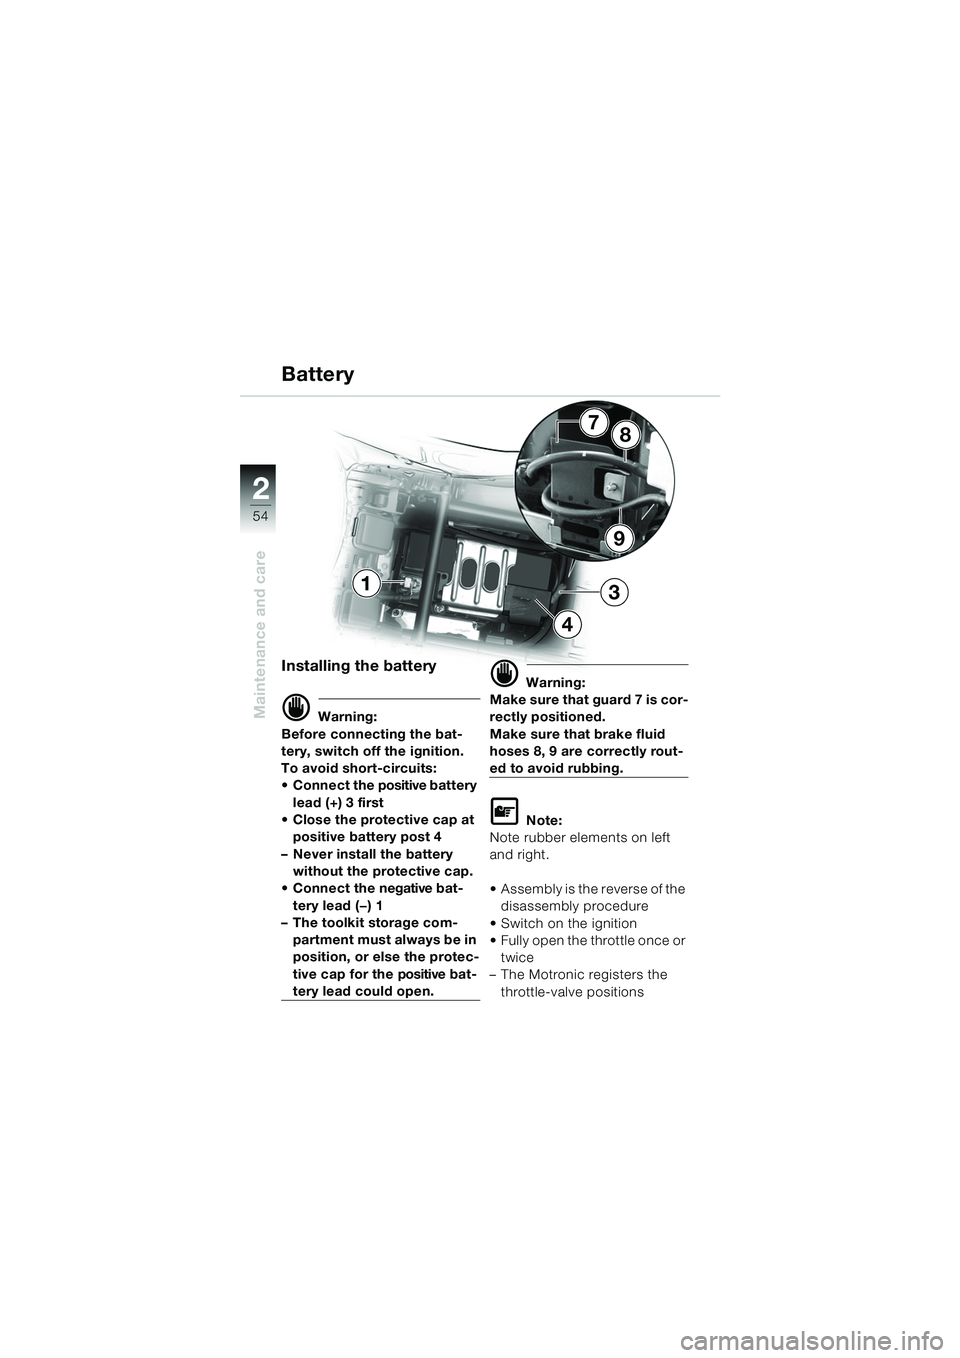
Connect the positive battery lead (+) 3 first
Close the protective cap at positive battery post 4
– Never install the battery without the protective cap.
Connect the negative bat- tery lead (—) 1
– The toolkit storage com-
partment must always be in
position, or else the protec-
tive cap for the positive bat-
tery lead could open.
d Warning:
Make sure that guard 7 is cor-
rectly positioned.
Make sure that brake fluid
hoses 8, 9 are correctly rout-
ed to avoid rubbing.
L Note:
Note rubber elements on left
and right.
Assembly is the reverse of the disassembly procedure
Switch on the ignition
Fully open the throttle once or twice
– The Motronic registers the
throttle-valve positions
20k41bkg3.book Seite 54 Mittwoch, 26. Mai 2004 3:33 15
Page 57 of 80
55
Maintenance and care
2
L Note:
Correct and regular cleaning of
the battery is an important fac-
tor in maintaining the value of
your motorcycle.
It also ensures that safety-rele-
vant parts remain in full working
order.
e Important:
Avoid damage to rubber and
plastic parts caused by aggres-
sive or penetrating cleaning
agents or solvents.
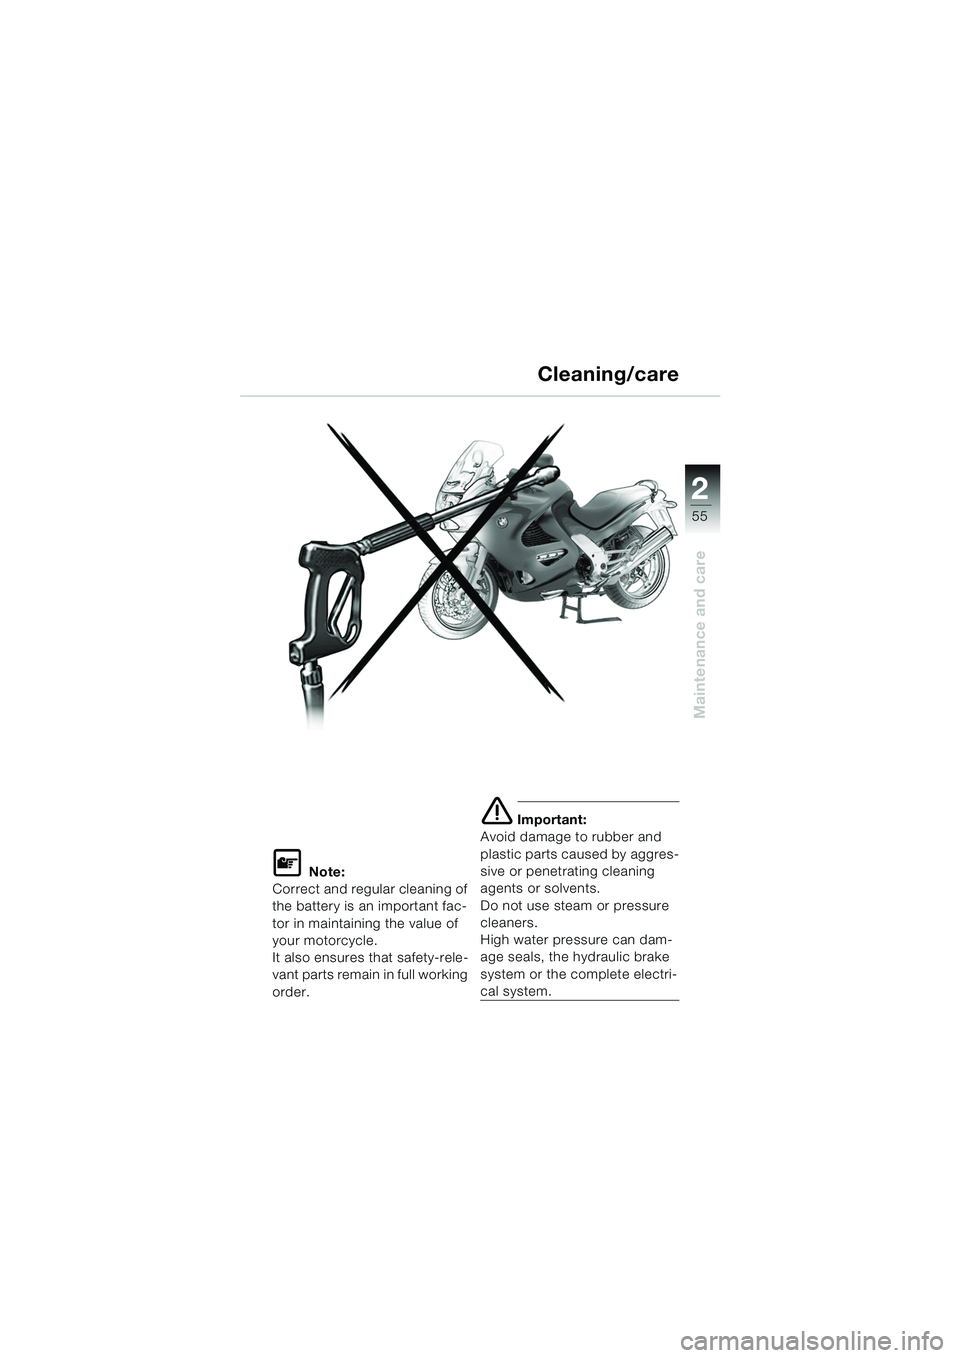
Do not use steam or pressure
cleaners.
High water pressure can dam-
age seals, the hydraulic brake
system or the complete electri-
cal system.
Cleaning/care
20k41bkg3.book Seite 55 Mittwoch, 26. Mai 2004 3:33 15
Page 58 of 80
56
Maintenance and care
2
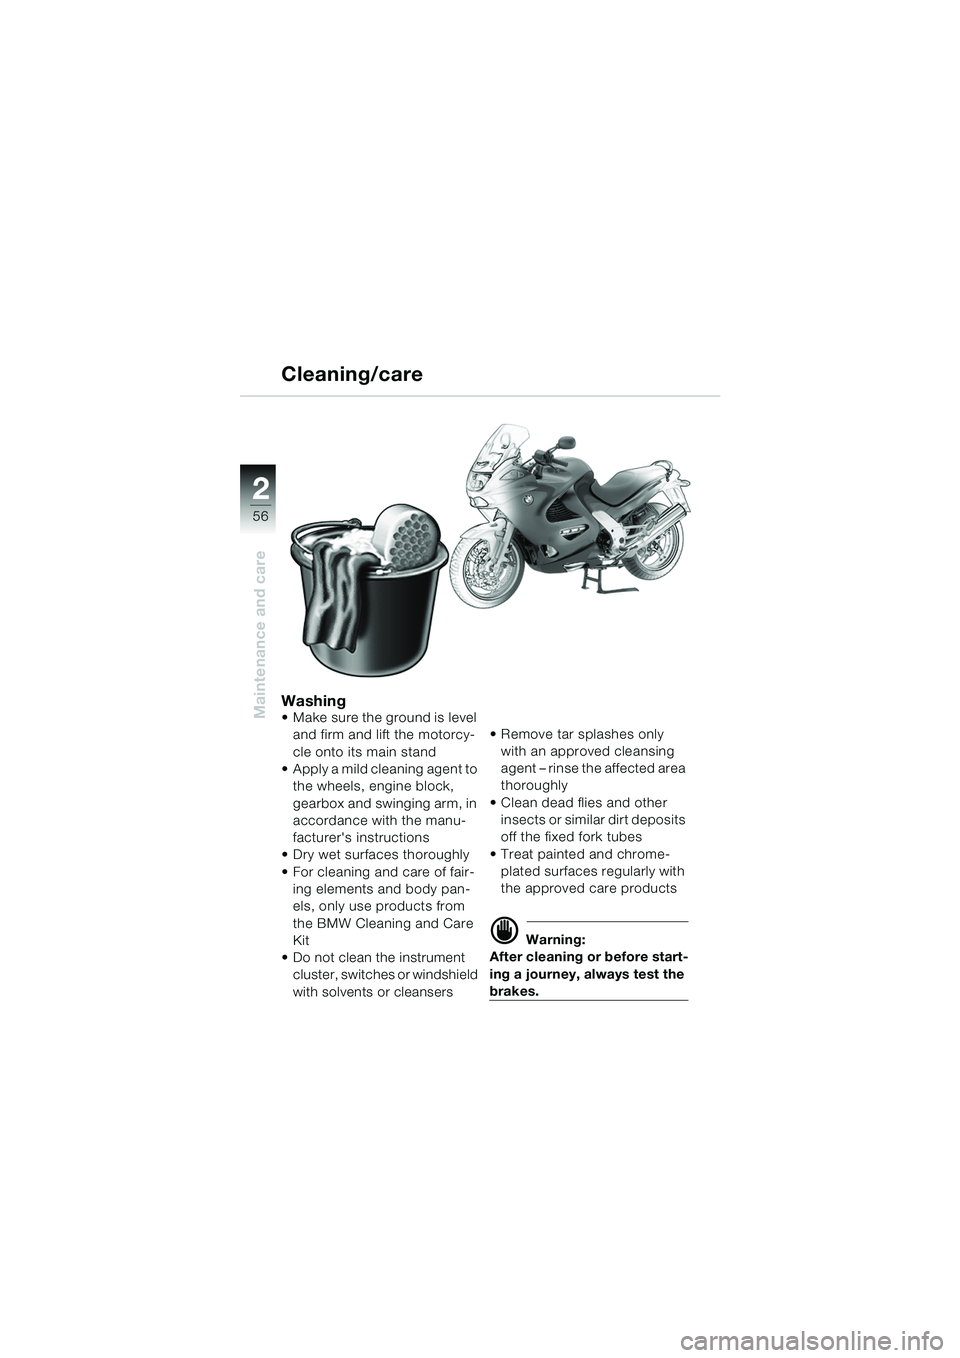
Washing Make sure the ground is level and firm and lift the motorcy-
cle onto its main stand
Apply a mild cleaning agent to
the wheels, engine block,
gearbox and swinging arm, in
accordance with the manu-
facturer's instructions
Dry wet surfaces thoroughly
For cleaning and care of fair-
ing elements and body pan-
els, only use products from
the BMW Cleaning and Care
Kit
Do not clean the instrument cluster, switches or windshield
with solvents or cleansers Remove tar splashes only
with an approved cleansing
agent – rinse the affected area
thoroughly
Clean dead flies and other insects or similar dirt deposits
off the fixed fork tubes
Treat painted and chrome- plated surfaces regularly with
the approved care products
d Warning:
After cleaning or before start-
ing a journey, always test the
brakes.
Cleaning/care
20k41bkg3.book Seite 56 Mittwoch, 26. Mai 2004 3:33 15
Page 59 of 80
57
Maintenance and care
2
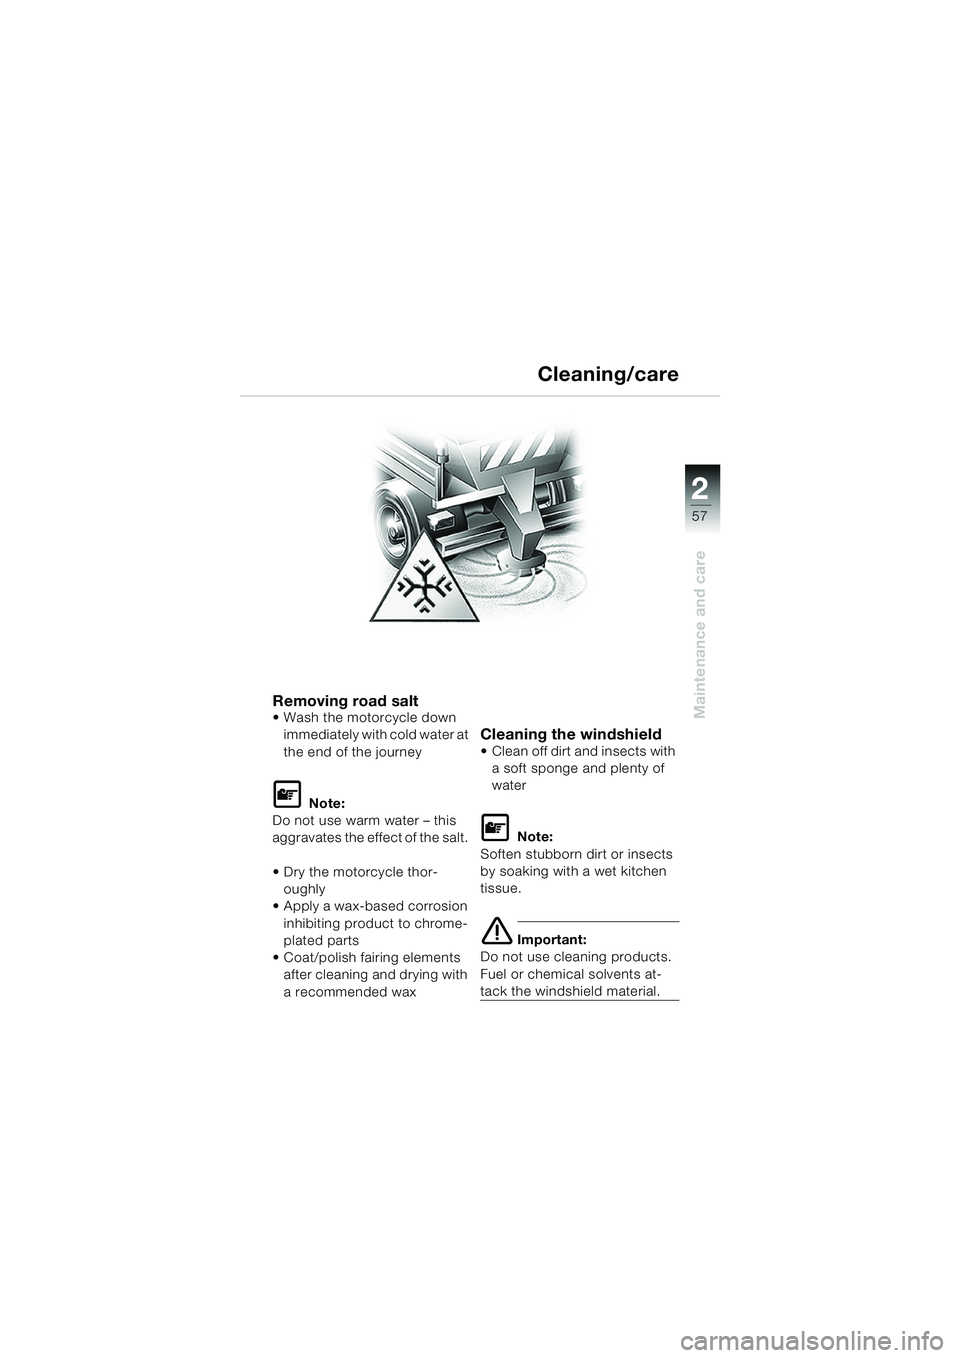
Removing road saltWash the motorcycle down immediately with cold water at
the end of the journey
L Note:
Do not use warm water – this
aggravates the effect of the salt.
Dry the motorcycle thor-
oughly
Apply a wax-based corrosion
inhibiting product to chrome-
plated parts
Coat/polish fairing elements after cleaning and drying with
a recommended wax
Cleaning the windshield Clean off dirt and insects with
a soft sponge and plenty of
water
L Note:
Soften stubborn dirt or insects
by soaking with a wet kitchen
tissue.
e Important:
Do not use cleaning products.
Fuel or chemical solvents at-
tack the windshield material.
Cleaning/care
20k41bkg3.book Seite 57 Mittwoch, 26. Mai 2004 3:33 15
Page 60 of 80
58
Maintenance and care
2
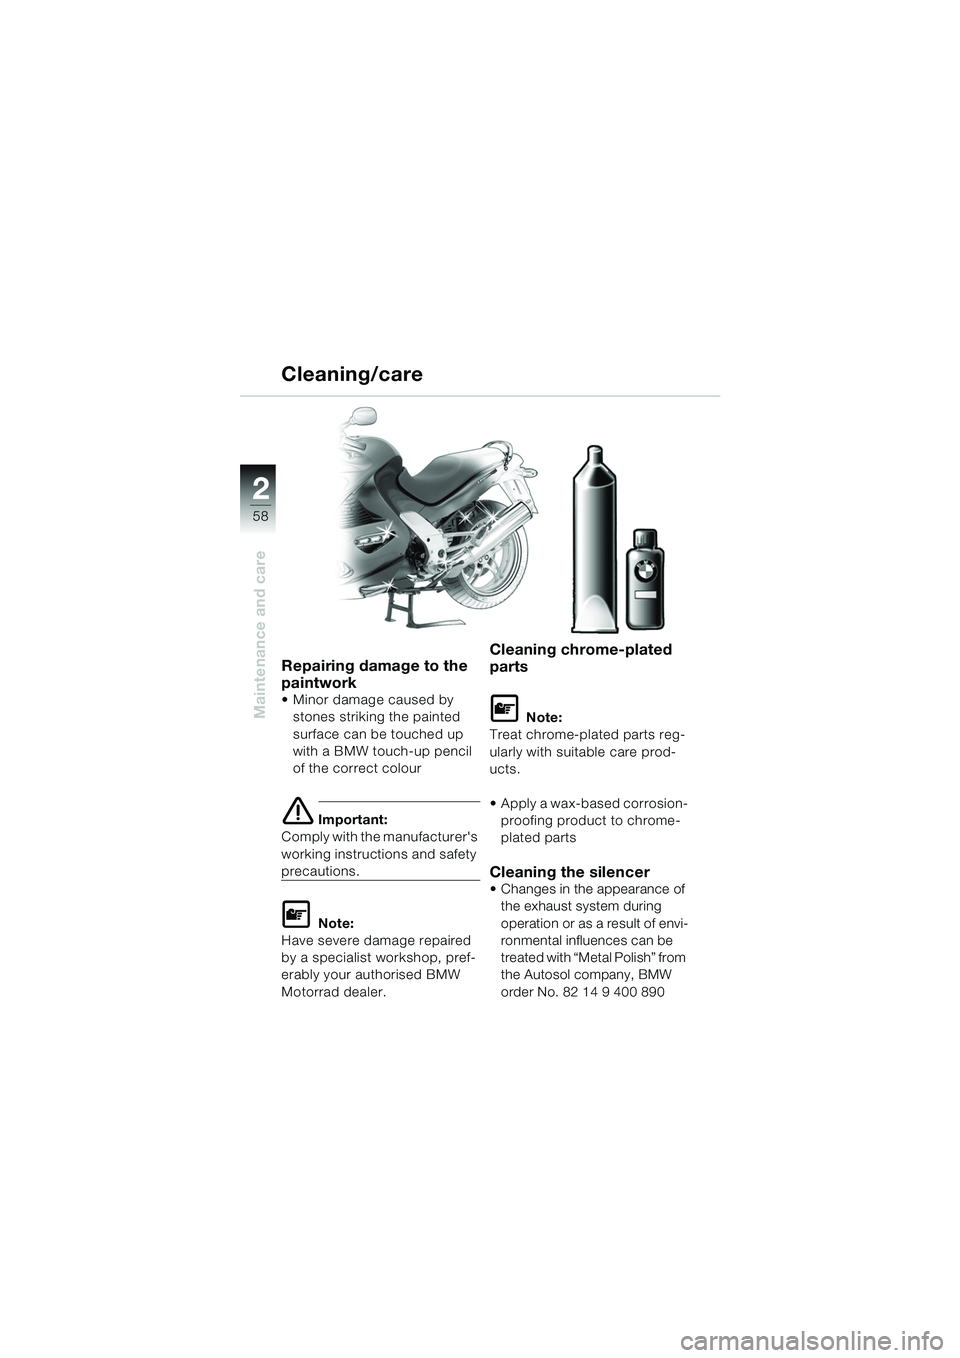
Repairing damage to the
paintwork
Minor damage caused by stones striking the painted
surface can be touched up
with a BMW touch-up pencil
of the correct colour
e Important:
Comply with the manufacturer's
working instructions and safety
precautions.
L Note:
Have severe damage repaired
by a specialist workshop, pref-
erably your authorised BMW
Motorrad dealer.
Cleaning chrome-plated
parts
L Note:
Treat chrome-plated parts reg-
ularly with suitable care prod-
ucts.
Apply a wax-based corrosion- proofing product to chrome-
plated parts
Cleaning the silencer
Changes in the appearance of the exhaust system during
operation or as a result of envi-
ronmental influences can be
treated with “Metal Polish” from
the Autosol company, BMW
order No. 82 14 9 400 890
Cleaning/care
20k41bkg3.book Seite 58 Mittwoch, 26. Mai 2004 3:33 15