BMW Z8 CONVERTIBLE 2002 Manual PDF
Manufacturer: BMW, Model Year: 2002, Model line: Z8 CONVERTIBLE, Model: BMW Z8 CONVERTIBLE 2002Pages: 174, PDF Size: 2.37 MB
Page 71 of 174
71n
IndexDataTechnologyRepairsCar careControlsOverview
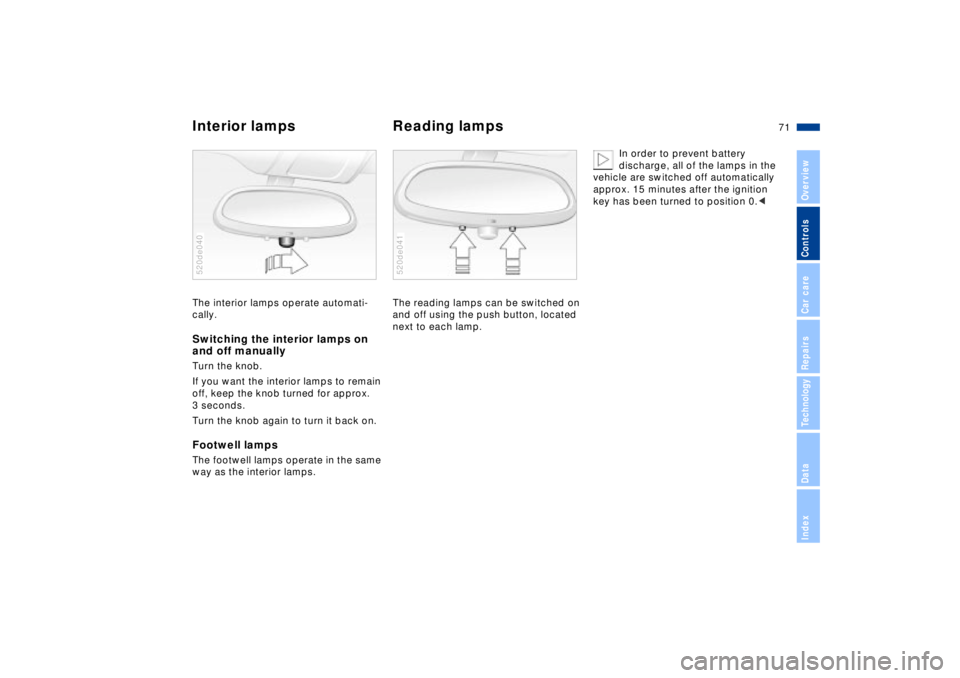
Interior lamps Reading lampsThe interior lamps operate automati-
cally.Switching the interior lamps on
and off manuallyTurn the knob.
If you want the interior lamps to remain
off, keep the knob turned for approx.
3 seconds.
Turn the knob again to turn it back on. Footwell lampsThe footwell lamps operate in the same
way as the interior lamps.520de040
The reading lamps can be switched on
and off using the push button, located
next to each lamp. 520de041
In order to prevent battery
discharge, all of the lamps in the
vehicle are switched off automatically
approx. 15 minutes after the ignition
key has been turned to position 0.<
Page 72 of 174
72n
520de042Heating and ventilation/Air conditioner
Page 73 of 174

73n
IndexDataTechnologyRepairsCar careControlsOverview
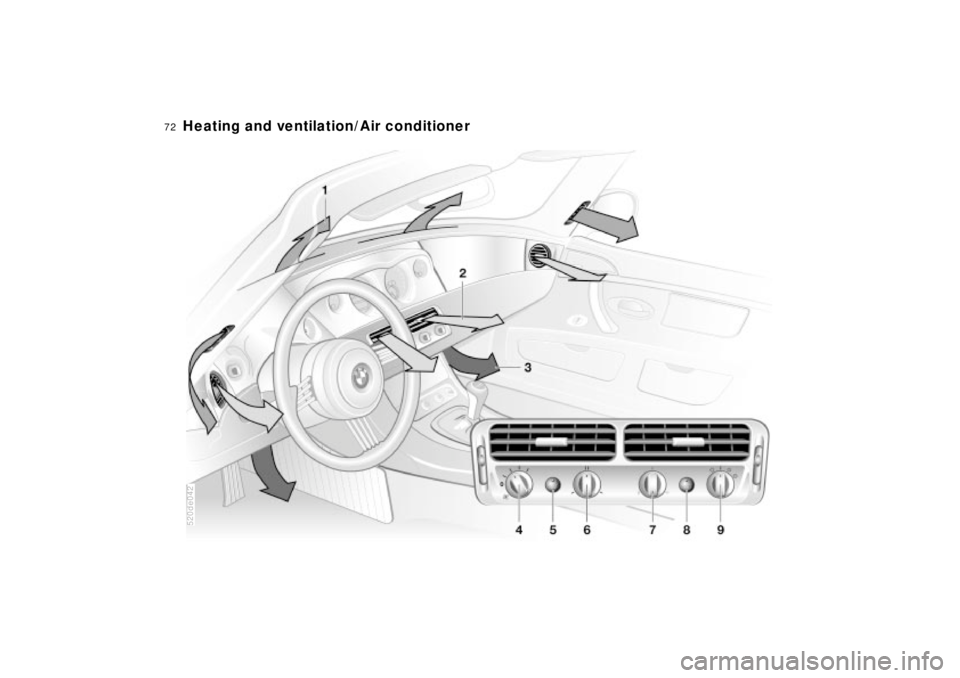
Heating and ventilation/Air conditioner1 Air onto the windshield and the side
windows
2 Airflow for the upper body
The rotary dials make it possible for
you to open and close the air supply
through an infintely-variable range,
while the levers change the airflow
direction. Refer to page 75
3 Front footwell ventilation
4 Air supply
Both the heating and ventilation are
available from position 1 on. Refer to
page 74
5 Defrost windows and remove
condensation75
6 Temperature74
7 Air distribution toward
>the windows
>the upper body
>the footwell
A infinitely-variable range of inter-
mediate settings is also available.
Refer to page 74
8 Rear window defroster with the
hardtop in place75
9 Operating:
>Recirculated air74
>Incoming air74
>Air conditioner/Incoming air74
>Air conditioner/Recirculated air74
Page 74 of 174
74n
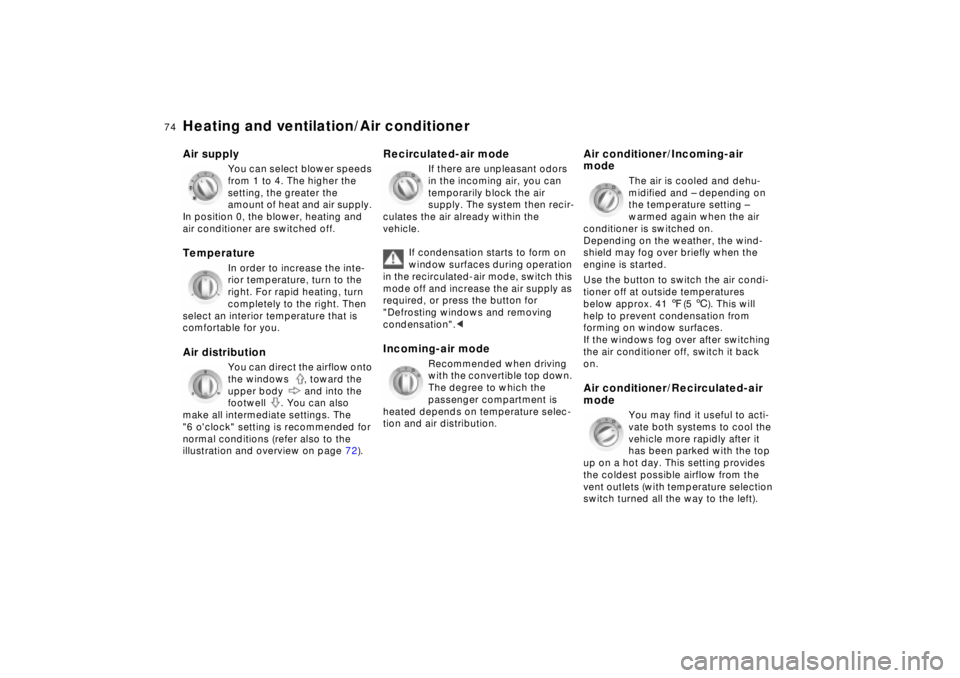
Heating and ventilation/Air conditionerAir supply
You can select blower speeds
from 1 to 4. The higher the
setting, the greater the
amount of heat and air supply.
In position 0, the blower, heating and
air conditioner are switched off.
Temperature
In order to increase the inte-
rior temperature, turn to the
right. For rapid heating, turn
completely to the right. Then
select an interior temperature that is
comfortable for you.
Air distribution
You can direct the airflow onto
the windows , toward the
upper body and into the
footwell . You can also
make all intermediate settings. The
"6 o'clock" setting is recommended for
normal conditions (refer also to the
illustration and overview on page 72).
Recirculated-air mode
If there are unpleasant odors
in the incoming air, you can
temporarily block the air
supply. The system then recir-
culates the air already within the
vehicle.
If condensation starts to form on
window surfaces during operation
in the recirculated-air mode, switch this
mode off and increase the air supply as
required, or press the button for
"Defrosting windows and removing
condensation".<
Incoming-air mode
Recommended when driving
with the convertible top down.
The degree to which the
passenger compartment is
heated depends on temperature selec-
tion and air distribution.
Air conditioner/Incoming-air
mode
The air is cooled and dehu-
midified and Ð depending on
the temperature setting Ð
warmed again when the air
conditioner is switched on.
Depending on the weather, the wind-
shield may fog over briefly when the
engine is started.
Use the button to switch the air condi-
tioner off at outside temperatures
below approx. 41 7(5 6). This will
help to prevent condensation from
forming on window surfaces.
If the windows fog over after switching
the air conditioner off, switch it back
on.
Air conditioner/Recirculated-air
mode
You may find it useful to acti-
vate both systems to cool the
vehicle more rapidly after it
has been parked with the top
up on a hot day. This setting provides
the coldest possible airflow from the
vent outlets (with temperature selection
switch turned all the way to the left).
Page 75 of 174
75n
IndexDataTechnologyRepairsCar careControlsOverview
Heating and ventilation/Air conditioner
If condensation starts to form on
window surfaces during operation
in the recirculated-air mode, switch this
mode off and increase the air supply as
required, or press the button for
"Defrosting windows and removing
condensation".<
Defrost windows and remove
condensation
This operation quickly
removes ice and condensa-
tion from the windshield and
the side windows.
Rear window defroster
Whenever the hardtop is on,
the indicator lamp lights up
when the rear window
defroster is turned on. The rear window
defroster switches off automatically.
Refer to page 60.
The indicator lamp is always
active, however the rear window
defroster will not work if the hardtop is
not in place.<
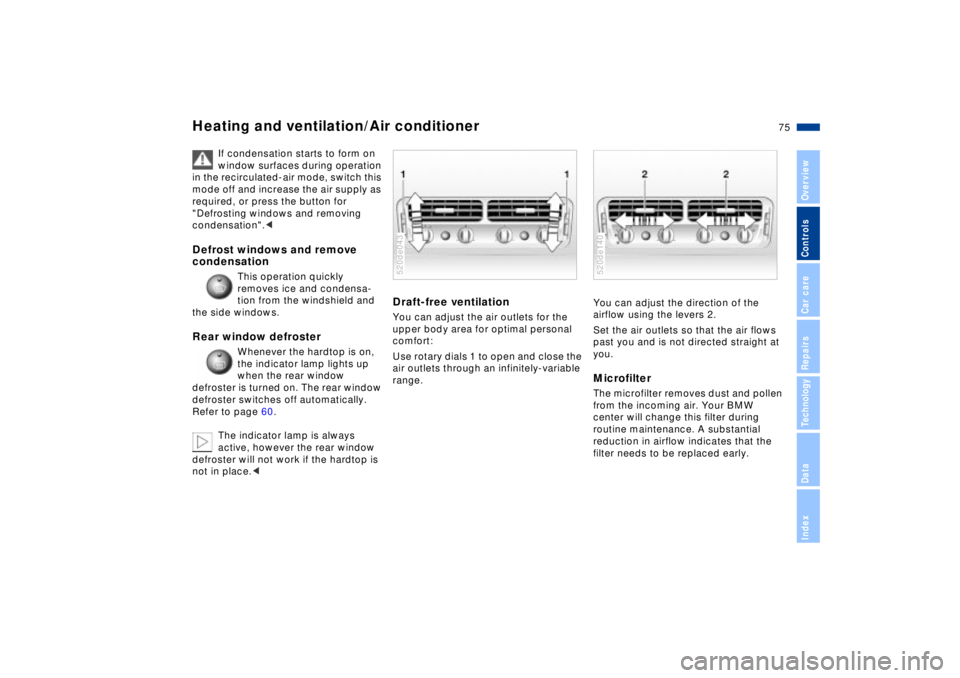
Draft-free ventilation You can adjust the air outlets for the
upper body area for optimal personal
comfort:
Use rotary dials 1 to open and close the
air outlets through an infinitely-variable
range.520de043
You can adjust the direction of the
airflow using the levers 2.
Set the air outlets so that the air flows
past you and is not directed straight at
you.MicrofilterThe microfilter removes dust and pollen
from the incoming air. Your BMW
center will change this filter during
routine maintenance. A substantial
reduction in airflow indicates that the
filter needs to be replaced early.520de140
Page 76 of 174
76n
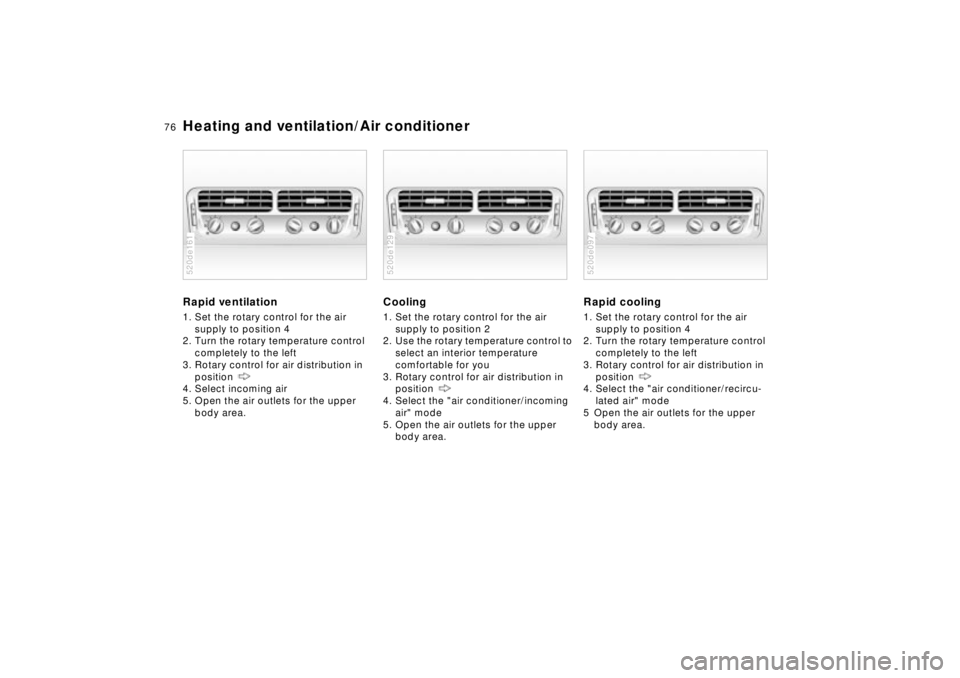
Heating and ventilation/Air conditionerRapid ventilation1. Set the rotary control for the air
supply to position 4
2. Turn the rotary temperature control
completely to the left
3. Rotary control for air distribution in
position
4. Select incoming air
5. Open the air outlets for the upper
body area.520de161
Cooling1. Set the rotary control for the air
supply to position 2
2. Use the rotary temperature control to
select an interior temperature
comfortable for you
3. Rotary control for air distribution in
position
4. Select the "air conditioner/incoming
air" mode
5. Open the air outlets for the upper
body area. 520de129
Rapid cooling1. Set the rotary control for the air
supply to position 4
2. Turn the rotary temperature control
completely to the left
3. Rotary control for air distribution in
position
4. Select the "air conditioner/recircu-
lated air" mode
5 Open the air outlets for the upper
body area.520de097
Page 77 of 174
77n
IndexDataTechnologyRepairsCar careControlsOverview
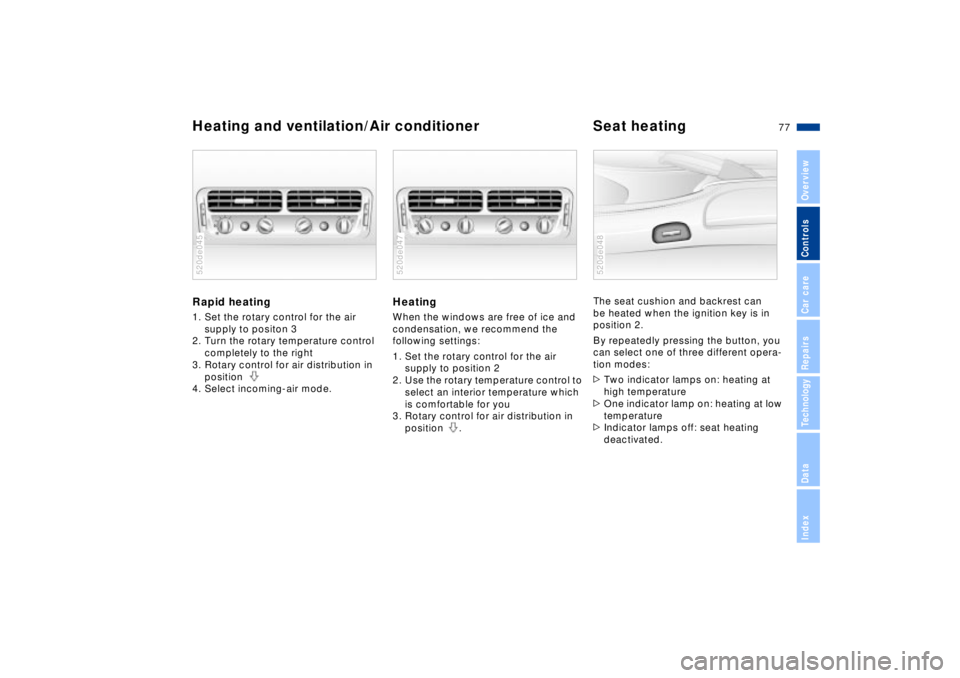
Heating and ventilation/Air conditioner Seat heatingRapid heating 1. Set the rotary control for the air
supply to positon 3
2. Turn the rotary temperature control
completely to the right
3. Rotary control for air distribution in
position
4. Select incoming-air mode.520de045
HeatingWhen the windows are free of ice and
condensation, we recommend the
following settings:
1. Set the rotary control for the air
supply to position 2
2. Use the rotary temperature control to
select an interior temperature which
is comfortable for you
3. Rotary control for air distribution in
position .520de047
The seat cushion and backrest can
be heated when the ignition key is in
position 2.
By repeatedly pressing the button, you
can select one of three different opera-
tion modes:
>Two indicator lamps on: heating at
high temperature
>One indicator lamp on: heating at low
temperature
>Indicator lamps off: seat heating
deactivated.520de048
Page 78 of 174
78n
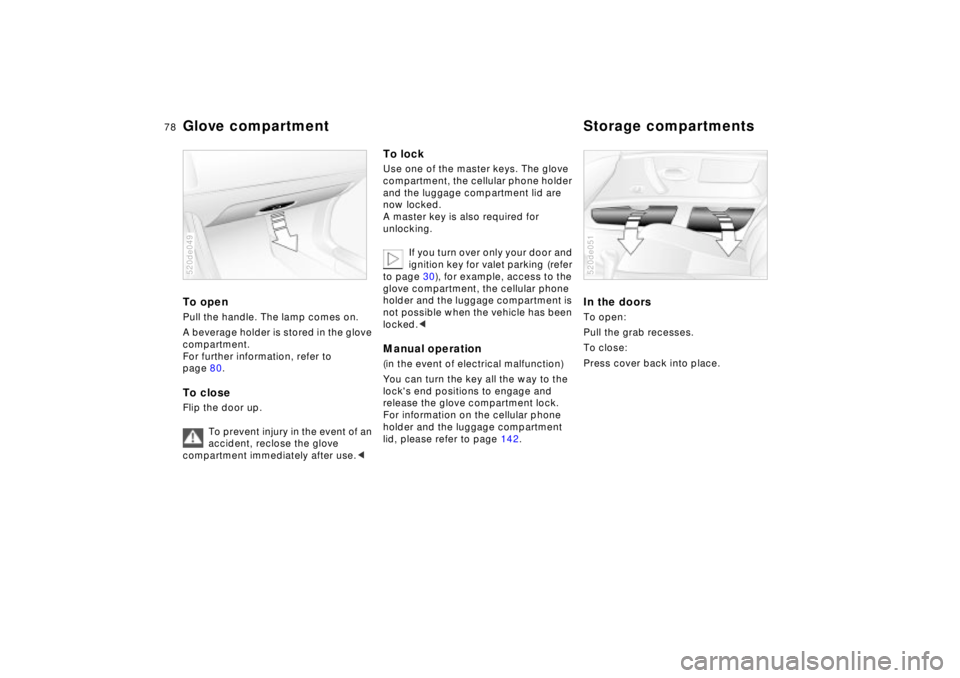
To openPull the handle. The lamp comes on.
A beverage holder is stored in the glove
compartment.
For further information, refer to
page 80.To closeFlip the door up.
To prevent injury in the event of an
accident, reclose the glove
compartment immediately after use.<520de049
To lockUse one of the master keys. The glove
compartment, the cellular phone holder
and the luggage compartment lid are
now locked.
A master key is also required for
unlocking.
If you turn over only your door and
ignition key for valet parking (refer
to page 30), for example, access to the
glove compartment, the cellular phone
holder and the luggage compartment is
not possible when the vehicle has been
locked.
lock's end positions to engage and
release the glove compartment lock.
For information on the cellular phone
holder and the luggage compartment
lid, please refer to page 142.
In the doorsTo open:
Pull the grab recesses.
To close:
Press cover back into place. 520de051
Glove compartment Storage compartments
Page 79 of 174
79n
IndexDataTechnologyRepairsCar careControlsOverview
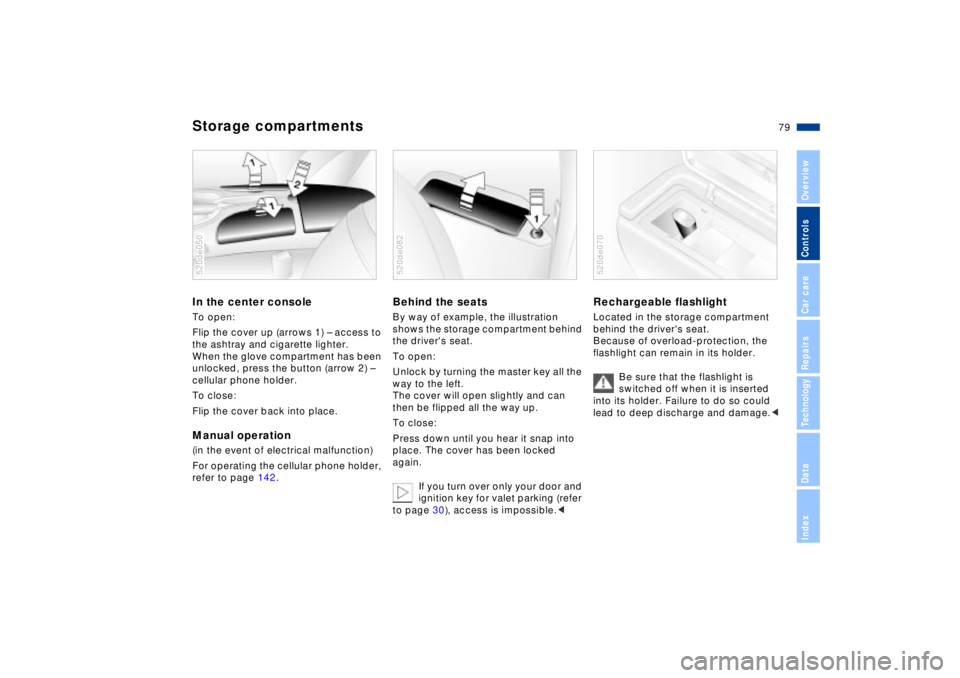
Storage compartmentsIn the center console To open:
Flip the cover up (arrows 1) Ð access to
the ashtray and cigarette lighter.
When the glove compartment has been
unlocked, press the button (arrow 2) Ð
cellular phone holder.
To close:
Flip the cover back into place. Manual operation(in the event of electrical malfunction)
For operating the cellular phone holder,
refer to page 142.520de050
Behind the seatsBy way of example, the illustration
shows the storage compartment behind
the driver's seat.
To open:
Unlock by turning the master key all the
way to the left.
The cover will open slightly and can
then be flipped all the way up.
To close:
Press down until you hear it snap into
place. The cover has been locked
again.
If you turn over only your door and
ignition key for valet parking (refer
to page 30), access is impossible.<520de082
Rechargeable flashlight
Located in the storage compartment
behind the driver's seat.
Because of overload-protection, the
flashlight can remain in its holder.
Be sure that the flashlight is
switched off when it is inserted
into its holder. Failure to do so could
lead to deep discharge and damage.<520de070
Page 80 of 174
80n
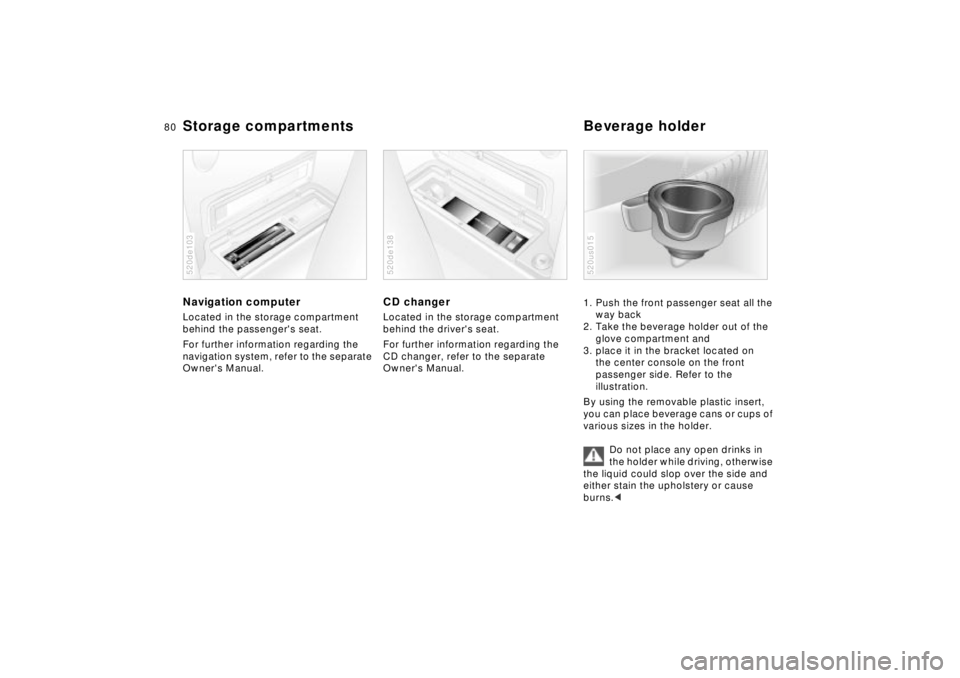
Storage compartments Beverage holderNavigation computerLocated in the storage compartment
behind the passenger's seat.
For further information regarding the
navigation system, refer to the separate
Owner's Manual. 520de103
CD changerLocated in the storage compartment
behind the driver's seat.
For further information regarding the
CD changer, refer to the separate
Owner's Manual. 520de138
1. Push the front passenger seat all the
way back
2. Take the beverage holder out of the
glove compartment and
3. place it in the bracket located on
the center console on the front
passenger side. Refer to the
illustration.
By using the removable plastic insert,
you can place beverage cans or cups of
various sizes in the holder.
Do not place any open drinks in
the holder while driving, otherwise
the liquid could slop over the side and
either stain the upholstery or cause
burns.< 520us015