BMW Z8 CONVERTIBLE 2002 Repair Manual
Manufacturer: BMW, Model Year: 2002, Model line: Z8 CONVERTIBLE, Model: BMW Z8 CONVERTIBLE 2002Pages: 174, PDF Size: 2.37 MB
Page 61 of 174
61n
IndexDataTechnologyRepairsCar careControlsOverview
Cruise controlYou can store and automatically main-
tain any desired vehicle speed above
approx. 20 mph (30 km/h).
Refrain from using the cruise
control on twisting roads, when
high traffic density prevents driving at a
constant speed, and when driving on
slippery (snow, rain, ice) or loose
(gravel, sand) road surfaces.<520de061
Store and maintain
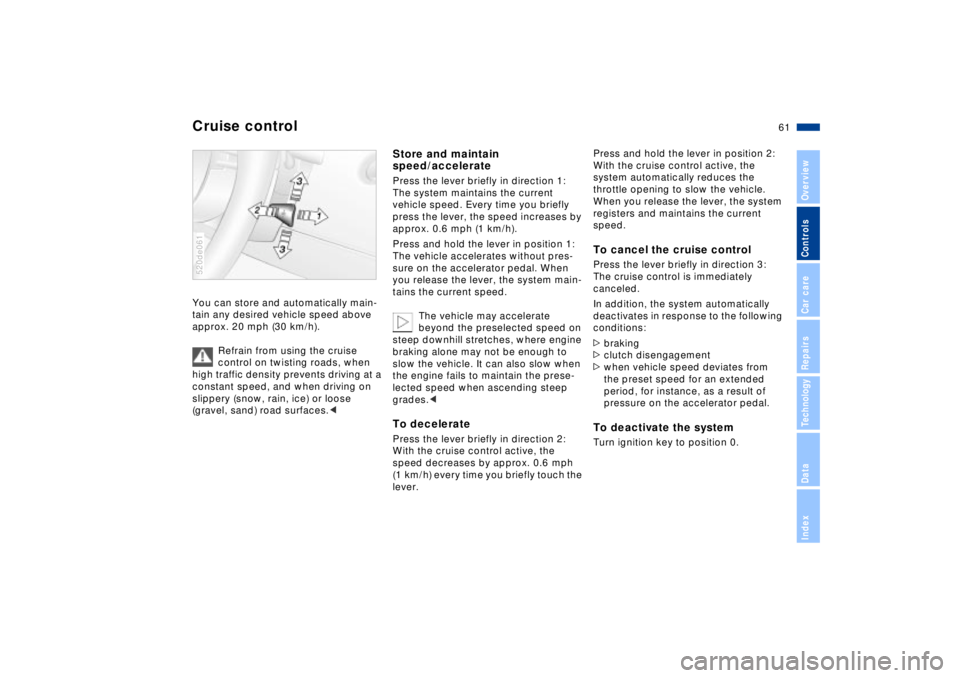
speed/acceleratePress the lever briefly in direction 1:
The system maintains the current
vehicle speed. Every time you briefly
press the lever, the speed increases by
approx. 0.6 mph (1 km/h).
Press and hold the lever in position 1:
The vehicle accelerates without pres-
sure on the accelerator pedal. When
you release the lever, the system main-
tains the current speed.
The vehicle may accelerate
beyond the preselected speed on
steep downhill stretches, where engine
braking alone may not be enough to
slow the vehicle. It can also slow when
the engine fails to maintain the prese-
lected speed when ascending steep
grades.< To decelerate Press the lever briefly in direction 2:
With the cruise control active, the
speed decreases by approx. 0.6 mph
(1 km/h) every time you briefly touch the
lever.
Press and hold the lever in position 2:
With the cruise control active, the
system automatically reduces the
throttle opening to slow the vehicle.
When you release the lever, the system
registers and maintains the current
speed. To cancel the cruise controlPress the lever briefly in direction 3:
The cruise control is immediately
canceled.
In addition, the system automatically
deactivates in response to the following
conditions:
>braking
>clutch disengagement
>when vehicle speed deviates from
the preset speed for an extended
period, for instance, as a result of
pressure on the accelerator pedal. To deactivate the system Turn ignition key to position 0.
Page 62 of 174
62n
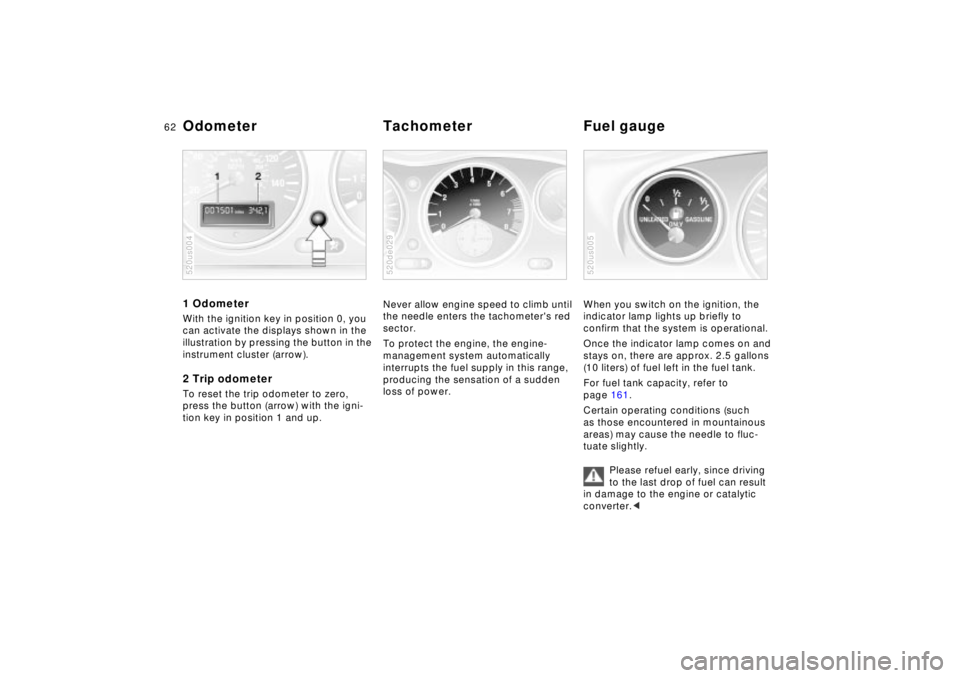
1 Odometer With the ignition key in position 0, you
can activate the displays shown in the
illustration by pressing the button in the
instrument cluster (arrow).2 Trip odometerTo reset the trip odometer to zero,
press the button (arrow) with the igni-
tion key in position 1 and up.520us004
Never allow engine speed to climb until
the needle enters the tachometer's red
sector.
To protect the engine, the engine-
management system automatically
interrupts the fuel supply in this range,
producing the sensation of a sudden
loss of power.520de029
When you switch on the ignition, the
indicator lamp lights up briefly to
confirm that the system is operational.
Once the indicator lamp comes on and
stays on, there are approx. 2.5 gallons
(10 liters) of fuel left in the fuel tank.
For fuel tank capacity, refer to
page 161.
Certain operating conditions (such
as those encountered in mountainous
areas) may cause the needle to fluc-
tuate slightly.
Please refuel early, since driving
to the last drop of fuel can result
in damage to the engine or catalytic
converter.<520us005
Odometer Tachometer Fuel gauge
Page 63 of 174
63n
IndexDataTechnologyRepairsCar careControlsOverview
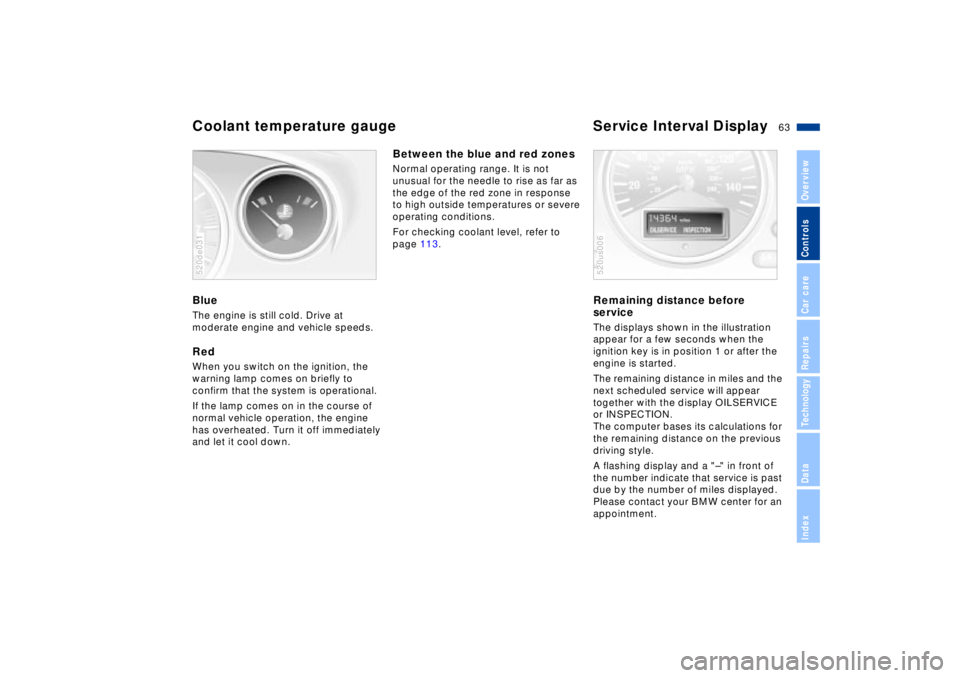
Coolant temperature gauge Service Interval Display BlueThe engine is still cold. Drive at
moderate engine and vehicle speeds.RedWhen you switch on the ignition, the
warning lamp comes on briefly to
confirm that the system is operational.
If the lamp comes on in the course of
normal vehicle operation, the engine
has overheated. Turn it off immediately
and let it cool down.520de031
Between the blue and red zonesNormal operating range. It is not
unusual for the needle to rise as far as
the edge of the red zone in response
to high outside temperatures or severe
operating conditions.
For checking coolant level, refer to
page 113.
Remaining distance before
serviceThe displays shown in the illustration
appear for a few seconds when the
ignition key is in position 1 or after the
engine is started.
The remaining distance in miles and the
next scheduled service will appear
together with the display OILSERVICE
or INSPECTION.
The computer bases its calculations for
the remaining distance on the previous
driving style.
A flashing display and a "Ð" in front of
the number indicate that service is past
due by the number of miles displayed.
Please contact your BMW center for an
appointment.520us006
Page 64 of 174
64n
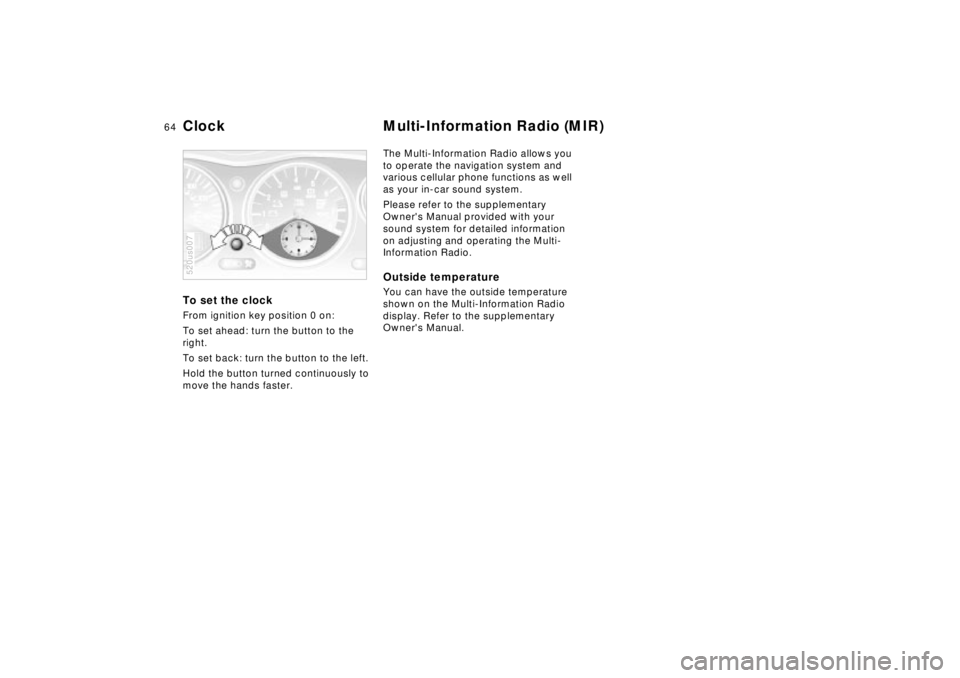
To set the clock From ignition key position 0 on:
To set ahead: turn the button to the
right.
To set back: turn the button to the left.
Hold the button turned continuously to
move the hands faster.520us007
The Multi-Information Radio allows you
to operate the navigation system and
various cellular phone functions as well
as your in-car sound system.
Please refer to the supplementary
Owner's Manual provided with your
sound system for detailed information
on adjusting and operating the Multi-
Information Radio.Outside temperature You can have the outside temperature
shown on the Multi-Information Radio
display. Refer to the supplementary
Owner's Manual.
Clock Multi-Information Radio (MIR)
Page 65 of 174
65n
IndexDataTechnologyRepairsCar careControlsOverview
The conceptDSC maintains vehicle stability even in
critical driving situations.
DSC maintains optimal, predictable
response while maximizing traction
when you accelerate from a standing
start or speed up while already
underway. The system recognizes any
tendency for the vehicle to assume an
instable attitude such as oversteer and
understeer, and counteracts this
tendency with a combination of gradu-
ated reductions in engine torque and
braking intervention at individually
selected wheels. DSC provides optimal
stability Ð within the limits defined by
the laws of physics.
The system automatically assumes
operational status each time the engine
is started.
Indicator lamp
The indicator lamp in the instru-
ment cluster goes out shortly
after you switch on the ignition.
Refer to page 22.
The indicator lamp flashes:
The system is actively regulating drive
torque and braking force.
The indicator lamp does not go out
after the engine is started, or it comes
on during normal driving and stays on:
There is a system malfunction or the
system was deactivated with the
button. You can continue to drive the
vehicle normally, but without DSC.
Please respond to any suspected
defects by referring the problem to your
BMW center.
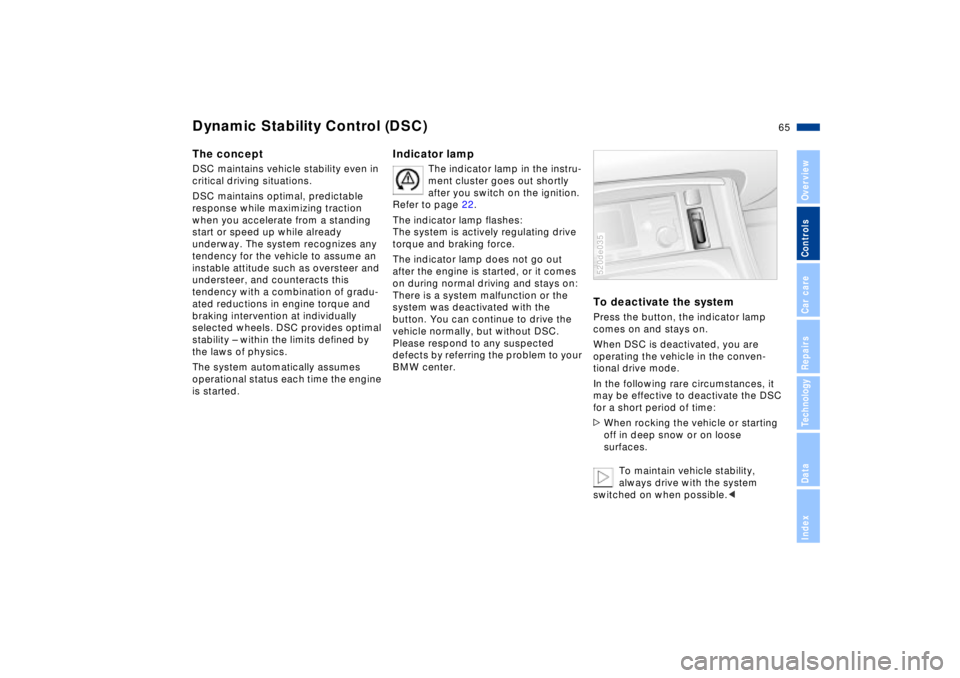
To deactivate the systemPress the button, the indicator lamp
comes on and stays on.
When DSC is deactivated, you are
operating the vehicle in the conven-
tional drive mode.
In the following rare circumstances, it
may be effective to deactivate the DSC
for a short period of time:
>When rocking the vehicle or starting
off in deep snow or on loose
surfaces.
To maintain vehicle stability,
always drive with the system
switched on when possible.<520de035
Dynamic Stability Control (DSC)
Page 66 of 174
66n
Dynamic Stability Control (DSC) Dynamic Performance To reactivate the systemPress the button again; the indicator
lamp goes out.
Not even DSC can suspend the
laws of physics. Responsibility for
careless driving remains in the hands
(and feet) of the driver. Never use the
added safety provided by DSC as an
excuse for taking unnecessary risks.
Do not make any modifications to the
DSC system. Service procedures on
the system are to be performed by
authorized technicians only.<
For additional information concerning
DSC, please refer to the chapter
"Advanced technology" on page 151.
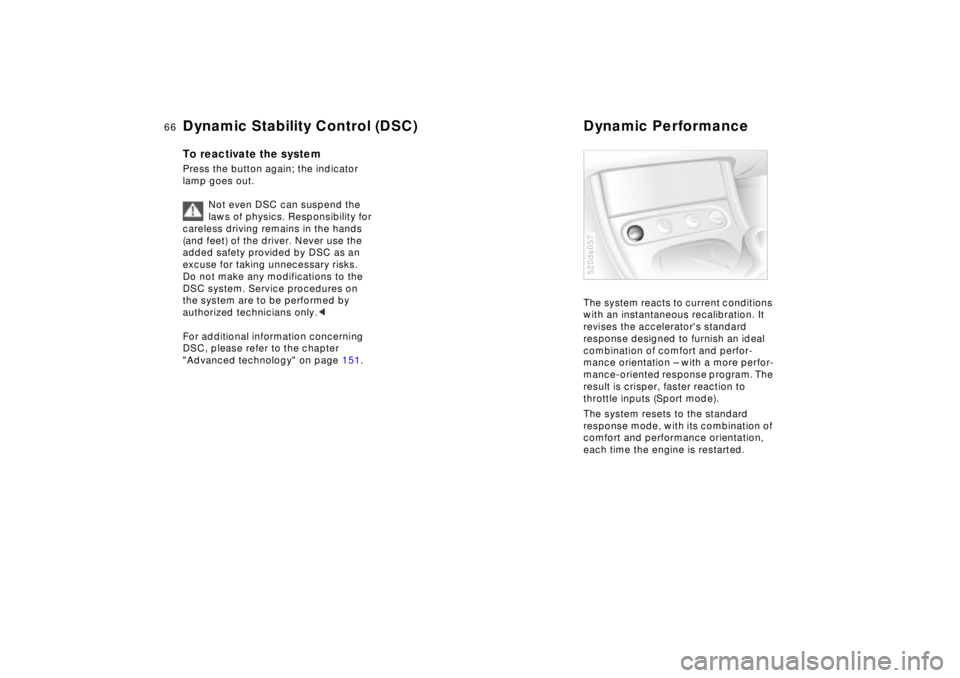
The system reacts to current conditions
with an instantaneous recalibration. It
revises the accelerator's standard
response designed to furnish an ideal
combination of comfort and perfor-
mance orientation Ð with a more perfor-
mance-oriented response program. The
result is crisper, faster reaction to
throttle inputs (Sport mode).
The system resets to the standard
response mode, with its combination of
comfort and performance orientation,
each time the engine is restarted. 520de057
Page 67 of 174
67n
IndexDataTechnologyRepairsCar careControlsOverview
Dynamic Performance Flat Tire MonitorSport mode recognitionActivating:
In ignition position 2, press the button.
The indicator lamp will come on.
Deactivating:
Whenever the indicator lamp is on, it
will go out if you press the button again.
The conceptThe Flat Tire Monitor keeps track of the
inflation pressures in all four wheels as
you drive. The system provides an alert
whenever the inflation pressure has
dropped significantly in one of the tires.
To initialize the Flat Tire Monitor with
the correct inflation pressures, start by
ensuring that all of the vehicle's tires
are inflated to the pressures specified
in the inflation pressure table on
page 27. Now you can activate the
system.
The indicator lamp within the
instrument cluster flashes to
alert you to substantial pres-
sure loss in any of the tires.
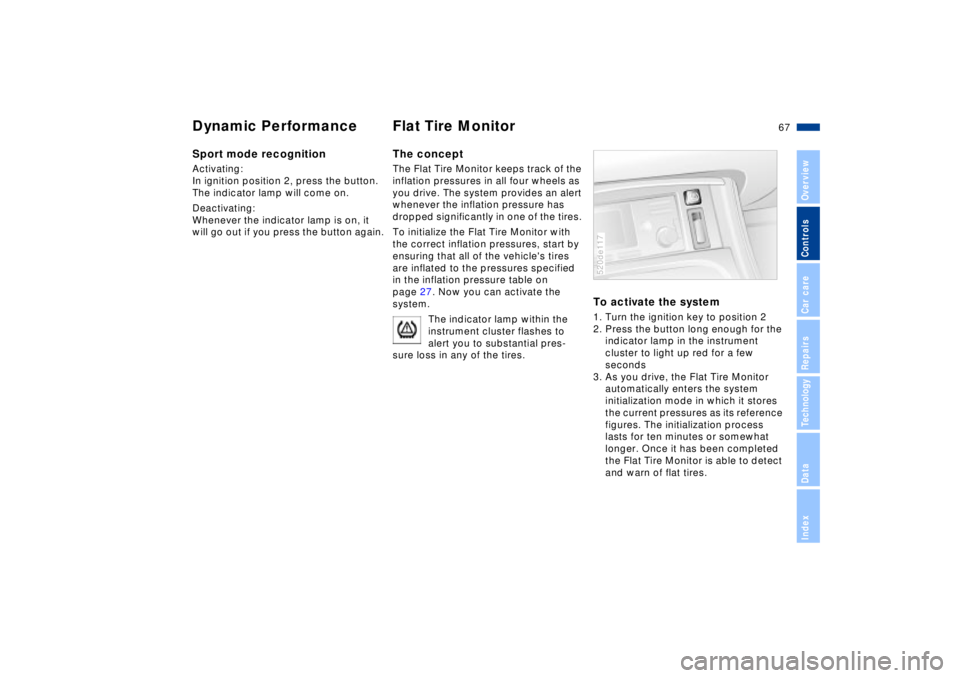
To activate the system1. Turn the ignition key to position 2
2. Press the button long enough for the
indicator lamp in the instrument
cluster to light up red for a few
seconds
3. As you drive, the Flat Tire Monitor
automatically enters the system
initialization mode in which it stores
the current pressures as its reference
figures. The initialization process
lasts for ten minutes or somewhat
longer. Once it has been completed
the Flat Tire Monitor is able to detect
and warn of flat tires.520de117
Page 68 of 174

68n
Flat Tire MonitorRepeat this process after any changes
in tire inflation pressure, tire rotation or
replacement.
Do not reactivate the system after peri-
odic corrections of inflation pressures
to maintain them at the levels stored
during an earlier initialization process. In the event of a flat tireThe red indicator lamp will flash in the
event of a flat tire.
A supplementary gong is also heard.
Carefully reduce speed to less than
50 mph (80 km/h), avoiding any hard
braking or steering maneuvers while
doing so.
For additional details, refer to
page 137.
The Flat Tire Monitor cannot alert
you to severe and sudden tire
damage caused by external factors.
Another factor which the Flat Tire
Monitor does not recognize is the
balanced and very gradual pressure
loss that takes place in all tires over an
extended period of time.<
Check tire pressure on a regular
basis and correct it as required.
Refer to page 26.
Do not activate the system when driving
on snow chains or when operating the
vehicle on a closed racing circuit. False
alarms and undetected pressure loss
are both possible under these condi-
tions.
In certain circumstances, there could
be a delayed detection of any loss in
inflation pressure while driving on
snow-covered or slippery road
surfaces.
Performance-oriented driving (slip at
the drive wheels, high levels of lateral
acceleration) can also delay the
appearance of status reports in the Flat
Tire Monitor's display panel.<
System interferenceThe red indicator lamp in the instrument
cluster will stay on for as long as there
is a malfunction.
The indicator lamp will come on if the
system malfunctions.
Please contact your BMW center for
additional information.
Page 69 of 174
69n
IndexDataTechnologyRepairsCar careControlsOverview
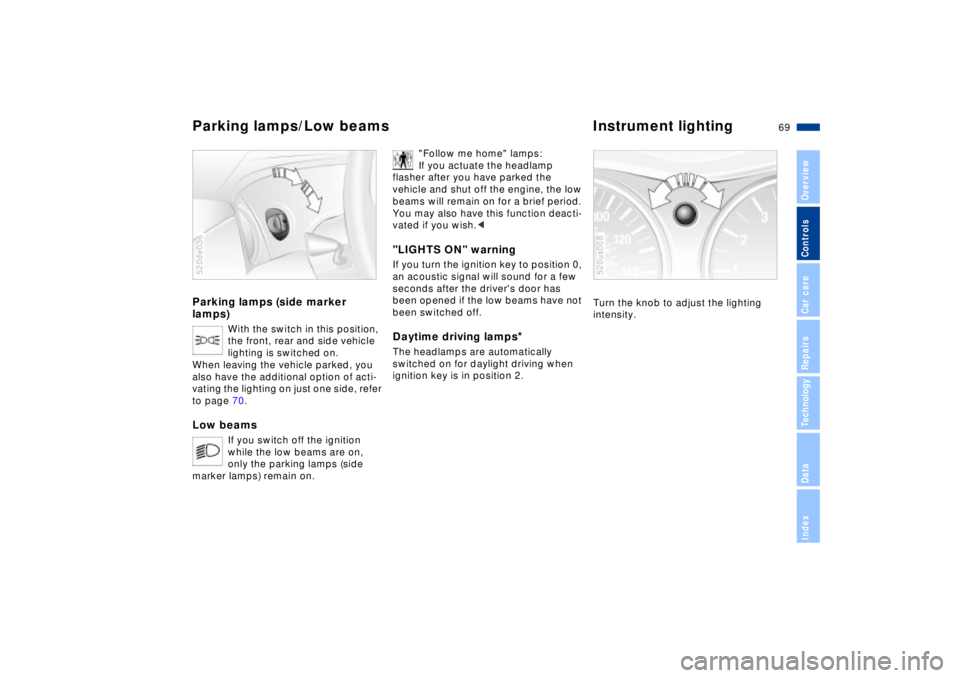
Parking lamps (side marker
lamps)
With the switch in this position,
the front, rear and side vehicle
lighting is switched on.
When leaving the vehicle parked, you
also have the additional option of acti-
vating the lighting on just one side, refer
to page 70.
Low beams
If you switch off the ignition
while the low beams are on,
only the parking lamps (side
marker lamps) remain on.
520de036
"Follow me home" lamps:
If you actuate the headlamp
flasher after you have parked the
vehicle and shut off the engine, the low
beams will remain on for a brief period.
You may also have this function deacti-
vated if you wish.<
"LIGHTS ON" warningIf you turn the ignition key to position 0,
an acoustic signal will sound for a few
seconds after the driver's door has
been opened if the low beams have not
been switched off.Daytime driving lamps
*
The headlamps are automatically
switched on for daylight driving when
ignition key is in position 2.
Turn the knob to adjust the lighting
intensity.520us008
Parking lamps/Low beams Instrument lighting
Page 70 of 174
70n
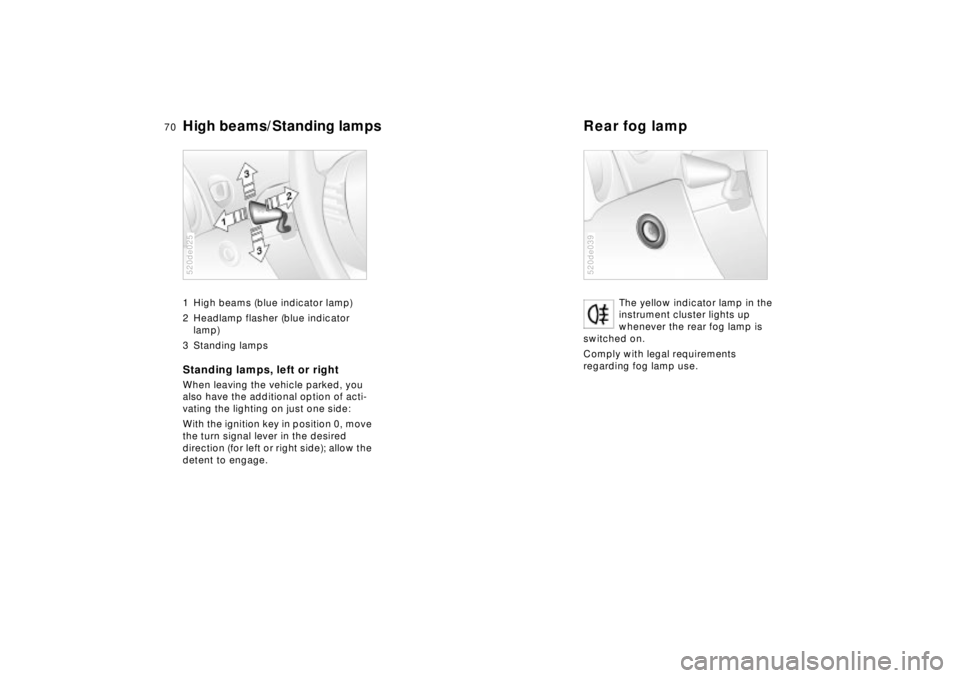
High beams/Standing lamps Rear fog lamp 1 High beams (blue indicator lamp)
2 Headlamp flasher (blue indicator
lamp)
3 Standing lampsStanding lamps, left or rightWhen leaving the vehicle parked, you
also have the additional option of acti-
vating the lighting on just one side:
With the ignition key in position 0, move
the turn signal lever in the desired
direction (for left or right side); allow the
detent to engage.520de025
The yellow indicator lamp in the
instrument cluster lights up
whenever the rear fog lamp is
switched on.
Comply with legal requirements
regarding fog lamp use.
520de039