engine BUICK CENTURY 2003 User Guide
[x] Cancel search | Manufacturer: BUICK, Model Year: 2003, Model line: CENTURY, Model: BUICK CENTURY 2003Pages: 344, PDF Size: 2.57 MB
Page 93 of 344
Automatic Transaxle Operation
The shift lever for the automatic transmission is on the
steering column.
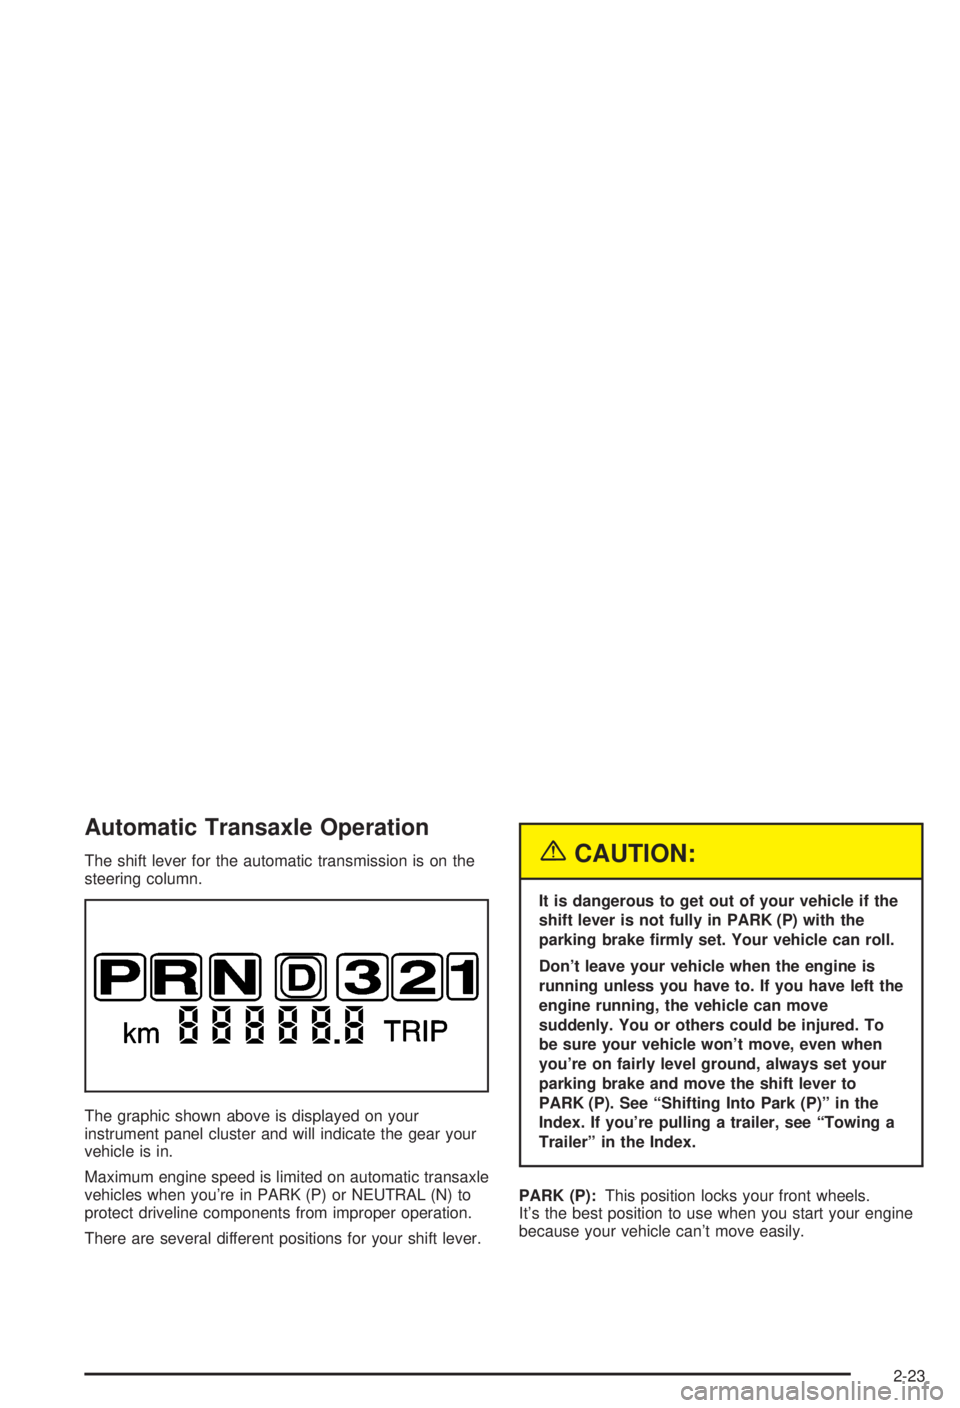
The graphic shown above is displayed on your
instrument panel cluster and will indicate the gear your
vehicle is in.
Maximum engine speed is limited on automatic transaxle
vehicles when you're in PARK (P) or NEUTRAL (N) to
protect driveline components from improper operation.
There are several different positions for your shift lever.{CAUTION:
It is dangerous to get out of your vehicle if the
shift lever is not fully in PARK (P) with the
parking brake ®rmly set. Your vehicle can roll.
Don't leave your vehicle when the engine is
running unless you have to. If you have left the
engine running, the vehicle can move
suddenly. You or others could be injured. To
be sure your vehicle won't move, even when
you're on fairly level ground, always set your
parking brake and move the shift lever to
PARK (P). See ªShifting Into Park (P)º in the
Index. If you're pulling a trailer, see ªTowing a
Trailerº in the Index.
PARK (P):This position locks your front wheels.
It's the best position to use when you start your engine
because your vehicle can't move easily.
2-23
Page 94 of 344
Make sure the shift lever is fully in PARK (P) before
starting the engine. Your vehicle has an automatic
transaxle shift lock control system. You must fully apply
your regular brakes before you can shift from PARK (P)
when the ignition is in RUN. If you cannot shift out
of PARK (P), increase pressure on the shift lever by
pushing is all the way in to PARK (P) while keeping the
brake pedal pushed down. Then move the shift lever
out of PARK (P). See
Shifting Out of Park (P) on
page 2-29
Notice:
Shifting to REVERSE (R) while your vehicle
is moving forward could damage your transaxle.
Shift to REVERSE (R) only after your vehicle is
stopped.
REVERSE (R):Use this gear to back up.
To rock your vehicle back and forth to get out of snow,
ice or sand without damaging your transaxle, see If
You Are Stuck: In Sand, Mud, Ice or Snow on
page 4-31.
NEUTRAL (N):In this position, your engine doesn't
connect with the wheels. To restart when you're already
moving, use NEUTRAL (N) only. Also, use
NEUTRAL (N) when your vehicle is being towed.
{CAUTION:
Shifting into a drive gear while your engine is
ªracingº (running at high speed) is dangerous.
Unless your foot is ®rmly on the brake pedal,
your vehicle could move very rapidly. You
could lose control and hit people or objects.
Don't shift into a drive gear while your engine
is racing.
Notice:Damage to your transaxle caused by
shifting into a drive gear with the engine racing isn't
covered by your warranty.
Notice:If your vehicle seems to start up rather
slowly, or if it seems not to shift gears as you go
faster, something may be wrong with a transaxle
system sensor. If you drive very far that way, your
vehicle can be damaged. So, if this happens,
have your vehicle serviced right away. Until then,
you can use SECOND (2) when you are driving less
than 35 mph (55 km/h) and AUTOMATIC OVERDRIVE
(
X)for higher speeds.
2-24
Page 95 of 344
AUTOMATIC OVERDRIVE (X): This position is for
normal driving. If you need more power for passing,
and you're:
·Going less than 35 mph (55 km/h), push your
accelerator pedal about halfway down.
·Going about 35 mph (55 km/h) or more, push the
accelerator pedal all the way down.
You'll shift down to the next gear and have more power.
THIRD (3):: This position is also used for normal
driving, but it offers more power and lower fuel economy
than AUTOMATIC OVERDRIVE (
X).
Here are some times you might choose THIRD (3)
instead of AUTOMATIC OVERDRIVE (
X):
·When driving on hilly, winding roads.
·When towing a trailer, so there is less shifting
between gears.
·When going down a steep hill.
·When driving in no-highway scenarios
(i.e. city streets, etc.)
Notice:Don't drive in SECOND (2) for more than
25 miles (40 km), or at speeds over 55 mph
(90 km/h), or you can damage your transaxle. Use
THIRD (3) or AUTOMATIC OVERDRIVE (
X)as much
as possible. Don't shift into SECOND (2) unless
you are going slower than 65 mph (105 km/h) or you
can damage your engine.
SECOND (2): This position gives you more power than
THIRD (3) but lower fuel economy than THIRD (3). You
can use SECOND (2) on hills. It can help control your
speed as you go down steep mountain roads, but then
you would also want to use your brakes off and on.
FIRST (1):This position gives you even more power (but
lower fuel economy) than SECOND (2). You can use it on
very steep hills, or in deep snow or mud. If the shift lever
is put in FIRST (1), the transaxle won't shift into ®rst gear
until the vehicle is going slowly enough.
Notice:If your front wheels won't turn, don't try to
drive. This might happen if you were stuck in
very deep sand or mud or were up against a solid
object. You could damage your transaxle. Also,
if you stop when going uphill, don't hold your
vehicle there with only the accelerator pedal. This
could overheat and damage the transaxle. Use your
brakes to hold your vehicle in position on a hill.
2-25
Page 96 of 344
Parking Brake
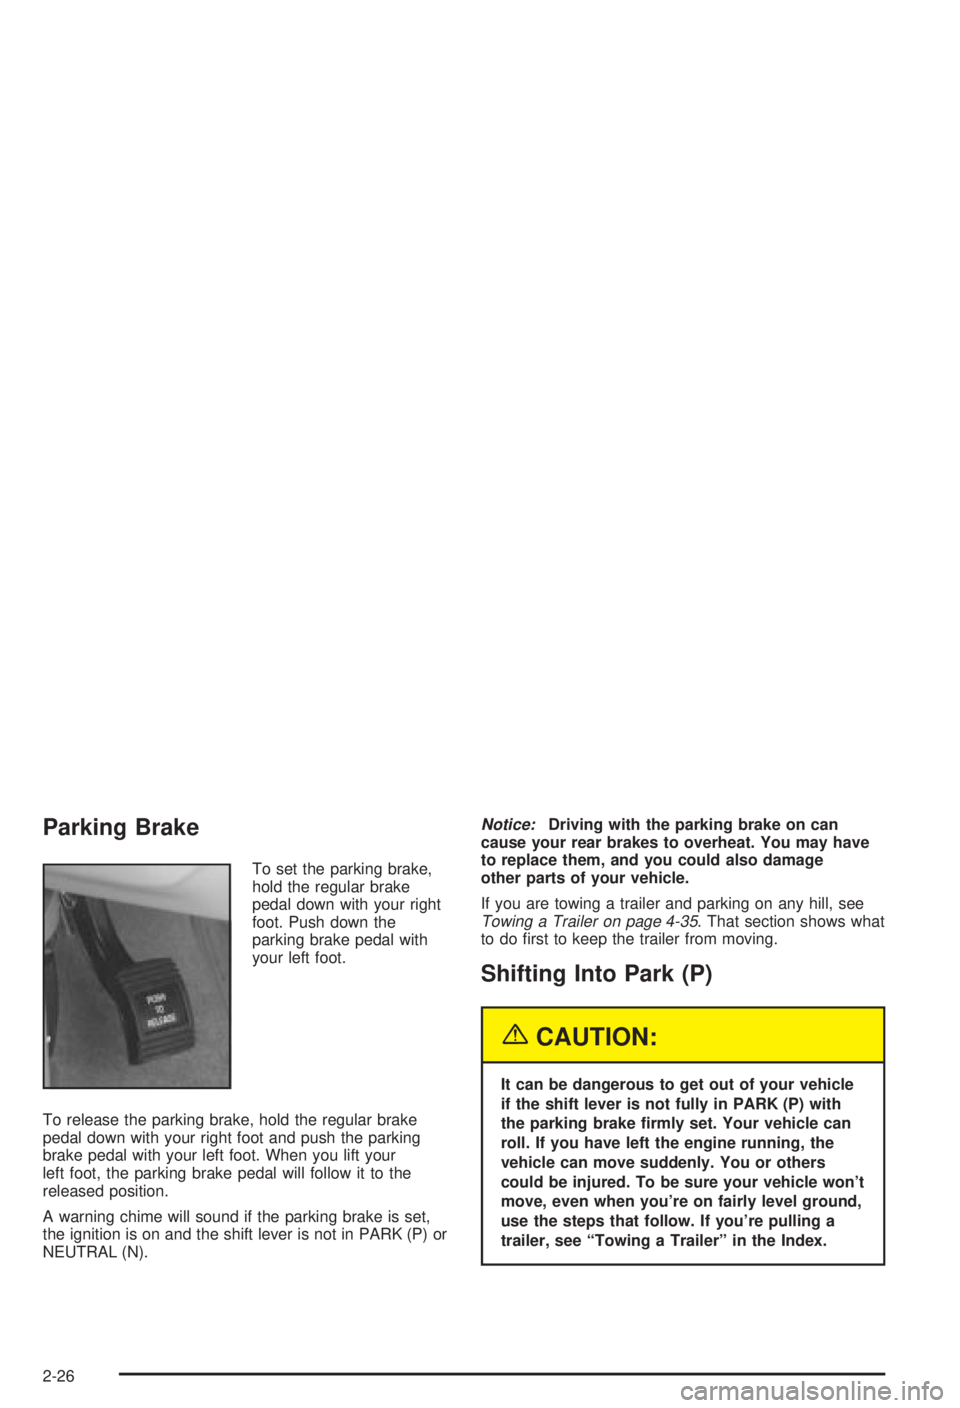
To set the parking brake,
hold the regular brake
pedal down with your right
foot. Push down the
parking brake pedal with
your left foot.
To release the parking brake, hold the regular brake
pedal down with your right foot and push the parking
brake pedal with your left foot. When you lift your
left foot, the parking brake pedal will follow it to the
released position.
A warning chime will sound if the parking brake is set,
the ignition is on and the shift lever is not in PARK (P) or
NEUTRAL (N).
Notice:Driving with the parking brake on can
cause your rear brakes to overheat. You may have
to replace them, and you could also damage
other parts of your vehicle.
If you are towing a trailer and parking on any hill, see
Towing a Trailer on page 4-35. That section shows what
to do ®rst to keep the trailer from moving.
Shifting Into Park (P)
{CAUTION:
It can be dangerous to get out of your vehicle
if the shift lever is not fully in PARK (P) with
the parking brake ®rmly set. Your vehicle can
roll. If you have left the engine running, the
vehicle can move suddenly. You or others
could be injured. To be sure your vehicle won't
move, even when you're on fairly level ground,
use the steps that follow. If you're pulling a
trailer, see ªTowing a Trailerº in the Index.
2-26
Page 98 of 344
Leaving Your Vehicle With the Engine
Running
{CAUTION:
It can be dangerous to leave your vehicle with
the engine running. Your vehicle could move
suddenly if the shift lever is not fully in
PARK (P) with the parking brake ®rmly set.
And, if you leave the vehicle with the engine
running, it could overheat and even catch ®re.
You or others could be injured. Don't leave
your vehicle with the engine running.
If you have to leave your vehicle with the engine running,
be sure your vehicle is in PARK (P) and your parking
brake is ®rmly set before you leave it. After you've moved
the shift lever into PARK (P), hold the regular brake pedal
down. Then, see if you can move the shift lever out of
PARK (P). If you can, it means that the shift lever wasn't
fully locked into PARK (P).
Torque Lock
If you are parking on a hill and you don't shift your
transaxle into PARK (P) properly, the weight of
the vehicle may put too much force on the parking pawl
in the transaxle. You may ®nd it difficult to pull the
shift lever out of PARK (P). This is called ªtorque lock.º
To prevent torque lock, set the parking brake and
then shift into PARK (P) properly before you leave the
driver's seat. To ®nd out how, see
Shifting Into Park (P)
on page 2-26.
When you are ready to drive, move the shift lever out of
PARK (P)
beforeyou release the parking brake.
If torque lock does occur, you may need to have another
vehicle push yours a little uphill to take some of the
pressure from the parking pawl in the transaxle, so you
can pull the shift lever out of PARK (P).
2-28
Page 100 of 344
Engine Exhaust
{CAUTION:
Engine exhaust can kill. It contains the gas
carbon monoxide (CO), which you can't see or
smell. It can cause unconsciousness and
death.
You might have exhaust coming in if:
·Your exhaust system sounds strange or
different.
·Your vehicle gets rusty underneath.
·Your vehicle was damaged in a collision.
·Your vehicle was damaged when driving
over high points on the road or over road
debris.
CAUTION: (Continued)
CAUTION: (Continued)
·
Repairs weren't done correctly.
·Your vehicle or exhaust system had been
modi®ed improperly.
If you ever suspect exhaust is coming into
your vehicle:
·Drive it only with all the windows down to
blow out any CO; and
·Have your vehicle ®xed immediately.
2-30
Page 101 of 344
Running Your Engine While You
Are Parked
It's better not to park with the engine running. But if you
ever have to, here are some things to know.
{CAUTION:
Idling the engine with the climate control
system off could allow dangerous exhaust into
your vehicle. See the earlier Caution under
ªEngine Exhaust.º
Also, idling in a closed-in place can let deadly
carbon monoxide (CO) into your vehicle even if
the climate control fan is at the highest setting.
One place this can happen is a garage.
Exhaust Ð with CO Ð can come in easily.
NEVER park in a garage with the engine
running.
Another closed-in place can be a blizzard. See
ªWinter Drivingº in the Index.
{CAUTION:
It can be dangerous to get out of your vehicle
if the shift lever is not fully in PARK (P) with
the parking brake ®rmly set. Your vehicle can
roll. Don't leave your vehicle when the engine
is running unless you have to. If you've left the
engine running, the vehicle can move
suddenly. You or others could be injured. To
be sure your vehicle won't move, even when
you're on fairly level ground, always set your
parking brake and move the shift lever to
PARK (P).
Follow the proper steps to be sure your vehicle won't
move. See
Shifting Into Park (P) on page 2-26.
If you are parking on a hill and if you're pulling a trailer,
also see
Towing a Trailer on page 4-35.
2-31
Page 107 of 344
Instrument Panel Overview...............................3-2
Hazard Warning Flashers................................3-3
Other Warning Devices...................................3-4
Horn.............................................................3-4
Tilt Wheel.....................................................3-4
Turn Signal/Multifunction Lever.........................3-5
Exterior Lamps.............................................3-11
Interior Lamps..............................................3-14
Auxiliary Power Connection
(Power Drop)............................................3-16
Ashtrays and Cigarette Lighter........................3-16
Climate Controls............................................3-17
Dual Climate Control System..........................3-17
Outlet Adjustment.........................................3-20
Passenger Compartment Air Filter...................3-20
Warning Lights, Gages and Indicators.............3-22
Instrument Panel Cluster................................3-23
Speedometer and Odometer...........................3-24
Safety Belt Reminder Light.............................3-24
Air Bag Readiness Light................................3-25
Charging System Light..................................3-26
Brake System Warning Light..........................3-27
Anti-Lock Brake System Warning Light.............3-28
Enhanced Traction System Warning Light.........3-28
Low Traction Light........................................3-29Engine Coolant Temperature Warning Light......3-29
Engine Coolant Temperature Gage..................3-30
Tire Pressure Light.......................................3-30
Malfunction Indicator Lamp.............................3-31
Oil Pressure Light.........................................3-34
Low Oil Level Light.......................................3-35
Change Engine Oil Light................................3-35
Security Light...............................................3-36
Cruise Control Light......................................3-36
Low Washer Fluid Warning Light.....................3-36
Door/Trunk Ajar Warning Light........................3-36
Service Vehicle Soon Light............................3-37
Fuel Gage...................................................3-37
Low Fuel Warning Light.................................3-38
Audio System(s).............................................3-39
Setting the Time...........................................3-39
AM-FM Radio...............................................3-40
Radio with Cassette and CD..........................3-42
Theft-Deterrent Feature..................................3-48
Audio Steering Wheel Controls.......................3-50
Understanding Radio Reception......................3-50
Care of Your Cassette Tape Player.................3-51
Care of Your CDs.........................................3-52
Care of Your CD Player................................3-52
Fixed Mast Antenna......................................3-52
Section 3 Instrument Panel
3-1
Page 126 of 344
Outlet Adjustment
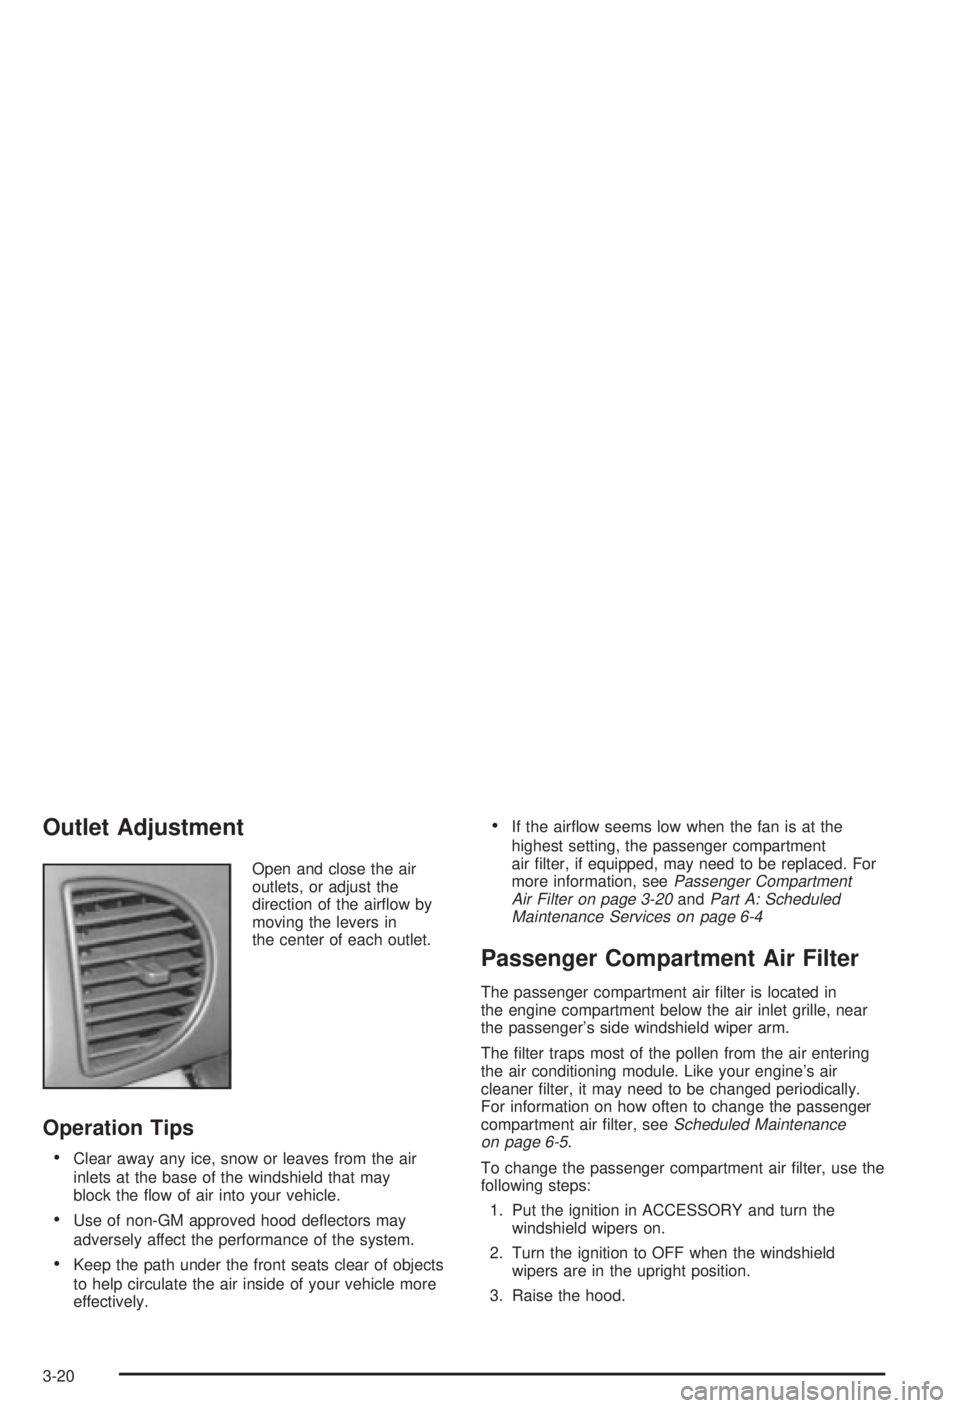
Open and close the air
outlets, or adjust the
direction of the air¯ow by
moving the levers in
the center of each outlet.
Operation Tips
·Clear away any ice, snow or leaves from the air
inlets at the base of the windshield that may
block the ¯ow of air into your vehicle.
·Use of non-GM approved hood de¯ectors may
adversely affect the performance of the system.
·Keep the path under the front seats clear of objects
to help circulate the air inside of your vehicle more
effectively.
·If the air¯ow seems low when the fan is at the
highest setting, the passenger compartment
air ®lter, if equipped, may need to be replaced. For
more information, see
Passenger Compartment
Air Filter on page 3-20andPart A: Scheduled
Maintenance Services on page 6-4
Passenger Compartment Air Filter
The passenger compartment air ®lter is located in
the engine compartment below the air inlet grille, near
the passenger's side windshield wiper arm.
The ®lter traps most of the pollen from the air entering
the air conditioning module. Like your engine's air
cleaner ®lter, it may need to be changed periodically.
For information on how often to change the passenger
compartment air ®lter, see
Scheduled Maintenance
on page 6-5.
To change the passenger compartment air ®lter, use the
following steps:
1. Put the ignition in ACCESSORY and turn the
windshield wipers on.
2. Turn the ignition to OFF when the windshield
wipers are in the upright position.
3. Raise the hood.
3-20
Page 128 of 344
Warning Lights, Gages and
Indicators
This part describes the warning lights and gages that may
be on your vehicle. The pictures will help you locate them.
Warning lights and gages can signal that something is
wrong before it becomes serious enough to cause
an expensive repair or replacement. Paying attention to
your warning lights and gages could also save you
or others from injury.
Warning lights come on when there may be or is a
problem with one of your vehicle's functions. As you will
see in the details on the next few pages, some
warning lights come on brie¯y when you start the
engine just to let you know they're working. If you are
familiar with this section, you should not be alarmed
when this happens.Gages can indicate when there may be or is a problem
with one of your vehicle's functions. Often gages
and warning lights work together to let you know when
there's a problem with your vehicle.
When one of the warning lights comes on and stays on
when you are driving, or when one of the gages shows
there may be a problem, check the section that tells you
what to do about it. Please follow this manual's advice.
Waiting to do repairs can be costly ± and even
dangerous. So please get to know your warning lights
and gages. They're a big help.
3-22