brakes BUICK CENTURY 2004 Owner's Manual
[x] Cancel search | Manufacturer: BUICK, Model Year: 2004, Model line: CENTURY, Model: BUICK CENTURY 2004Pages: 358, PDF Size: 4.01 MB
Page 74 of 358
Programming Delayed Locking
Delayed locking has two modes.
Mode One (One Chime):Delayed locking is turned off.
Mode Two (Two Chimes):Delayed locking is
turned on.
1. Close the doors.
2. Move the ignition key to the RUN position.
3. Apply the egular brakes.
4. Press and hold the power door unlock switch. While
holding the power door unlock switch, move the
shift lever out of and back into PARK (P).
One or two chimes will sound indicating what mode
the delayed locking is in.
5. Release the power door unlock switch,
after one of the chime mode sequences,
to set the desired mode
Disconnecting the vehicle’s battery for up to one year
will not affect the programmed mode.
Illumination on Remote Activation
This feature provides interior lighting when a remote
keyless entry door unlock command is received by the
vehicle. The ignition must be off for this feature to
work. The interior lamps will stay on until either the
ignition is turned to RUN or until 40 seconds has
elapsed. If a door is opened during this time, the timed
lighting will be canceled, and the interior lamps will
remain on. Also see “Entry Lighting” underInterior
Lamps on page 3-15for more information.
Matching Transmitter(s) to Your
Vehicle
Each remote keyless entry transmitter is uniquely coded
to prevent another transmitter from unlocking your
vehicle. If a transmitter is lost or stolen, a replacement
can be purchased through your dealer. Remember
to bring any additional transmitters with you so they also
can be re-coded to match the new transmitter. Once
your dealer has coded the new transmitter, the lost
transmitter cannot unlock the vehicle. The vehicle can
have a maximum of four transmitters coded to it.
2-8
Page 78 of 358
The vehicle was originally programmed to Mode 3.
The mode may have been changed since then.
To determine the current mode, or to change the mode,
do the following:
1. Turn the ignition key to RUN.
2. Close all of the doors.
3. Apply the brakes.
4. Press and hold the power door lock switch in the
lock position.
5. Move the shift lever out of and back into PARK (P)
while holding the door lock switch in the LOCK
position.
6. Release the door lock switch to set the
desired mode.
After initially moving the shift lever out of and back into
PARK (P), each additional shift cycle will advance
the programming from the current mode to the next
operating mode. If cycled beyond Mode 4, the vehicle
will enter operating Mode 1.
Disconnecting the vehicle’s battery for up to a year will
not affect the programmed mode.Lockout Protection
This feature helps to prevent a driver from locking the
keys inside of the vehicle by disabling the power
door locks when the following occurs:
A door is opened.
The key is left in the ignition.
A power door lock is pressed.
The lockout protection feature can be overridden by
holding the power door lock switch in the lock position
for more than three seconds while the key is in the
ignition and any door is open.
This feature cannot guarantee that you will never be
locked out of the vehicle. If the manual door lock is used
or if the key is left in the vehicle, but not in the ignition,
you could still be locked out of the vehicle. Always
remember to take the keys with you.
Leaving Your Vehicle
Before leaving the vehicle, take the keys, open the
door, and set the locks from inside. Then get out and
close the door. See “Delayed Locking” in this section for
more information.
2-12
Page 89 of 358
PARK (P): This position locks the vehicle’s front
wheels. It is the best position to use when the engine is
started because the vehicle cannot move easily.
Make sure the shift lever is fully in PARK (P) before
starting the engine. The vehicle has an automatic
transaxle shift lock control system. The regular brakes
must be fully applied before shifting from PARK (P)
when the ignition is in RUN. If the vehicle cannot
be shifted out of PARK (P), increase pressure on the
shift lever by pushing it all the way into PARK (P) while
keeping the brake pedal pushed down. Then move
the shift lever out of PARK (P). SeeShifting Out
of Park (P) on page 2-28
Notice:Shifting to REVERSE (R) while your vehicle
is moving forward could damage the transaxle.
The repairs would not be covered by your warranty.
Shift to REVERSE (R) only after your vehicle is
stopped.
REVERSE (R): Use this gear to back up.
To rock the vehicle back and forth in order to get it out
of snow, ice, or sand without damaging the transaxle,
seeIf You Are Stuck: In Sand, Mud, Ice or Snow
on page 4-30.NEUTRAL (N): In this position, the engine does not
connect with the wheels. To restart when the vehicle is
already moving, use NEUTRAL (N) only. Also, use
NEUTRAL (N) when the vehicle is being towed.
{CAUTION:
Shifting into a drive gear while your engine is
running at high speed is dangerous. Unless
your foot is �rmly on the brake pedal, your
vehicle could move very rapidly. You could
lose control and hit people or objects. Do not
shift into a drive gear while your engine is
running at high speed.
Notice:Shifting out of PARK (P) or NEUTRAL (N)
with the engine racing may damage the transaxle.
The repairs would not be covered by your warranty.
Be sure the engine is not racing when shifting
your vehicle.
2-23
Page 90 of 358
Notice:Driving your vehicle if you notice that it
is moving slowly or not shifting gears as you
increase speed may damage the transaxle. Have
your vehicle serviced right away. You can drive in
SECOND (2) when you are driving less than 35 mph
(55 km/h) and AUTOMATIC OVERDRIVE (D) for
higher speeds until then.
AUTOMATIC OVERDRIVE (
X): This position is for
normal driving. If more power is needed for passing,
and the vehicle is:
Going less than 35 mph (55 km/h), push the
accelerator pedal about halfway down.
Going about 35 mph (55 km/h) or more, push the
accelerator pedal all the way down.
By doing this the vehicle will shift down to the next gear
and have more power.
THIRD (3): This position is also used for normal driving,
but it offers more power and lower fuel economy than
AUTOMATIC OVERDRIVE (
X).
Here are some times you might choose THIRD (3)
instead of AUTOMATIC OVERDRIVE (
X):
When driving on hilly, winding roads.
When towing a trailer, so there is less shifting
between gears.
When going down a steep hill.
When driving in no-highway scenarios such as city
streets.
Notice:Driving in SECOND (2) for more than
25 miles (40 km) or at speeds over 55 mph (90 km/h)
may damage the transaxle. Also, shifting into
SECOND (2) at speeds above 65 mph (105 km/h) can
cause damage. Drive in THIRD (3) or AUTOMATIC
OVERDRIVE (D) instead of SECOND (2).
SECOND (2): This position gives the vehicle more
power than THIRD (3) but lower fuel economy
than THIRD (3). You can use SECOND (2) on hills.
It can help control the speed going down steep mountain
roads, but then you would also want to use your
brakes off and on.
FIRST (1): This position gives the vehicle even more
power but lower fuel economy than SECOND (2). It can
be used on very steep hills, or in deep snow or mud.
If the shift lever is put in FIRST (1), the transaxle will not
shift into �rst gear until the vehicle is going slowly
enough.
Notice:Spinning the tires or holding the vehicle in
one place on a hill using only the accelerator
pedal may damage the transaxle. If you are stuck,
do not spin the tires. When stopping on a hill,
use the brakes to hold the vehicle in place.
2-24
Page 94 of 358
Torque Lock
If parking the vehicle on a hill and the transaxle is not
shifted into PARK (P) properly, the weight of the vehicle
may put too much force on the parking pawl in the
transaxle. It might be difficult to pull the shift lever out of
PARK (P). This is called torque lock. To prevent
torque lock, set the parking brake and then shift into
PARK (P) properly before leaving the driver’s seat. To
�nd out how, seeShifting Into Park (P) on page 2-26.
When you are ready to drive, move the shift lever out of
PARK (P) before releasing the parking brake.
If torque lock does occur, another vehicle might have to
push yours a little uphill. This takes some of the
pressure off the parking pawl in the transaxle, enabling
the shift lever to be moved out of PARK (P).
Shifting Out of Park (P)
The vehicle has an automatic transaxle shiftlock control
system which locks the shift lever in PARK (P) when
the ignition is in the OFF position. The regular brakes
have to be fully applied before the vehicle can be shifted
from PARK (P) when the ignition is in RUN. See
Automatic Transaxle Operation on page 2-22.
If the vehicle cannot be shifted out of PARK (P),
ease pressure on the shift lever and push the shift
lever all the way up into PARK (P) as brake application
is maintained. Then move the shift lever into the
desired gear.
If the brake pedal is held down but still cannot be
shifted out of PARK (P), try this:
1. Turn the ignition key to ACCESSORY. There is no
shift interlock in this key position.
2. Apply and hold the brake until the end of Step 4.
3. Shift the transaxle to NEUTRAL (N).
4. Start the vehicle and then shift to the desired gear.
5. Have the system �xed as soon as possible.
2-28
Page 110 of 358
Windshield Washer
J
(Windshield Washer):At the top of the
multifunction lever, there is a paddle with the word
PUSH on it. To spray washer �uid on the windshield,
push on the paddle. The wipers will run for several
sweeps and then either stop or return to the preset
speed. SeeWindshield Washer Fluid on page 5-36.
{CAUTION:
In freezing weather, do not use your washer
until the windshield is warmed. Otherwise the
washer �uid can form ice on the windshield,
blocking your vision.
The LOW WASH light on
the instrument panel
cluster will come on when
the �uid level is low.
Cruise Control
If the vehicle has cruise control, a speed of about
25 mph (40 km/h) or more can be maintained without
keeping your foot on the accelerator. This can really help
on long trips. Cruise control does not work at speeds
below about 25 mph (40 km/h).
When you apply your brakes, the cruise control
shuts off.
{CAUTION:
Cruise control can be dangerous where
you can not drive safely at a steady speed.
So, do not use your cruise control on
winding roads or in heavy traffic.
Cruise control can be dangerous on
slippery roads. On such roads, fast
changes in tire traction can cause
needless wheel spinning, and you could
lose control. Do not use cruise control on
slippery roads.
3-8
Page 135 of 358
Anti-Lock Brake System Warning
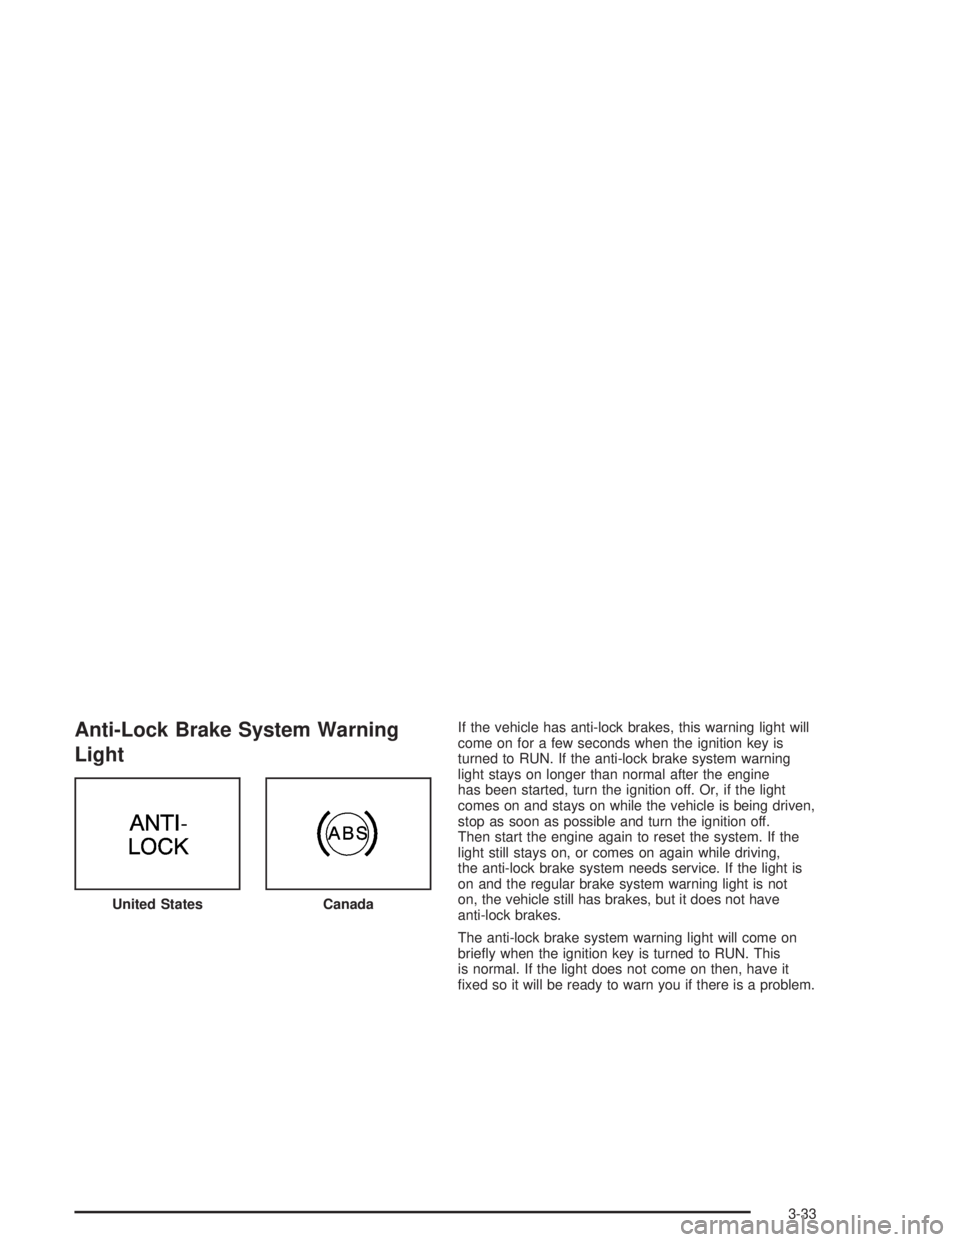
LightIf the vehicle has anti-lock brakes, this warning light will
come on for a few seconds when the ignition key is
turned to RUN. If the anti-lock brake system warning
light stays on longer than normal after the engine
has been started, turn the ignition off. Or, if the light
comes on and stays on while the vehicle is being driven,
stop as soon as possible and turn the ignition off.
Then start the engine again to reset the system. If the
light still stays on, or comes on again while driving,
the anti-lock brake system needs service. If the light is
on and the regular brake system warning light is not
on, the vehicle still has brakes, but it does not have
anti-lock brakes.
The anti-lock brake system warning light will come on
brie�y when the ignition key is turned to RUN. This
is normal. If the light does not come on then, have it
�xed so it will be ready to warn you if there is a problem. United States
Canada
3-33
Page 171 of 358
There is something else about drinking and driving that
many people do not know. Medical research shows
that alcohol in a person’s system can make crash
injuries worse, especially injuries to the brain, spinal
cord or heart. This means that when anyone who has
been drinking — driver or passenger — is in a crash,
that person’s chance of being killed or permanently
disabled is higher than if the person had not been
drinking.
{CAUTION:
Drinking and then driving is very dangerous.
Your re�exes, perceptions, attentiveness
and judgment can be affected by even a
small amount of alcohol. You can have a
serious — or even fatal — collision if you drive
after drinking. Please do not drink and drive or
ride with a driver who has been drinking. Ride
home in a cab; or if you are with a group,
designate a driver who will not drink.
Control of a Vehicle
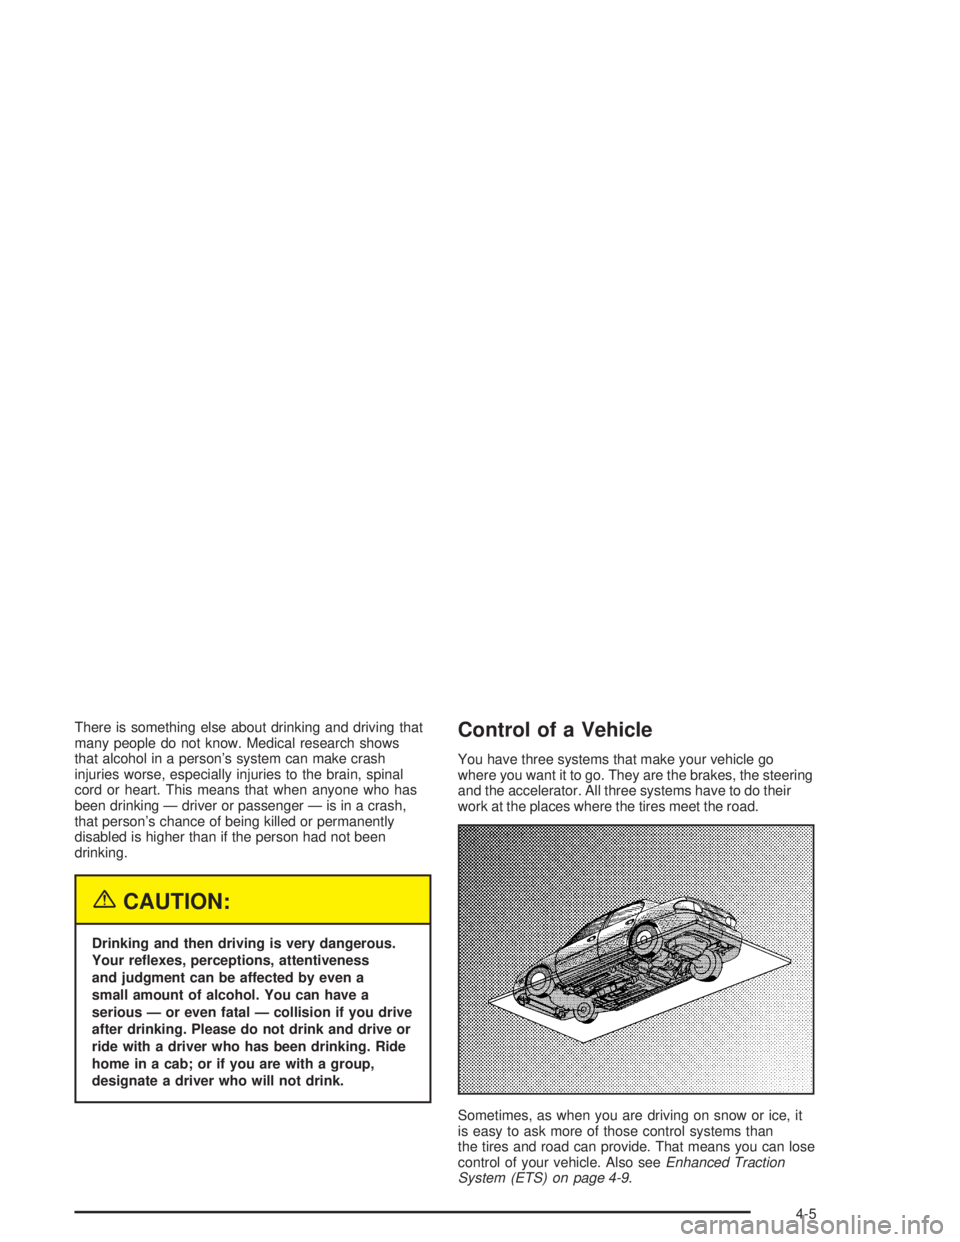
You have three systems that make your vehicle go
where you want it to go. They are the brakes, the steering
and the accelerator. All three systems have to do their
work at the places where the tires meet the road.
Sometimes, as when you are driving on snow or ice, it
is easy to ask more of those control systems than
the tires and road can provide. That means you can lose
control of your vehicle. Also seeEnhanced Traction
System (ETS) on page 4-9.
4-5
Page 172 of 358
Braking
Braking action involvesperception timeand
reaction time.
First, you have to decide to push on the brake pedal.
That isperception time.Then you have to bring up your
foot and do it. That isreaction time.
Averagereaction timeis about 3/4 of a second. But that
is only an average. It might be less with one driver
and as long as two or three seconds or more with
another. Age, physical condition, alertness, coordination
and eyesight all play a part. So do alcohol, drugs and
frustration. But even in 3/4 of a second, a vehicle moving
at 60 mph (100 km/h) travels 66 feet (20 m). That
could be a lot of distance in an emergency, so keeping
enough space between your vehicle and others is
important.
And, of course, actual stopping distances vary greatly
with the surface of the road (whether it is pavement
or gravel); the condition of the road (wet, dry, icy); tire
tread; the condition of your brakes; the weight of
the vehicle and the amount of brake force applied.
Avoid needless heavy braking. Some people drive
in spurts — heavy acceleration followed by heavy
braking — rather than keeping pace with traffic.
This is a mistake. Your brakes may not have time
to cool between hard stops. Your brakes will wear out
much faster if you do a lot of heavy braking.If you keep pace with the traffic and allow realistic
following distances, you will eliminate a lot of
unnecessary braking. That means better braking and
longer brake life.
If your engine ever stops while you are driving, brake
normally but do not pump your brakes. If you do,
the pedal may get harder to push down. If your engine
stops, you will still have some power brake assist.
But you will use it when you brake. Once the power
assist is used up, it may take longer to stop and
the brake pedal will be harder to push.
Anti-lock Brake System (ABS)
Your vehicle may have anti-lock brakes. ABS is an
advanced electronic braking system that will help
prevent a braking skid.
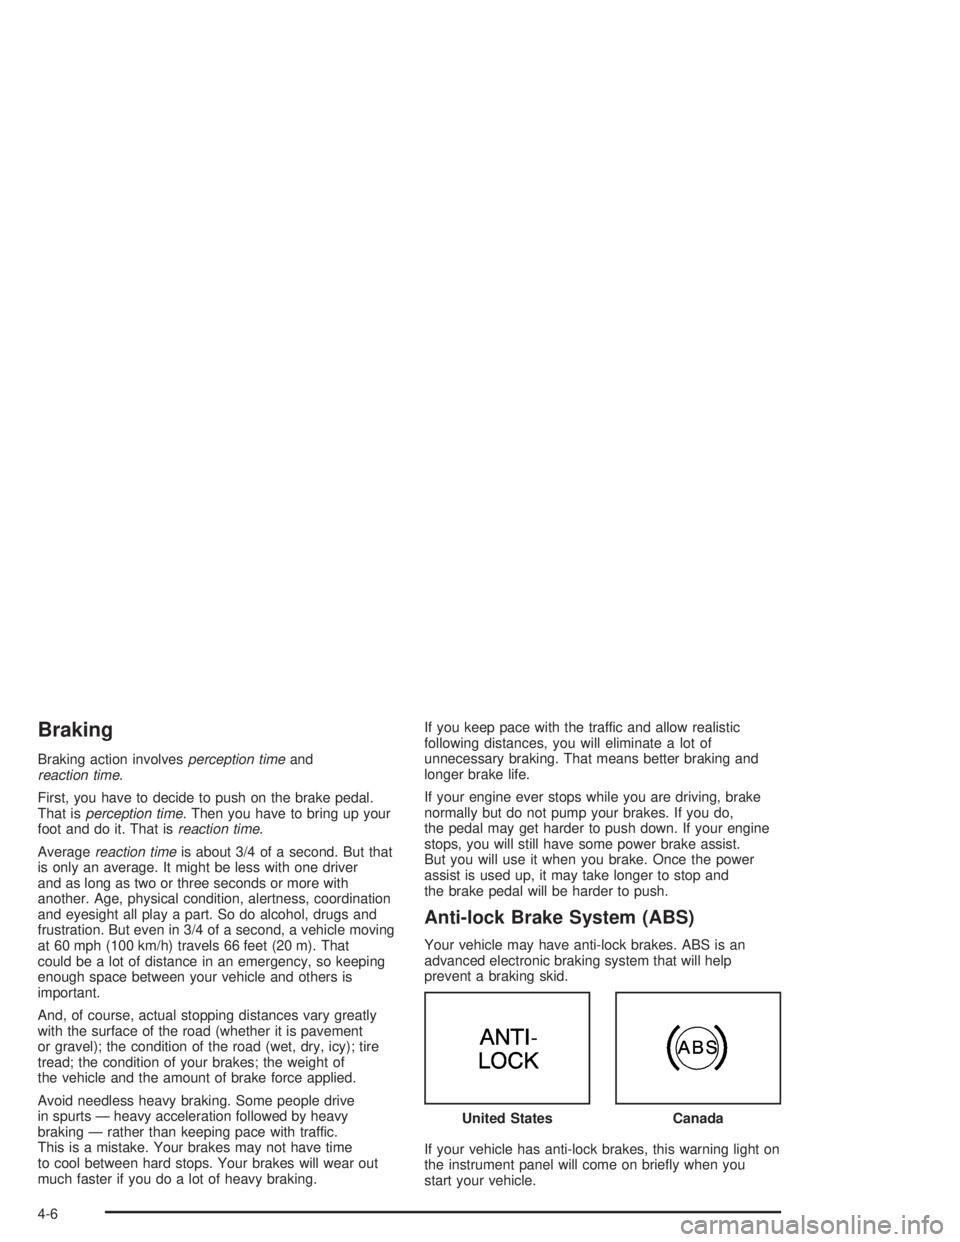
If your vehicle has anti-lock brakes, this warning light on
the instrument panel will come on brie�y when you
start your vehicle.United States
Canada
4-6
Page 173 of 358
When you start your engine, or when you begin to drive
away, your anti-lock brake system will check itself.
You may hear a momentary motor or clicking noise while
this test is going on, and you may even notice that
your brake pedal moves or pulses a little. This is normal.
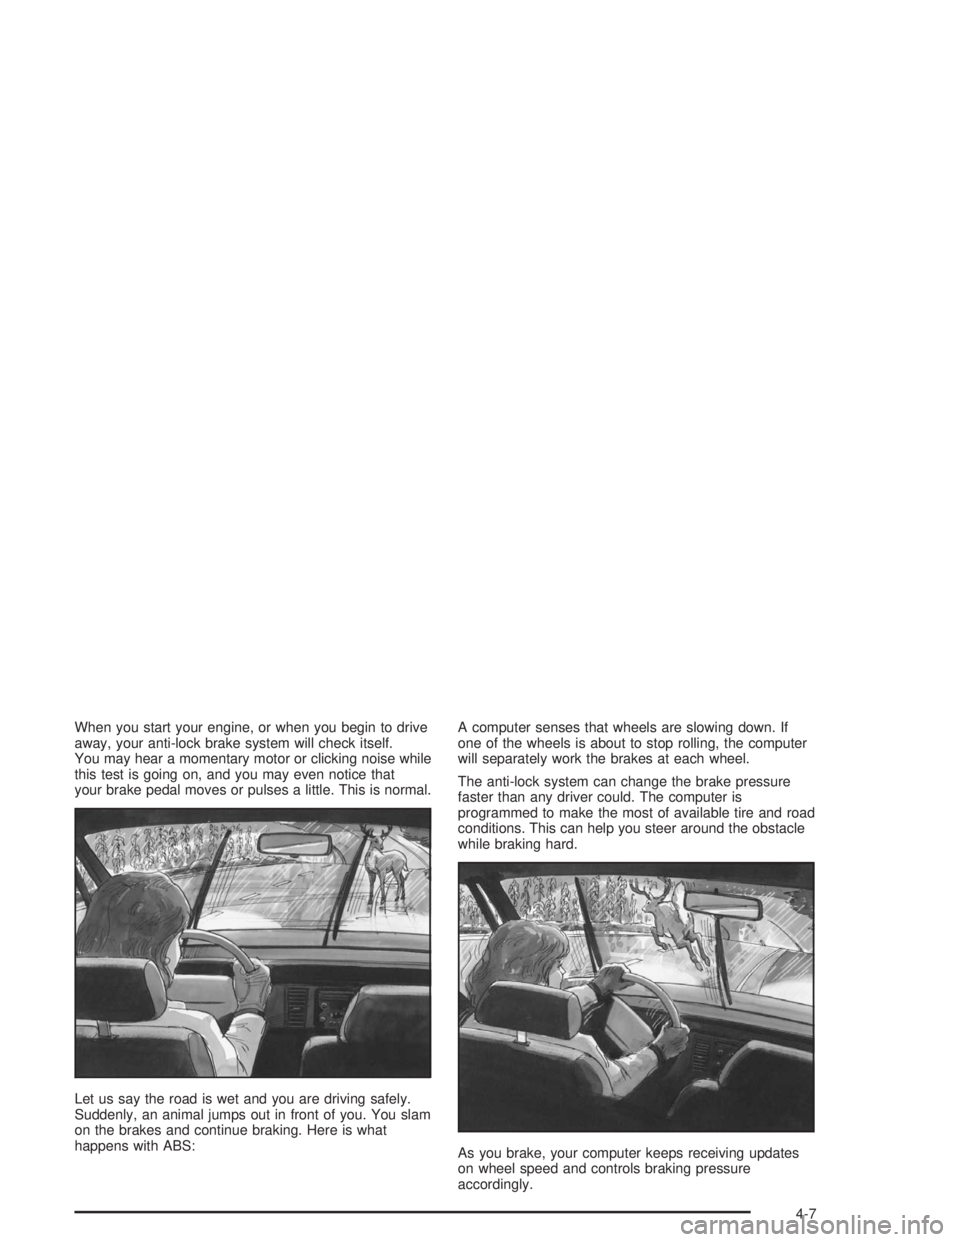
Let us say the road is wet and you are driving safely.
Suddenly, an animal jumps out in front of you. You slam
on the brakes and continue braking. Here is what
happens with ABS:A computer senses that wheels are slowing down. If
one of the wheels is about to stop rolling, the computer
will separately work the brakes at each wheel.
The anti-lock system can change the brake pressure
faster than any driver could. The computer is
programmed to make the most of available tire and road
conditions. This can help you steer around the obstacle
while braking hard.
As you brake, your computer keeps receiving updates
on wheel speed and controls braking pressure
accordingly.
4-7