lights BUICK PARK AVENUE 1996 Owners Manual
[x] Cancel search | Manufacturer: BUICK, Model Year: 1996, Model line: PARK AVENUE, Model: BUICK PARK AVENUE 1996Pages: 388, PDF Size: 20.04 MB
Page 12 of 388
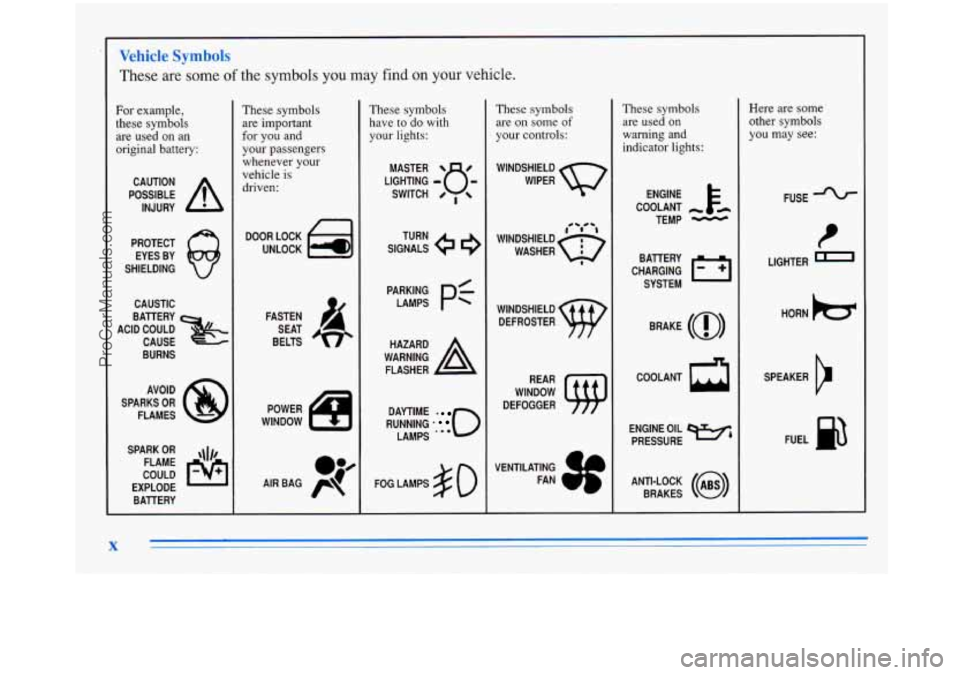
Vehicle Symbols
These are some of the symbols you may find on your vehicle.
For example,
these symbols
are used on an
original battery:
POSSIBLE A
CAUTION
INJURY
PROTECT EYES BY
SHIELDING
CAUSTIC
BURNS AVOID
SPARKS
OR
FLAMES
SPARK
OR ,\I/,
COULD FLAME
EXPLODE BATTERY
These symbols
are important
for you and
your passengers
whenever your
vehicle is driven:
DOOR LOCK
UNLOCK
FASTEN SEAT
BELTS
POWER
WINDOW
These symbols
have to do with
your lights:
SIGNALS e e
TURN
WARNING
A
HAZARD
FLASHER
RUNNING
0
DAYTIME -
LAMPS '**
FOG LAMPS $0
These symbols
are on
some of
your controls:
WINDSHIELD
WIPER
WINDSHIELD DEFROSTER
WINDOW
DEFOGGER
VENTILATING FAN
These symbols are used
on
warning and
indicator lights:
COOLANT
TEMP
-
CHARGING I-1
BATTERY
SYSTEM
BRAKE
(0)
ENGINE OIL e,
PRESSURE
ANTI-LOCK
(@)
BRAKES
Here are some
other symbols you may see:
FUSE
I
LIGHTER I
HORN h=r
SPEAKER
b
FUEL n3
X
ProCarManuals.com
Page 76 of 388
I.
I
Ignition Positions
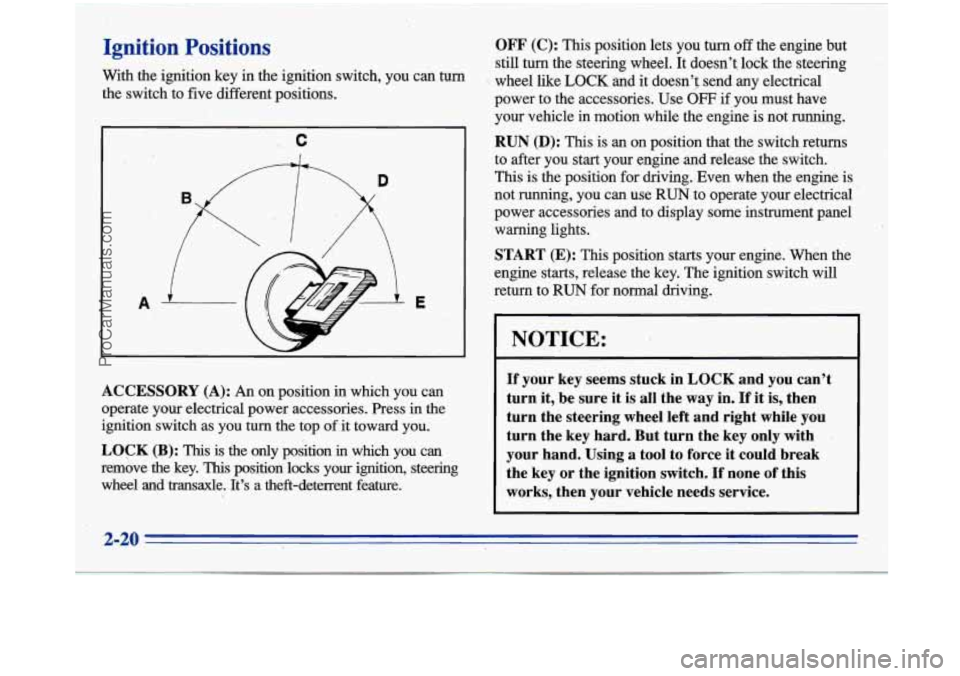
With the ignition key in the ignition switch, you can turn
the switch to five different positions.
.. c
I
A E
ACCESSORY (A): An on position in which you can
operate your electrical power accessories. Press in the
ignition switch as you
hun the top of it toward you.
LOCK
(B): This is the only position in which yqu can
remove
the key. This position locks your ignition, steering
wheel and transaxle. It’s a theft-deterrent feature.
.. ,
OFF (C): This position lets you turn off the engine but
still turn the steering wheel. It doesn’t lock the steering
-.
wheel like LOCK and it doesn’f send any electrical
power to the accessories. Use
OFF if you must have
your vehicle
in motion while the engine is not running.
RUN (D): This is- an on position that the switch returns
to after you start your engine and release the switch.
This is the position for driving.-Even when the engine is
not running, you can use RUN to operate your electrical ’
power accessories and to display some instrument panel
warning lights.
START (E): This position starts your engine. When the
engine starts, release the key. The ignition switch
will
return to RUN for normal driving.
NOTICE:
If your key seems stuck in LOCK and you can’t
turn it, be sure it is all the
way in. If it is, then
turn the steering wheel left and right while you
turn the key hard. But turn the key only with
your hand. Using
a tool to force it could break
the key or the ignition switch.
If none of this
works, then your vehicle needs service.
ProCarManuals.com
Page 99 of 388
Using Cruise Control on Hills
Haw well your cruise control will work on hills depends
upon your speed, load and the steepness of the hills.
When going up steep hills, you may have to step on the
accelerator pedal to maintain your speed. When going
downhill, you may
have to brake or shift to a lower gear
to keep your speed down. Of course, applying the brake
takes you out of cruise control. Many drivers find this
to
be too much trouble and don’t use cruise control on
steep hills.
Ending Cruise Control
There are two ways to turn off the cruise control:
Step lightly on the brake pedal; or
0 Move the cruise switch to OFF. The CRUISE light
will also go
out.
Erasing Speed Memory
When you turn off the cruise control or the ignition,
your cruise control set speed memory is erased.
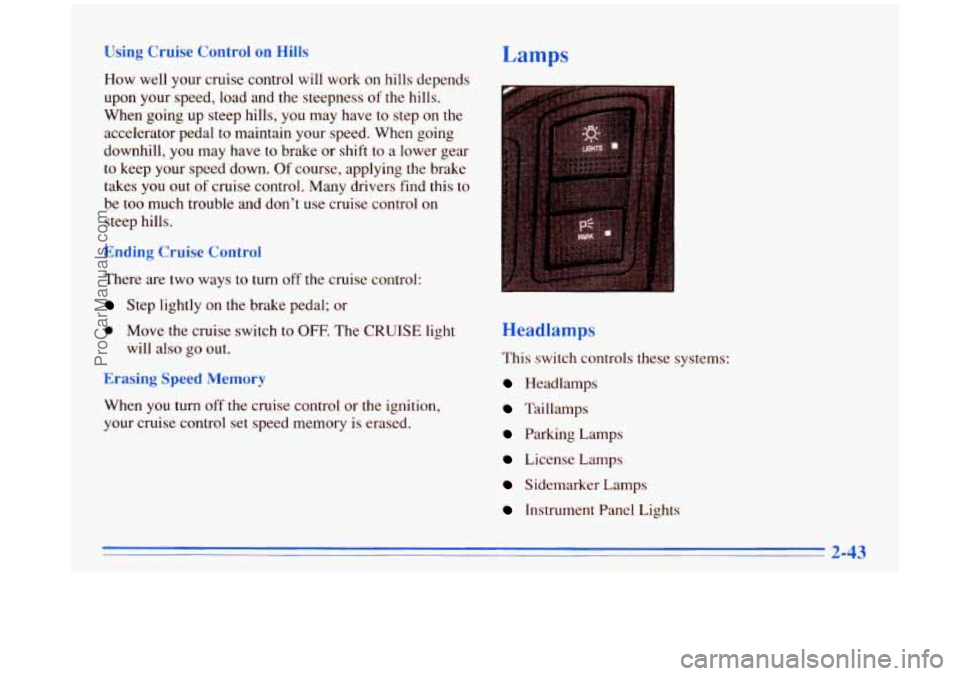
Lamps
H Adlamps
This switch controls these systems:
Headlamps
Taillamps
Parking Lamps
License Lamps
Sidemarker Lamps
Instrument Panel Lights
ProCarManuals.com
Page 100 of 388
Press the LIGHTS switch to turn the headlamps on.
Press it again to turn them
off.
Press the PARK switch to turn the parking lamps on.
Press it again
to turn them off. (If the parking lamps
were turned on with the PARK switch, they must be
turned off with that switch.)
Lamps On Reminder
If you leave the manual headlamp or parking lamp
switch on, remove the key from the ignition and open
the driver’s door, you will hear a continuous warning
chime. The chime will turn
off when the lamps are
turned
off.
Daytime Running Lamps (Canada Only)
Daytime Running Lamps (DRL) can make it easier for
others to see the front of your vehicle during the day.
DRL can be’helpful in many different driving
conditions, but they can be especially helpful in the
short periods after dawn and before sunset.
A light sensor on top of the instrument panel monitors
the exterior light level
for the operation of DRL and
twilight sentinel,
so be sure it isn’t covered. The
DRL system will make your low-beam headlamps
come on at reduced brightness in daylight when:
The ignition is on,
0 The headlamp switch is off, and
0 The transaxle is not in PARK (P).
When DRL are on, only your low-beam headlamps will
be on. The parking lamps, taillamps, sidemarker and
other lamps won’t be on. Your instrument panel won’t
be lit up either.
When it’s dark enough outside, your low-beam
headlamps will change to full brightness. The other
lamps that turn on with your headlamps, will also turn
on. When it’s bright enough outside, the regular lamps
will turn
off, and your low-beam headlamps change to
the reduced brightness of
DRL.
To idle your vehicle with the DRL off, shift the
transaxle into PARK
(P). The DRL will stay off until
you shift out of PARK (P).
To turn off all exterior lighting at night when you are
parked, turn
off the headlamps and move the twilight
sentinel control all the way toward
MIN.
As with any vehicle, you should turn on the regular
headlamp system when you need it.
ProCarManuals.com
Page 103 of 388
Time Out Feature (Option)
On vehicles equipped with the optional Remote Keyless
Entry system, the interior lamps will automatically turn
off after a
10 minute period if a door is left open. This
feature
is designed to help eliminate battery wear down.
Courtesy Lamps
When any door is opened, several lamps go on. They
make it easy for you
to enter and leave the car. You can
also turn these lamps on by sliding the panel lights lever
to INT (interior).
Delayed Entry Lighting
When you open the door, the interior lamps will come
on. When you close the door with the ignition off, the
interior lamps will stay on for
25 seconds or until the
ignition
is turned to an on position. Please note that
locking the doors will override the delayed entry
lighting feature and the lamps will turn off right away.
Theater Dimming
This feature allows for a three to five-second fade out of
the courtesy lamps instead of immediate turn off.
Delayed Exit Lighting
With this feature, the interior lamps will come on for
25 seconds after you remove the key from the ignition.
This will give you time
to find the door pull handle or
lock switches.
Illuminated Entry System (Option)
When you lift the outside handle of either front door or
press the
UNLOCK button on the optional remote
keyless entry transmitter, the lamps inside your vehicle
will turn on. These lamps will turn
off after about one
minute. These lamps will also turn
off if you start the
engine, press the
LOCK button on the transmitter or
activate the power door locks.
If a door is left ajar, your interior lamps will turn off
after
10 minutes to save your battery.
ProCarManuals.com
Page 104 of 388
Perimeter Lighting (Option)
When the UNLOCK button on the optional remote
keyless entry transmitter is pressed, the headlamps,
parking lamps, back-up lamps and cornering lamps will
come on
if it is dark enough outside according to the
twilight sentinel.
If your vehicle is not equipped with the twilight sentinel
and the perimeter lighting is active, the lights will come
on whenever the
UNLOCK button on the transmitter
is pressed.
This option can be programmed on or off for
each transmitter.
To turn the feature off
I 1. Press and hold the door lock switch throughout this
I 2. Press the instant alarm button on the transmitter.
procedure. All
doors will lock.
Perimeter lighting remains on at this time and the
horn will chirp two times.
3. Press the instant alarm button on the key transmitter
again. Perimeter lighting is disabled and the horn
will chirp one time.
4. Release the door lock switch. The' perimeter lighting
option is now
off.
To turn the feature on:
1. Press and hold the door lock switch throughout this
procedure. All doors will lock.
2. Press the instant alarm button on the key transmitter.
Perimeter lighting remains
off at this time and the'
horn will chup one time.
3. Press the instant alarm button on the transmitter
again. Perimeter lighting is now enabled and the
horn will chup two times.
4. Release the door lock switch. The perimeter lighting
option is now on.
/ .- -2
ProCarManuals.com
Page 107 of 388
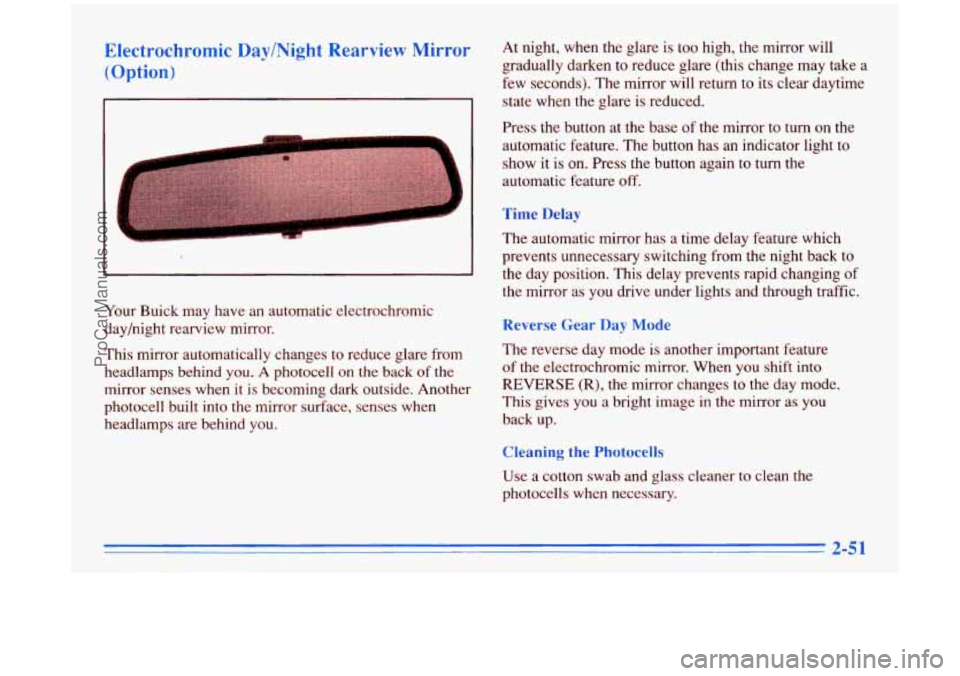
Electrochromic Day/Night Rearview Mirror (Option)
Your Buick may have an automatic electrochromic
day/night rearview mirror.
This mirror automatically changes
to reduce glare from
headlamps behind
you. A photocell on the back of the
mirror senses when it is becoming dark outside. Another
photocell built into the mirror surface, senses when
headlamps are behind you. At
night, when the glare is too high, the mirror will
gradually darken to reduce glare (this change may take a
few seconds). The mirror will return to its clear daytime
state when the glare is reduced.
Press the button at the base of
the mirror to turn on the
automatic feature. The button has an indicator light to
show it is on. Press the button again
to turn the
automatic feature
off.
Time Delay
The automatic mirror has a time delay feature which
prevents unnecessary switching from the night back to
the day position. This delay prevents rapid changing of
the mirror as you drive under lights and through traffic.
Reverse Gear Day Mode
The reverse day mode is another important feature
of the electrochromic mirror. When you shift into
REVERSE (R), the mirror changes to the day mode.
This gives you a bright image
in the mirror as you
back up.
Cleaning the Photocells
Use a cotton swab and glass cleaner to clean the
photocells when necessary.
ProCarManuals.com
Page 108 of 388
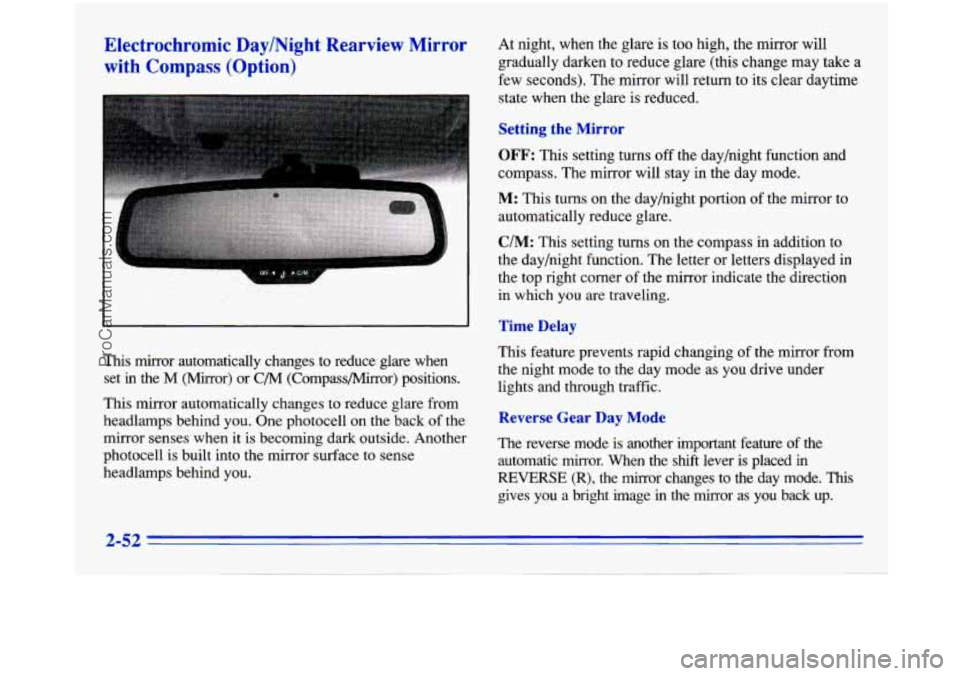
Electrochromic Day/Night Rearview Mirror with
Compass (Option)
At night, when the glare is too high, the mirror will
gradually darken to reduce glare (this change may take a
few seconds). The mirror will return to its clear daytime
state when the glare is reduced.
Setting the Mirror
OFF: This setting turns off the day/night function and
compass. The mirror will stay in the day mode.
M: This turns on the day/night portion of the mirror to
automatically reduce glare.
C/M: This setting turns on the compass in addition to
the day/night function. The letter or letters displayed in
the top right corner
of the mirror indicate the direction
in which you are traveling.
Time Delay
This mirror automatically changes to reduce glare when
set
in the M (Mirror) or C/M (Compass/Mirror) positions.
This mirror automatically changes to reduce glare from
headlamps behind you. One photocell on the back
of the
mirror senses when it
is becoming dark outside. Another
photocell
is built into the mirror surface to sense
headlamps behind you. This feature
prevents rapid changing
of the mirror from
the night mode to the day mode as you drive under
lights and through traffic.
Reverse Gear Day Mode
The reverse mode is another important feature of the
automatic mirror. When the shift lever is placed in
REVERSE (R), the mirror changes to the day mode. This
gives you a bright image in the mirror as you back up.
ProCarManuals.com
Page 122 of 388
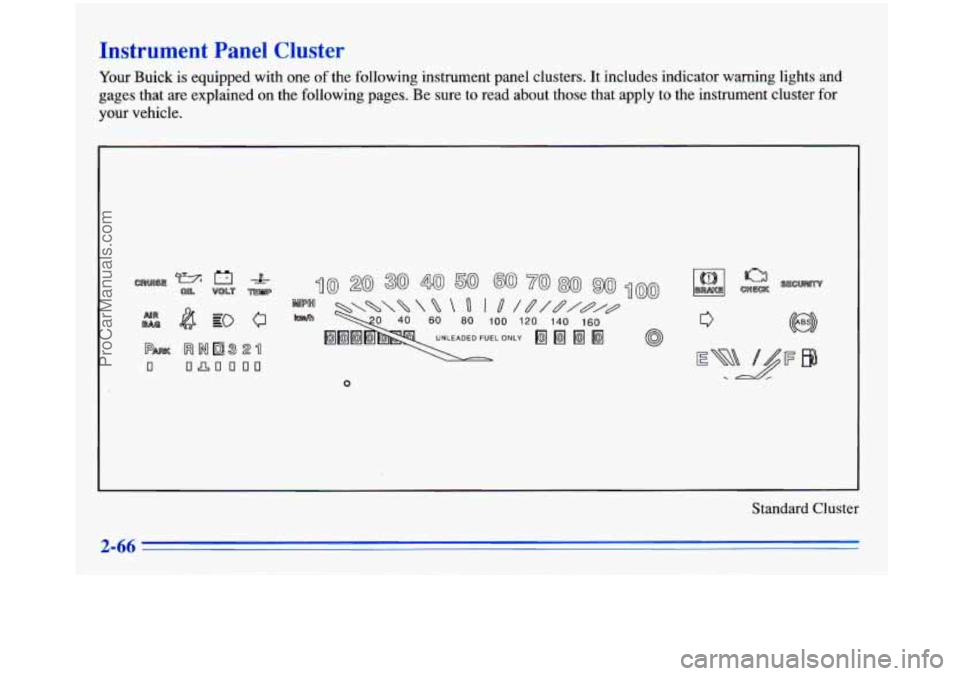
Instrument Panel Cluster
Your Buick is equipped with one of the following instrument panel clusters. It includes indicator warning lights and
gages that are explained on the following pages. Be sure to read about those that apply to the instrument cluster
for
your vehicle.
c3
Standard Cluster
ProCarManuals.com
Page 125 of 388
Warning Lights, Gages and Indicators
This part describes the warning lights and gages that may
be on your vehicle. The pictures will help you locate them.
Warning lights and gages can signal that something is
wrong before it becomes serious enough to cause an
expensive repair or replacement. Paying attention to your warning lights and gages could also save you or
others from injury.
Warning lights come
on when there may be or is a
problem with one of your vehicle’s functions.
As you will
see
in the details on the next few pages, some warning
lights come on briefly when you start the engine just to let
you know they’re working. If you are familiar with this
section, you should not be alarmed when this happens.
Gages can indicate when there may be or is a problem
with one
of your vehicle’s functions. Often gages and
warning lights work together to let
you know when
there’s a problem with your vehicle.
When one
of the warning lights comes on and stays on
when you are driving, or when one of the gages shows
there may be a problem, check the section that tells you
what to do about
it. Please follow this manual’s advice.
Waiting to do repairs can be costly
-- and even
dangerous.
So please get to know your warning lights
and gages. They’re a big help.
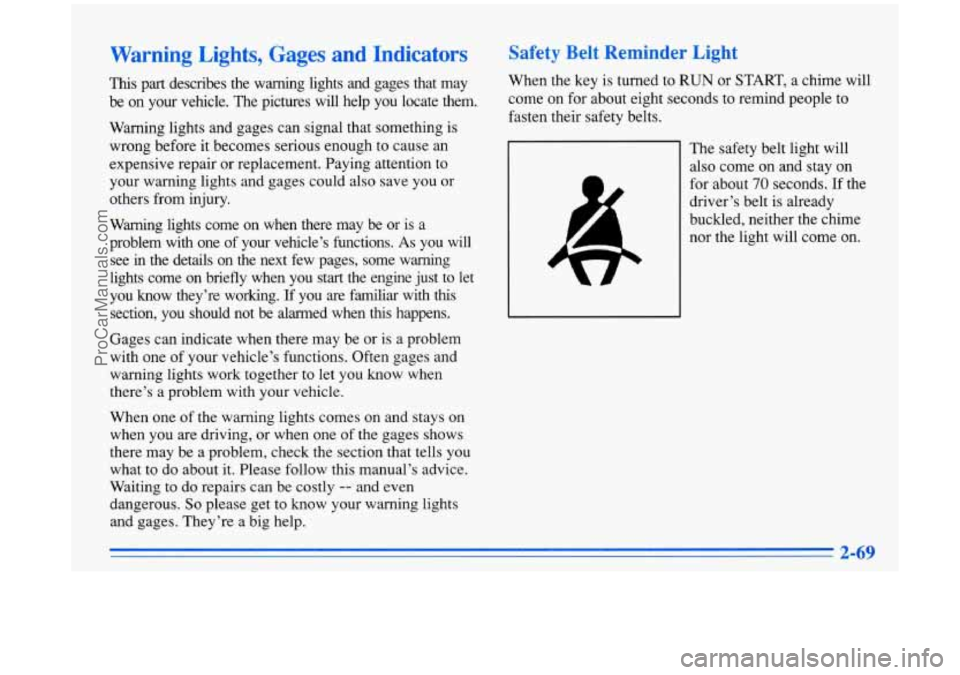
Safety Belt Reminder Light
When the key is turned to RUN or START, a chime will
come on for about eight seconds to remind people to
fasten their safety belts.
The safety belt light will
also come on and stay on
for about
70 seconds. If the
driver’s belt is already
buckled, neither the chime
nor the light will come on.
ProCarManuals.com