BUICK PARK AVENUE 1997 Owners Manual
Manufacturer: BUICK, Model Year: 1997, Model line: PARK AVENUE, Model: BUICK PARK AVENUE 1997Pages: 420, PDF Size: 21.93 MB
Page 121 of 420
Convenience Net
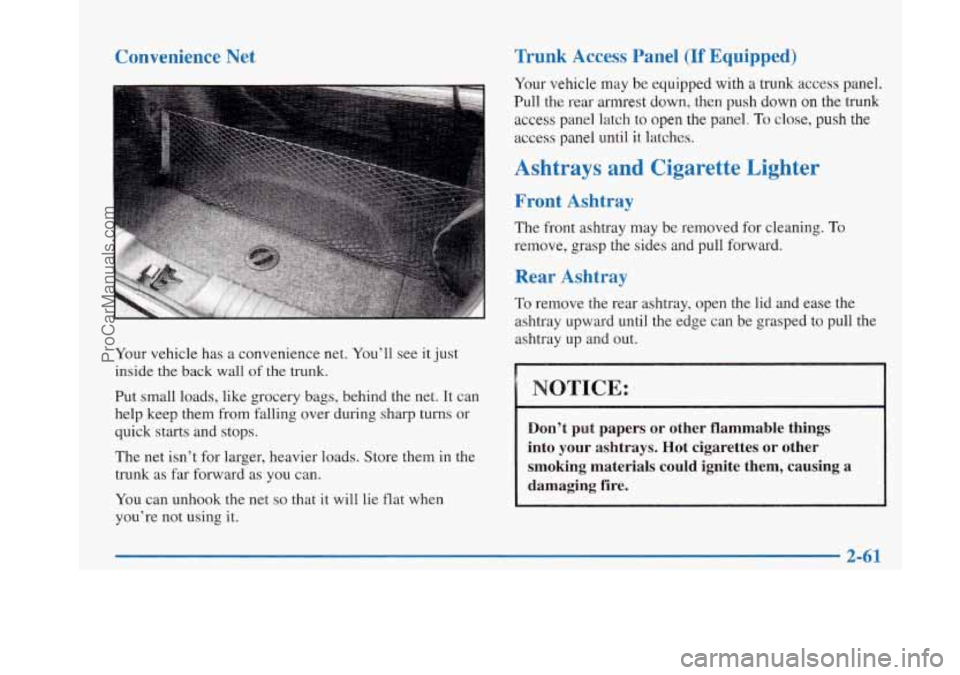
Your vehicle has a convenience net. You’ll see it just
inside the back wall
of the trunk.
Put small loads, like grocery bags, behind the net. It can
help keep them from falling over during sharp turns or
quick starts and stops.
The net isn’t for larger, heavier loads. Store them in the
trunk as far forward as you can.
You can unhook the net
so that it will lie flat when
you’re not using it.
Trunk Access Panel (If Equipped)
Your vehicle may be equipped with a trunk access panel.
Pull the rear armrest down, then push down on the
trunk
access panel latch to open the panel. To close, push the
access panel until it latches.
Ashtrays and Cigarette Lighter
Front Ashtray
The front ashtray may be removed for cleaning. To
remove, grasp the sides and pull forward.
Rear Ashtray
To remove the rear asnrray, open the lid and ease the
ashtray upward until the edge can be grasped to pull the
ashtray up and out.
NOTICE:
Don’t put papers or other flammable things
into your ashtrays. Hot cigarettes or other
smoking materials could ignite them, causing a
damaging fire.
2-61
ProCarManuals.com
Page 122 of 420
Cigarette Lighter
There are cigarette lighters near the front and rear
ashtrays. To use one, push it in all the way and let go.
When it’s ready, it will pop back by itself.
NOTICE:
If you hold a cigarette lighter in with your hand
while it is heating, it won’t be able to back away
from the heating element when it’s ready. That
can make it overheat, damaging the lighter and
the heating element.
Sun Visors
Illuminated Visor Vanity Mirror
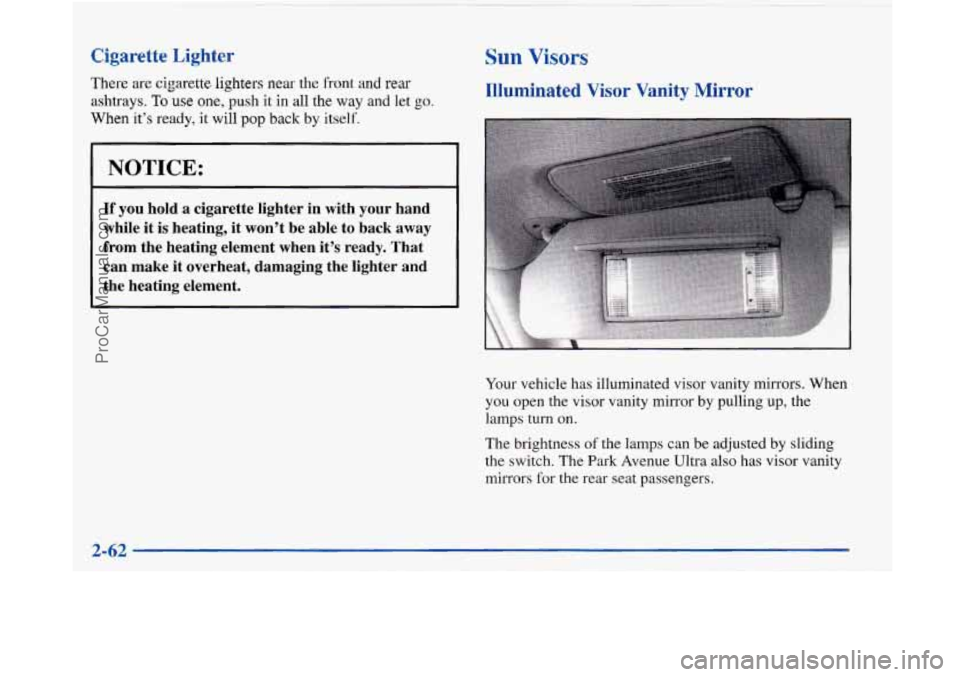
Your vehicle has illuminated visor vanity mirrors. When
you open the visor vanity mirror by pulling up, the
lamps turn
on.
The brightness of the lamps can be adjusted by sliding
the switch. The Park Avenue Ultra also has visor vanity
mirrors
for the rear seat passengers.
ProCarManuals.com
Page 123 of 420
To block out glare, swing down the visors. The larger
sun visor can be removed from the center mount and
moved to the side, while the auxiliary sun visor remains
to block glare from the front.
Auxiliary Power Outlets
Your vehicle may have one or two power outlets
depending on the type of front seat you have. If your
front seat has a fold-down armrest, the power outlet is
located in the center of the front seat below the cushion.
If your vehicle has front bucket seats with a center
console, you will find one outlet inside the storage
compartment and the other on the lower front edge
of the console.
These power outlets can be used to plug in electrical
equipment such as a cellular telephone or
CB radio.
Follow the proper installation instructions that are
included with the equipment you install.
Garment Hooks
For your convenience, you will find a two-hanger
capacity garment hook above each rear
door near the
reading lamps.
Cellular Phone Readiness Package
(If Equipped)
If you have this option, your vehicle has been prewired
for dealer installation of a portable phone. This system
will have steering wheel controls for volume only, and
infomation output through the
DIC. Voice activation
and hands-free operation are standard features. For more
information, contact your dealer.
A user’s guide will be
provided with the telephone completion lut.
2-63
ProCarManuals.com
Page 124 of 420
Astroroof (If Equipped)
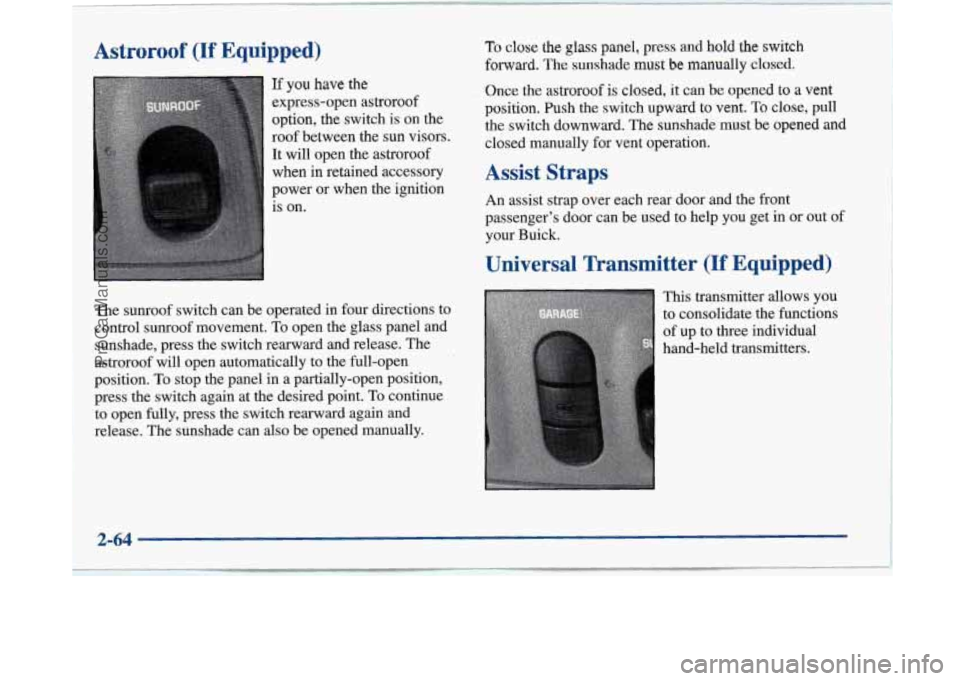
If you have the
express-open astroroof
option, the switch is on the
roof between the sun visors.
It will open the astroroof
when in retained accessory
power or when the ignition
is on.
To close the glass panel, press and hold the switch
forward. The sunshade must be manually closed,
Once
the astroroof is closed, it can be opened to a vent
position. Push the switch upward to vent.. To close, pull
the switch downward. The sunshade must be opened and
closed manually for vent operation.
Assist Straps
An assist strap over each rear door and the front
passenger’s door can be used to help you get in or out of
your Buick.
Universal Transmitter (If Equipped)
The sunroof switch can be operated in four directions to
control sunroof movement. To open the
glass panel and
sunshade, press the switch rearward and release. The
astroroof will open automatically to the full-open
position. To stop the panel in a partially-open position,
press the switch again at the desired point. To continue
to open fully, press the switch rearward again and
release. The sunshade can also be opened manually. This
transmitter allows you
to consolidate the functions
of up to three individual
hand-held transmitters.
2-64
ProCarManuals.com
Page 125 of 420
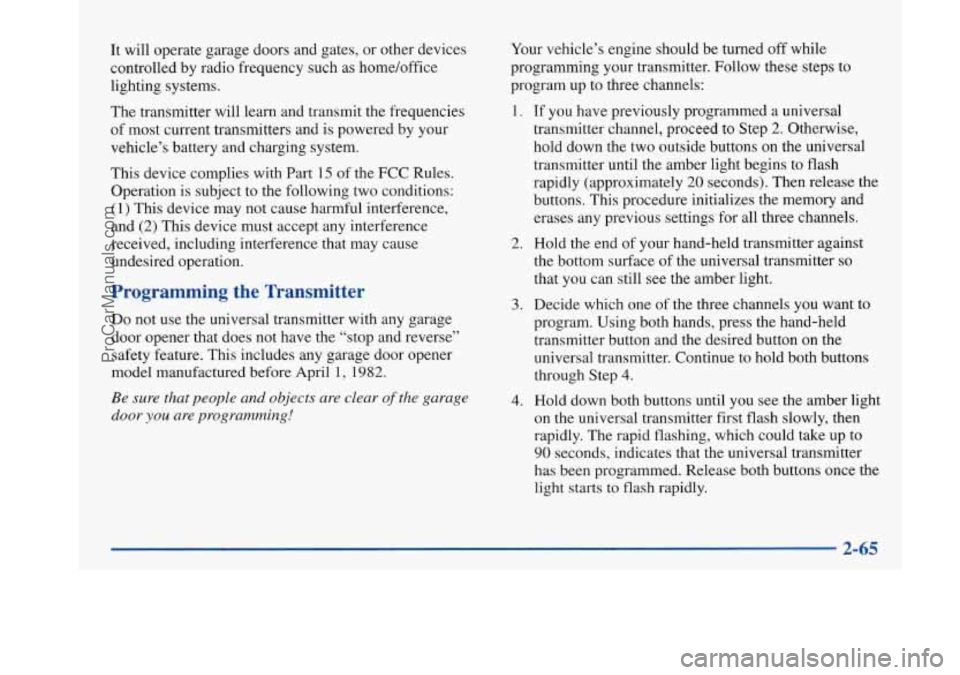
It will operate garage doors and gates, or other devices
controlled by radio frequency such as home/office
lighting systems.
The transmitter will learn and transmit the frequencies
of most current transmitters and is powered by your
vehicle’s battery and charging system.
This device complies with Part
15 of the FCC Rules.
Operation is subject to the following two conditions:
(1) This device may not cause harmful interference,
and
(2) This device must accept any interference
received, including interference that may cause
undesired operation.
Programming the Transmitter
Do not use the universal transmitter with any garage
door opener that does not have the “stop and reverse”
safety feature. This includes any garage door opener
model manufactured before April 1, 1982.
Be sure that people and objects are clear of the garage
door
you are programming!
Your vehicle’s engine should be turned off while
programming your transmitter. Follow these steps to
program up to three channels:
1.
2.
3.
4.
If you have previously programmed a universal
transmitter channel, proceed to Step
2. Otherwise,
hold down the two outside buttons on the universal
transmitter until the amber light begins to flash
rapidly (approximately
20 seconds). Then release the
buttons. This procedure initializes the memory and
erases any previous settings for all three channels.
Hold the end of your hand-held transmitter against
the bottom surface of the universal transmitter
so
that you can still see the amber light.
Decide which one of the three channels you want to
program. Using both hands, press the hand-held
transmitter button and the desired button on the
universal transmitter. Continue to hold both buttons
through Step
4.
Hold down both buttons until you see the amber light
on the universal transmitter first flash slowly, then
rapidly. The rapid flashing, which could take up to
90 seconds, indicates that the universal transmitter
has been programmed. Release both buttons once the
light starts
to flash rapidly.
2-65
ProCarManuals.com
Page 126 of 420
If you have trouble programming the universal
transmitter, make sure that you have followed the
directions exactly as described and that the batteries in
the hand-held transmitter are not dead. If you still
cannot program it, rotate your hand-held transmitter end
over end and
try again. The universal transmitter may
not be compatible with a limited number of older
installations due to legislated changes in transmission
frequencies. If you cannot program the transmitter after
repeated attempts, consult your Buick dealer.
Be sure to keep your original hand-held transmitter
in case you need to erase and reprogram the
universal transmitter.
Note to Canadian Owners: During programming, your
hand-held transmitter may stop transmitting after one or
two seconds. If you
are programming from one of these
transmitters, you should press and re-press the button on
the hand-held transmitter every two seconds without
ever releasing the button on the universal transmitter.
Release both buttons when the amber light on the
universal transmitter begins to flash rapidly.
Operating the Transmitter
Press and hold the appropriate button on the universal
transmitter. The amber light comes on while the signal
is
being transmitted.
Note that the effective transmission range of the
universal transmitter may differ from your hand-held
transmitter and from one channel to another.
Training a Garage Door Opener Equipped
with “Rolling Codes”
If you programmed the universal transmitter, but the
garage door will not open, and if your garage door opener was manufactured after
1995, your garage door may have
a security feature that changes the “code”
of your garage
door opener every time
it is opened or closed.
To determine if your garage door opener has this rolling
code feature, press the appropriate button on the
universal transmitter that was programmed. If the amber
light flashes rapidly for one to two seconds, then turns
solid, your garage door opener has this feature.
2-66
ProCarManuals.com
Page 127 of 420
To program a garage door opener with the rolling code
feature, do the following:
1.
2.
3.
4.
5.
6.
Program your hand-held transmitter to the universal
transmitter by following the steps provided under
“Programming the Transmitter” earlier.
Remove the cover panel from the garage
door
opener receiver. It is located near the garage door
opener motor.
Locate the training button on the garage door opener
receiver. The exact location and color will vary
among brands.
Press the training button on the garage door opener
receiver for one to two seconds.
Return to your vehicle and press the programmed
button on the universal transmitter until the amber
light flashes rapidly (about two seconds).
Release the button, then press it again to confirm it
was programmed to the garage door opener receiver. You
may now use either the universal transmitter or the
hand-held transmitter to open your garage door.
If you
still have difficulty in programming and require
assistance, please call your Buick dealer.
Erasing Channels
To erase all three programmed channels, hold down the
two outside buttons until the amber light begins to flash.
Individual channels cannot be erased, but can be
reprogrammed using the procedure for programming the
transmitter explained earlier.
Accessories
Accessories for your universal transmitter are available
from the manufacturer of the unit. If you would like
additional information, please call 1-800-355-3515.
2-67
ProCarManuals.com
Page 128 of 420
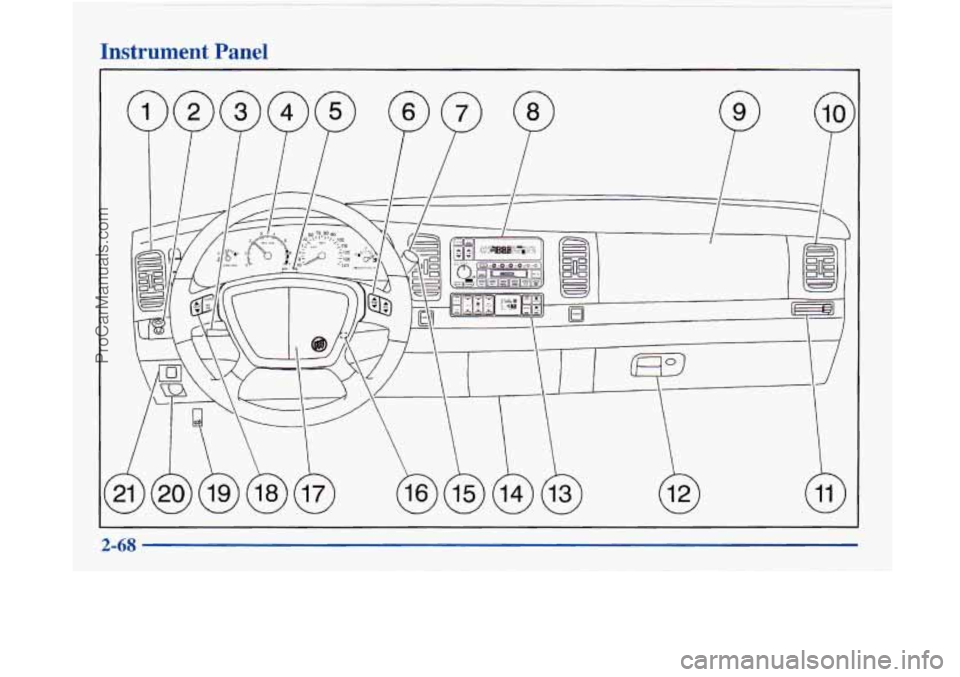
Instrument Panel
ProCarManuals.com
Page 129 of 420
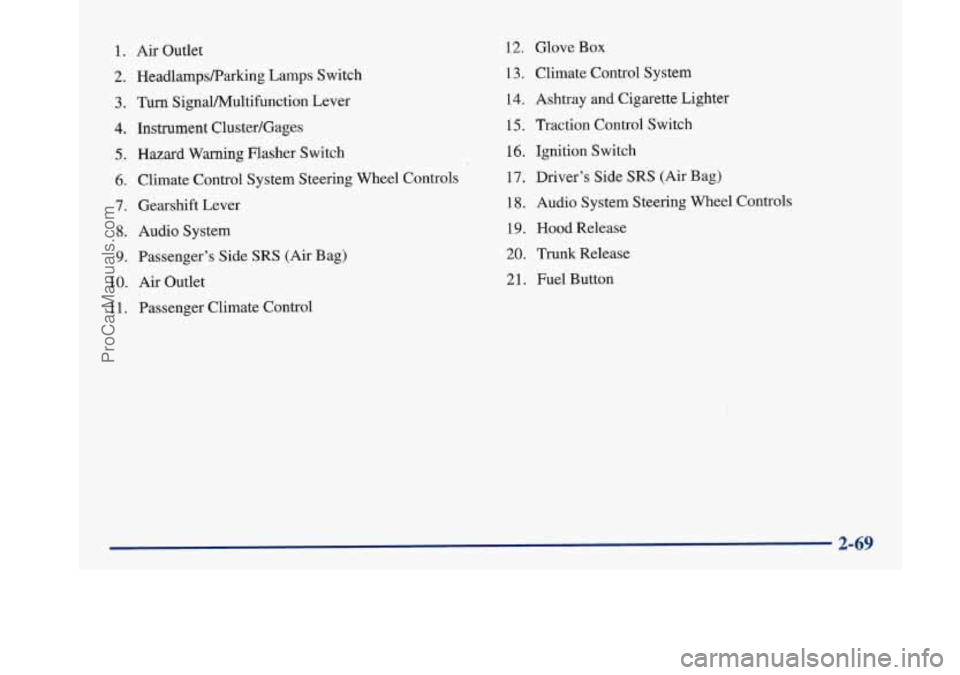
1. Air Outlet
2. HeadlampsRarking Lamps Switch
3. Turn SignaVPv4ultifunction Lever
4. Instrument Cluster/Gages
5. Hazard Warning Flasher Switch
6. Climate Control System Steering Wheel Controls
7. Gearshift Lever
8. Audio System
9. Passenger’s Side SRS (Air Bag)
10.
Air Outlet
1 1. Passenger Climate Control
12. Glove Box
13. Climate Control System
14. Ashtray
and Cigarette Lighter
15, Traction Control Switch
16. Ignition Switch
17. Driver’s Side
SRS (Air Bag)
18. Audio System Steering Wheel Controls
19. Hood Release
20. Trunk Release
21. Fuel Button
ProCarManuals.com
Page 130 of 420
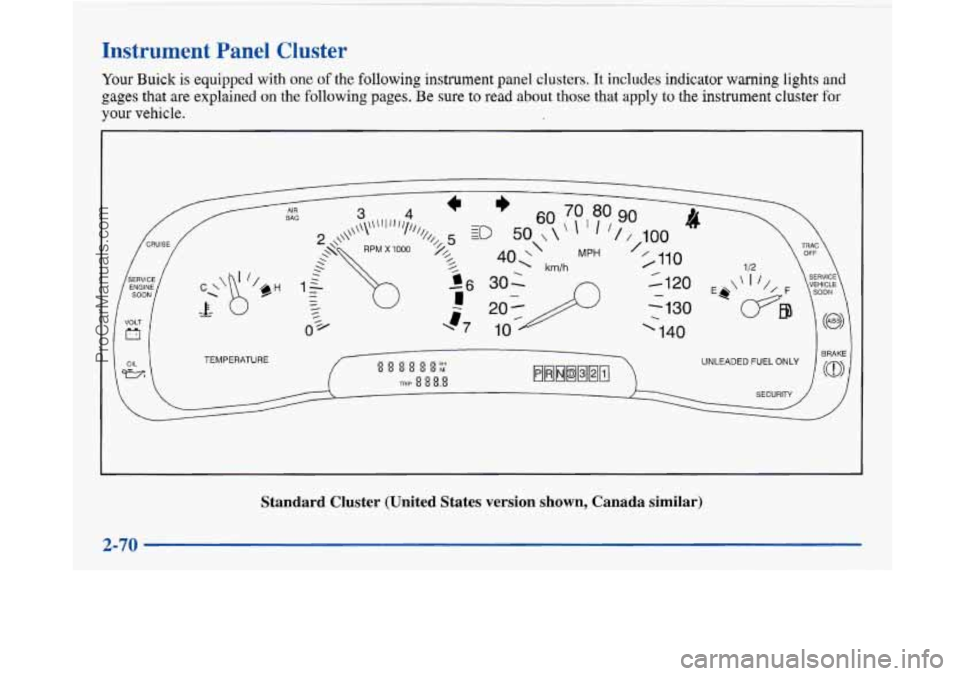
Instrument Panel Cluster
Your Buick is equipped with one of the following instrument panel clusters. It includes indicator warning lights and
gages that are explained on the following pages. Be sure to read about those that apply to the instrument cluster for
your vehicle.
TEMPERATURE
Standard Cluster (United States version shown, Canada similar) \
2-70
~~ ._
ProCarManuals.com