BUICK PARK AVENUE 1997 Owners Manual
Manufacturer: BUICK, Model Year: 1997, Model line: PARK AVENUE, Model: BUICK PARK AVENUE 1997Pages: 420, PDF Size: 21.93 MB
Page 151 of 420
Security Feedback
By choosing different combinations of these selections,
you can choose the type of transmitter activated
feedback when locking and unlocking your vehicle with
your transmitter. Each time you make a selection by
pressing the ENG/MET button, press the RESET button
to record your choice.
0 LOCK FEEDBACK - OFF/ON
LOCK FEEDBACK - LIGHTSLIGHTS + HORN
UNLOCK FEEDBACK - OFFLIGHTS
If you choose ON for LOCK FEEDBACK you will also
need to choose LIGHTS or LIGHTS
+ HORN.
You can select the following modes:
If you choose OFF for LOCK FEEDBACK
and
OFF for UNLOCK FEEDBACK, you will
receive no security feedback when locking or
unlocking your vehicle.
If you choose OFF for LOCK FEEDBACK and
LIGHTS for UNLOCK FEEDBACK, you will
receive no security feedback when locking your
vehicle and the exterior lamps will flash when
unlocking your vehicle.
0
e
0
0
If you choose LIGHTS for LOCK FEEDBACK and
OFF for UNLOCK FEEDBACK, your exterior
lamps will flash when locking your vehicle and you
will receive no security feedback when unlocking
your vehicle.
If you choose LIGHTS for LOCK FEEDBACK and
LIGHTS for UNLOCK FEEDBACK, your exterior
lamps will flash when locking and when unlocking
your vehicle.
If you choose LIGHTS
+ HORN for LOCK
FEEDBACK and OFF for UNLOCK FEEDBACK,
your exterior lamps will flash and the horn will chirp
when locking your vehicle and you will receive no
security feedback when unlocking your vehicle.
If you choose LIGHTS + HORN for LOCK
FEEDBACK and LIGHTS for UNLOCK
FEEDBACK, your exterior lamps will flash and
the horn will chirp when locking your vehicle and
your exterior lamps will flash when unlocking
your vehicle.
For more information on this feature, see “Security
Feedback’’ in the Index.
2-91
ProCarManuals.com
Page 152 of 420
Perimeter Lighting
When the UNLOCK button on the transmitter is
pressed, the
DRL lamps (high-beams at reduced
intensity), parking lamps and back-up lamps will turn on
if it is dark enough according to the twilight sentinel.
You can control activation of this feature by choosing
OFF or ON when the PERIMETER LIGHTS choice is
displayed on the DIC. Make your choice by pressing the
ENGMET button and record your choice by pressing
the RESET button.
Memory Seat Recall
NOTE: If you want to choose PERIMETER
LIGHTS ON, you must also choose LIGHTS for
UNLOCK FEEDBACK while making the security
feedback choices.
For more information on this feature, see “Perimeter
Lighting” in the Index. This feature recalls the position
of your seat.
You can program this feature to be active by choosing
ON when the SEAT RECALL choice appears, or
inactive by choosing
OFF when the SEAT RECALL
choice appears on the DIC. Make your choices by
pressing the ENGMET button and store them to
memory by then pressing the RESET button.
You can also program this feature to recall your memory
seat position or the exit seat position.
Memory Position: Choose ON when the SEAT
RECALL choice appears, and then choose MEMORY
when the RECALL POSITION choice appears.
Exit Position: Choose ON when the SEAT RECALL
choice appears, and then choose EXIT when the
RECALL POSITION choice appears and your seat
will move all the way down and back for easy exit.
The seat will also move when you enter the vehicle
after unlocking
it with a Remote Keyless Entry
transmitter. This will allow for easy entry as well.
For more information on this feature, see “Memory Seats” in the Index.
2-92
ProCarManuals.com
Page 153 of 420
Section 3 Comfort Controls and Audio Systems
In this section, you’ll find out how to operate the comfort control and audio systems offered with your Buick. Be sure
to read about the particular systems supplied with your vehicle.
3-2
3-2
3-5
3-5
3-6
3-7 3-8
3-8
3-9
3-9
3-10
3-10
3- 14 Comfort Controls
Personal Choice Comfort Controls
Air Conditioning
Heating
Ventilation System
Passenger Compartment Air Filter
Defogging and Defrosting
Rear Window Defogger
Passenger Climate Control Steering Wheel Controls for Climate Control
Setting the Clock
AM-FM Stereo with Cassette Tape Player
AM-FM Stereo with Cassette Tape Player
and Tone Control 3-18
3-21
3 -27
3-30
3-32
3-33
3-33
3-34 3-35
3-35 AM-FM Stereo
with Compact Disc Player
and Tone Control
AM-FM Stereo with Cassette, CD Player
and Tone Control
Trunk Mounted CD Changer
Theft-Deterrent Feature
Steering Wheel Controls
Understanding Radio Reception
Tips About Your Audio System
Care of Your Cassette Tape Player
Care
of Your Compact Discs
Heated Backlite Antenna
ProCarManuals.com
Page 154 of 420
Comfort Controls
This section tells you how to operate your comfort
controls. Your comfort control system uses
ozone-friendly
R- 134a refrigerant.
With these systems, you can control the heating, cooling
and ventilation in your Buick. Your vehicle also has a
flow-through ventilation system described later in
this section.
Personal Choice Comfort Controls
(If Equipped)
This feature allows two different drivers to store and
recall their own climate control settings for temperature, air delivery mode, fan and passenger climate control
(ordoff) status. The Personal Choice settings recalled
are determined by the transmitter used to enter the
vehicle. After the
UNLOCK button of a remote keyless
entry transmitter is pressed, and the ignition is in
RUN,
the climate control will adjust to the last settings of the
identified driver. The settings can also be changed by
briefly pressing one of the
MEMORY seat switches
located on the driver’s door panel. When adjustments
are made, the new settings
are automatically saved for
the driver.
Dual Automatic ComforTemp Climate Control
Your Buick has the dual automatic comfortemp climate
control system. The following information tells you how
it works.
You will hear a beep each time a button is pushed and a
small light on the button will indicate which buttons are
active. The lights are on all buttons except
TEMP, FAN
and
AIR FLOW. The display will show fan speed,
comfort level setting and airflow direction for a few seconds whenever any button, except for the rear
defog, is pushed, and then it will display the outside
temperature. The outside temperature reading is most
accurate when the vehicle is moving.
During stops, when driving slow, or when the engine is
first started after a short trip, the outside temperature
reading can be affected by road or engine heat. In order
to ensure proper automatic climate control operation, the outside temperature display may not update as quickly
as expected.
3-2
ProCarManuals.com
Page 155 of 420
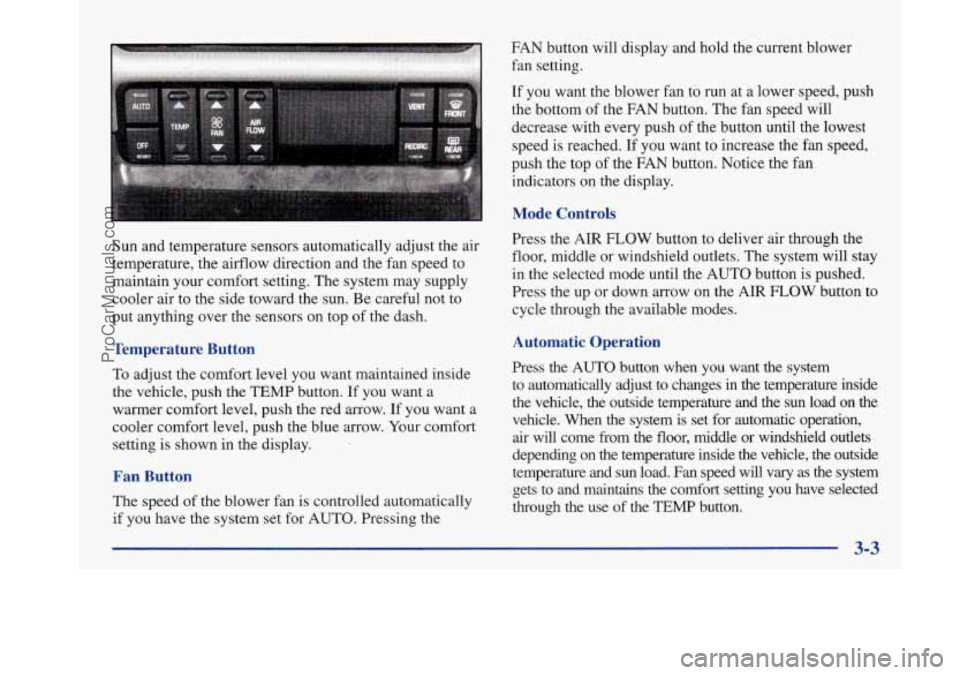
Sun and temperature sensors automatically adjust the air
temperature, the airflow direction and the fan speed to
maintain your comfort setting. The system may supply
cooler air to the side toward the sun. Be careful not to
put anything over the sensors on top of the dash.
Temperature Button
To adjust the cornfort level you Want maintained inside
the vehicle, push the TEMP button. If you want a
warmer comfort level, push the red arrow. If you want a
cooler comfort level, push the blue arrow.
Your comfort
setting is shown in the display.
Fan Button
The speed of the blower fan is controlled automatically
if you have the system set for AUTO. Pressing the FAN button will
display and hold the current blower
fan setting.
If you want the blower fan to run at a lower speed, push
the bottom
of the FAN button. The fan speed will
decrease with every push
of the button until the lowest
speed is reached.
If you want to increase the fan speed,
push the top of the FAN button. Notice the fan
indicators on the display.
Mode Controls
Press the AIR FLOW button to deliver air through the
floor, middle or windshield outlets. The system will stay
in the selected mode until the AUTO button is pushed.
Press the up or down arrow on the AIR
FLOW button to
cycle through the available modes.
Automatic Operation
Press the AUTO button when you want the system
to automatically adjust to changes
in the temperature inside
the vehicle, the outside temperature and the sun load on the
vehicle. When the system is set for automatic operation,
air will come from the floor, middle or windshield outlets
depending on the temperature inside the vehicle, the outside
temperature and sun load. Fan speed will vary as the system gets to and maintains the comfort setting you have selected
through the use of the
TEMP button.
3-3
ProCarManuals.com
Page 156 of 420
To find your comfort setting, start with the system in
AUTO mode and the
TEMP button adjusted to a display
of
75 OF (24"C), give the vehicle about 20 minutes to
stabilize, and adjust your comfort setting if necessary, by
using the TEMP button. The display will show the
comfort setting, fan speed and airflow direction for a few
seconds, and then it will display the outside temperature.
In cold weather, the system will delay turning the fan on
high, to avoid blowing cold air. The length of the delay
depends on the engine coolant temperature and the
outside temperature. Pushing the FAN, AIR FLOW
or FRONT buttons will override this delay, turn
off the
AUTO setting and change the fan speed.
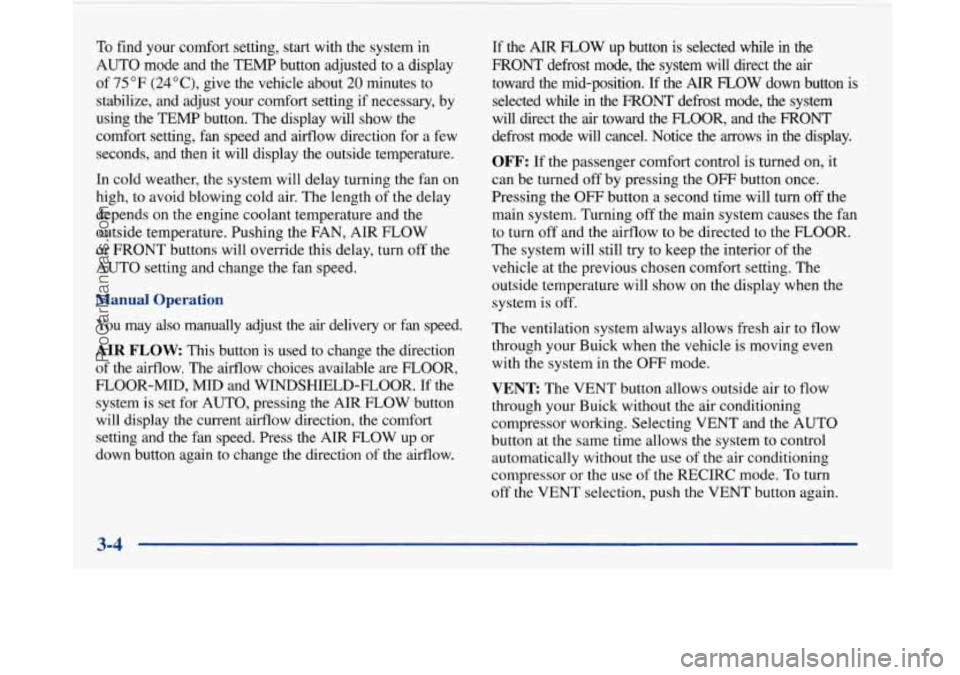
Manual Operation
You may also manually adjust the air delivery or fan speed.
AIR FLOW This button is used to change the direction
of the aifflow. The airflow choices available are FLOOR,
FLOOR-MID,
MID and WINDSHIELD-FLOOR. If the
system is set
for AUTO, pressing the AIR FLOW button
will display the current airflow direction, the comfort
setting and the fan speed. Press the AIR FLOW up or
down button again
to change the direction of the airflow.
If the AIR FLOW up button is selected while in the
FRONT defrost mode, the system will direct the air
toward the mid-position.
If the AIR FLOW down button is
selected while
in the FRONT defrost mode, the system
will direct the air toward the
FLOOR, and the FRONT
defrost mode will cancel. Notice the arrows in the display.
OFF: If the passenger comfort control is turned on, it
can be turned
off by pressing the OFF button once.
Pressing the OFF button a second time will turn
off the
main system. Turning
off the main system causes the fan
to turn off and the airflow to be directed to the FLOOR.
The system will still try to keep the interior of the
vehicle at the previous chosen comfort setting. The
outside temperature will show on the display when the
system is off.
The ventilation system always allows fresh air to flow
through your Buick when the vehicle is moving even
with the system in the OFF mode.
VENT: The VENT button allows outside air to flow
through your Buick without the air conditioning
compressor working. Selecting VENT and the AUTO
button at the same time allows the system to control
automatically without
the use of the air conditioning
compressor or the
use of the RECIRC mode. To turn
off the VENT selection, push the VENT button again.
3-4
ProCarManuals.com
Page 157 of 420
RECIRC: When RECIRC is selected, the system will
limit the amount of outside air entering your vehicle.
This is helpful when you
are trying to cool the interior
of the vehicle quickly or limit the amount of outside air
entering your vehicle for some other reason. RECIRC
and AUTO may be selected at the same time. The
system will remain in RECIRC until the ignition is
turned
off. The system will return back to the previously
selected mode when the car is turned back on. RECIRC
can be selected in all manual airflow modes except
FRONT defrost. RECIRC cannot be selected with the
VENT button.
FRONT This selection is used to defrost the
windshield by directing the airflow toward the windshield.
If FRONT is selected while in the AUTO mode, the fan
speed and the
air temperature from the front defroster will
vary.
If a manual fan speed setting is selected, the fan
speed will remain
at that selection until another fan speed
selection is made or the AUTO mode is selected. To turn
off FRONT, press the AUTO or AIR FLOW button.
FRONT defrost will work better if any
ice or snow is
cleared from the hood and the air inlet area between the
base of the windshield and the hood.
Air Conditioning
On hot days, open the windows long enough to let hot
inside air escape. This reduces the time it takes for your
vehicle
to cool down. Then keep your windows closed
for the air conditioner to work its best.
On very hot days, the system will automatically enter
the RECIRC mode and the temperature door will be
positioned at the full cold position for maximum
cooling. If the system is not in the AUTO mode,
RECIRC should be selected to provide maximum
cooling.
You can choose the extreme comfort setting of
60°F (16"C), but the system will not cool any faster
by choosing the extreme comfort setting.
Heating
Press AUTO and adjust the temperature by pressing the
TEMP up or down arrow. You may also adjust the dual
automatic comfortemp system manually by pressing the
AIR FLOW button until FLOOR appears. Again, adjust
the temperature by pressing the TEMP up or down arrow.
Outside air will be brought in and sent through the
floor outlets. The heater works best if you keep your
windows closed.
3-5
ProCarManuals.com
Page 158 of 420
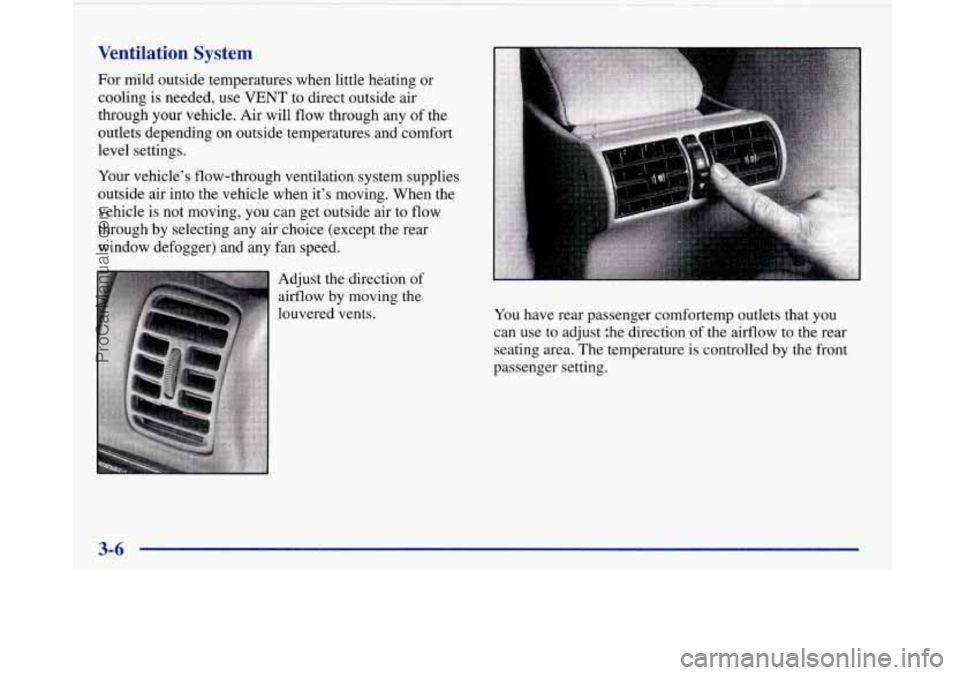
Ventilation System
For mild outside temperatures when little heating or
cooling is needed, use VENT to direct outside air
through your vehicle. Air will
flow through any of the
outlets depending on outside temperatures and comfort
level settings.
Your vehicle’s flow-through ventilation system supplies
outside air into the vehicle when it’s moving. When the
vehicle is not moving, you can get outside air to flow
through by selecting any air choice (except the rear
window defogger) and
any €an speed.
Adjust the direction
of
airflow by moving the
louvered vents. You have rear passenger comfortemp outlets that
you
can use to adjust the direction of the airflow to the rear
seating area. The temperature is controlled
by the front
passenger setting.
ProCarManuals.com
Page 159 of 420
Ventilation Tips
0 Keep the hood and front air inlet free of ice, snow or
any other obstruction such as leaves. The heater and
defroster will work better, reducing the chance of
fogging your windows.
e Keep the air path under the front seats clear of objects.
This helps
air to circulate throughout your vehicle.
Passenger Compartment Air Filter (Option)
rassenger compartment air, both outside air and
recirculated air, is routed through a passenger
compartment filter, which is part of a three piece filter
system. The filter removes certain particles from the air,
including pollen and dust particles. Reductions in
airflow, which may occur more quickly in dusty areas,
indicate that the filter needs to be replaced early. The
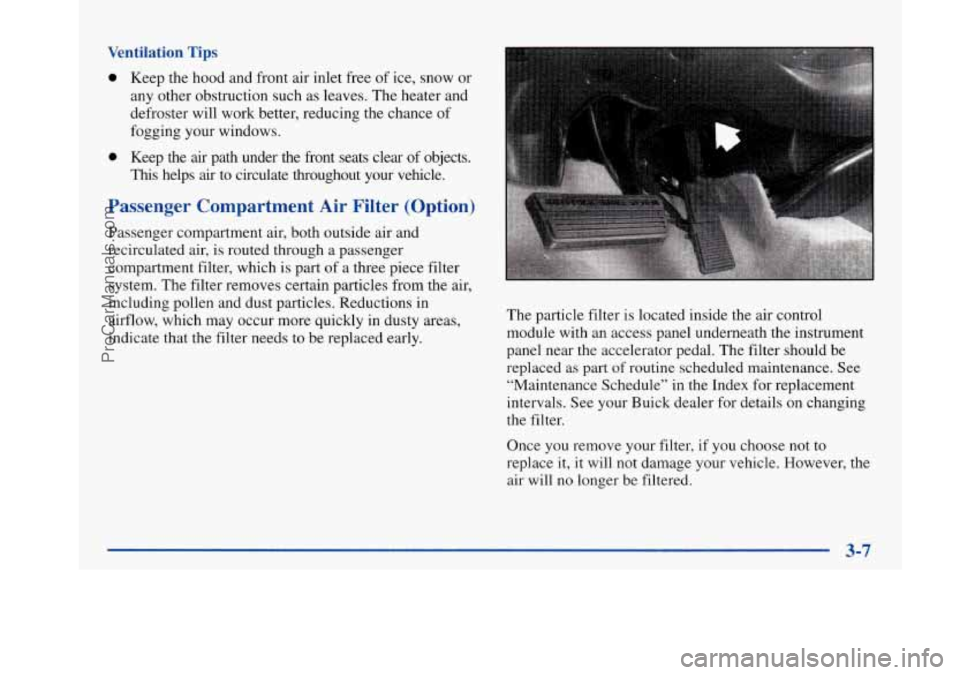
particle filter is located inside the air control
module with an access panel underneath the instrument
panel near the accelerator pedal. The filter should be
replaced as part
of routine scheduled maintenance. See
“Maintenance Schedule” in the Index for replacement
intervals. See your Buick dealer for details on changing
the filter.
Once you remove your filter, if you choose not
to
replace it, it will not damage your vehicle. However, the
air will no longer be filtered.
3-7
ProCarManuals.com
Page 160 of 420
Defogging and Defrosting
On cool but humid days, use FRONT to keep the
windshield and side windows clear and to quickly
remove fog, frost or ice from the windshield.
The, fan speed will vary while in the AUTO mode. If a
manual fan speed setting is selected, the fan speed will
remain at that selection until the engine is turned off or
another selection has been made.
To turn off FRONT,
press AUTO or AIR
FLOW.
Rear Window Defogger
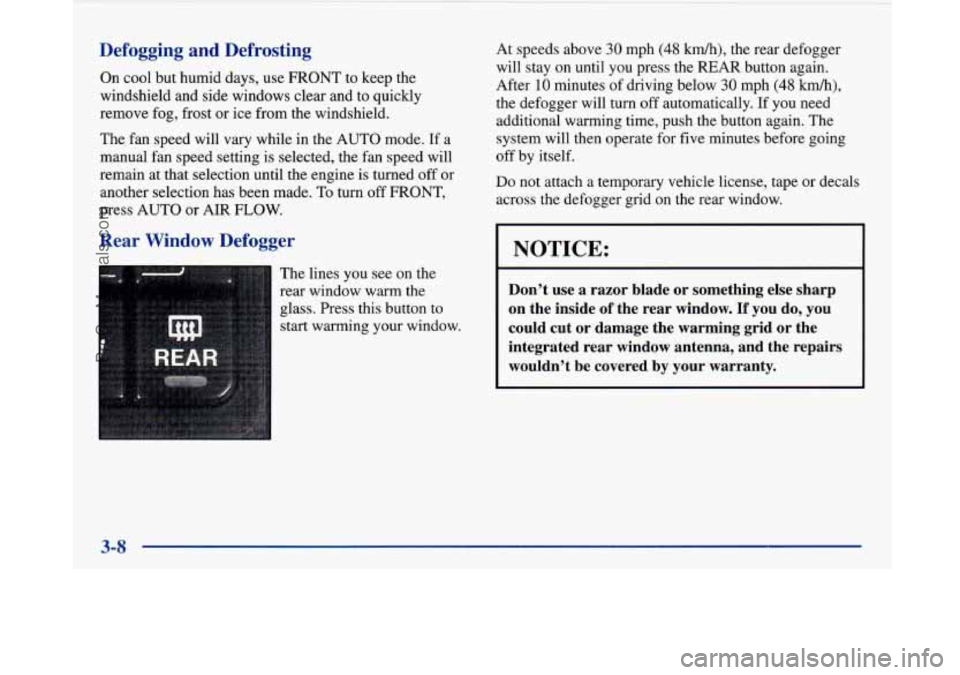
The lines you see on the
rear window warm the
glass. Press this button to
start warming your window. At
speeds above
30 mph (48 km/h), the rear defogger
will stay on until you press the
REAR button again.
After
10 minutes of driving below 30 mph (48 km/h),
the defogger will turn off automatically. If you need
additional warming time, push the button again. The
system will then operate for five minutes before going
off by itself.
Do not attach a temporary vehicle license, tape or decals
across the defogger grid on the rear window.
NOTICE:
Don’t use a razor blade or something else sharp
on the inside
of the rear window. If you do, you
could cut or damage the warming grid or the
integrated rear window antenna, and the repairs
wouldn’t be covered by your warranty.
3-8
ProCarManuals.com