wheel bolts CADILLAC CATERA 1998 1.G Owners Manual
[x] Cancel search | Manufacturer: CADILLAC, Model Year: 1998, Model line: CATERA, Model: CADILLAC CATERA 1998 1.GPages: 346, PDF Size: 19.13 MB
Page 215 of 346
Downloaded from www.Manualslib.com manuals search engine 2. Let up on the brake pedal.
3. Drive slowly until the trailer is clear of the chocks.
4. Stop and have someone pick up and store the chocks.
Maintenance When Trailer Towing
Parking on Hills
You really should not park your vehicle, with a trailer
attached,
on a hill. If something goes wrong, your rig
could start to move. People can be injured, and both
your vehicle and the trailer can be damaged.
But if you ever have to park your rig on a hill, here’s
how to do it:
1. Apply the regular brakes, but do not shift into PARK (P).
2. Have someone place chocks under the trailer wheels.
3. When the wheel chocks are in place, release the
regular brakes until the chocks absorb the load.
4. Reapply the regular brakes. Then shift into
PARK (P) firmly and apply the parking brake.
5. Release the regular brakes.
When You Are Ready to Leave After
Parking on a Hill
1. Apply your regular brakes and hold the pedal down
while you:
0 Start your engine;
Shift into a gear; and
0 Be sure the parking brake has released. Your
vehicle will need service more often when you’re
pulling a trailer. See the Maintenance Schedule booklet
for more on this. Things that are especially important in
trailer operation
are automatic transmission fluid (don’t
overfill), engine
oil, axle lubricant, drive belt, cooling
system and brake adjustment. If you’re trailering, it’s a
good idea to review this information before you start
your trip.
Check periodically to see
that all hitch nuts and bolts
are tight.
Engine Cooling When Trailer Towing
Your cooling system may temporarily overheat during
severe operating conditions. See “Engine Overheating”
in the Index.
4-36
Page 240 of 346
Downloaded from www.Manualslib.com manuals search engine 2.
3.
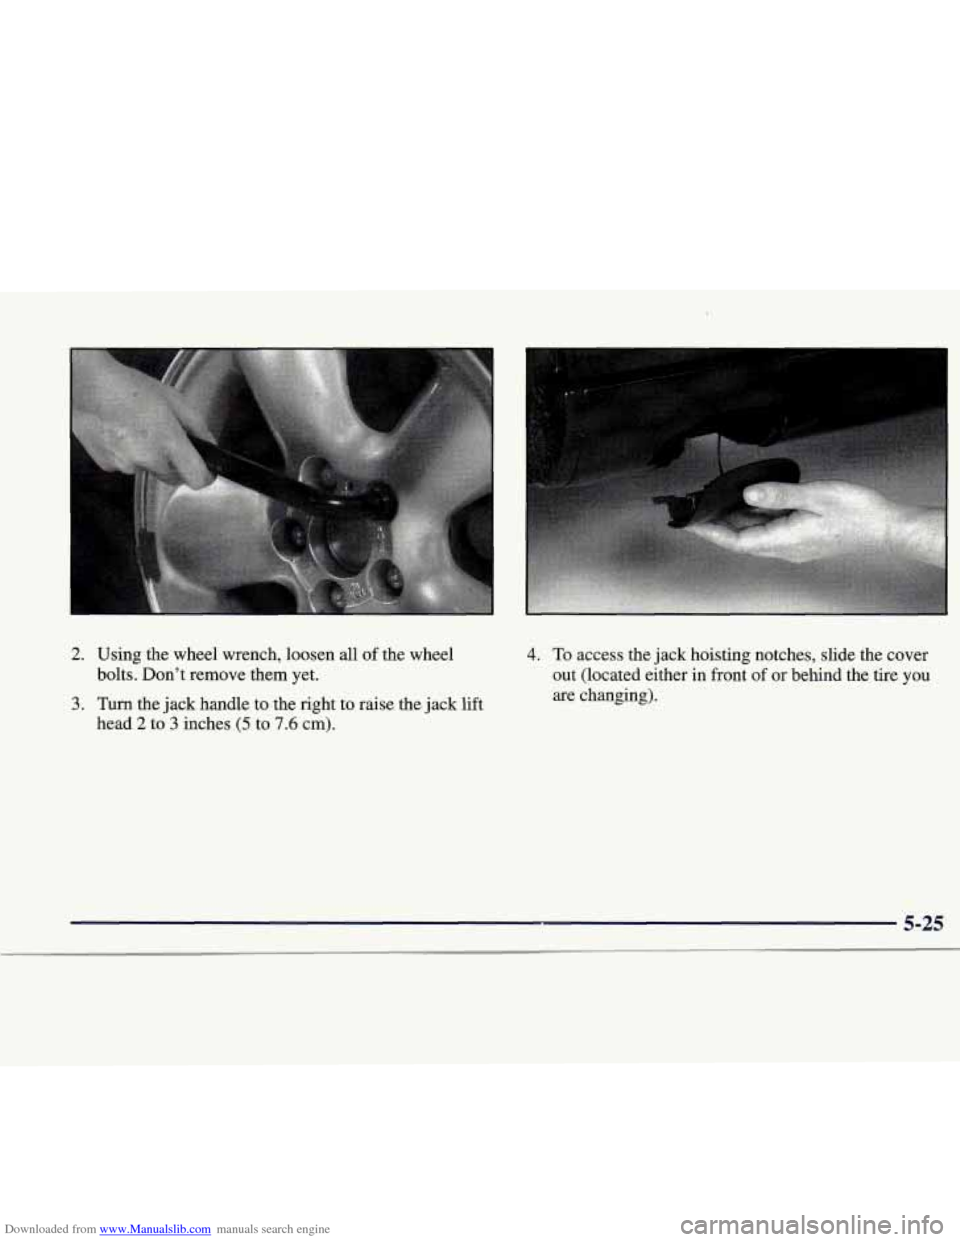
Using the wheel wrench, loosen all of the wheel
bolts. Don’t remove them yet.
Turn the jack handle to the right to raise the jack lift
head
2 to 3 inches (5 to 7.6 cm).
4. To access the jack hoisting notches, slide the cover
out (located either in front of or behnd the tire you
are changing).
5-25
Page 242 of 346
Downloaded from www.Manualslib.com manuals search engine A CAUTION:
Getting under a vehicle when it is jacked up is
dangerous. If the vehicle slips off the jack, you
could be badly injured or killed. Never get under
a vehicle when it is supported only by a jack.
A CAUTION:
-
Raising your vehicle with the jack improperly
positioned can damage the vehicle and even
make the vehicle fall.
To help avoid personal
injury and vehicle damage, be sure to
fit the jack
lift head into the proper location before raising
the vehicle.
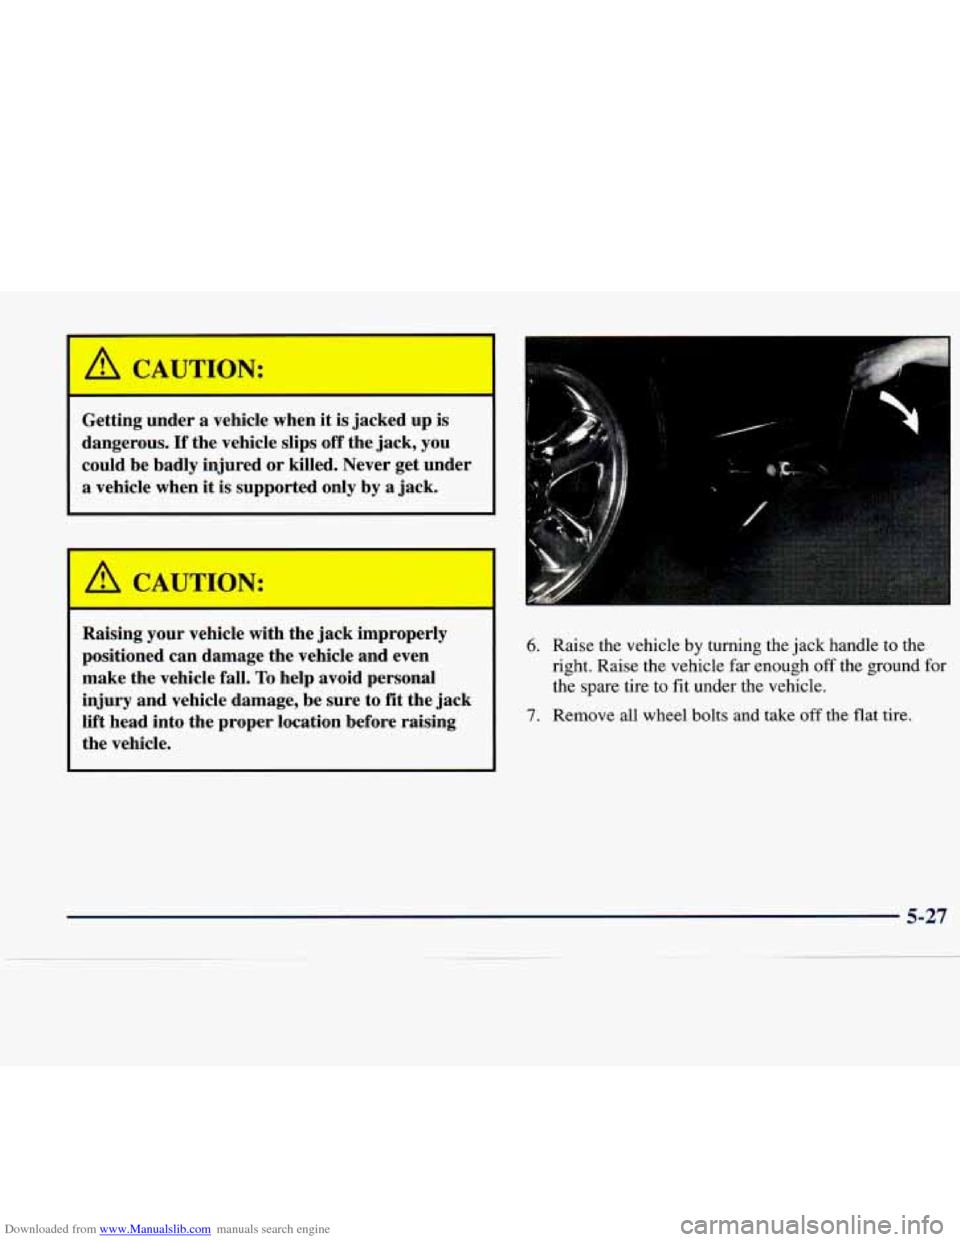
6. Raise the vehicle by turning the jack handle to the
right. Raise the vehicle far enough
off the ground for
the spare tire to fit under the vehicle.
7. Remove all wheel bolts and take off the flat tire.
5-27
Page 243 of 346
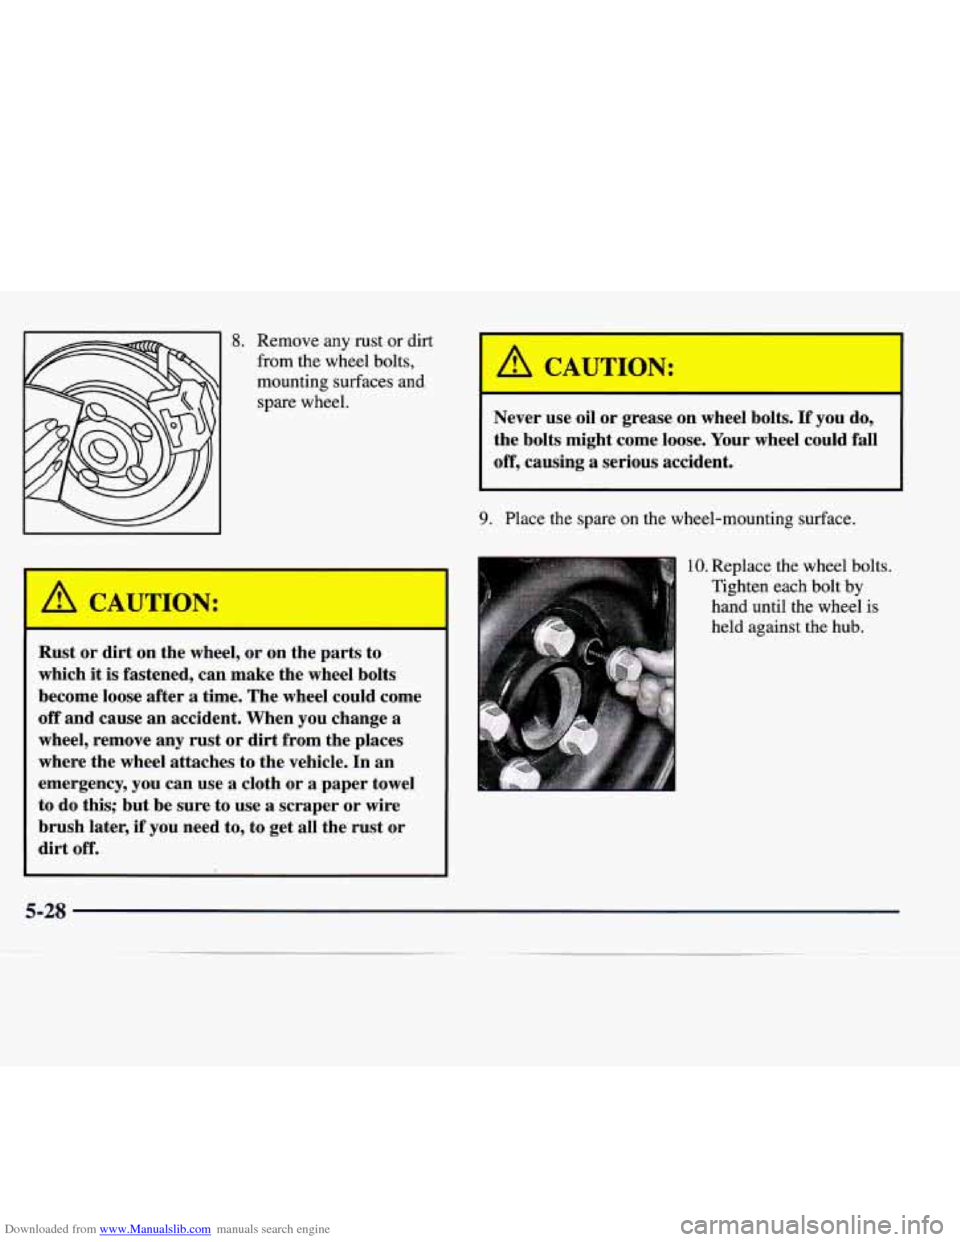
Downloaded from www.Manualslib.com manuals search engine 8. Remove any rust or dirt
from the wheel bolts,
mounting surfaces and spare wheel.
A CAUTION:
Rust or dirt on the wheel, or on the parts to
which it is fastened, can make the wheel bolts
become loose after a time. The wheel could come
off and cause an accident. When you change
a
wheel, remove any rust or dirt from the places
where the wheel attaches to the vehicle. In an
emergency, you can use
a cloth or a paper towel
to do this; but be sure to use
a scraper or wire
brush later, if you need to, to get all the rust or
dirt
off.
I A CAU -ION:
Never use oil or grease on wheel bolts. If you do,
the bolts might come loose. Your wheel could fall
off, causing a serious accident.
9. Place the spare on the wheel-mounting surface.
10. Replace the wheel bolts.
Tighten each bolt by
hand until the wheel is
held against the hub.
5-28
Page 244 of 346
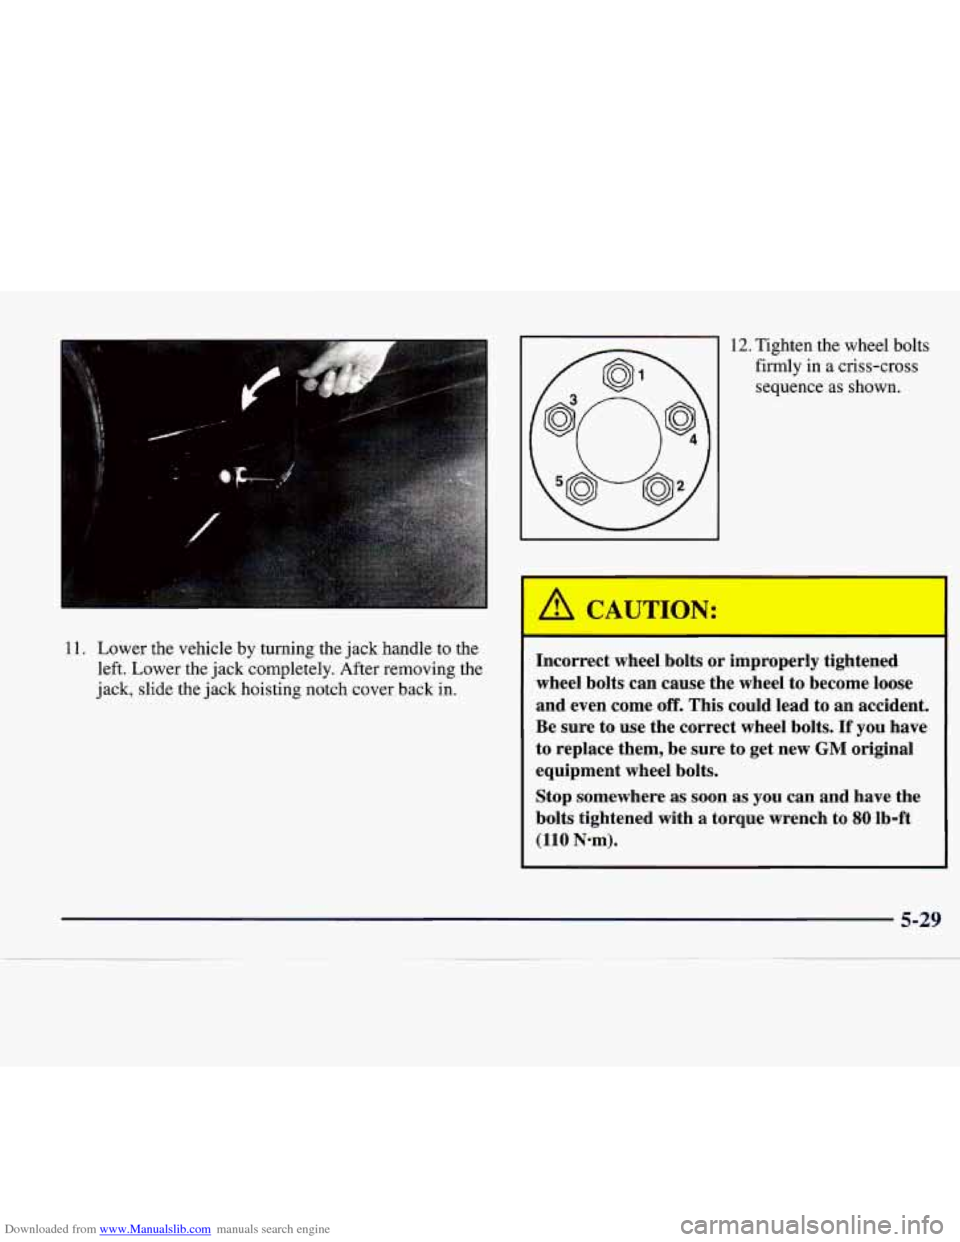
Downloaded from www.Manualslib.com manuals search engine 11. Lower the vehicle by turning the jack handle to the
left. Lower the jack completely. After removing the
jack, slide the jack hoisting notch cover back in. 12. Tighten
the wheel bolts
firmly in a criss-cross
sequence as shown.
Incorrect wheel bolts or improperly tightened
wheel bolts can cause the wheel to become loose
and even come
off. This could lead to an accident.
Be sure to use the correct wheel bolts.
If you have
to replace them, be sure to get new
GM original
equipment wheel bolts.
Stop somewhere
as soon as you can and have the
bolts tightened with a torque wrench to
80 lb-ft
(110 Nm).
Page 245 of 346
Downloaded from www.Manualslib.com manuals search engine NOTICE:
Improperly tightened wheel bolts can lead to
brake pulsation and rotor damage.
To avoid
expensive brake repairs, evenly tighten the wheel
bolts in the proper sequence and to the proper
torque specification.
Storin- a Flat or Spare Tire and Tools
CAU I ION:
Storing a jack, a tire or other equipment in the
passenger compartment
of the vehicle could
cause injury. In a sudden stop or collision, loose
equipment could strike someone. Store all these
in the proper place. After you’ve
put the spare tire on your vehicle, you’ll
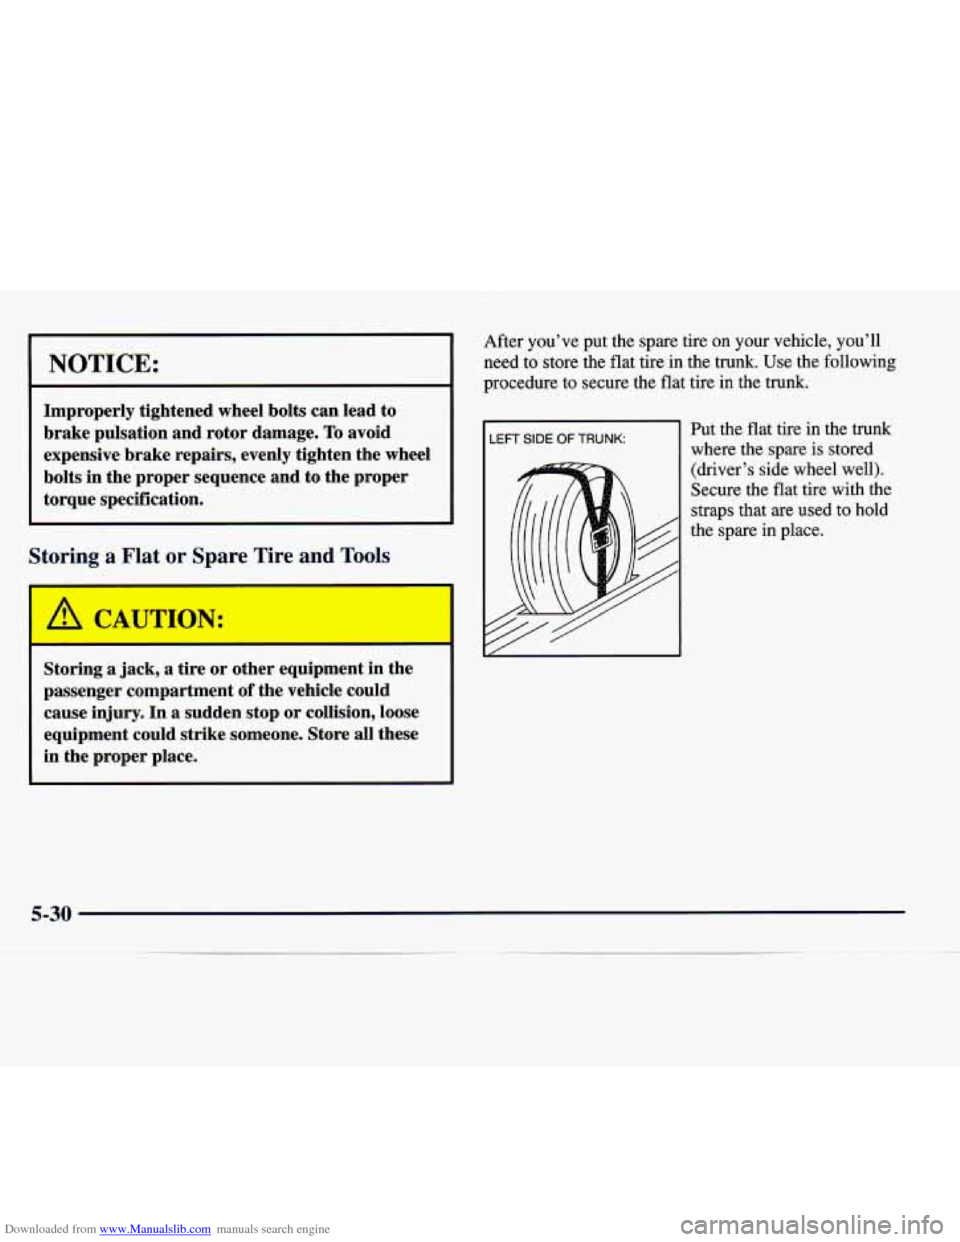
need to store the flat tire in the trunk. Use the following
procedure to secure the flat tire in the trunk.
I LEFT SIDE OF TRUNK:
I
Put the flat tire in the trunk
where the spare is stored
(driver’s side wheel well).
Secure the flat tire with the
straps that are used to hold
the spare in place.
Page 277 of 346
Downloaded from www.Manualslib.com manuals search engine Brake Wear
Your vehicle has four-wheel disc brakes.
Your vehicle has electronic wear sensors that let you
know when the front brake pads are significantly worn
and new pads are needed. The brake pad wear indicator
light
will come on and stay on when the brake pads are
worn and need to be replaced. (See “Brake Pad Wear
Indicator Light” in the Index.)
I A CAUTION: I
The brake pad wear indicator light means that
soon your brakes won’t work well. That could
lead to an accident. When the brake pad wear
indicator light comes on and stays on, have your
vehicle serviced.
NOTICE:
Continuing to drive with worn-out brake pads
could result in costly brake repair.
Some driving conditions or climates may cause a brake
squeal when the brakes are first applied
or lightly
applied. This does not mean something is wrong with
your brakes.
Properly torqued wheel bolts are necessary to help
prevent brake pulsation. When tires are rotated, inspect
brake pads for wear and evenly torque wheel bolts in the
proper sequence to GM specifications.
Brake linings should always be replaced as complete
axle sets.
See “Brake System Inspection” in the Maintenance
Schedule booklet under
Part C “Periodic Maintenance
Inspections.”
6-28
Page 289 of 346
Downloaded from www.Manualslib.com manuals search engine After the tires have been rotated, adjust the front and
rear inflation pressures as shown on the Tire-Loading
Information label. Make certain that all wheel bolts are
properly tightened. See “Wheel Bolt Torque” in
the Index.
Rust or dirt on a wheel, or on the parts to which
it
is fastened, can make wheel studs become loose
after a time. The wheel could come off
and cause
an accident. When
you change a wheel, remove
any
rust or dirt from places where the wheel
attaches to the vehicle. In an emergency, you can
use a cloth or a paper towel to do this; but be
sure to use a scraper or wire brush later, if you
need to, to get all the rust or dirt
off. (See
“Changing a Flat Tire” in the Index.) When
It’s Time
for New Tires
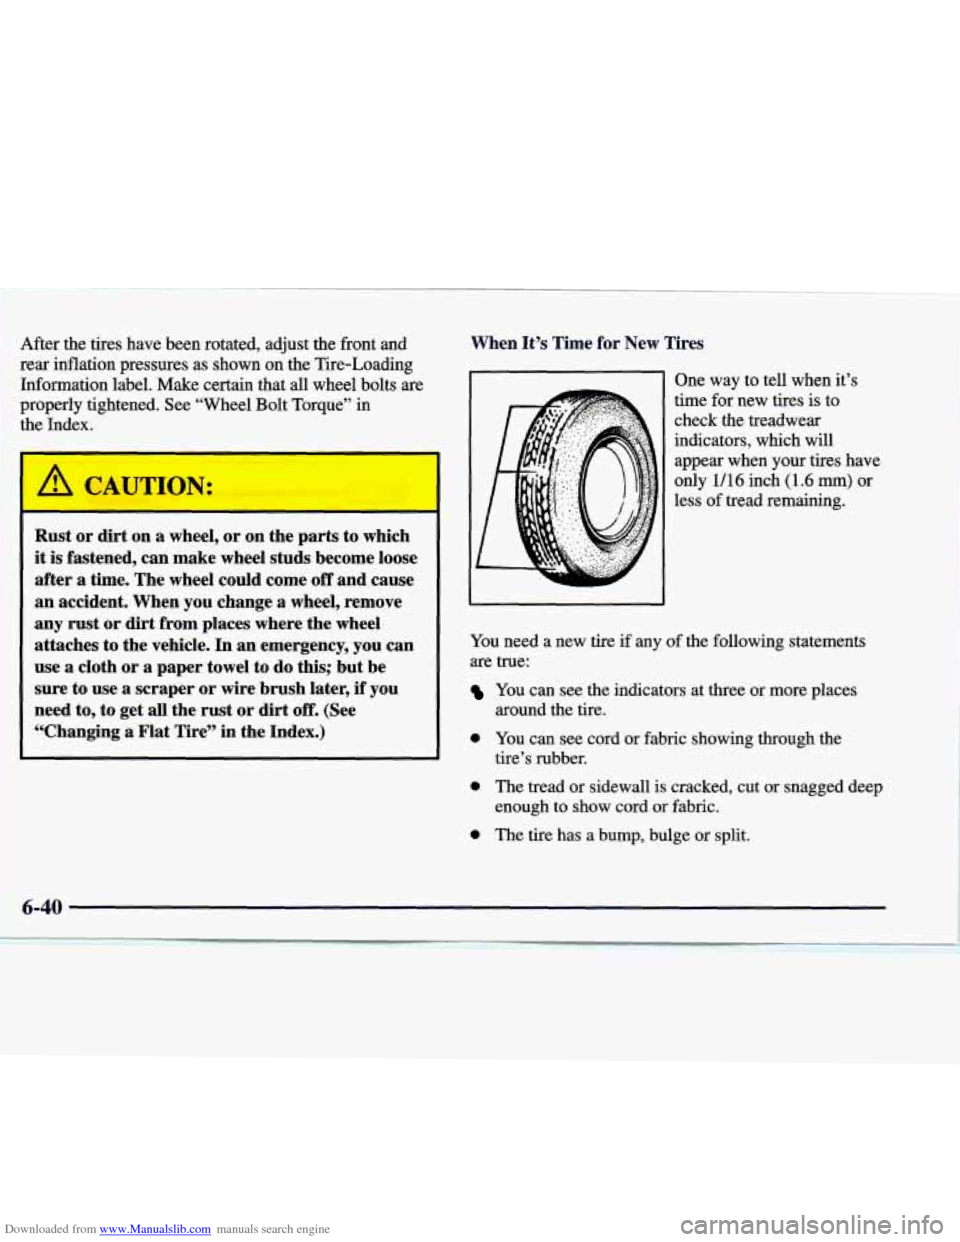
One way to tell when it’s
time for new tires is to
check the treadwear
indicators, which will
appear when your tires have
only
1/16 inch (1.6 mm) or
less
of tread remaining.
You need a new tire
if any of the following statements
are true:
You can see the indicators at three or more places
around the tire.
0 YOU can see cord or fabric showing though the
tire’s rubber.
0 The tread or sidewall is cracked, cut or snagged deep
enough to show cord or fabric.
0 The tire has a bump, bulge or split.
6-40
Page 292 of 346
Downloaded from www.Manualslib.com manuals search engine Temperature -- A, B, C
The temperature grades are A (the highest), B, and C,
representing the tire’s resistance to the generation of
heat and its ability to dissipate heat when tested under
controlled conditions on a specified indoor laboratory
test wheel. Sustained high temperature can cause the
material of the tire to degenerate and reduce tire
life, and
excessive temperature can lead to sudden tire failure.
The grade
C corresponds to a level of performance
which all passenger car tires must meet under the
Federal Motor Vehicle Safety Standard
No. 109. Grades
B and A represent higher levels of performance on the
laboratory test wheel than the minimum required by law.
Warning: The temperature grade for this tire is
established for a tire that is properly inflated and not
overloaded. Excessive speed, underinflation, or
excessive loading, either separately or in combination,
can cause heat buildup
and possible tire failure.
Wheel Alignment and Tire Balance
The wheels on your vehicle were aligned and balanced
carefully at the factory to give you the longest tire life
and best overall performance.
Scheduled wheel alignment and wheel balancing are not
needed. However, if you notice unusual tire wear or
your vehicle pulling one way or the other, the alignment
may need to be reset. If you notice your vehicle
vibrating when driving on a smooth road, your wheels
may need to be rebalanced.
Wheel Replacement
Replace any wheel that is bent, cracked, or badly rusted
or corroded. If wheel bolts keep corning loose, the wheel
and wheel bolts should be replaced. If the wheel leaks
air, replace it (except some aluminum wheels, which can
sometimes be repaired). See your dealer if any of these
conditions exist.
Your dealer will know the kind of wheel you need.
Each new wheel should have
the same load-carrying
capacity, diameter, width, offset and be mounted the
same way as the one it replaces.
Page 293 of 346
Downloaded from www.Manualslib.com manuals search engine I
If you need to replace any of your wheels or wheel
bolts, replace them only with new
GM original
equipment
parts. This way, you will be sure to have the
right wheel and wheel bolts for your Catera model.
A CAUTION:
Using the wrong replacement wheels and wheel
bolts on your vehicle can be dangerous. It could
affect the braking and handling of your vehicle,
make your tires lose
air and make you lose
control. You could have a collision in which you
or others could
be injured. Always use the correct
wheel and wheel bolts for reolacement.
NOTICE:
The wrong wheel can also cause problems with
bearing life, brake cooling, speedometer or
odometer calibration, headlamp aim, bumper
height, vehicle ground clearance and tire or tire
chain clearance to the body and chassis.
See “Changing a Flat Tire”
in the Index for
more information.
I A CAUTIO1 I
Putting a used wheel on your vehicle is
dangerous. You can’t know how it’s been used or
how
far it’s been driven. It could fail suddenly
and cause an accident.
If you have to replace a
wheel, use a new GM original equipment wheel.
6-44