steering CADILLAC DTS PROFESSIONAL 2007 1.G Owner's Manual
[x] Cancel search | Manufacturer: CADILLAC, Model Year: 2007, Model line: DTS PROFESSIONAL, Model: CADILLAC DTS PROFESSIONAL 2007 1.GPages: 518, PDF Size: 2.77 MB
Page 166 of 518
Heated Steering Wheel
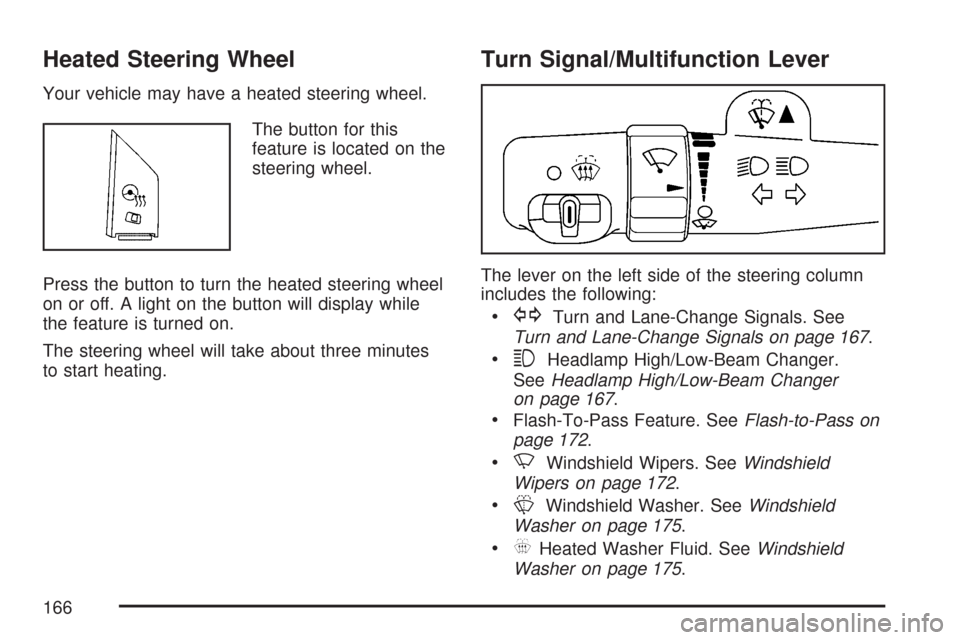
Your vehicle may have a heated steering wheel.
The button for this
feature is located on the
steering wheel.
Press the button to turn the heated steering wheel
on or off. A light on the button will display while
the feature is turned on.
The steering wheel will take about three minutes
to start heating.
Turn Signal/Multifunction Lever
The lever on the left side of the steering column
includes the following:
GTurn and Lane-Change Signals. See
Turn and Lane-Change Signals on page 167.
3Headlamp High/Low-Beam Changer.
SeeHeadlamp High/Low-Beam Changer
on page 167.
Flash-To-Pass Feature. SeeFlash-to-Pass on
page 172.
NWindshield Wipers. SeeWindshield
Wipers on page 172.
LWindshield Washer. SeeWindshield
Washer on page 175.
_Heated Washer Fluid. SeeWindshield
Washer on page 175.
166
Page 169 of 518
{CAUTION:
FCA is only a warning system and does
not apply the brakes. When you are
approaching a vehicle or object too
rapidly or when you are following a
vehicle too closely that is ahead of you,
FCA may not provide you with enough
time to avoid a collision. FCA is not
designed to warn the driver of pedestrians
or animals. Your complete attention is
always required while driving and you
should be ready to take action and apply
the brakes. For more information,
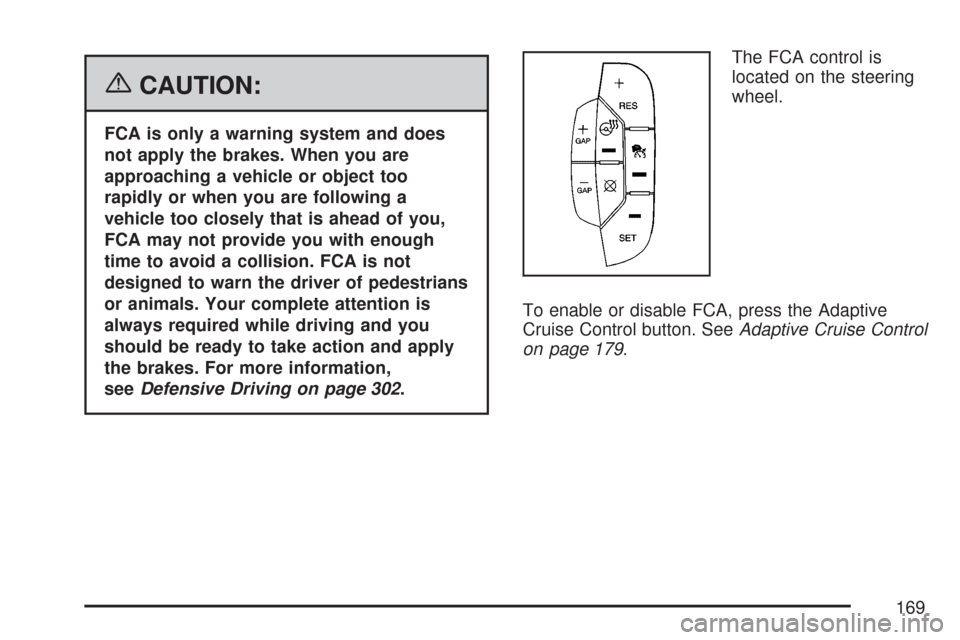
seeDefensive Driving on page 302.The FCA control is
located on the steering
wheel.
To enable or disable FCA, press the Adaptive
Cruise Control button. SeeAdaptive Cruise Control
on page 179.
169
Page 177 of 518

Setting Cruise Control
{CAUTION:
If you leave your cruise control on when
you are not using cruise, you might hit a
button and go into cruise when you do
not want to. You could be startled and
even lose control. Keep the cruise control
switch off until you want to use cruise
control.
The cruise control
buttons are located
on left side of the
steering wheel.
I(On):This position turns on the system.
+ RES (Resume/Accelerate):Press this button
to make the vehicle accelerate or resume to
a previously set speed.
SET– (Set):Press this button to set the speed.
[(Cancel):Press this button to cancel cruise
control.
Cruise control will not work if the parking brake is
set, or if the master cylinder brake �uid level is low.
If the brakes are applied, the cruise control
shuts off.
The cruise light on the instrument panel cluster
comes on after the cruise control has been set to
the desired speed.
1. Press the cruise control button.
2. Get up to the desired speed.
3. Press the SET– button located on the steering
wheel and release it.
4. Take your foot off the accelerator.
177
Page 179 of 518
Passing Another Vehicle While Using
Cruise Control
Use the accelerator pedal to increase your speed.
When you take your foot off the pedal, the vehicle
slows down to your previous cruise control speed.
Using Cruise Control on Hills
How well your cruise control works on hills depends
upon the vehicle speed, load, and the steepness of
the hills. When going up steep hills, you might have
to step on the accelerator pedal to maintain the
vehicle’s speed. When going downhill, you might
have to brake or shift to a lower gear to keep the
vehicle’s speed down. Applying the brake or shifting
into a lower gear ends cruise control. If you need to
apply the brake or shift to a lower gear due to the
grade of the downhill slope, you might not want to
attempt to use the cruise control feature.
Ending Cruise Control
To turn off the cruise control, step lightly on
the brake pedal, or press the cancel button on
the steering wheel.
Erasing Speed Memory
When you turn off the cruise control or the
ignition, your cruise control set speed memory
is erased.
Adaptive Cruise Control
If your vehicle has this feature, be sure to read
this entire section before using it.
The system operates on a radio frequency subject
to Federal Communications Commission (FCC)
Rules and with Industry Canada.
This device complies with Part 15 of the FCC
Rules. Operation is subject to the following
two conditions:
1. This device may not cause interference.
2. This device must accept any interference
received, including interference that may
cause undesired operation of the device.
179
Page 182 of 518
:This position turns on the system.
+ Resume (Resume/Acc CADILLAC DTS PROFESSIONAL 2007 1.G Owners Manual The Adaptive Cruise
controls are located on
the steering wheel.
The cruise control buttons are located on left side
of the steering wheel.
](On):This position turns on the system.
+ Resume (Resume/Acc](/img/23/7897/w960_7897-181.png)
The Adaptive Cruise
controls are located on
the steering wheel.
The cruise control buttons are located on left side
of the steering wheel.
](On):This position turns on the system.
+ Resume (Resume/Accelerate):Press this
button to make the vehicle resume to a previously
set speed or to increase the set speed when
Adaptive Cruise Control is already active.Set–:Press this button to set the speed or to
decrease the set speed when Adaptive Cruise
Control is already active.
[(Cancel):Press this button to cancel adaptive
cruise control.
+GAP (Increase Following Distance):Press
this button to increase the distance between your
vehicle and other vehicles.
−GAP (Decrease Following Distance):Press
this button to decrease the distance between your
vehicle and other vehicles.
Adaptive cruise control will not work if the master
cylinder brake �uid level is low.
182
Page 185 of 518

Selecting the Follow Distance (GAP)
When the system detects a slower moving vehicle,
it will adjust your vehicle’s speed and maintain
the follow distance (gap) you select.
Use the plus and minus buttons on the steering
wheel to adjust the follow distance.
Press the plus button to increase the distance
or the minus button to decrease the distance.
The �rst button press will show you the current
follow distance setting on the DIC. Your current
follow distance setting will be maintained until you
change it.There are six follow distances to choose from.
The follow distance selection ranges from near
to far (one second to two seconds follow time).
The distance maintained for a selected follow
distance will vary based on vehicle speed.
The faster the vehicle speed the further back
your vehicle will follow. Consider traffic and
weather conditions when selecting the follow
distance. The range of selectable distances may
not be appropriate for all drivers and driving
conditions. If you prefer to travel at a follow
distance farther than Adaptive Cruise Control
allows, disengage the system and drive manually.
185
Page 193 of 518

Exterior Lamps
The exterior lamps
control is located on
the instrument panel to
the left of the steering
wheel.
It controls the following systems:
Headlamps
Taillamps
Parking Lamps
License Plate Lamps
Instrument Panel Lights
Fog Lamps
The exterior lamps control has four positions:
O(Off):This position turns off the exterior lamps
except for Daytime Running Lamps (DRL).AUTO (Automatic):This position automatically
turns on the headlamps at normal brightness,
together with the following:
Parking Lamps
Instrument Panel Lights
IntelliBeam™
;(Parking Lamps):This position turns on the
parking lamps together with the following:
Instrument Panel Lights
License Plate Lamps
Taillamps
Side Marker Lamps
The parking brake indicator light comes on and
stays on while the parking lamps are on with the
engine off and the ignition in ACCESSORY or RUN.
2(Headlamps):This position turns on the
headlamps together with the previously listed
lamps. A warning chime sounds if you open the
driver’s door when the ignition switch is off and the
headlamps are on.
-(Fog Lamps):Press the exterior lamps control
to turn on the fog lamps. SeeFog Lamps on
page 198.
193
Page 198 of 518
When automatic lighting is on and it is dark enough
outside, the turn signal lamps will turn off and
normal low-beam headlamp operation will occur.
When automatic lighting is on and it is bright
enough outside, the regular lamps will go off, and
the DRL will take over. If you start your vehicle
in a dark garage, the automatic headlamp system
will come on immediately. Once you leave the
garage, it will take approximately one minute for
the automatic headlamp system to change to DRL
if there is light outside. During that delay, your
instrument panel cluster may not be as bright as
usual. Make sure your instrument panel brightness
knob is in the full bright position. SeeInstrument
Panel Brightness on page 199.
Turning on automatic lighting or the headlamps
will deactivate the DRL. If the parking lamps or the
fog lamps were turned on instead, the DRL will
still deactivate.
To idle your vehicle with the DRL off at night,
turn off automatic lighting and shift the transaxle
into PARK (P). Placing your vehicle in PARK (P)
disables the DRL. The DRL will stay off until you
shift out of PARK (P).To drive your vehicle with the DRL off, turn off
automatic lighting and manually turn on the parking
lamps or fog lamps (if equipped).
As with any vehicle, you should turn on the
regular headlamp system when you need it.
Fog Lamps
Use the fog lamps for better vision in foggy or
misty conditions.
-(Fog Lamps):The fog lamps button is
located on the exterior lamps control. The exterior
lamps control is located on the instrument panel
to the left of the steering column.
The ignition must be on for the fog lamps to work.
Press the exterior lamps button to turn the
fog lamps on or off. A light will come on in the
instrument panel cluster when the fog lamps
are in use.
When the headlamps are changed to high-beam,
the fog lamps will turn off. The fog lamps come
back on again when the high-beam headlamps
are turned off.
Some localities have laws that require the
headlamps to be on along with the fog lamps.
198
Page 215 of 518
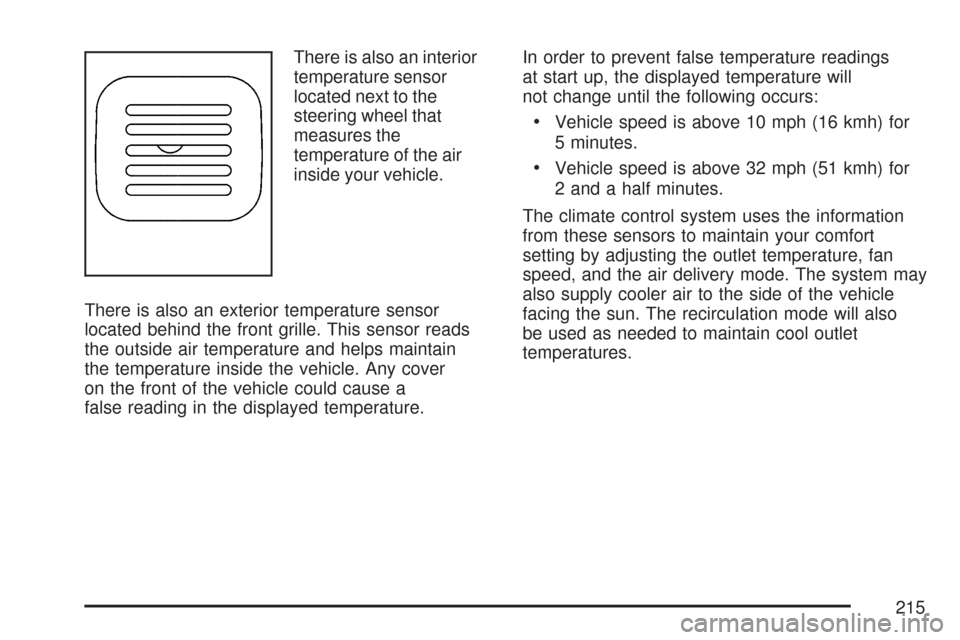
There is also an interior
temperature sensor
located next to the
steering wheel that
measures the
temperature of the air
inside your vehicle.
There is also an exterior temperature sensor
located behind the front grille. This sensor reads
the outside air temperature and helps maintain
the temperature inside the vehicle. Any cover
on the front of the vehicle could cause a
false reading in the displayed temperature.In order to prevent false temperature readings
at start up, the displayed temperature will
not change until the following occurs:
Vehicle speed is above 10 mph (16 kmh) for
5 minutes.
Vehicle speed is above 32 mph (51 kmh) for
2 and a half minutes.
The climate control system uses the information
from these sensors to maintain your comfort
setting by adjusting the outlet temperature, fan
speed, and the air delivery mode. The system may
also supply cooler air to the side of the vehicle
facing the sun. The recirculation mode will also
be used as needed to maintain cool outlet
temperatures.
215
Page 240 of 518

Driver Information Center (DIC)
The Driver Information Center (DIC) gives you the
status of many of your vehicle’s systems. The DIC
is also used to display warning/status messages.
All messages will appear in the DIC display located
at the bottom of the instrument panel cluster, below
the tachometer and speedometer. The DIC buttons
are located on the instrument panel, to the left of
the steering wheel.
The DIC comes on when the ignition is on. After
a short delay, the DIC will display the information
that was last displayed before the engine was
turned off.
The top line of the DIC display shows the vehicle
system information and the warning/status
messages. The bottom line of the DIC display
shows the odometer on the left side. The bottom
line of the DIC display also shows a digital
speedometer on the right side.
If a problem is detected, a warning message
will appear on the display. Be sure to take any
message that appears on the display seriously
and remember that clearing the message will only
make the message disappear, not correct the
problem.
DIC Controls and Displays
The Driver Information
Center (DIC) has
different displays
which can be accessed
by pressing the DIC
buttons located on the
instrument panel, to the
left of the steering wheel.
3Trip/Fuel:Press this button to scroll through
the trip and fuel displays. See “Trip/Fuel Display
Menu Items” following for more information
on these displays.
TVehicle Information:Press this button to
scroll through the vehicle information displays.
See “Vehicle Information Display Menu Items”
following for more information on these displays.
UCustomization:Press this button to scroll
through each of the customization features.
SeeDIC Vehicle Customization on page 259for
more information on the customization features.
240