warning light CADILLAC ESCALADE 2010 3.G Owner's Manual
[x] Cancel search | Manufacturer: CADILLAC, Model Year: 2010, Model line: ESCALADE, Model: CADILLAC ESCALADE 2010 3.GPages: 616, PDF Size: 39.41 MB
Page 210 of 616
Electric Power Management
The vehicle has Electric Power Management (EPM) thatestimates the battery's temperature and state of charge.It then adjusts the voltage for best performance andextended life of the battery.
When the battery's state of charge is low, the voltage israised slightly to quickly bring the charge back up.When the state of charge is high, the voltage is loweredslightly to prevent overcharging. If the vehicle has avoltmeter gage or a voltage display on the DriverInformation Center (DIC), you may see the voltagemove up or down. This is normal. If there is a problem,an alert will be displayed.
The battery can be discharged at idle if the electricalloads are very high. This is true for all vehicles. This isbecause the generator (alternator) may not be spinningfast enough at idle to produce all the power that isneeded for very high electrical loads.
A high electrical load occurs when several of thefollowing are on, such as: headlamps, high beams, foglamps, rear window defogger, climate control fan at highspeed, heated seats, engine cooling fans, trailer loads,and loads plugged into accessory power outlets.
EPM works to prevent excessive discharge of thebattery. It does this by balancing the generator's outputand the vehicle's electrical needs. It can increaseengine idle speed to generate more power, wheneverneeded. It can temporarily reduce the power demandsof some accessories.
Normally, these actions occur in steps or levels, withoutbeing noticeable. In rare cases at the highest levels ofcorrective action, this action may be noticeable to thedriver. If so, a Driver Information Center (DIC) messagemight be displayed, such as BATTERY SAVERACTIVE, BATTERY VOLTAGE LOW, or LOWBATTERY. If this message is displayed, it isrecommended that the driver reduce the electrical loadsas much as possible. SeeDIC Warnings and Messageson page 4!48.
Battery Run-Down Protection
This feature shuts off the dome lamps if they areleft on for more than 10 minutes when the ignition is inLOCK/OFF. This helps to prevent the battery fromrunning down.
4-18
Page 219 of 616

Automatic Operation, If Equipped.
AUTO :Press the air delivery mode button until thissetting is selected to control the inside temperature, airdelivery, and fan speed. AUTO appears in the displaywhen automatic operation is active.
+/!(Increase/Decrease Temperature) :Pressthe + or!buttons to increase or decrease the cabintemperature. The rear control temperature display willshow the temperature setting increasing or decreasing.
The display only indicates climate control functionswhen the system is in rear independent mode.
Manual Operation
DC(Fan Control):Press these buttons on the rearseat audio control panel to increase or decrease theairflow. Pressing the fan up button when the system isoff will turn the system on. The air delivery mode willremain under automatic control.
+/!(Temperature Control) :Press these buttons toadjust the temperature of the air flowing into thepassenger area. Press the + button for warmer air andpress the!button for cooler air.
N(Air Delivery Mode Control):Press the modebutton to change the direction of the airflow in thevehicle. Repeatedly press the button until the desiredmode appears on the display. Multiple presses will cyclethrough the delivery selections.
Warning Lights, Gages, and
Indicators
Warning lights and gages can signal that something iswrong before it becomes serious enough to cause anexpensive repair or replacement. Paying attention to thewarning lights and gages could prevent injury.
Warning lights come on when there might be or there isa problem with one of the vehicle's functions. Somewarning lights come on briefly when the engine isstarted to indicate they are working.
Gages can indicate when there might be or there is aproblem with one of the vehicle's functions. Often gagesand warning lights work together to indicate a problemwith the vehicle.
When one of the warning lights comes on and stays onwhile driving, or when one of the gages shows therecould be a problem, check the section that explainswhat to do. Follow this manual's advice. Waiting to dorepairs can be costly and even dangerous.
4-27
Page 222 of 616

Passenger Safety Belt Reminder Light
For vehicles equipped with the passenger safety beltreminder light, several seconds after the engine isstarted, a chime sounds for several seconds to remindthe front passenger to buckle their safety belt. Thepassenger safety belt light, located on the overheadconsole, comes on and stays on for several seconds,flashes for several more seconds and then comes onsolid for several more.
This chime and lightsequence is repeated ifthe passenger remainsunbuckled and the vehicleis in motion.
If the passenger safety belt is buckled, neither thechime nor the light comes on.
The front passenger safety belt warning light and chimemay turn on if an object is put on the seat such as abriefcase, handbag, grocery bag, laptop or otherelectronic device. To turn off the warning light and orchime, remove the object from the seat or buckle thesafety belt.
Airbag Readiness Light
The system checks the airbag's electrical system forpossible malfunctions. If the light stays on it indicatesthere is an electrical problem. The system checkincludes the airbag sensor, the pretensioners, theairbag modules, the wiring and the crash sensing anddiagnostic module. For more information on the airbagsystem, seeAirbag System on page 2!74.
The airbag readiness lightcomes on solid for a fewseconds when the engineis started. If the light doesnot come on then, have itfixed immediately.
4-30
Page 223 of 616
{WARNING:
If the airbag readiness light stays on after the
vehicle is started or comes on while driving, it
means the airbag system might not be working
properly. The airbags in the vehicle might not
inflate in a crash, or they could even inflate
without a crash. To help avoid injury, have the
vehicle serviced right away.
If there is a problem with the airbag system, an airbagDriver Information Center (DIC) message can alsocome on. SeeDIC Warnings and Messagesonpage 4!48for more information.
Passenger Airbag Status Indicator
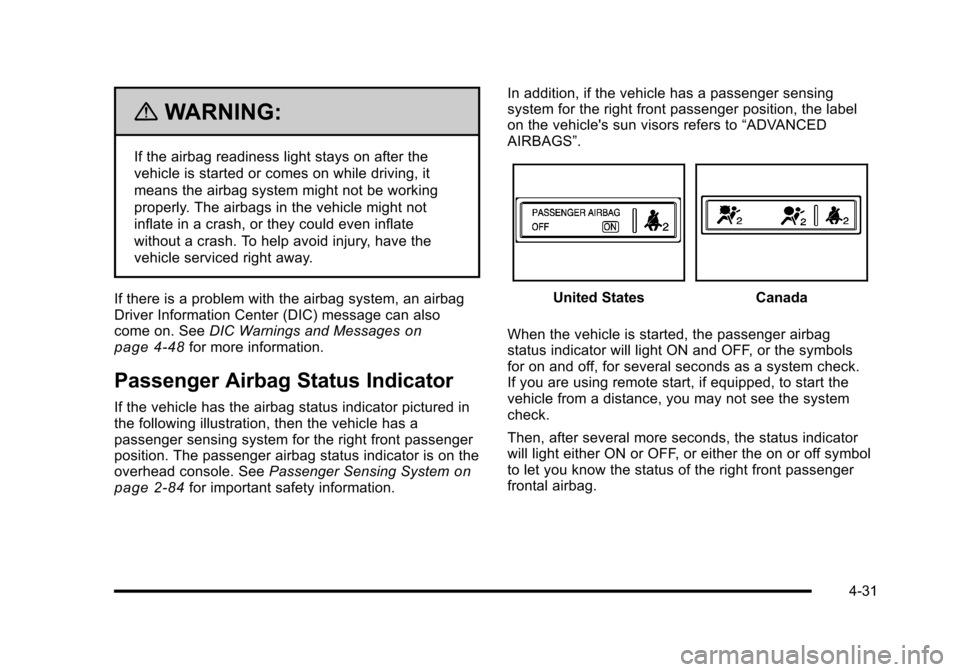
If the vehicle has the airbag status indicator pictured inthe following illustration, then the vehicle has apassenger sensing system for the right front passengerposition. The passenger airbag status indicator is on theoverhead console. SeePassenger Sensing Systemonpage 2!84for important safety information.
In addition, if the vehicle has a passenger sensingsystem for the right front passenger position, the labelon the vehicle's sun visors refers to“ADVANCEDAIRBAGS”.
United StatesCanada
When the vehicle is started, the passenger airbagstatus indicator will light ON and OFF, or the symbolsfor on and off, for several seconds as a system check.If you are using remote start, if equipped, to start thevehicle from a distance, you may not see the systemcheck.
Then, after several more seconds, the status indicatorwill light either ON or OFF, or either the on or off symbolto let you know the status of the right front passengerfrontal airbag.
4-31
Page 224 of 616

If the word ON or the on symbol is lit on the passengerairbag status indicator, it means that the right frontpassenger frontal airbag is enabled (may inflate).
If the word OFF or the off symbol is lit on the airbagstatus indicator, it means that the passenger sensingsystem has turned off the right front passenger frontalairbag.
If, after several seconds, both status indicator lightsremain on, or if there are no lights at all, there may be aproblem with the lights or the passenger sensingsystem. See your dealer/retailer for service.
{WARNING:
If the airbag readiness light ever comes on and
stays on, it means that something may be wrong
with the airbag system. To help avoid injury to
yourself or others, have the vehicle serviced right
away. SeeAirbag Readiness Lighton page 4!30
for more information, including important safety
information.
Charging System Light
This light comes on brieflywhen the ignition key isturned to START, but theengine is not running, asa check to show it isworking.
If it does not, have the vehicle serviced by your dealer/retailer.
The light should go out once the engine starts. If it stayson, or comes on while driving, there could be a problemwith the charging system. A charging system messagein the Driver Information Center (DIC) can also appear.SeeDIC Warnings and Messageson page 4!48formore information. This light could indicate that there areproblems with a generator drive belt, or that there is anelectrical problem. Have it checked right away. If thevehicle must be driven a short distance with the light on,turn off accessories, such as the radio and airconditioner.
4-32
Page 225 of 616
Brake System Warning Light
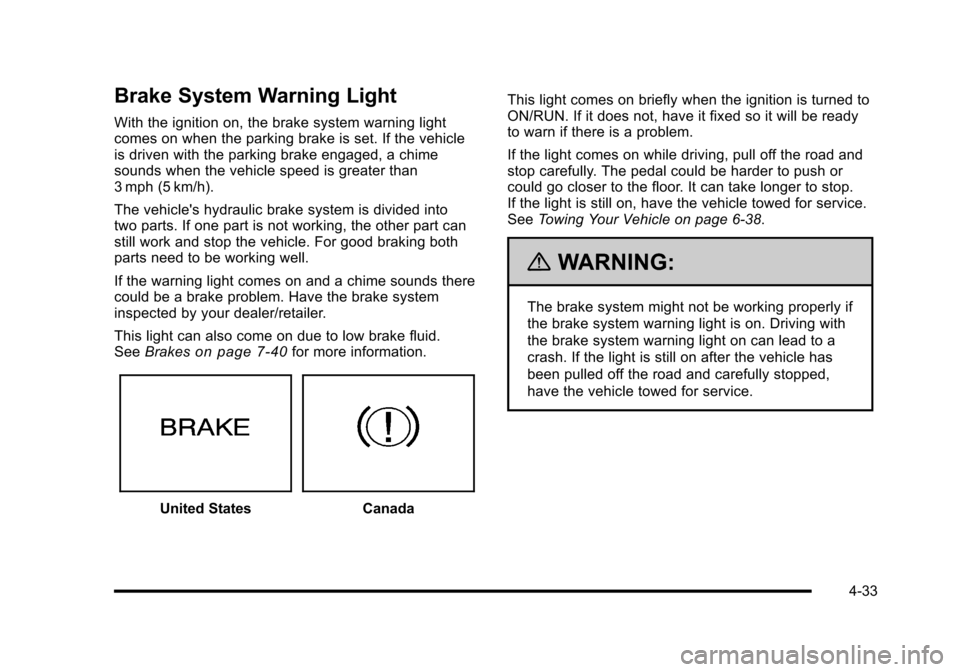
With the ignition on, the brake system warning lightcomes on when the parking brake is set. If the vehicleis driven with the parking brake engaged, a chimesounds when the vehicle speed is greater than3 mph (5 km/h).
The vehicle's hydraulic brake system is divided intotwo parts. If one part is not working, the other part canstill work and stop the vehicle. For good braking bothparts need to be working well.
If the warning light comes on and a chime sounds therecould be a brake problem. Have the brake systeminspected by your dealer/retailer.
This light can also come on due to low brake fluid.SeeBrakeson page 7!40for more information.
United StatesCanada
This light comes on briefly when the ignition is turned toON/RUN. If it does not, have it fixed so it will be readyto warn if there is a problem.
If the light comes on while driving, pull off the road andstop carefully. The pedal could be harder to push orcould go closer to the floor. It can take longer to stop.If the light is still on, have the vehicle towed for service.SeeTowing Your Vehicle on page 6!38.
{WARNING:
The brake system might not be working properly if
the brake system warning light is on. Driving with
the brake system warning light on can lead to a
crash. If the light is still on after the vehicle has
been pulled off the road and carefully stopped,
have the vehicle towed for service.
4-33
Page 226 of 616
Antilock Brake System (ABS)
Warning Light
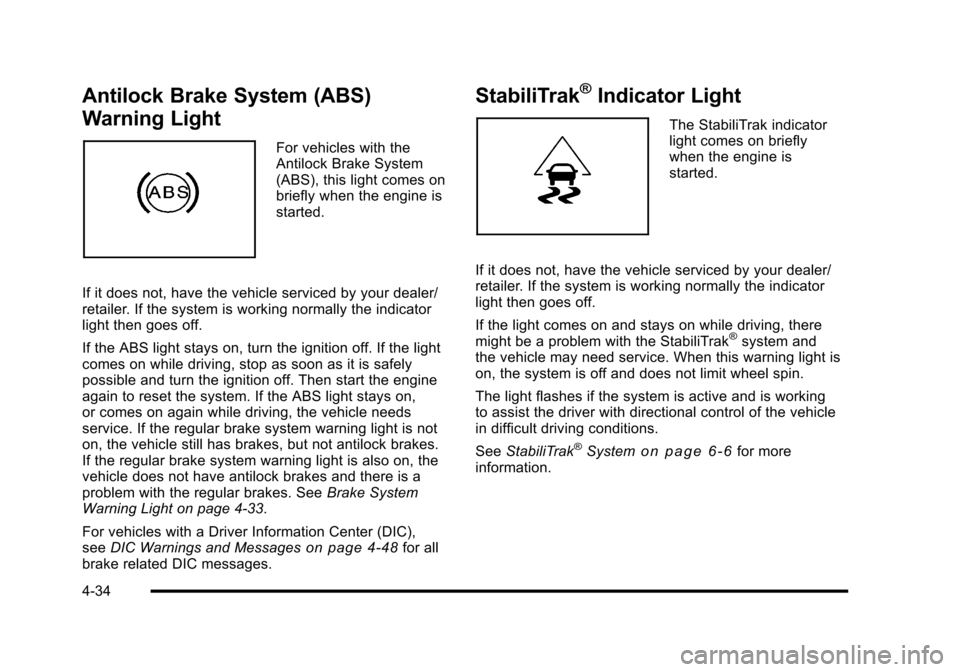
For vehicles with theAntilock Brake System(ABS), this light comes onbriefly when the engine isstarted.
If it does not, have the vehicle serviced by your dealer/retailer. If the system is working normally the indicatorlight then goes off.
If the ABS light stays on, turn the ignition off. If the lightcomes on while driving, stop as soon as it is safelypossible and turn the ignition off. Then start the engineagain to reset the system. If the ABS light stays on,or comes on again while driving, the vehicle needsservice. If the regular brake system warning light is noton, the vehicle still has brakes, but not antilock brakes.If the regular brake system warning light is also on, thevehicle does not have antilock brakes and there is aproblem with the regular brakes. SeeBrake SystemWarning Light on page 4!33.
For vehicles with a Driver Information Center (DIC),seeDIC Warnings and Messageson page 4!48for allbrake related DIC messages.
StabiliTrak®Indicator Light
The StabiliTrak indicatorlight comes on brieflywhen the engine isstarted.
If it does not, have the vehicle serviced by your dealer/retailer. If the system is working normally the indicatorlight then goes off.
If the light comes on and stays on while driving, theremight be a problem with the StabiliTrak®system andthe vehicle may need service. When this warning light ison, the system is off and does not limit wheel spin.
The light flashes if the system is active and is workingto assist the driver with directional control of the vehiclein difficult driving conditions.
SeeStabiliTrak®Systemo n p a g e 6!6for moreinformation.
4-34
Page 230 of 616
Emissions Inspection and Maintenance
Programs
Some state/provincial and local governments have ormight begin programs to inspect the emission controlequipment on the vehicle. Failure to pass thisinspection could prevent getting a vehicle registration.
Here are some things to know to help the vehicle passan inspection:
.The vehicle will not pass this inspection if thecheck engine light is on with the engine running,or if the key is in ON/RUN and the light is not on.
.The vehicle will not pass this inspection if theOBD II (on-board diagnostic) system determinesthat critical emission control systems have notbeen completely diagnosed by the system.The vehicle would be considered not ready forinspection. This can happen if the battery hasrecently been replaced or if the battery has rundown. The diagnostic system is designed toevaluate critical emission control systems duringnormal driving. This can take several days ofroutine driving. If this has been done and thevehicle still does not pass the inspection for lack ofOBD II system readiness, your dealer/retailer canprepare the vehicle for inspection.
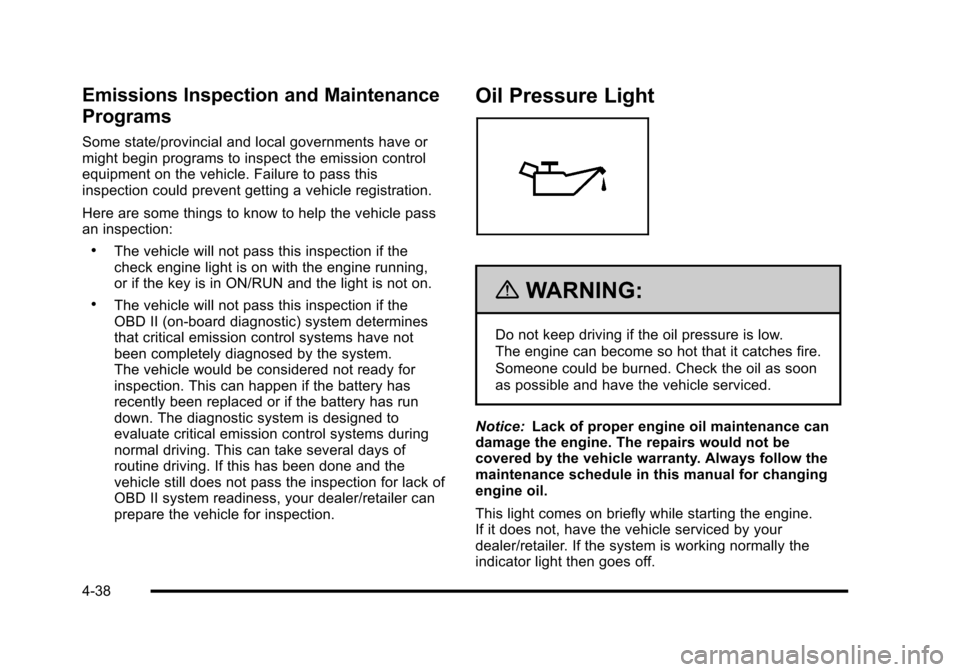
Oil Pressure Light
{WARNING:
Do not keep driving if the oil pressure is low.
The engine can become so hot that it catches fire.
Someone could be burned. Check the oil as soon
as possible and have the vehicle serviced.
Notice:Lack of proper engine oil maintenance candamage the engine. The repairs would not becovered by the vehicle warranty. Always follow themaintenance schedule in this manual for changingengine oil.
This light comes on briefly while starting the engine.If it does not, have the vehicle serviced by yourdealer/retailer. If the system is working normally theindicator light then goes off.
4-38
Page 238 of 616
system regulates voltage based on the state of thebattery. The battery voltage may fluctuate whenviewing this information on the DIC. This is normal.SeeCharging System Lighton page 4!32for moreinformation. If there is a problem with the batterycharging system, the DIC will display a message.SeeDIC Warnings and Messages on page 4!48.
Oil Pressure
This display will show the oil pressure in eitherpounds per square inch (psi) or kilopascals (kPa)
Relearn Remote Key
This display allows you to match Remote Keyless Entry(RKE) transmitters to your vehicle. This procedure willerase all previously learned transmitters. Therefore,they must be relearned as additional transmitters.
To match an RKE transmitter to your vehicle:
1. Press the vehicle information button until
PRESSVTO RELEARN REMOTE KEY displays.
2. Press the set/reset button until REMOTE KEYLEARNING ACTIVE is displayed.
3. Press and hold the lock and unlock buttons on thefirst transmitter at the same time for about15 seconds.
On vehicles with memory recall seats, thefirst transmitter learned will match driver 1 andthe second will match driver 2.
A chime will sound indicating that the transmitteris matched.
4. To match additional transmitters at this time,repeat Step 3.
Each vehicle can have a maximum ofeight transmitters matched to it.
5. To exit the programming mode, you must cycle thekey to LOCK/OFF.
Compass Zone Setting
This display allows for setting the compass zone. SeeDIC Compasson page 4!47for more information.
Compass Recalibration
This display allows for calibrating the compass. SeeDIC Compasson page 4!47for more information.
Blank Display
This display shows no information.
4-46
Page 240 of 616
Compass Calibration
The compass can be manually calibrated. Only calibratethe compass in a magnetically clean and safe location,such as an open parking lot, where driving the vehiclein circles is not a danger. It is suggested to calibrateaway from tall buildings, utility wires, manhole covers,or other industrial structures, if possible.
If CAL should ever appear in the DIC display, thecompass should be calibrated.
If the DIC display does not show a heading, forexample, N for North, or the heading does not changeafter making turns, there may be a strong magnetic fieldinterfering with the compass. Such interference may becaused by a magnetic CB or cell phone antenna mount,a magnetic emergency light, magnetic note pad holder,or any other magnetic item. Turn off the vehicle, movethe magnetic item, then turn on the vehicle and calibratethe compass.
To calibrate the compass, use the following procedure:
Compass Calibration Procedure
1. Before calibrating the compass, make sure thecompass zone is set to the variance zone in whichthe vehicle is located. See“Compass Variance(Zone) Procedure”earlier in this section.
Do not operate any switches such as window,sunroof, climate controls, seats, etc. during thecalibration procedure.
2. Press the vehicle information button until
PRESSVTO CALIBRATE COMPASS displays.
3. Press the set/reset button to start the compasscalibration.
4. The DIC will display CALIBRATING: DRIVE INCIRCLES. Drive the vehicle in tight circles at lessthan 5 mph (8 km/h) to complete the calibration.The DIC will display CALIBRATION COMPLETEfor a few seconds when the calibration is complete.The DIC display will then return to theprevious menu.
DIC Warnings and Messages
Messages are displayed on the DIC to notify the driverthat the status of the vehicle has changed and thatsome action may be needed by the driver to correct thecondition. Multiple messages may appear one afteranother.
Some messages may not require immediate action, butyou can press any of the DIC buttons on the instrumentpanel to acknowledge that you received the messagesand to clear them from the display.
Some messages cannot be cleared from the DICdisplay because they are more urgent. Thesemessages require action before they can be cleared.
4-48