CD player CADILLAC ESCALADE 2010 3.G Owner's Guide
[x] Cancel search | Manufacturer: CADILLAC, Model Year: 2010, Model line: ESCALADE, Model: CADILLAC ESCALADE 2010 3.GPages: 616, PDF Size: 39.41 MB
Page 375 of 616

DVD Player
The player can be used for DVD audio and DVD video.
DVD video will not display on the navigation screenunless the vehicle is in PARK (P). It will operate on therear seat entertainment screens while the vehicle ismoving. The Rear Seat Entertainment (RSE) videoscreen will start play of the DVD when a DVD videohas been inserted into the navigation system. TheDVD player can be controlled by the buttons on thenavigation system, the Rear Seat Audio (RSA) system,and the remote control. The DVD player can also beused for the rear seat passengers with the radio off.The rear seat passengers can power on the videoscreen and use the remote control to navigate the disc.See“Rear Seat Entertainment System”in the Index ofyour vehicle's owner manual for more information.
The DVD player is only compatible with DVDs of theappropriate region code that is printed on the jacket ofmost DVDs.
The DVD slot is compatible with most audio CDs,CD-R, CD-RW, DVD-Video, DVD-Audio, DVD-R/RW,DVD+R/RW media along with MP3 and WMA formats.
If an error appears on the display, see“DVD Messages”later in this section.
M(Load):To load one disc, do the following:
1. Press the load hard key and follow the screenmessage displayed.
2. When the system displays“Insert Disc (number)”,insert the disc partway into the slot, label side up.The system will pull it into the first available slotand start playing. The system will display the typeof disc inserted.
To load multiple discs, do the following:
1. Press and hold the load hard key and follow thescreen message displayed.
2. When the system displays“Insert Disc (number)”,insert the disc partway into the slot, label side up.The system will pull it in.
3. Once a disc is loaded, the system will display“Insert Disc (number)”again. Load the next disc.Repeat this procedure for each disc. The playertakes up to six discs, do not try to load more thansix. The system will not display the disc typeswhen loading all, until the discs have been read bythe system.
Once all discs have been inserted, the system willstart playing the last loaded disc.
5-75
Page 379 of 616

Day :Touch this screen button and the system willmake the navigation screen background darken.
Monitor :From the DVD Setup screen, touch thisbutton to adjust the viewing angle of the DVD on thenavigation screen. This is not available on all DVDs.This button is not available for DVD audio
Touch theebutton to close the screen in from the left
and right sides.
Touch theJbutton to fill the screen on the left and
right sides.
Touch thedbutton to fill the screen on the top and
bottom.
Settings :From the DVD Setup screen, touch thisbutton to change the default audio, subtitle, and menulanguages, parental level, audio, and to view the aspectof the DVD. These settings are not available on allDVDs. This button is not available for DVD audio.
Audio Language :Touch English, Francais, Espanol,Italiano, or Deutsch to change the default language thatthe DVD player uses for each disc. The audio languagemust be available on the disc. The audio language mayvary for each DVD.
Subtitle Language :Touch English, Francais, Espanol,Italiano, or Deutsch to change the default language ofthe subtitles that the DVD player uses for each disc.The subtitle language must be available on the disc.The subtitle language may vary for each DVD.
5-79
Page 381 of 616

.You are driving on a very rough road. When theroad becomes smoother, the DVD should play.
.The DVD is dirty, scratched, wet, or upside down.
.The air is very humid. If so, wait about an hour andtry again.
.There may have been a problem while burningthe DVD.
.The label may be caught in the DVD player.
If the DVD is not playing correctly, for any other reason,try a known good DVD.
If any error occurs repeatedly or if an error cannot becorrected, contact your dealer/retailer.
Connecting a USB Storage Device
or iPod®
The USB Port, located in the center console, can beused to control an iPod®or a USB storage device.
To avoid connection problems, extension cords arenot recommended. Use only the cable that came withthe device.
To connect a USB storage device, connect the device tothe USB port located in the center console.
To connect an iPod®, connect one end of the USB cablethat came with the iPod to the iPod’s dock connectorand connect the other end to the USB port. If thevehicle is on and the USB connection works,“OK todisconnect”and a GM logo may appear on the iPod andiPod appears on the radio's display. The iPod musicappears on the radio’s display and begins playing.
The iPod charges while it is connected to thevehicle if the vehicle is in the ACC/ACCESSORY orON/RUN position. When the vehicle is turned off, theiPod automatically powers off and will not charge ordraw power from the vehicle's battery.
USB Supported File and Folder Structure
The guidelines that must be met while using USBsupported files and folders are:
.Up to 700 folders.
.Up to 8 folders in depth.
.Up to 65,535 files.
.Folder and file names up to 64 bytes.
.Files with an .mp3 or .wma file extension.
.AAC files stored on an iPod.
.FAT16
.FAT32
5-81
Page 384 of 616

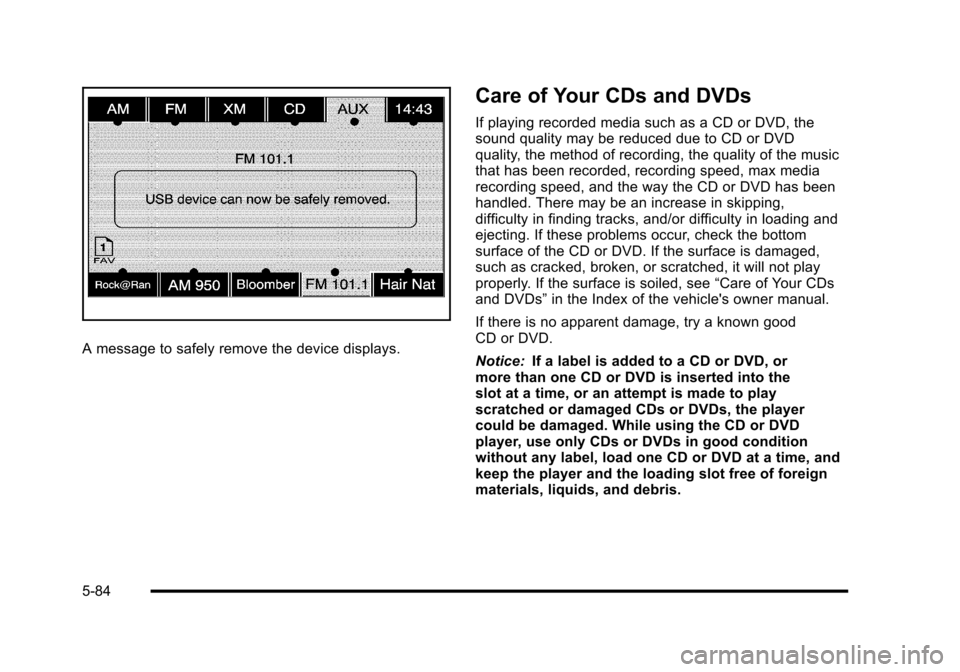
A message to safely remove the device displays.
Care of Your CDs and DVDs
If playing recorded media such as a CD or DVD, thesound quality may be reduced due to CD or DVDquality, the method of recording, the quality of the musicthat has been recorded, recording speed, max mediarecording speed, and the way the CD or DVD has beenhandled. There may be an increase in skipping,difficulty in finding tracks, and/or difficulty in loading andejecting. If these problems occur, check the bottomsurface of the CD or DVD. If the surface is damaged,such as cracked, broken, or scratched, it will not playproperly. If the surface is soiled, see“Care of Your CDsand DVDs”in the Index of the vehicle's owner manual.
If there is no apparent damage, try a known goodCD or DVD.
Notice:If a label is added to a CD or DVD, ormore than one CD or DVD is inserted into theslot at a time, or an attempt is made to playscratched or damaged CDs or DVDs, the playercould be damaged. While using the CD or DVDplayer, use only CDs or DVDs in good conditionwithout any label, load one CD or DVD at a time, andkeep the player and the loading slot free of foreignmaterials, liquids, and debris.
5-84
Page 385 of 616

Do not add any label to a CD or DVD, it could getcaught in the player. If a CD or DVD is recorded on apersonal computer and a description label is needed,try labeling the top of the recorded CD or DVD with asoft marker.
Auxiliary Devices
The vehicle may have a rear entertainmentsystem (RSE) with a second and third row screen.The RSE has audio adapters to allow you to connectauxiliary devices. The audio can be heard through thespeakers or through the wireless or wired headphones.See“Audio/Video Jacks”under,Rear SeatEntertainment (RSE) System (Overhead)on page 4!77orRear Seat Entertainment (RSE) System (HeadrestDVD)on page 4!86for more information.
Drivers are encouraged to set up any auxiliary devicewhile the vehicle is in P (Park). SeeDefensive Drivingo n p a g e 6!2for more information on driver distraction.
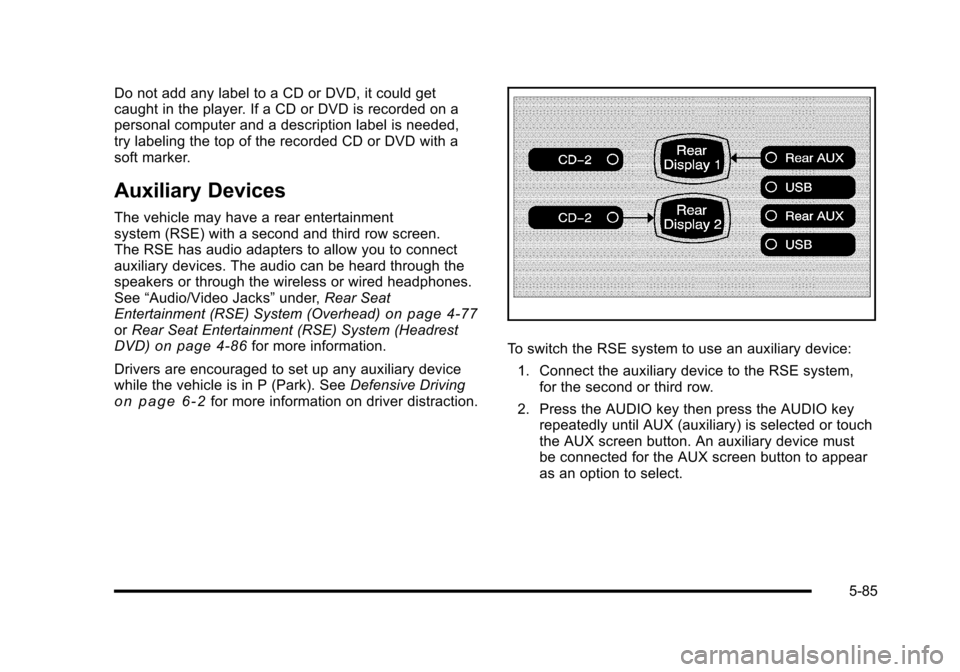
To switch the RSE system to use an auxiliary device:
1. Connect the auxiliary device to the RSE system,for the second or third row.
2. Press the AUDIO key then press the AUDIO keyrepeatedly until AUX (auxiliary) is selected or touchthe AUX screen button. An auxiliary device mustbe connected for the AUX screen button to appearas an option to select.
5-85