CADILLAC ESCALADE ESV 2008 User Guide
Manufacturer: CADILLAC, Model Year: 2008, Model line: ESCALADE ESV, Model: CADILLAC ESCALADE ESV 2008Pages: 500, PDF Size: 6.65 MB
Page 11 of 500
Easy Exit Seat The control for this feature is located on the driver’s
door between buttons 1 and 2.
With the vehicle in PARK (P), the exit position can be
recalled by pressing the exit button. You will hear
a single beep. The driver’s seat will move back.
If the easy exit seat feature is on in the Driver
Information Center (DIC), automatic seat movement will
occur when the key is removed from the ignition.
See “EASY EXIT SEAT” under DIC Vehicle
Customization on page 3-61 for more information.
Further programming for the memory seat feature can
be done using the DIC. You can select the automatic
easy exit seat feature or the remote memory seat recall
feature.
For programming information, see DIC Vehicle
Customization on page 3-61 . Power Reclining Seatbacks
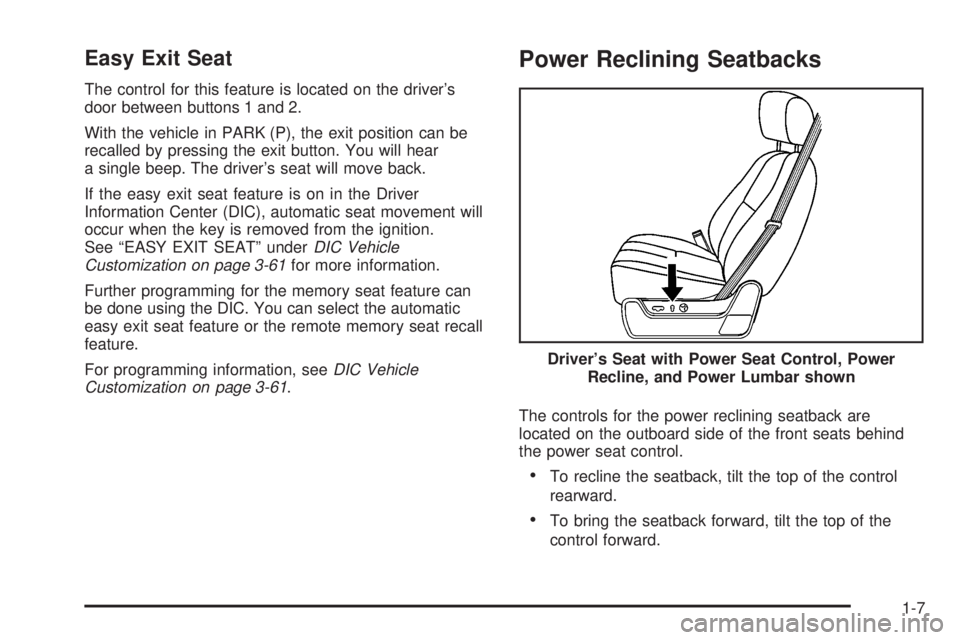
The controls for the power reclining seatback are
located on the outboard side of the front seats behind
the power seat control.
To recline the seatback, tilt the top of the control
rearward.
To bring the seatback forward, tilt the top of the
control forward.Driver’s Seat with Power Seat Control, Power
Recline, and Power Lumbar shown
1-7
Page 12 of 500
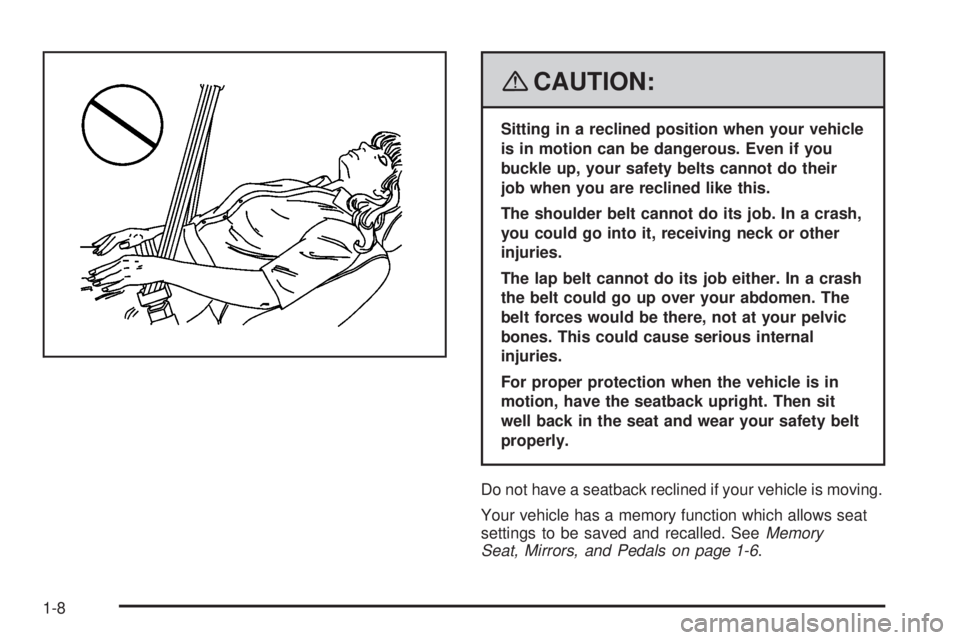
{ CAUTION: Sitting in a reclined position when your vehicle
is in motion can be dangerous. Even if you
buckle up, your safety belts cannot do their
job when you are reclined like this.
The shoulder belt cannot do its job. In a crash,
you could go into it, receiving neck or other
injuries.
The lap belt cannot do its job either. In a crash
the belt could go up over your abdomen. The
belt forces would be there, not at your pelvic
bones. This could cause serious internal
injuries.
For proper protection when the vehicle is in
motion, have the seatback upright. Then sit
well back in the seat and wear your safety belt
properly.
Do not have a seatback reclined if your vehicle is moving.
Your vehicle has a memory function which allows seat
settings to be saved and recalled. See Memory
Seat, Mirrors, and Pedals on page 1-6 .
1-8
Page 13 of 500
Head Restraints
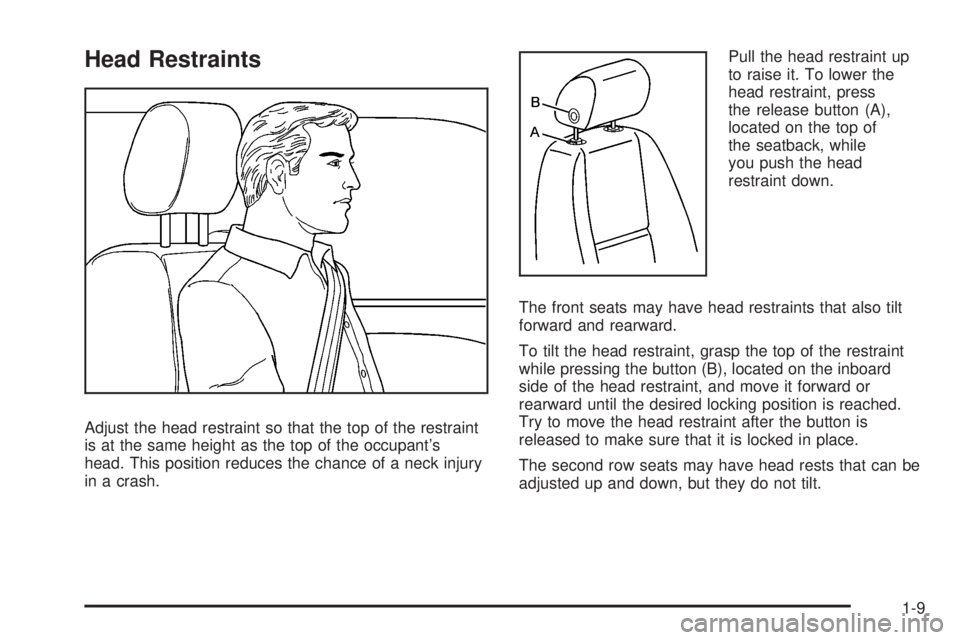
Adjust the head restraint so that the top of the restraint
is at the same height as the top of the occupant’s
head. This position reduces the chance of a neck injury
in a crash. Pull the head restraint up
to raise it. To lower the
head restraint, press
the release button (A),
located on the top of
the seatback, while
you push the head
restraint down.
The front seats may have head restraints that also tilt
forward and rearward.
To tilt the head restraint, grasp the top of the restraint
while pressing the button (B), located on the inboard
side of the head restraint, and move it forward or
rearward until the desired locking position is reached.
Try to move the head restraint after the button is
released to make sure that it is locked in place.
The second row seats may have head rests that can be
adjusted up and down, but they do not tilt.
1-9
Page 14 of 500
Center Seat Your vehicle may have a front center seat. The seatback
doubles as an armrest and cupholder/storage area for
the driver and passenger when the center seat is
not used. Do not use it as a seating position when the
seatback is folded down.
Rear Seats Heated Seats The rear seats have the
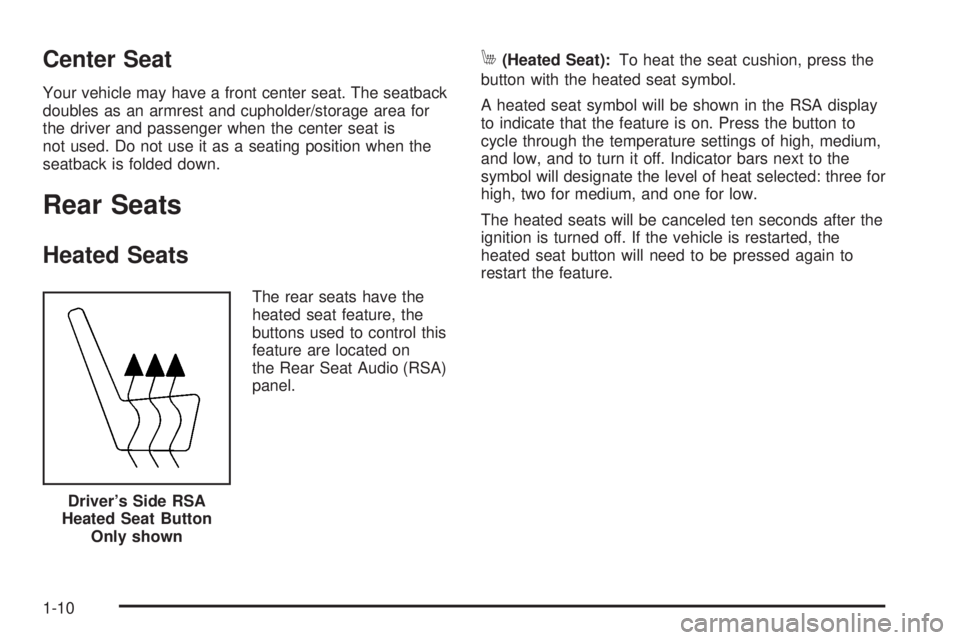
heated seat feature, the
buttons used to control this
feature are located on
the Rear Seat Audio (RSA)
panel. M (Heated Seat): To heat the seat cushion, press the
button with the heated seat symbol.
A heated seat symbol will be shown in the RSA display
to indicate that the feature is on. Press the button to
cycle through the temperature settings of high, medium,
and low, and to turn it off. Indicator bars next to the
symbol will designate the level of heat selected: three for
high, two for medium, and one for low.
The heated seats will be canceled ten seconds after the
ignition is turned off. If the vehicle is restarted, the
heated seat button will need to be pressed again to
restart the feature.
Driver’s Side RSA
Heated Seat Button
Only shown
1-10
Page 15 of 500
60/40 Split Bench Seat
(Second Row) If your vehicle has a 60/40 split bench, the seat(s) can
be folded for additional cargo space or folded and
tumbled for easy entry and exit to the third row seats, if
your vehicle has them. These seats will have either
the manual fold and tumble feature or the automatic seat
release fold and tumble feature.
Manual Fold and Tumble Feature Folding and Tumbling the Seat(s) To fold and tumble the seat, do the following:
1. Make sure that there is nothing under, in front of, or
on the seat.
Notice: Folding a rear seat with the safety belts
still fastened may cause damage to the seat or the
safety belts. Always unbuckle the safety belts
and return them to their normal stowed position
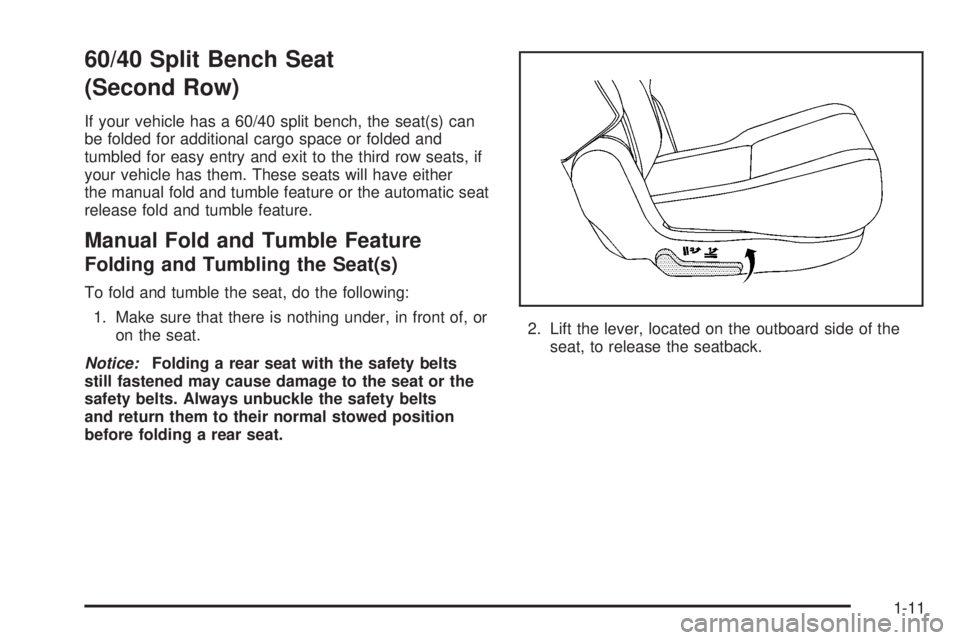
before folding a rear seat. 2. Lift the lever, located on the outboard side of the
seat, to release the seatback.
1-11
Page 16 of 500
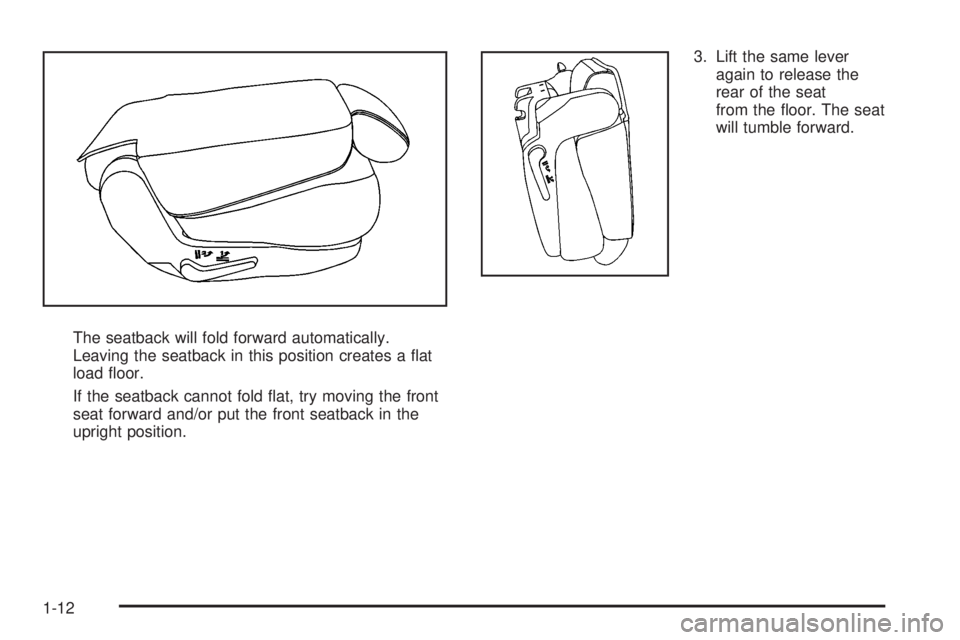
The seatback will fold forward automatically.
Leaving the seatback in this position creates a �at
load �oor.
If the seatback cannot fold �at, try moving the front
seat forward and/or put the front seatback in the
upright position. 3. Lift the same lever
again to release the
rear of the seat
from the �oor. The seat
will tumble forward.
1-12
Page 17 of 500
Returning the Seat(s) to the Sitting
Position To return the seat to the sitting position, do the following:
1. Pull the seat down until it latches to the �oor. The
seatback cannot be raised if the seat is not latched
to the �oor.
{ CAUTION: If the seatback is not locked, it could move
forward in a sudden stop or crash. That could
cause injury to the person sitting there. Always
push and pull on the seatback to be sure it is
locked.
2. Lift the seatback and push it rearward. Push and
pull on the seatback to make sure it is locked. { CAUTION: A safety belt that is improperly routed, not
properly attached, or twisted will not provide
the protection needed in a crash. The person
wearing the belt could be seriously injured.
After raising the rear seatback, always check
to be sure that the safety belts are properly
routed and attached, and are not twisted.
3. Make sure the safety belt in the center seating
position is not caught between the two seats
and is not twisted.
1-13
Page 18 of 500
Folding and Tumbling the Seat(s) from the
Third Row Seats
{ CAUTION: Using the third row seating position while the
second row is folded, or folded and tumbled,
could cause injury in a sudden stop or crash.
Be sure to return the seat to the passenger
seating position. Push and pull on the seat to
make sure it is locked into place.
To fold and tumble the seat from the third rows, if your
vehicle has them, do the following:
1. Make sure that there is nothing under, in front of, or
on the seat.
Notice: Folding a rear seat with the safety belts
still fastened may cause damage to the seat or the
safety belts. Always unbuckle the safety belts
and return them to their normal stowed position
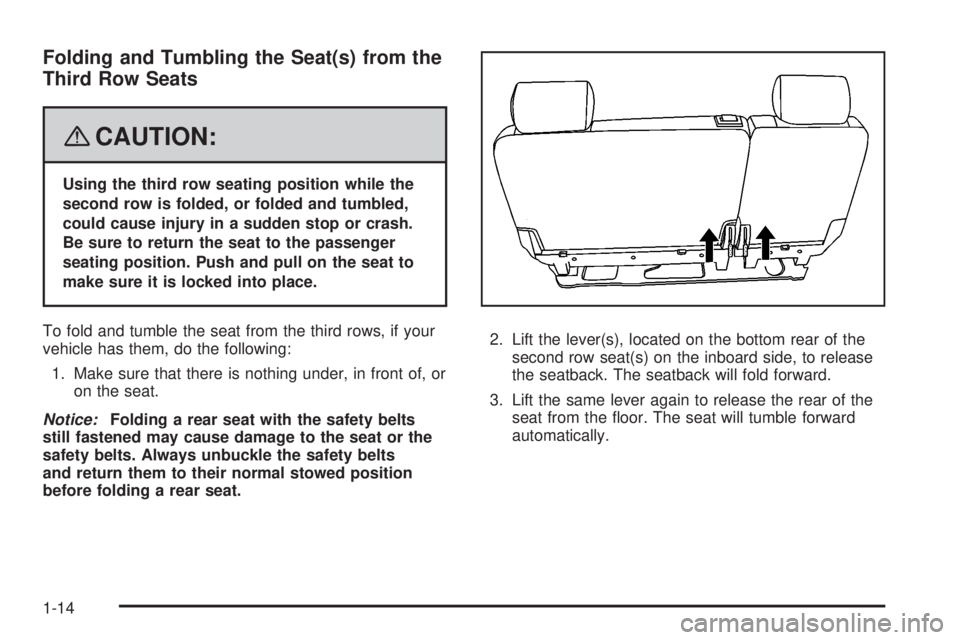
before folding a rear seat. 2. Lift the lever(s), located on the bottom rear of the
second row seat(s) on the inboard side, to release
the seatback. The seatback will fold forward.
3. Lift the same lever again to release the rear of the
seat from the �oor. The seat will tumble forward
automatically.
1-14
Page 19 of 500
Automatic Release Fold and Tumble
Feature The transmission must be in PARK (P) for this feature
to work.
Folding and Tumbling the Seat(s)
{ CAUTION: Automatically folding and tumbling the seat
when someone is sitting in the seat, could
cause injury to the person sitting there. Always
make sure there is no one sitting in the seat
before pressing the automatic seat release
button.
To fold and tumble the seat, do the following:
1. Make sure that there is nothing under, in front of, or
on the seat.
Notice: Folding a rear seat with the safety belts
still fastened may cause damage to the seat or the
safety belts. Always unbuckle the safety belts
and return them to their normal stowed position
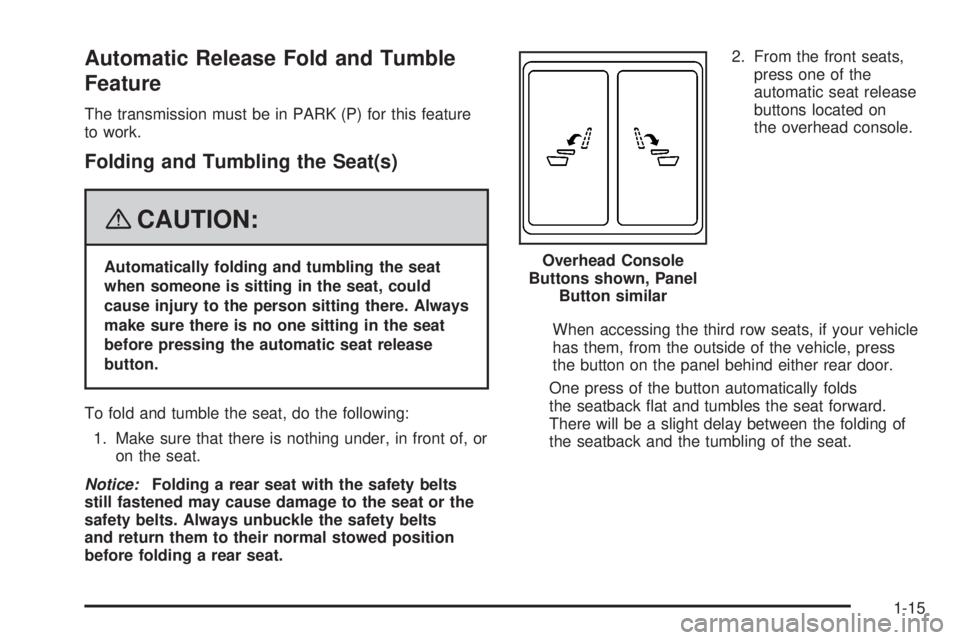
before folding a rear seat. 2. From the front seats,
press one of the
automatic seat release
buttons located on
the overhead console.
When accessing the third row seats, if your vehicle
has them, from the outside of the vehicle, press
the button on the panel behind either rear door.
One press of the button automatically folds
the seatback �at and tumbles the seat forward.
There will be a slight delay between the folding of
the seatback and the tumbling of the seat.Overhead Console
Buttons shown, Panel
Button similar
1-15
Page 20 of 500
Returning the Seat(s) to the Sitting
Position To return the seat to the sitting position, do the following:
1. Pull the seat down until it latches to the �oor. The
seatback cannot be raised if the seat is not latched
to the �oor.
{ CAUTION: If the seatback is not locked, it could move
forward in a sudden stop or crash. That could
cause injury to the person sitting there. Always
push and pull on the seatback to be sure it is
locked.
2. Lift the seatback and push it rearward. Push and
pull on the seatback to make sure it is locked. { CAUTION: A safety belt that is improperly routed, not
properly attached, or twisted will not provide
the protection needed in a crash. The person
wearing the belt could be seriously injured.
After raising the rear seatback, always check
to be sure that the safety belts are properly
routed and attached, and are not twisted.
3. Make sure that the safety belt in the center seating
position is not caught between the two seats and is
not twisted.
1-16