Care of your cassette CADILLAC SEVILLE 1996 4.G Owners Manual
[x] Cancel search | Manufacturer: CADILLAC, Model Year: 1996, Model line: SEVILLE, Model: CADILLAC SEVILLE 1996 4.GPages: 354, PDF Size: 20.21 MB
Page 165 of 354
Downloaded from www.Manualslib.com manuals search engine SCAN: Press this button. SCAN wi11 appear on the
display until the next selection is found and then
PLAY
will appear on the display. Use SCAN to listen to
selections for a few seconds. The tape will go to a
selection, stop for
a few seconds, then go on to the next
selection. Press this button again to stop scanning.
A (EJECT): Press the upward triangle button to
remove a tape. The radio will play. Eject may be
activated with the radio off if the ignition is on. Cassette
tapes may
be loaded with the radio off but they will not
start playing until the
PWR button is turned on. Press
PWR or turn the ignition key OFF to stop the cassette
tape player.
The tape will stay in the player and resume
play at the point where
it stopped.
CLN: This message may appear on the display. If it
does, your cassette tape player needs to be cleaned. It
will still play tapes, but you should clean it as soon as
possible to prevent damage to your tapes and player.
See "Care
of Your Cassette Tape Player" in the Index.
After you clean the player, press and hold
EJECT for
five seconds to reset the CLN indicator. The radio will
display
--- to show the indicator was reset.
Dolby@ Noise Reduction is manufactured under
a
license from Dolby Laboratories Licensing Corporation.
Dolby and
the double-D symbol are trademarks of
Dolby Laboratories Licensing Corporation.
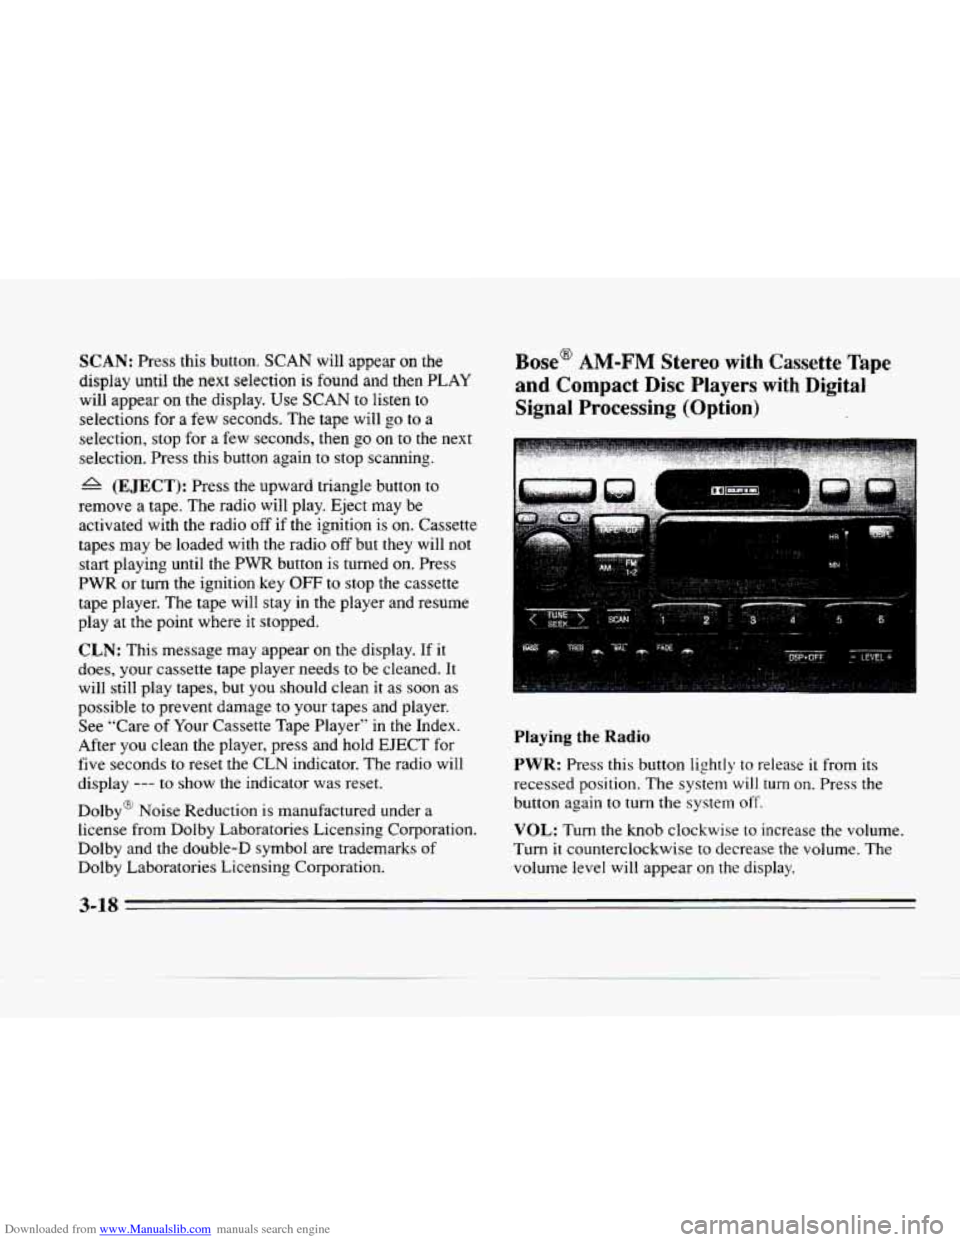
Base@ AM-FM Stereo with Cassette Tape
and Compact Disc Players with Digital
Signal Processing (Option)
Playing the Radio
PWR: Press this button lightly to release it from its
recessed position. The system
will turn on. Press the
button again
to turn the system off.
VOL: Turn the knob clockwise to increase the volume.
Turn it counterclockwise
to decrease the volume. The
volume level will appear
on the display.
3-18
Page 169 of 354
Downloaded from www.Manualslib.com manuals search engine SCAN: Press this button. SCAN will appear on the
display until the next selection is found and then
PLAY
will appear on the display. Use SCAN to listen to
selections for a few seconds. The tape will
go to a
selection, stop for a few seconds, then go on to the next
station. Press this button again to stop scanning.
A (EJECT): Press the upward triangle button to
remove
a tape. The radio will play. Eject may be
activated with the radio off if the ignition is on. Cassette
tapes may be loaded with the radio off but they
will not
start playing until the
PWR button is turned on. Press
PWR or turn the ignition key OFF to stop the cassette
tape player. The tape will stay in the player and resume
play at the point where it stopped.
CLN: This message may appear on the display. If it
does, your cassette tape player needs to be cleaned. It
will still play tapes, but you should clean
it as soon as
possible to prevent damage to your tapes and player.
See “Care of Your Cassette Tape Player” in the Index.
After you clean the player, press and hold EJECT for
five seconds to reset the CLN indicator. The radio
will
display --- to show the indicator was reset.
Dolby@ Noise Reduction is manufactured under a
license from Dolby Laboratories Licensing Corporation.
Dolby and the double-D symbol are trademarks
of
Dolby Laboratories Licensing Corporation.
Trunk Mounted CD Changer (Option)
With the optional compact disc changer, you can play up
to 12 discs continuously. Normal size discs may be
played using the trays supplied in the magazine.’The
small discs
(8 cm) can be played only with specially
designed trays.
NOTICE:
Objects in the trunk which may shift or slide
during driving could damage your
CD changer.
Protect your
CD changer by using the convenience
net whenever possible. Place large objects
in the
trunk appropriately
so that they will not come
into contact with the CD changer.
.-
3-22
Page 176 of 354
Downloaded from www.Manualslib.com manuals search engine c
F-.
REV: Press th~s left arrow button to reverse the tape
rapidly. Press
it again to return to playing speed. The radio
will play wMe the
tape reverses and REV will appear on
the display. You may use your station pushbuttons to tune
to another radio station while in REV mode.
FF: Press this right arrow button to advance quickly to
another part of the tape. Press the button again to return
to playing speed. The radio will play while the tape
advances and FWD will appear on the display. You may
use your station pushbuttons
to tune to another radio
station while in FWD mode.
SIDE: Press this button to change the side of the tape
that
is playing.
SCAN: Press this button. SCAN will appear on the
display until the next selection is found and then PLAY
will appear on the display. Use
SCAN to listen to
selections for a few seconds. The tape will go to a
selection, stop for a few seconds, then go on to the next
station. Press this button again
to stop scanning.
A (EJECT): Press the upward triangle button
to remove a tape. The radio will play. Eject may be
activated with the radio off
if the ignition is on. Cassette
tapes may be loaded with the radio
off but they will not
start playing until the
PWR button is turned on. Press
PWR or turn the ignition key OFF to stop the cassette
tape player. The tape will stay in
the player and resume
play at
the point where it stopped.
CLN: This message may appear on the display. If it
does, your cassette tape player needs to be cleaned.
It
will still play tapes, but you should clean it as soon as
possible to prevent damage to your tapes and player.
See “Care of Your Cassette Tape Player” in the Index.
After you clean the player, press and hold EJECT for
five seconds to reset the CLN indicator. The radio will
display
--- to show the indicator was reset.
Dolby“ Noise Reduction
is manufactured under a
license from Dolby Laboratories Licensing Corporation.
Dolby and the double-D
symbol are trademarks of
Dolby Laboratories Licensing Corporation.
3-29
Page 182 of 354
Downloaded from www.Manualslib.com manuals search engine c
c
c
c
c
Care of Your Cassette Tape Player
A tape player that is not cleaned regularly can cause
reduced sound quality, ruined cassettes or a damaged
mechanism. Cassette tapes should be stored in their
cases away from contaminants, direct sunlight and
extreme heat.
If they aren’t, they may not operate
properly or may cause failure of the tape player.
Your tape player should be cleaned regularly after
every
50 hours of use. Your radio may display CLN or
CLEAN TAPE to indicate that you have used your tape
player for
50 hours without resetting the tape clean
timer. Each time the cassette is cleaned, the
50 hour
cassette timer should be reset. This is done by holding
down the eject button for five seconds or until the TAPE
CLEAN message
is displayed. If you notice a reduction
in
sound quality, try a known good cassette to see if the
tape or the tape player is at
fault. If this other cassette
has no improvement in sound quality, clean the
tape
player.
Cleaning may be done with
a scrubbing action,
non-abrasive cleaning cassette with pads which scrub
the tape head as
the hubs of the cleaner cassette turn.
It is normal for the cassette to eject while cleaning.
Insert the cassette at least six times to ensure thorough
cleaning. A scrubbing action cleaning cassette is
available through your Cadillac dealer.
You may also choose a non-scrubbing action, wet-type
cleaner which uses a cassette with a fabric belt to clean
the tape head. This type
of cleaning cassette will not
eject. It may not clean as thoroughly
as the scrubbing
type cleaner.
Cassettes
are subject to wear and the sound quality may
degrade over time. Always make sure that the cassette
tape is in good condition before you have your tape
player serviced.
Care of Your Compact Discs
Handle discs carefully. Store them in their original cases
or other protective cases and away from direct sunlight
and dust.
If the surface of a disc is soiled, dampen a
clean, soft cloth in a mild, neutral detergent solution and
clean
it, wiping from the center to the edge.
Be sure never to touch the signal surface when handling
discs. Pick up discs by grasping the outer edges or the
edge
of the hole and the outer edge.
3-35
Page 343 of 354
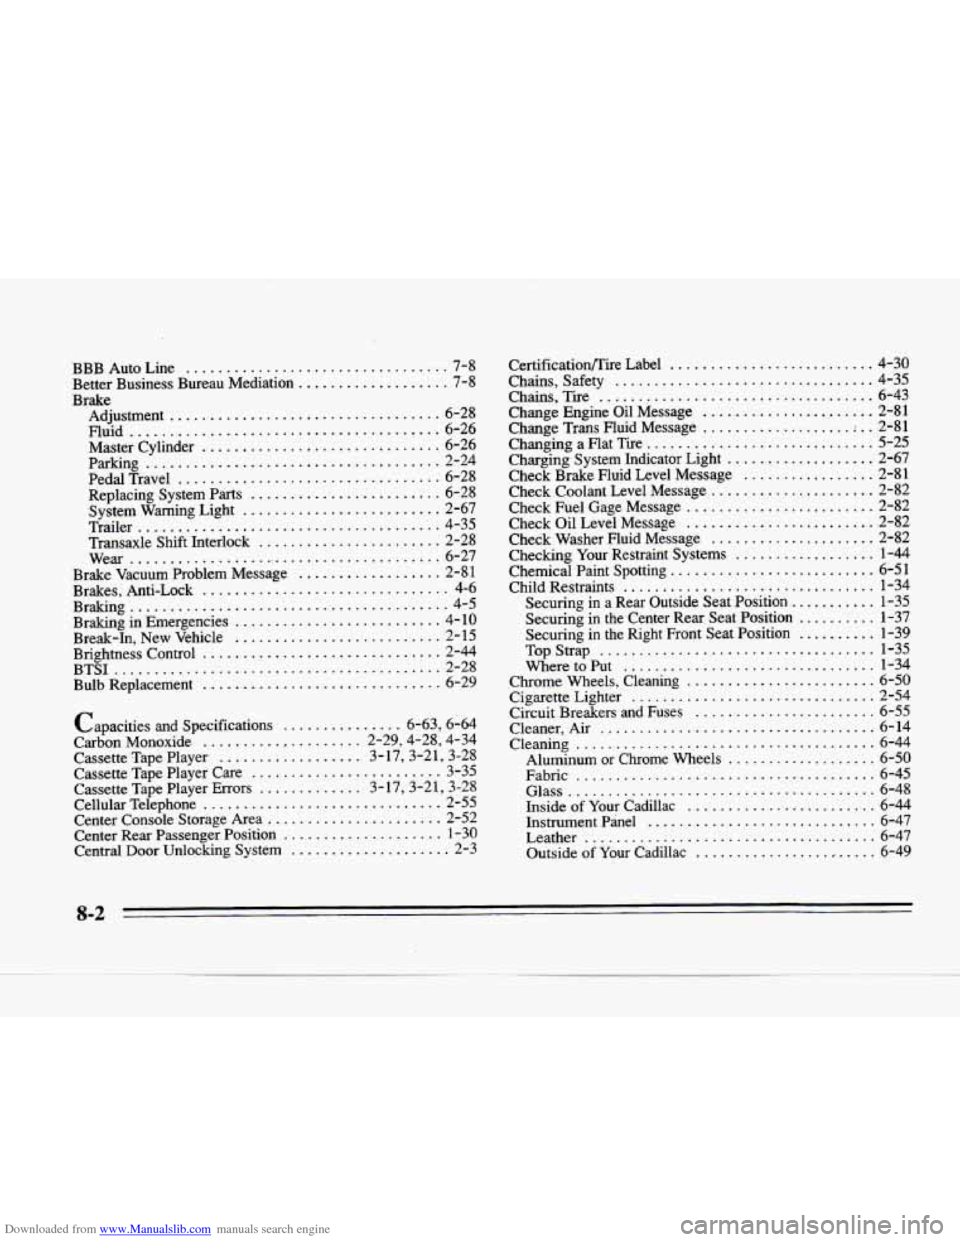
Downloaded from www.Manualslib.com manuals search engine BBB Auto Line ................................. 7-8
Better Business Bureau Mediation
................... 7-8
Adjustment
.................................. 6-28
Master Cylinder
.............................. 6-26
Replacing System
Parts ........................ 6-28
System Warning Light
......................... 2-67
Trailer
...................................... 4-35
Transaxle Shift Interlock
....................... 2-28
Brake Vacuum Problem Message
.................. 2-81
Brakes, Anti-Lock
............................... 4-6
Braking in Emergencies
.......................... 4-10
Brightness Control
.............................. 2-44
BTSJ
......................................... 2-28
Bulb Replacement
.............................. 6-29
Brake
Fluid ....................................... 6-26
Parking
..................................... 2-24
PedalTravel
................................. 6-28
Wear
........................................ 6-27
Braking
........................................ 4-5
Break-In, New Vehicle
........................... 2- 15
Capacities
and Specifications ............... 6.63. 6.64
Carbon Monoxide
.................... 2.29.4.28. 4.34
Cassette Tape Player
.................. 3.17.3.21. 3.28
Cassette Tape Player Care
........................ 3-35
Cassette Tape Player Errors
............. 3.17.3.21. 3.28
Cellular Telephone
.............................. 2-55
Center Console Storage Area
...................... 2-52
Center
Rear Passenger Position .................... 1-30
Central Door Unlocking System
.................... 2-3
CertificationEire Label .......................... 4-30
Chains. Safety
................................. 4-35
Change Engine Oil Message
....................... 2-81
Changing a Flat Tire
............................. 5-25
Charging System Indicator Light
................... 2-67
Check Brake Fluid Level Message
................. 2-81
Check Coolant Level Message
..................... 2-82
Check Fuel Gage Message
........................ 2-82
Check Oil Level Message
......................... 2-82
Checking Your Restraint Systems
.................. 1-44
Chemical Paint Spotting
.......................... 6-51
Child Restraints
................................ 1-34
Securing in the Center Rear Seat Position
.......... 1-37
Securing
in the Right Front Seat Position .......... 1-39
Chrome Wheels, Cleaning
........................ 6-50
Cigarette Lighter
............................... 2-54
Circuit Breakers and Fuses
....................... 6-55
Cleaner, Air
................................... 6-14
Cleaning ...................................... 6-44
Aluminum
or Chrome Wheels ................... 6-50
Fabric
...................................... 6-45
Glass
....................................... 6-48
Inside
of Your Cadillac ........................ 6-44
Instrument Panel ............................. 6-47
Leather
..................................... 6-47
Outside
of Your Cadillac ........................ 6-49
Chains.
Tire
................................... 6-43
Change
Trans Fluid Message ................... ; .. 2-81
Check Washer Fluid Message
..................... 2-82
Securing
in a Rear Outside Seat Position ........... 1-35
TopStrap
................................... 1-35
Wheretoput
................................ 1-34
8-2