maintenance schedule CADILLAC SEVILLE 1996 4.G Owners Manual
[x] Cancel search | Manufacturer: CADILLAC, Model Year: 1996, Model line: SEVILLE, Model: CADILLAC SEVILLE 1996 4.GPages: 354, PDF Size: 20.21 MB
Page 140 of 354
Downloaded from www.Manualslib.com manuals search engine P
c
BATTERY NO CHARGE - 07: This message will
appear if the battery is not being charged. Have the
electrical system checked by your Cadillac dealership
at your earliest convenience.
BATTERY VOLTS HIGH - 08: This message shows
that the electrical charging system is overcharging (more
than 16 volts).
To avoid being stranded, have the
electrical system checked by your Cadillac dealership.
You can reduce the charging overload by using the
accessories. Turn on the lamps and radio, set the climate
control on
AUTO and the fan speed on HI, and turn the
rear window defogger on. You can monitor battery
voltage on the
DIC by pressing the INFORMATION
button. The normal range
is 11.5 to 15.5 volts when the
engine is running.
BATTERY VOLTS LOW - 06: This message will
appear when the electrical system
‘is charging less than
10 volts or if the battery has been drained. If this message
appears immediately after starting,
it is possible that the
generator can still recharge the battery. The battery should
recharge after driving a few
miles and the message should
go out.
Lf this message appears while driving or after
starting your vehicle and stays on, have it checked
immediately to determine the cause
of this problem. To
help the generator recharge the battery quickly you can
reduce the load on the electrical system by turning
off the
accessories.
You can monitor battery voltage on the DIC
by pressing the INFORMA’TION button. The normal range
is 11.5 to
15.5 volts.
BRAKE VACUUM PROBLEM - 108: Thecircuit in
the brake booster vacuum has shorted
or is loose when
this message appears. Your vehicle
may lose power
brakes but you will still have the
use of manual brakes.
The power brakes will not be affected
if the problem is
caused by a failed sensor. Have your vehicle serviced
immediately at your Cadillac dealership.
CHANGE ENGINE OIL - 82: This means that the life
of the engine oil has expired and it should be changed
within
200 miles. See “Engine Oil” and “Filter
Recommendations” in the Maintenance Schedule. After
an oil change, the Oil Life Indicator must be reset. See
“Oil Life Indicator” in the Index
on how to reset it.
CHANGE TRANS FLUID - 47: This message will
appear when it is time
to replace the transaxle fluid
(system has determined that the transaxle fluid has
reached
0%). See the Maintenance Schedule booklet for
the proper fluid and change intervals.
CHECK BRAKE FLUID LEVEL - 37: This message
will display if the ignition is in the
RUN position to
inform the driver that the brake fluid level is low. Check
the brake reservoir level and add
fluid as needed. Have
the brake system serviced by a Cadillac technician as
soon
as possible. If the brake warning light is on, follow
the directions in that part.
2-81
Page 146 of 354
Downloaded from www.Manualslib.com manuals search engine Oil Life Indicator
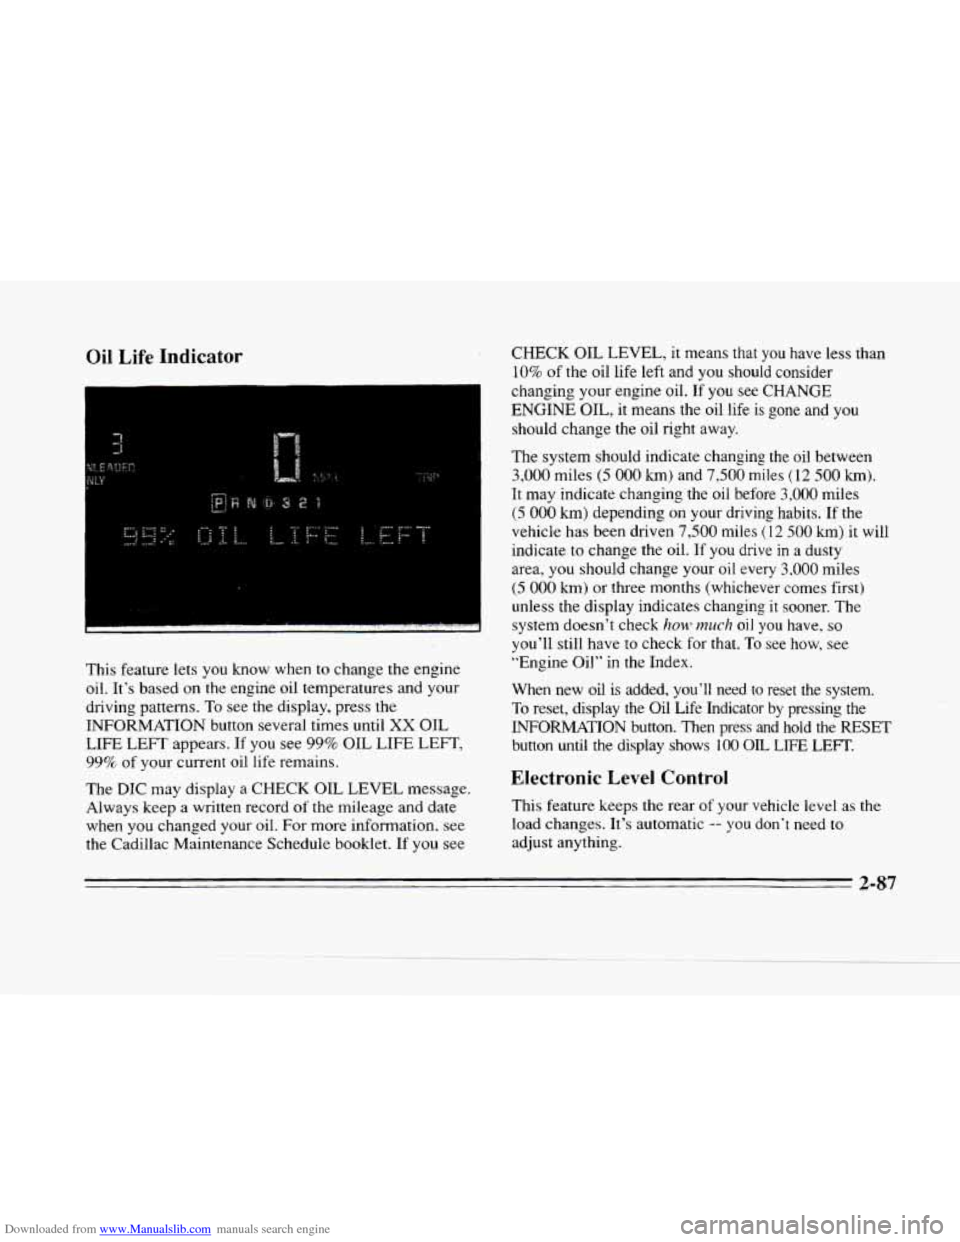
This feature lets you know when to change the engine
oil. It's based on
the engine oil temperatures and your
driving patterns. To see the display, press the
INFORMATION button several times until
XX OIL
LIFE LEFT appears. If you see 99% OIL LIFE LEFT,
99% of your current oil life remains.
The
DIC may display a CHECK OIL LEVEL message.
Always keep a written record
of the mileage and date
when you changed your oil. For more information, see
the Cadillac Maintenance Schedule booklet. If you see
CHECK OIL LEVEL, it means that you have less than
10% of the oil life left and you should consider
changing your engine oil.
If you see CHANGE
ENGINE OIL, it means the oil life is gone and you
should change the oil right away.
The
system should indicate changing the oil between
3,000 miles (5 000 km) and 7,500 miles (12 500 km).
It may indicate changing the oil before 3,000 miles
(5 000 km) depending on your driving habits. If the
vehicle has been driven
7,500 miles (12 500 km) it will
indicate
to change the oil. If you drive in a dusty
area, you should change your
oil every 3,000 miles
(5 000 km) or three months (whichever comes first)
unless the display indicates changing it sooner. The
system doesn't check
120~) much oil you have. so
you'll still have to check for that. To see how, see
"Engine Oil"
in the Index.
When new
oil is added, you'll need to reset the system.
To reset, display the Oil Life Indicator by pressing the
INFORMATION button. Then press and hold the RESET
button until
the display shows 100 OIL LIFE LEFT.
Electronic Level Control
This feature keeps the rear of your vehicle level as the
load changes. It's automatic -- you don't need to
adjust anything.
2-87
Page 221 of 354
Downloaded from www.Manualslib.com manuals search engine When You Are Ready to Leave After
Parking
on a Hill
1. Apply your regular brakes and hold the pedal down
while
you:
Start your engine;
Shift into a gear; and
Be sure the parking brake has released.
2. Let up on the brake pedal.
3. Drive slowly until the trailer is clear of the chocks.
4. Stop and have someone pick up and store the chocks.
Maintenance When Trailer Towing
Your vehicle will need service more often when you’re
pulling a trailer. See the Maintenance Schedule for more
on this. Things that are especially important
in trailer
operation are automatic transaxle fluid (don’t overfill),
engine oil, belt, cooling system and brake adjustment.
Each of these
is covered in this manual, and the Index
will help you find them quickly. If you’re trailering, it’s
a good idea to review these sections before you start
your trip.
Check periodically to see that all
hitch nuts and bolts
are tight.
Page 260 of 354
Downloaded from www.Manualslib.com manuals search engine Section 6 Service and Appearance Care
Here you will find information about the care of your
Cadillac.
This section begins with service and fuel
information,
and then it shows how to check important fluid
and lubricant levels. There is
also technical information
about your vehicle, and a part devoted
to its appearance care.
Service
Your Cadillac dealer knows your vehicle best and wants
you to be happy with it. We hope you’ll go to your
dealer for all your service needs. You’ll get genuine
GM
parts and GM-trained and supported service people.
We hope you’ll want to keep your GM vehicle all
GM.
Genuine GM parts have one of these marks:
Doing Your Own Service Work
If you want to do some of your own service work, you’ll
want to get the proper Cadillac service manual. It tells
you much more about how
to service your Cadillac than
this manual can.
To order the proper service manual, see
”Service and Owner Publications” in the Index.
Your vehicle has an air bag system. Before attempting
to do your own service work, see ”Servicing Your Air
Bag-Equipped Cadillac” in the Index.
You should keep a record with all parts receipts and
list the mileage and the date
of any service work you
perform. See “Maintenance Record” in the Maintenance
Schedule booklet.
n
V
Delco
6-1
Page 275 of 354
Downloaded from www.Manualslib.com manuals search engine Follow these steps to reinstall the air cleaner assembly:
.1 .
2.
3.
4.
5.
Slide the air cleaner lid into the slots in the front
edge
of the air cleaner base.
Pivot the air cleaner cover and the air duct assembly
downward. Make sure that
both latches are secure
and fully engaged.
Reinstall the clean air duct over the mass airflow
sensor. Make sure that the duct
is secure around the
entire outer edge
of the sensor.
Tighten the air duct clamp.
Reconnect the
IAT sensor.
Refer to the Maintenance Schedule to determine when to
replace the air filter. See “Scheduled Maintenance
Services” in the Maintenance Schedule booklet.
1 A CAUTION:
Operating the engine with the air cleaner off can
cause
you or others to be burned. The air cleaner
not
only cleans the air, it stops flames if the
engine backfires.
If it isn’t there, and the engine
backfires,
you could be burned. Don’t drive with
it
off, and be careful working on the engine with
the air cleaner
off.
I NOTICE: ~
If the air cleaner is off, a backfire can cause a
damaging engine fire. And, dirt can easily get
into
your engine, which will damage it. Always
have the air cleaner in place when you’re driving.
6-16
Page 276 of 354
Downloaded from www.Manualslib.com manuals search engine %‘ .
Automatic Transaxle Fluid
When to Check and Change
A good time to check your automatic transaxle fluid
level is when the engine oil
is changed.
Change both the fluid
and filter every 50,000 miles
(83 000 km) if the vehicle is mainly driven under one or
more of these conditions:
In heavy city traffic where the outside temperature
regularly reaches
90°F (32°C) or higher.
0 In hilly or mountainous terrain.
When doing frequent trailer towing.
0 Uses such as found in taxi, police or delivery service,
If
you do not use your vehicle under any of these
conditions, the fluid and filter do not require changing.
See “Scheduled Maintenance Services”
in the
Maintenance Schedule
booklet.
How to Check
Because this operation can be a little difficult, you may
choose to have this done at your Cadillac dealership
service department.
If you do it yourself, be sure to follow
all the instructions
here, or you could get a false reading
on the dipstick.
I
NOTICE:
Too much or too little fluid can damage your
transaxle.
Too much can mean that some of the
fluid could come out and fall
on hot engine parts
or exhaust system parts, starting a fire. Be sure to
get an accurate reading if
you check your
transaxle fluid.
6-17
Page 278 of 354
Downloaded from www.Manualslib.com manuals search engine c
3-
Don’t overfX We recommend you use only fluid
labeled DEXRON@-111, because fluid with that label
is made especially for your automatic transaxle.
Damage caused by fluid other than DEXRON-III is
not covered by your new vehicle warranty.
After adding fluid, recheck the fluid level as
described under “How to Check.”
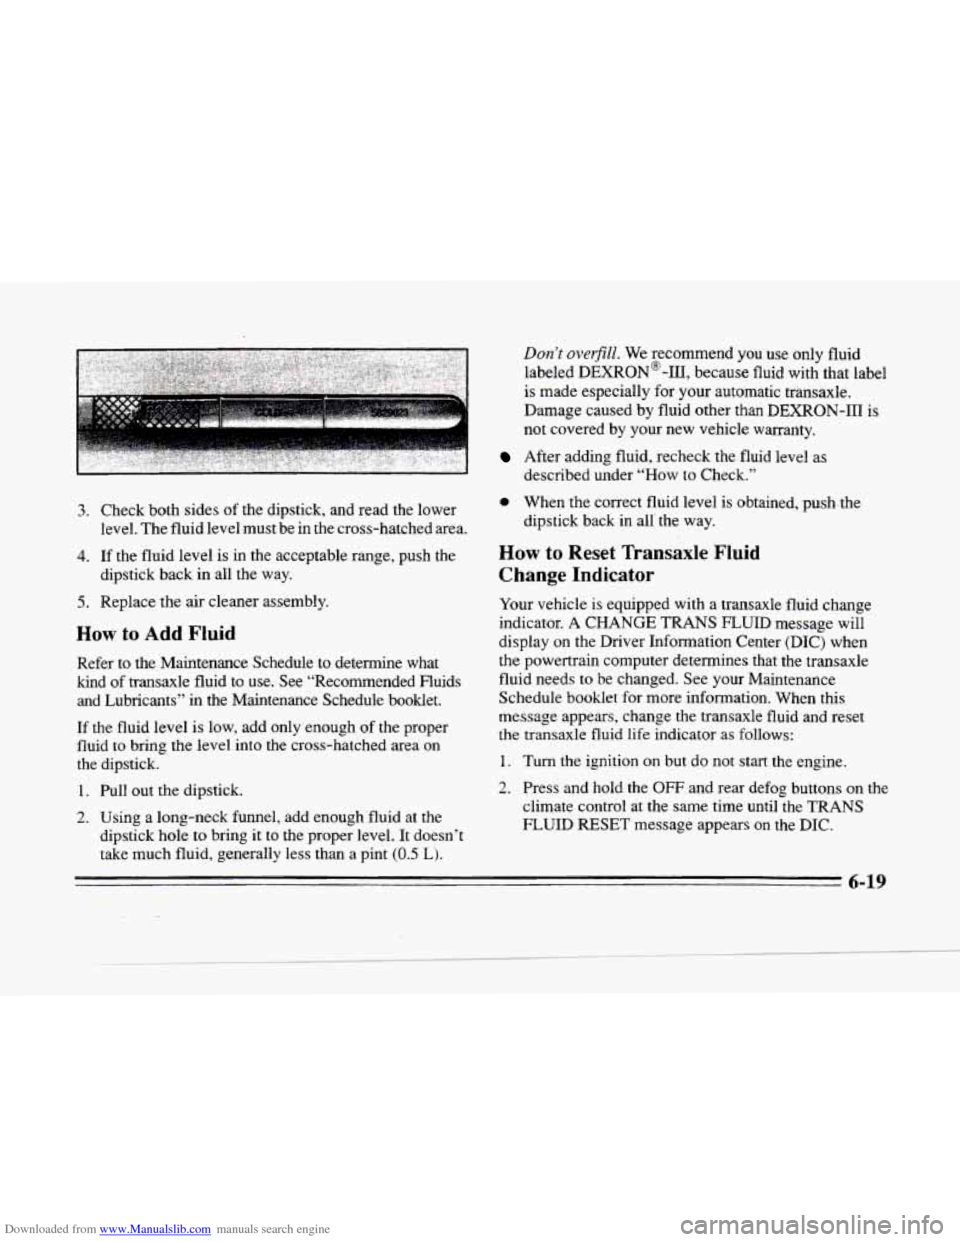
3. Check both sides of the dipstick, and read the lower
level. The fluidlevel must be
in the cross-hatched area.
4. If the fluid level is in the acceptable range, push the
dipstick back
in all the way.
5. Replace the air cleaner assembly.
How to Add Fluid
Refer to the Maintenance Schedule to determine what
kind
of transaxle fluid to use. See “Recommended Fluids
and Lubricants”
in the Maintenance Schedule booklet.
If the fluid level is low, add only enough of the proper
fluid
to bring the level into the cross-hatched area on
the dipstick.
1. Pull out the dipstick.
2. Using a long-neck funnel, add enough fluid at the
dipstick hole
to bring it to the proper level. It doesn’t
take much fluid, generally less than a pint (0.5 L).
0 When the correct fluid level is obtained, push.the
dipstick back
in all‘ the way.
How to Reset Transaxle Fluid
Change Indicator
Your vehicle is equipped with a transaxle fluid change
indicator.
A CHANGE TRANS FLUID message will
display on the Driver Information Center (DIC) when
the powertrain computer determines that the transaxle
fluid needs to be changed. See your Maintenance
Schedule booklet for more information. When this
message appears, change the transaxle fluid and reset
the transaxle fluid life indicator as follows:
1. Turn the ignition on but do not start the engine.
2. Press and hold the OFF and rear defog buttons on the
climate control at the same time until the TRANS
FLUID
RESET message appears on the DIC.
6-19
Page 283 of 354
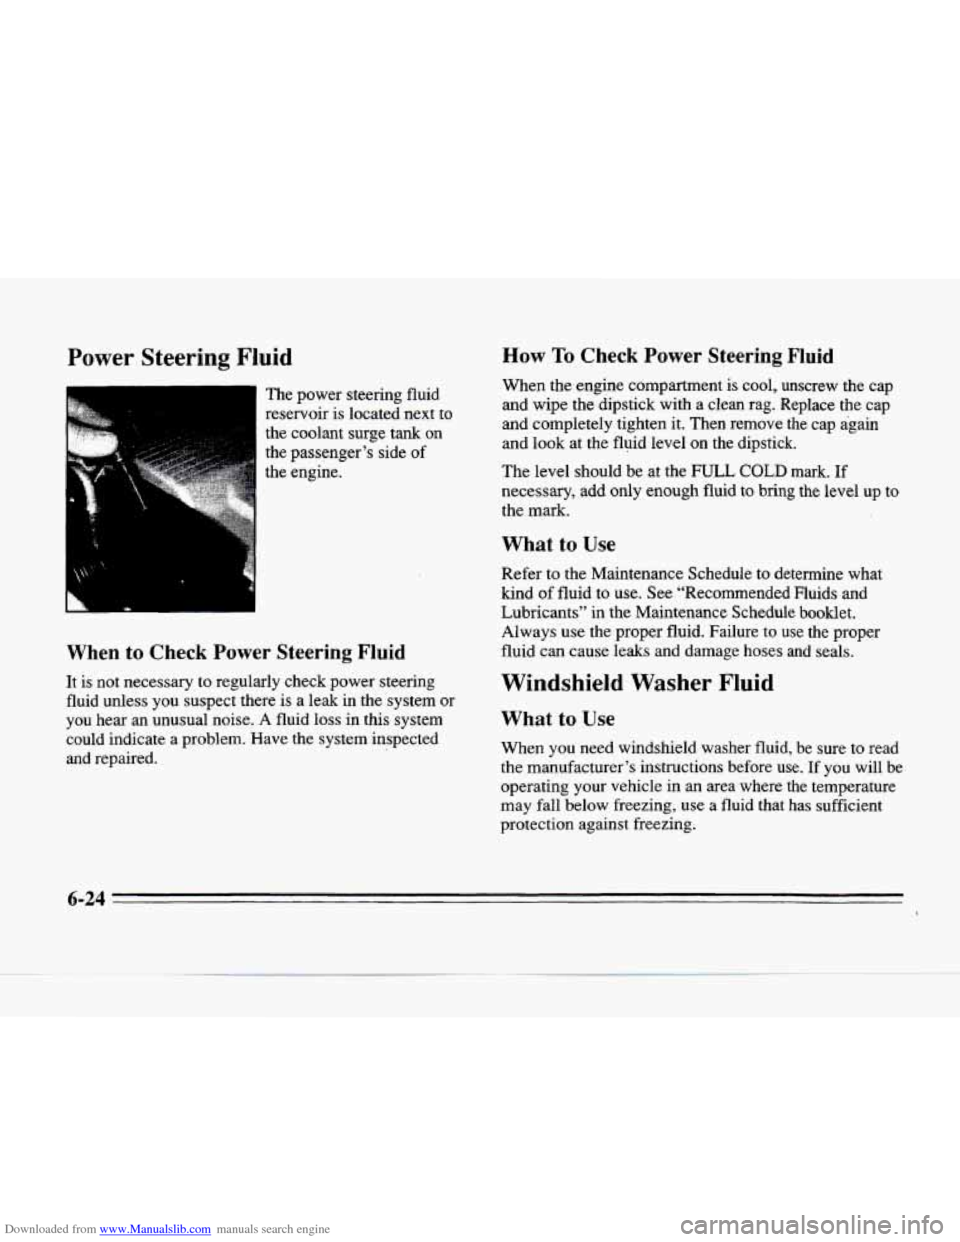
Downloaded from www.Manualslib.com manuals search engine Power Steering Fluid
The power steering fluid
reservoir
is located next to
the coolant surge tank on
the passenger’s side
of
When to Check Power Steering Fluid
It is not necessary to regularly check power steering
fluid unless you suspect there is a leak in the system or
you hear
an unusual noise. A fluid loss in this system
could indicate
a problem. Have the system inspected
and repaired.
How To Check Power Steering Fluid
When the engine compartment is cool, unscrew the cap
and wipe the dipstick with a clean rag. Replace the cap
and completely tighten it. Then remove the cap again
and look at the fluid level
on the dipstick.
The level should be
at the FULL COLD mark. If
necessary, add only enough fluid to bring the level up to
the mark.
What to Use
Refer to the Maintenance Schedule to determine what
kind of fluid to use. See “Recommended Fluids and
Lubricants” in the Maintenance Schedule booklet.
Always use the proper fluid. Failure to use the proper
fluid can cause leaks and damage hoses and seals.
Windshield Washer Fluid
What to Use
When you need windshield washer fluid, be sure to read
the manufacturer’s instructions before use.
If you will be
operating your vehicle in an area where the temperature
may fall below freezing, use a fluid that has sufficient
protection against freezing.
6-24
Page 297 of 354
Downloaded from www.Manualslib.com manuals search engine The purpose of regular rotation is to achieve more
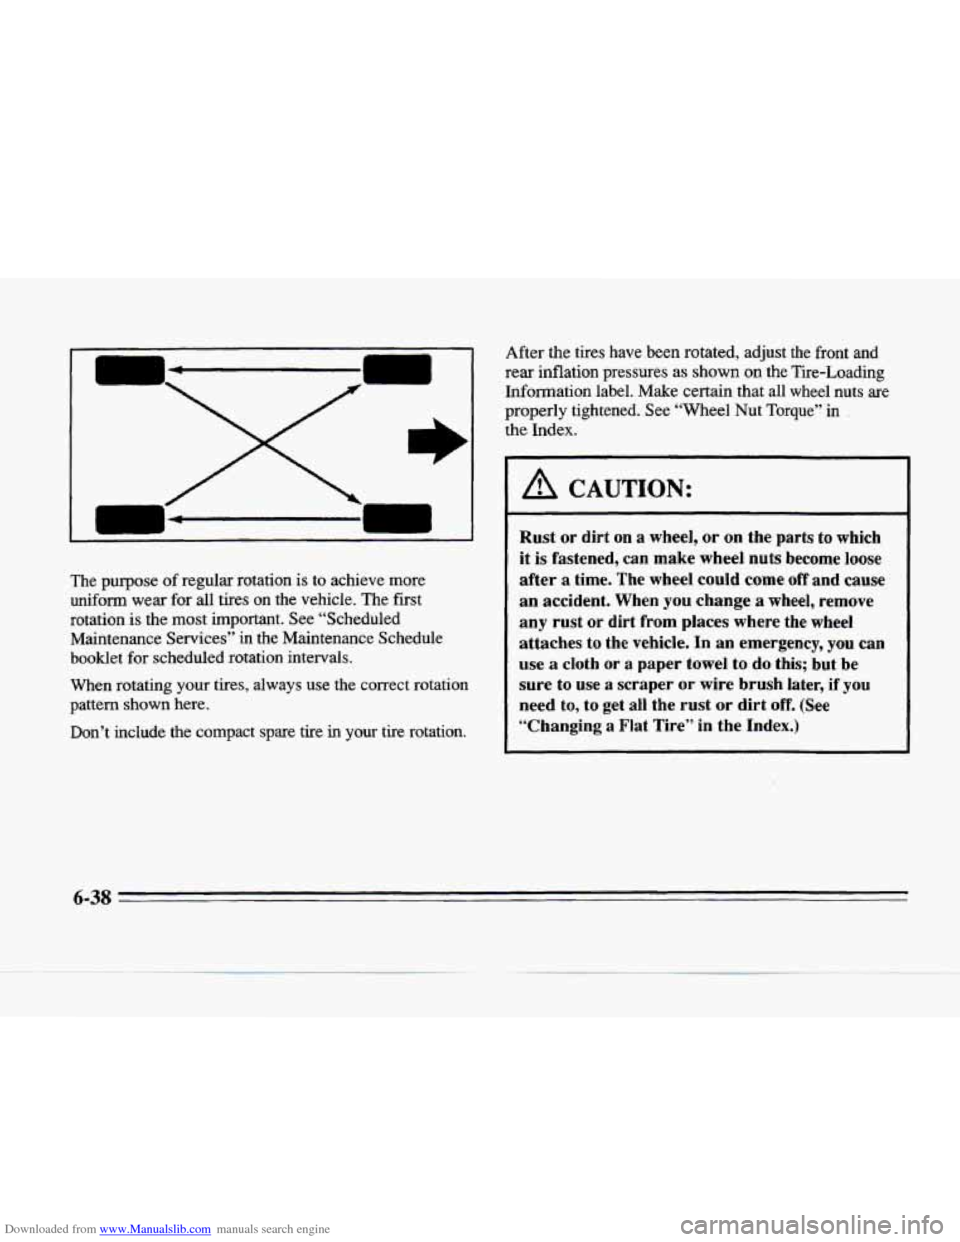
uniform wear for all tires on the vehicle. The first
rotation
is the most important. See “Scheduled
Maintenance Services”
in the Maintenance Schedule
booklet for scheduled rotation intervals.
When rotating your tires, always use the correct rotation
pattern shown here.
Don’t include the compact spare tire
in your tire rotation. After
the tires have been rotated, adjust the front and
rear inflation pressures
as shown on the Tire-Loading
Information label. Make certain that
all wheel nuts are
properly tightened. See “Wheel Nut Torque”.in
the Index.
A CAUTION:
Rust or dirt on a wheel, or on the parts to which
it is fastened, can make wheel nuts become loose
after
a time. The wheel could come off and cause
an accident. When you change a wheel, remove
any rust or dirt from places where the wheel
attaches
to the vehicle. In an emergency, you can
use
a cloth or a paper towel to do this; but be
sure to
use a scraper or wire brush later, if you
need to, to get all the rust or dirt
off. (See
“Changing a Flat Tire” in the Index.)
6-38 I
Page 307 of 354
Downloaded from www.Manualslib.com manuals search engine Care of Safety Belts
Keep belts clean and dry.
I
I A CAUTION:
Do not bleach or dye safety belts. If you do, it may
severely weaken them. In a crash they might
not be
able to provide adequate protection. Clean safety
belts only
with mild soap and lukewarm water.
Glass
Glass should be cleaned often. GM Glass Cleaner (GM
Part No. 1050427) or a liquid household glass cleaner
will remove normal tobacco smoke and dust films.
Don’t use abrasive cleaners on glass, because they may
cause scratches. Avoid placing decals on the inside rear
window, since they may have to be scraped
off later.
If abrasive cleaners are used on the inside of
the rear
window, an electric defogger element may be damaged.
Any temporary license should not be attached across the
defogger grid.
Cleaning the Outside of the
Windshield
and Wiper Blades
If the windshield is not clear after using the windshield
washer, or if the wiper blade chatters when running, wax
or other material may be on the blade
or windshield.
Clean the outside
of the windshield with GM
Windshield Cleaner, Bon-Ami Powder@ (GM Part
No. 105001 1). The windshield is clean if beads do not
form when you rinse it with water.
Clean the blade by wiping vigorously with
a cloth
soaked in full-strength windshield washer solvent. Then
rinse the blade with water.
Wiper blades should
be checked on a regular basis and
replaced when
worn.
Weatherstrips
Silicone grease on weatherstrips will make them last
longer, seal better, and not stick or squeak. Apply
silicone grease with
a clean cloth at least every six
months. During very cold, damp weather more frequent
application may be required. (See “Recommended
Fluids and Lubricants” in the Maintenance Schedule
booklet.)
6-48