buttons CADILLAC SRX 2008 1.G User Guide
[x] Cancel search | Manufacturer: CADILLAC, Model Year: 2008, Model line: SRX, Model: CADILLAC SRX 2008 1.GPages: 448, PDF Size: 5.61 MB
Page 138 of 448
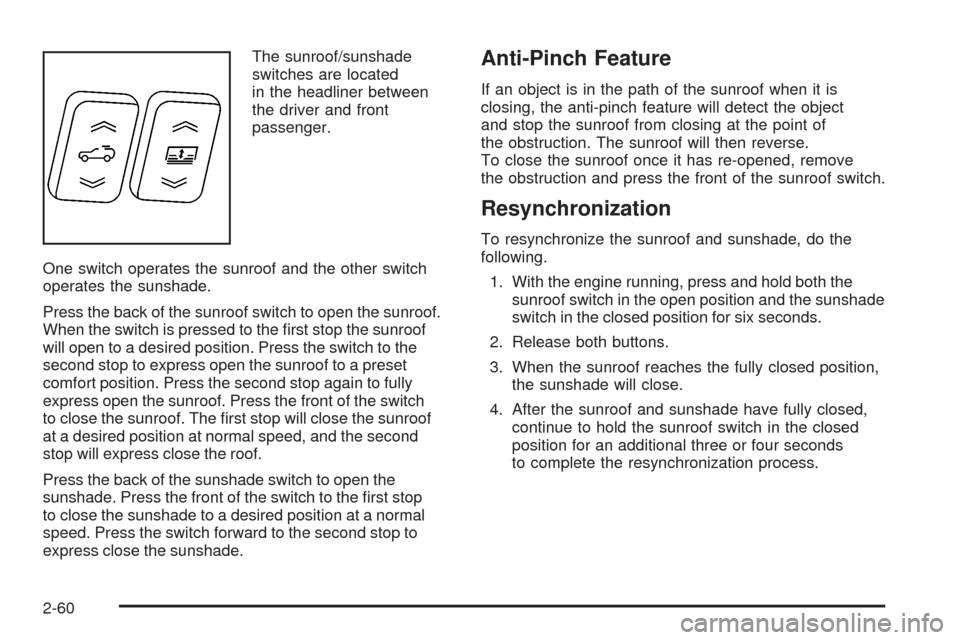
The sunroof/sunshade
switches are located
in the headliner between
the driver and front
passenger.
One switch operates the sunroof and the other switch
operates the sunshade.
Press the back of the sunroof switch to open the sunroof.
When the switch is pressed to the �rst stop the sunroof
will open to a desired position. Press the switch to the
second stop to express open the sunroof to a preset
comfort position. Press the second stop again to fully
express open the sunroof. Press the front of the switch
to close the sunroof. The �rst stop will close the sunroof
at a desired position at normal speed, and the second
stop will express close the roof.
Press the back of the sunshade switch to open the
sunshade. Press the front of the switch to the �rst stop
to close the sunshade to a desired position at a normal
speed. Press the switch forward to the second stop to
express close the sunshade.Anti-Pinch Feature
If an object is in the path of the sunroof when it is
closing, the anti-pinch feature will detect the object
and stop the sunroof from closing at the point of
the obstruction. The sunroof will then reverse.
To close the sunroof once it has re-opened, remove
the obstruction and press the front of the sunroof switch.
Resynchronization
To resynchronize the sunroof and sunshade, do the
following.
1. With the engine running, press and hold both the
sunroof switch in the open position and the sunshade
switch in the closed position for six seconds.
2. Release both buttons.
3. When the sunroof reaches the fully closed position,
the sunshade will close.
4. After the sunroof and sunshade have fully closed,
continue to hold the sunroof switch in the closed
position for an additional three or four seconds
to complete the resynchronization process.
2-60
Page 145 of 448
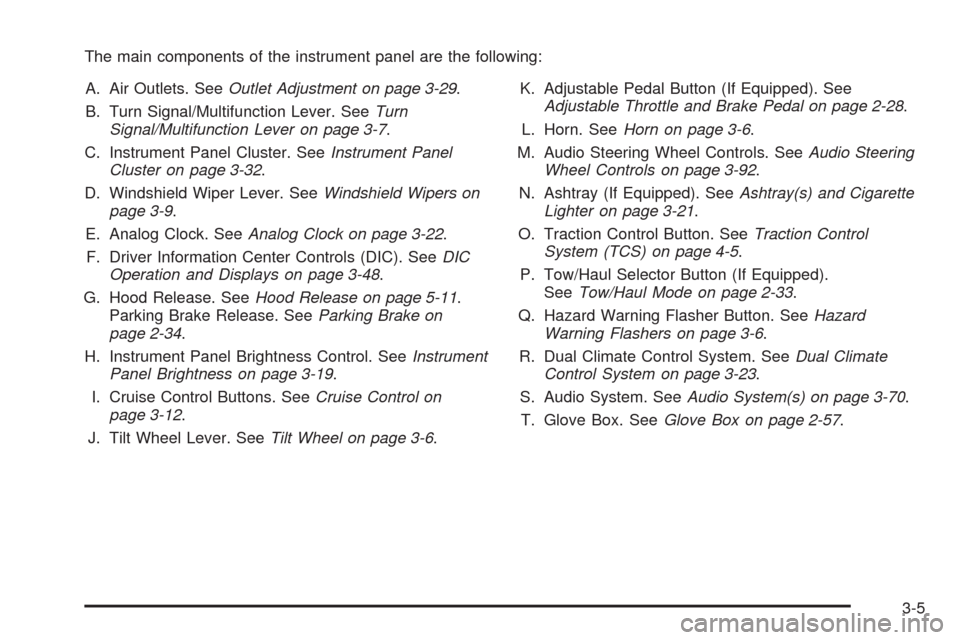
The main components of the instrument panel are the following:
A. Air Outlets. SeeOutlet Adjustment on page 3-29.
B. Turn Signal/Multifunction Lever. SeeTurn
Signal/Multifunction Lever on page 3-7.
C. Instrument Panel Cluster. SeeInstrument Panel
Cluster on page 3-32.
D. Windshield Wiper Lever. SeeWindshield Wipers on
page 3-9.
E. Analog Clock. SeeAnalog Clock on page 3-22.
F. Driver Information Center Controls (DIC). SeeDIC
Operation and Displays on page 3-48.
G. Hood Release. SeeHood Release on page 5-11.
Parking Brake Release. SeeParking Brake on
page 2-34.
H. Instrument Panel Brightness Control. SeeInstrument
Panel Brightness on page 3-19.
I. Cruise Control Buttons. SeeCruise Control on
page 3-12.
J. Tilt Wheel Lever. SeeTilt Wheel on page 3-6.K. Adjustable Pedal Button (If Equipped). See
Adjustable Throttle and Brake Pedal on page 2-28.
L. Horn. SeeHorn on page 3-6.
M. Audio Steering Wheel Controls. SeeAudio Steering
Wheel Controls on page 3-92.
N. Ashtray (If Equipped). SeeAshtray(s) and Cigarette
Lighter on page 3-21.
O. Traction Control Button. SeeTraction Control
System (TCS) on page 4-5.
P. Tow/Haul Selector Button (If Equipped).
SeeTow/Haul Mode on page 2-33.
Q. Hazard Warning Flasher Button. SeeHazard
Warning Flashers on page 3-6.
R. Dual Climate Control System. SeeDual Climate
Control System on page 3-23.
S. Audio System. SeeAudio System(s) on page 3-70.
T. Glove Box. SeeGlove Box on page 2-57.
3-5
Page 153 of 448
When the brakes are applied, the cruise control
shuts off.
If your vehicle has the StabiliTrak
®system and begins to
limit wheel spin while using cruise control, the cruise
control automatically disengages. SeeStabiliTrak
®
System on page 4-7. Turn the cruise control back on,
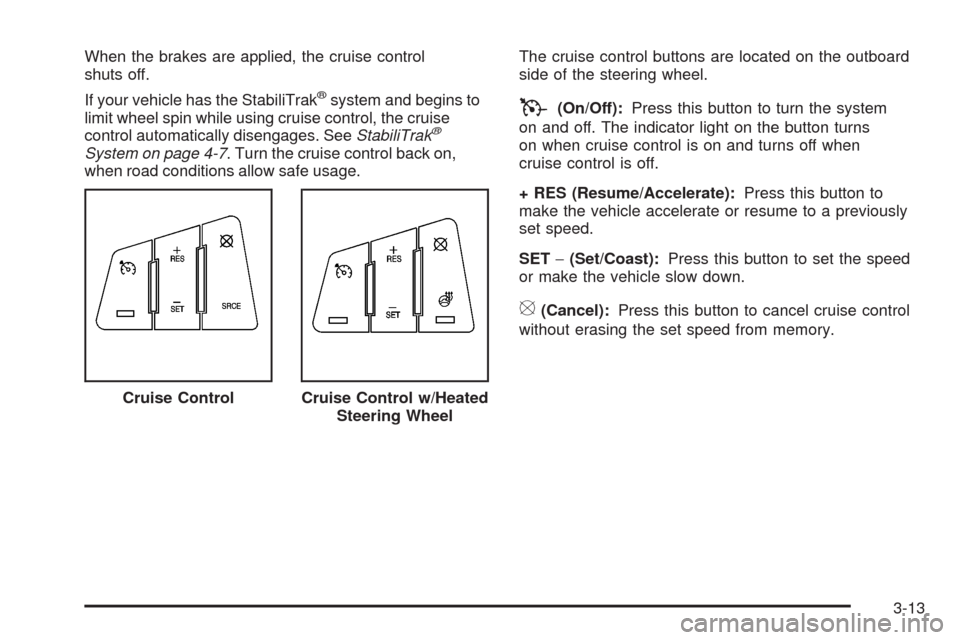
when road conditions allow safe usage.The cruise control buttons are located on the outboard
side of the steering wheel.
T(On/Off):Press this button to turn the system
on and off. The indicator light on the button turns
on when cruise control is on and turns off when
cruise control is off.
+ RES (Resume/Accelerate):Press this button to
make the vehicle accelerate or resume to a previously
set speed.
SET−(Set/Coast):Press this button to set the speed
or make the vehicle slow down.
[(Cancel):Press this button to cancel cruise control
without erasing the set speed from memory.
Cruise Control
Cruise Control w/Heated
Steering Wheel
3-13
Page 164 of 448
«ª(Driver’s Temperature Controls):Press the up
or down buttons closest to the driver to manually increase
or decrease the temperature inside the vehicle.
«ª(Passenger’s Temperature Controls):Press
the up or down buttons closest to the passenger to
manually increase or decrease the temperature for
the front passenger. If the passenger’s climate control
system is off, pressing either of these buttons turns it on.
Manual Operation
9(Fan):Turn the left control to adjust the fan speed
manually if the automatic setting is higher or lower than
desired. The fan speed remains at this level until you
return to AUTO or adjust to a different level. In the
automatic position, the blower might go to a lower speed
during an OnStar
®session to limit the background noise.
To change the current mode, select one of the following
positions using the right control:
AUTO:Turn the control to this position to turn on the
automatic delivery mode operation.
F(Vent):Turn the control to this position so that air is
directed to the instrument panel outlets.
*(Bi-Level):Turn the control to this position so
that the air is directed to the instrument panel outlets
and the �oor outlets. The temperature of the air to
the �oor will be warmer than the air to the upper outlets.
7(Floor):Turn the control to this position so that most
of the air is directed to the �oor outlets with some air
directed to the outboard outlets, side window outlets,
and defroster outlet.
W(Defog):Turn the control to this position so that air
is directed between the windshield and �oor outlets,
with some air going to the outboard outlets and
side window outlets. More information of defogging
can be found later in this section.
0(Defrost):Turn the control to this position so
that most of the air is directed to the windshield with
some air going to the side window outlets. More
information on defrosting can be found later in this
section.
O(On/Off):Press this button to turn the climate
control system on or off. While off, adjusting any button or
control, except recirculation and rear window defog turns
the system back on. The air inlets default to outside air
when the climate control system is turned off.
3-24
Page 165 of 448
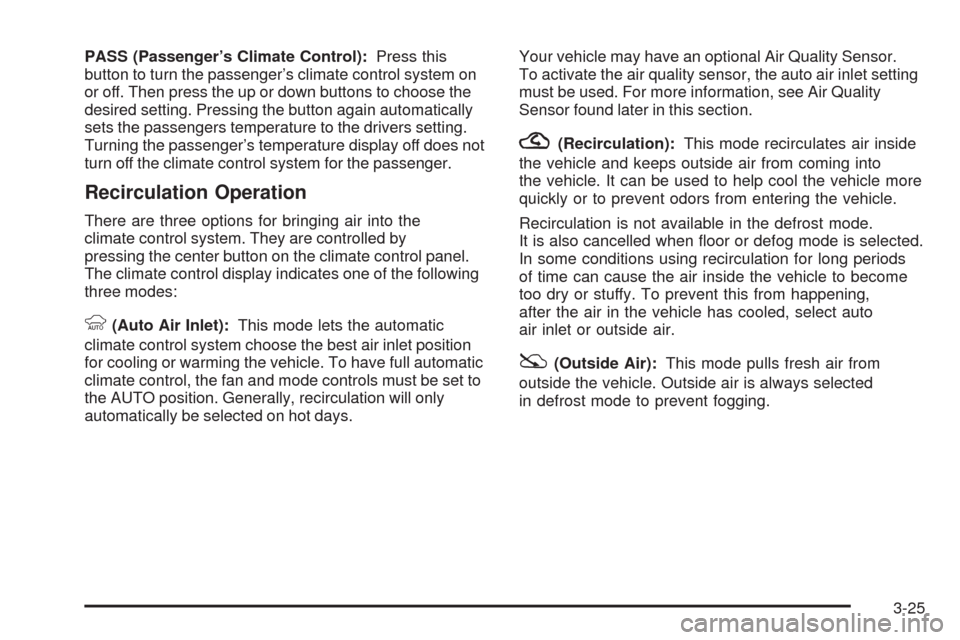
PASS (Passenger’s Climate Control):Press this
button to turn the passenger’s climate control system on
or off. Then press the up or down buttons to choose the
desired setting. Pressing the button again automatically
sets the passengers temperature to the drivers setting.
Turning the passenger’s temperature display off does not
turn off the climate control system for the passenger.
Recirculation Operation
There are three options for bringing air into the
climate control system. They are controlled by
pressing the center button on the climate control panel.
The climate control display indicates one of the following
three modes:
9(Auto Air Inlet):This mode lets the automatic
climate control system choose the best air inlet position
for cooling or warming the vehicle. To have full automatic
climate control, the fan and mode controls must be set to
the AUTO position. Generally, recirculation will only
automatically be selected on hot days.Your vehicle may have an optional Air Quality Sensor.
To activate the air quality sensor, the auto air inlet setting
must be used. For more information, see Air Quality
Sensor found later in this section.
?(Recirculation):This mode recirculates air inside
the vehicle and keeps outside air from coming into
the vehicle. It can be used to help cool the vehicle more
quickly or to prevent odors from entering the vehicle.
Recirculation is not available in the defrost mode.
It is also cancelled when �oor or defog mode is selected.
In some conditions using recirculation for long periods
of time can cause the air inside the vehicle to become
too dry or stuffy. To prevent this from happening,
after the air in the vehicle has cooled, select auto
air inlet or outside air.
:(Outside Air):This mode pulls fresh air from
outside the vehicle. Outside air is always selected
in defrost mode to prevent fogging.
3-25
Page 187 of 448
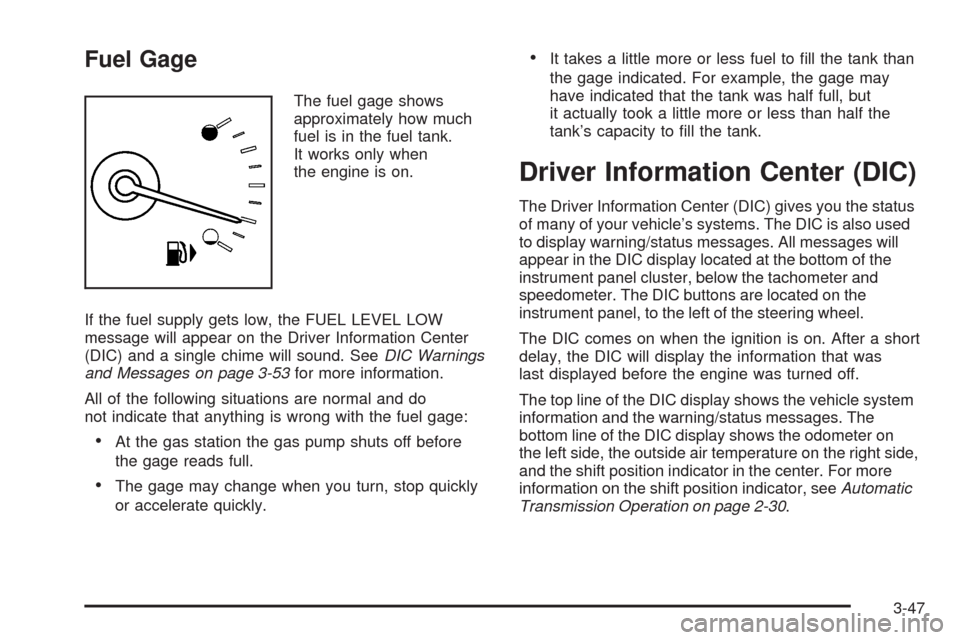
Fuel Gage
The fuel gage shows
approximately how much
fuel is in the fuel tank.
It works only when
the engine is on.
If the fuel supply gets low, the FUEL LEVEL LOW
message will appear on the Driver Information Center
(DIC) and a single chime will sound. SeeDIC Warnings
and Messages on page 3-53for more information.
All of the following situations are normal and do
not indicate that anything is wrong with the fuel gage:
At the gas station the gas pump shuts off before
the gage reads full.
The gage may change when you turn, stop quickly
or accelerate quickly.
It takes a little more or less fuel to �ll the tank than
the gage indicated. For example, the gage may
have indicated that the tank was half full, but
it actually took a little more or less than half the
tank’s capacity to �ll the tank.
Driver Information Center (DIC)
The Driver Information Center (DIC) gives you the status
of many of your vehicle’s systems. The DIC is also used
to display warning/status messages. All messages will
appear in the DIC display located at the bottom of the
instrument panel cluster, below the tachometer and
speedometer. The DIC buttons are located on the
instrument panel, to the left of the steering wheel.
The DIC comes on when the ignition is on. After a short
delay, the DIC will display the information that was
last displayed before the engine was turned off.
The top line of the DIC display shows the vehicle system
information and the warning/status messages. The
bottom line of the DIC display shows the odometer on
the left side, the outside air temperature on the right side,
and the shift position indicator in the center. For more
information on the shift position indicator, seeAutomatic
Transmission Operation on page 2-30.
3-47
Page 188 of 448
When the sport mode is active, an S will appear next
to the shift position indicator on the center of the
DIC display. When the manual mode is active, an M will
appear on the DIC display. When the normal mode is
active, only the shift position indicator will appear. While
the Driver Shift Control (DSC) feature is active, the
DIC will change to show the selected gear. See “Driver
Shift Control (DSC)” underAutomatic Transmission
Operation on page 2-30for more information.
If a problem is detected, a warning message will appear
on the display. Be sure to take any message that
appears on the display seriously and remember that
clearing the message will only make the message
disappear, not correct the problem.
DIC Operation and Displays
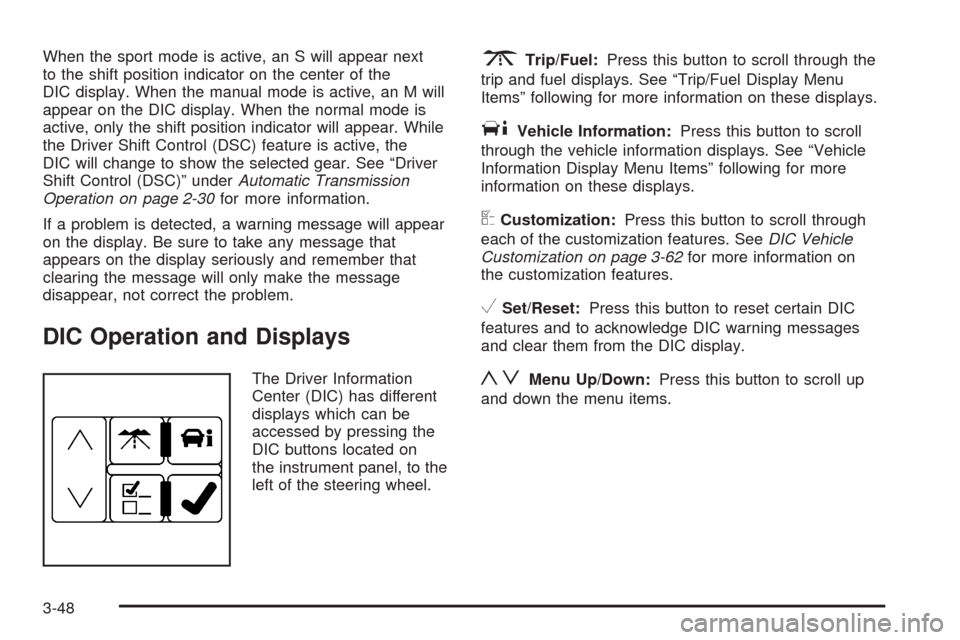
The Driver Information
Center (DIC) has different
displays which can be
accessed by pressing the
DIC buttons located on
the instrument panel, to the
left of the steering wheel.
3Trip/Fuel:Press this button to scroll through the
trip and fuel displays. See “Trip/Fuel Display Menu
Items” following for more information on these displays.
TVehicle Information:Press this button to scroll
through the vehicle information displays. See “Vehicle
Information Display Menu Items” following for more
information on these displays.
UCustomization:Press this button to scroll through
each of the customization features. SeeDIC Vehicle
Customization on page 3-62for more information on
the customization features.
VSet/Reset:Press this button to reset certain DIC
features and to acknowledge DIC warning messages
and clear them from the DIC display.
yzMenu Up/Down:Press this button to scroll up
and down the menu items.
3-48
Page 192 of 448
FRONT TIRES or REAR TIRES
The pressure for each tire can be viewed in the DIC.
The tire pressure will be shown in either pounds
per square inch (psi) or kilopascals (kPa). Press the
vehicle information button until the DIC shows the tire
pressure for the front tires. Press the vehicle information
button again to view the pressure for the rear tires.
If a low or high tire pressure condition is detected by
the system while driving, a message advising you
to check the pressure in a speci�c tire will appear in
the display. SeeInflation - Tire Pressure on page 5-59
andDIC Warnings and Messages on page 3-53for
more information.
RELEARN REMOTE KEY
This display allows you to match Remote Keyless
Entry (RKE) transmitters to your vehicle. To match
an RKE transmitter to your vehicle:
1. Press the vehicle information button until
PRESS
VTO RELEARN REMOTE KEY displays.
2. Press the set/reset button until REMOTE KEY
LEARNING ACTIVE is displayed.3. Press and hold the lock and unlock buttons on
the �rst transmitter at the same time for about
15 seconds.
On vehicles with memory recall seats, the �rst
transmitter learned will match driver 1 and
the second will match driver 2.
A chime will sound indicating that the transmitter is
matched.
4. To match additional transmitters at this time, repeat
Step 3.
Each vehicle can have a maximum of
eight transmitters matched to it.
5. To exit the programming mode, you must cycle the
key to LOCK/OFF.
SPEEDOMETER
This display shows a digital speedometer in the DIC.
The speed will be displayed in either miles per hour (mph)
or kilometers per hour (km/h). Press the vehicle
information button until the DIC shows the digital
speedometer. To change the units from English to
metric, see “UNITS” earlier in this section.
Blank Display
This display shows no information.
3-52
Page 210 of 448
Exiting the Feature Settings Menu
The feature settings menu will be exited when any of
the following occurs:
The vehicle is shifted out of PARK (P).
The ignition is no longer in ON/RUN.
The trip/fuel or vehicle information DIC buttons are
pressed.
The end of the feature settings menu is reached.
A 40 second time period has elapsed with no
selection made.
Audio System(s)
Determine which radio your vehicle has and then read
the pages following to familiarize yourself with its
features.
{CAUTION:
This system provides you with far greater
access to audio stations and song listings.
Giving extended attention to entertainment
tasks while driving can cause a crash and you
or others can be injured or killed. Always keep
your eyes on the road and your mind on the
drive — avoid engaging in extended searching
while driving.
Keeping your mind on the drive is important for safe
driving. SeeDefensive Driving on page 4-2. Here are
some ways in which you can help avoid distraction while
driving.
3-70
Page 216 of 448
Finding a Station
BAND:Press to switch between AM, FM, or XM™
(if equipped). The display shows the selection.
a(Tune):Turn to select radio stations.
©SEEK¨:Press the arrows to go to the previous
or to the next station and stay there.
To scan stations, press and hold either arrow for
three seconds until a beep sounds. The radio goes
to a station, plays for a few seconds, then goes to the
next station. Press either arrow again to stop scanning.
The radio only seeks and scan stations with a strong
signal that are in the selected band.
4(Information) (XM™ Satellite Radio Service,
MP3/WMA, and RDS Features):Press to display
additional text information related to the current FM-RDS
or XM™ station (if equipped), or MP3/WMA song.
A choice of additional information such as: Channel,
Song, Artist, CAT (category) can appear. Continue
pressing this button to highlight the desired label,
or press the pushbutton positioned under any one of
the labels and the information about that label displays.
When information is not available, No Info displays.
Storing a Radio Station as a Favorite
Drivers are encouraged to set up their radio station
favorites while the vehicle is stopped. Tune to your
favorite stations using the presets, favorites button,
and steering wheel controls, if your vehicle has
this feature. SeeDefensive Driving on page 4-2.
FAV (Favorites):A maximum of 36 stations can be
programmed as favorites using the six pushbuttons
positioned below the radio station frequency labels and
by using the radio favorites page button (FAV button).
Press the FAV button to go through up to six pages of
favorites, each having six favorite stations available
per page. Each page of favorites can contain any
combination of AM, FM, or XM™ (if equipped) stations.
To store a station as a favorite, perform the following
steps:
1. Tune to the desired radio station.
2. Press the FAV button to display the page where
you want the station stored.
3. Press and hold one of the six pushbuttons until a
beep sounds. When that pushbutton is pressed
and released, the station that was set, returns.
4. Repeat the steps for each pushbutton radio station
you want stored as a favorite.
3-76