2-2 CADILLAC XLR 2005 1.G Owners Manual
[x] Cancel search | Manufacturer: CADILLAC, Model Year: 2005, Model line: XLR, Model: CADILLAC XLR 2005 1.GPages: 438, PDF Size: 3.69 MB
Page 1 of 438
Seats and Restraint Systems........................... 1-1
Front Seats
............................................... 1-2
Safety Belts
.............................................. 1-5
Child Restraints
.......................................1-19
Airbag System
.........................................1-36
Restraint System Check
............................1-48
Features and Controls..................................... 2-1
Keys
........................................................ 2-2
Doors and Locks
....................................... 2-9
Windows
.................................................2-16
Theft-Deterrent Systems
............................2-19
Starting and Operating Your Vehicle
...........2-21
Mirrors
....................................................2-34
OnStar
®System
......................................2-36
HomeLink®Transmitter
.............................2-38
Storage Areas
.........................................2-42
Retractable Hardtop
..................................2-45
Vehicle Personalization
.............................2-54
Instrument Panel............................................. 3-1
Instrument Panel Overview
.......................... 3-4
Climate Controls
......................................3-40
Warning Lights, Gages, and Indicators
........3-46
Driver Information Center (DIC)
..................3-61
Trip Computer
.........................................3-77
Audio System(s)
.......................................3-78Navigation System.......................................... 4-1
Overview
.................................................. 4-2
Features and Controls
................................ 4-4
Navigation Audio System
...........................4-45
Voice Recognition
......................................4-69
Driving Your Vehicle....................................... 5-1
Your Driving, the Road, and Your Vehicle
..... 5-2
Towing
...................................................5-35
Service and Appearance Care.......................... 6-1
Service
..................................................... 6-3
Fuel
......................................................... 6-5
Checking Things Under the Hood
...............6-10
Rear Axle
...............................................6-41
Headlamp Aiming
.....................................6-42
Bulb Replacement
....................................6-44
Windshield Wiper Blade Replacement
.........6-45
Tires
......................................................6-46
Appearance Care
.....................................6-70
Vehicle Identi�cation
.................................6-79
Electrical System
......................................6-80
Capacities and Speci�cations
.....................6-85
Maintenance Schedule..................................... 7-1
Maintenance Schedule
................................ 7-2
Customer Assistance and Information.............. 8-1
Customer Assistance and Information
........... 8-2
Reporting Safety Defects
...........................8-11
Index.................................................................1
2005 Cadillac XLR Owner ManualM
Page 57 of 438
Keys...............................................................2-2
Keyless Access System...................................2-4
Keyless Access System Operation....................2-5
Doors and Locks.............................................2-9
Door Locks....................................................2-9
Power Door Locks........................................2-11
Automatic Door Locks...................................2-12
Programmable Automatic Door Unlock.............2-12
Lockout Protection........................................2-12
Trunk..........................................................2-13
Windows........................................................2-16
Power Windows............................................2-17
Sun Visors...................................................2-18
Theft-Deterrent Systems..................................2-19
Theft-Deterrent System..................................2-19
Valet Lockout Switch.....................................2-21
Starting and Operating Your Vehicle................2-21
New Vehicle Break-In....................................2-21
Ignition Positions..........................................2-22
Retained Accessory Power (RAP)...................2-22
Starting Your Engine.....................................2-23
Engine Coolant Heater..................................2-24
Automatic Transmission Operation...................2-25
Parking Brake..............................................2-28
Shifting Into Park (P).....................................2-30
Shifting Out of Park (P).................................2-31
Parking Over Things That Burn.......................2-32Engine Exhaust............................................2-32
Running Your Engine While You Are Parked.......2-33
Mirrors...........................................................2-34
Automatic Dimming Rearview Mirror
with OnStar
®............................................2-34
Outside Power Heated Mirrors........................2-34
Outside Automatic Dimming Mirror..................2-35
Outside Curb View Assist Mirror.....................2-35
Outside Convex Mirror...................................2-36
OnStar
®System.............................................2-36
HomeLink®Transmitter...................................2-38
Programming the HomeLink®Transmitter.........2-39
Storage Areas................................................2-42
Glove Box...................................................2-42
Cupholder(s)................................................2-42
Center Console Storage Area.........................2-42
Map Pocket.................................................2-43
Floor Mats...................................................2-43
Rear Storage Area........................................2-44
Convenience Net..........................................2-44
Retractable Hardtop........................................2-45
Lowering the Retractable Hardtop...................2-45
Raising the Retractable Hardtop......................2-46
Vehicle Personalization...................................2-54
Memory Seat, Mirrors and Steering Wheel.......2-54
Section 2 Features and Controls
2-1
Page 58 of 438
Keys
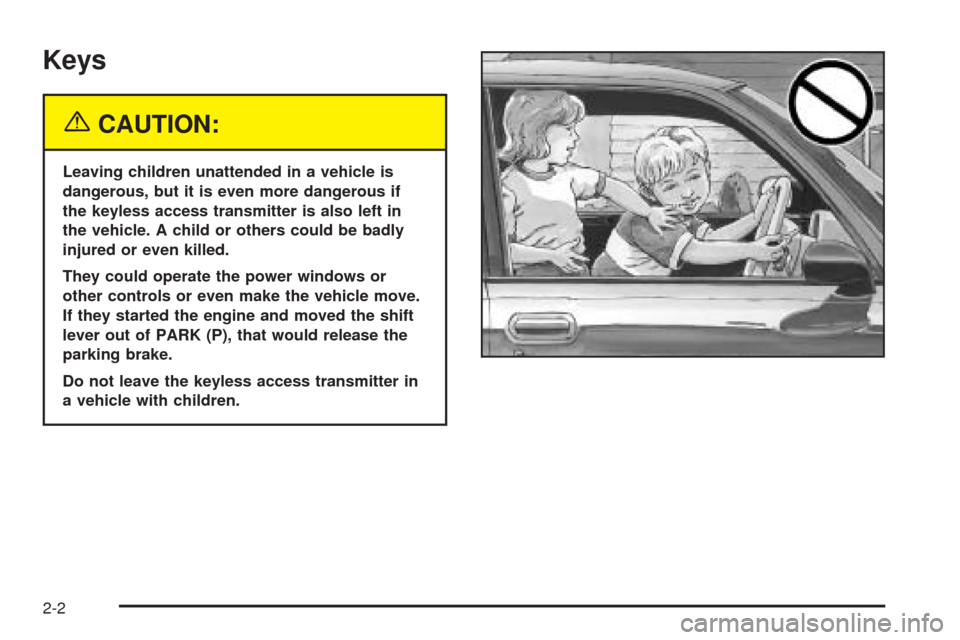
{CAUTION:
Leaving children unattended in a vehicle is
dangerous, but it is even more dangerous if
the keyless access transmitter is also left in
the vehicle. A child or others could be badly
injured or even killed.
They could operate the power windows or
other controls or even make the vehicle move.
If they started the engine and moved the shift
lever out of PARK (P), that would release the
parking brake.
Do not leave the keyless access transmitter in
a vehicle with children.
2-2
Page 59 of 438
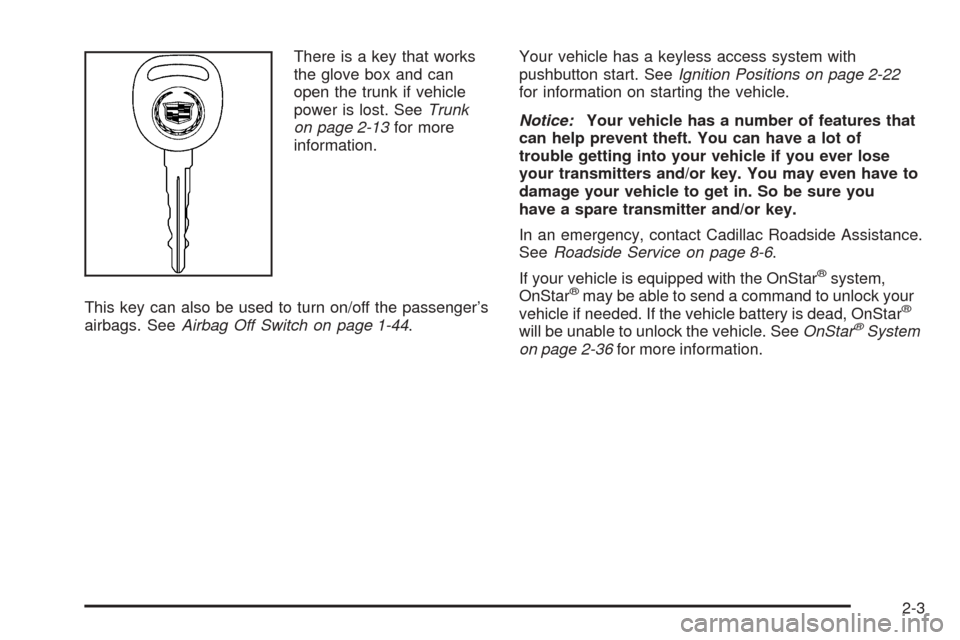
There is a key that works
the glove box and can
open the trunk if vehicle
power is lost. SeeTrunk
on page 2-13for more
information.
This key can also be used to turn on/off the passenger’s
airbags. SeeAirbag Off Switch on page 1-44.Your vehicle has a keyless access system with
pushbutton start. SeeIgnition Positions on page 2-22
for information on starting the vehicle.
Notice:Your vehicle has a number of features that
can help prevent theft. You can have a lot of
trouble getting into your vehicle if you ever lose
your transmitters and/or key. You may even have to
damage your vehicle to get in. So be sure you
have a spare transmitter and/or key.
In an emergency, contact Cadillac Roadside Assistance.
SeeRoadside Service on page 8-6.
If your vehicle is equipped with the OnStar
®system,
OnStar®may be able to send a command to unlock your
vehicle if needed. If the vehicle battery is dead, OnStar®
will be unable to unlock the vehicle. SeeOnStar®System
on page 2-36for more information.
2-3
Page 70 of 438
You can also press the button with the trunk symbol
on the keyless access transmitter to open the trunk.
To disable this feature, see “Valet Lockout Switch” under
Theft-Deterrent Systems on page 2-19.
You may passively enter the trunk when you squeeze
the trunk release sensor located on the rear of the trunk
lid under the emblem, as long as you have your
transmitter with you. The vehicle must be in PARK (P)
and the valet lockout switch must be off. SeeValet
Lockout Switch on page 2-21.
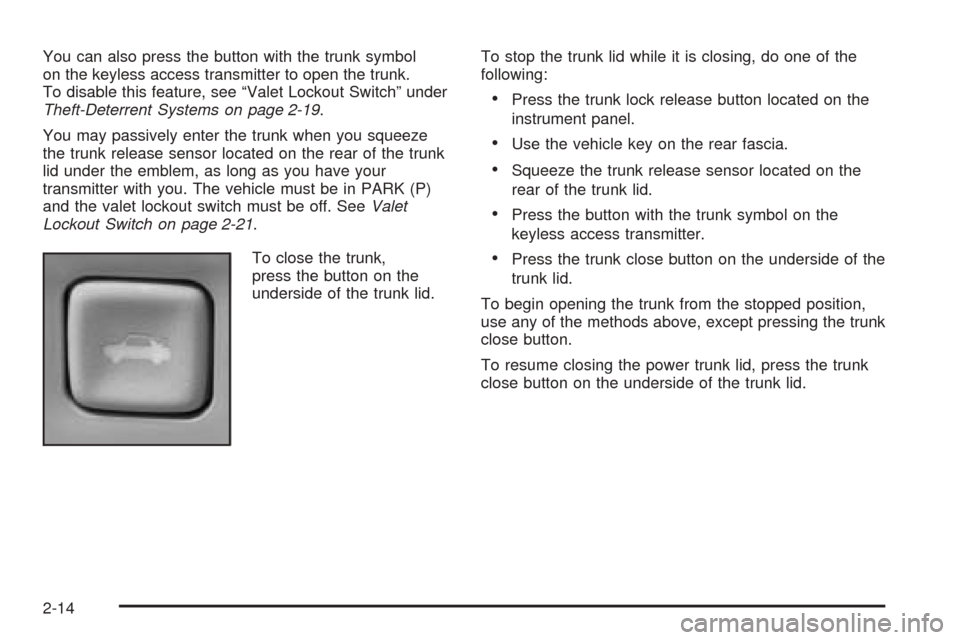
To close the trunk,
press the button on the
underside of the trunk lid.To stop the trunk lid while it is closing, do one of the
following:
Press the trunk lock release button located on the
instrument panel.
Use the vehicle key on the rear fascia.
Squeeze the trunk release sensor located on the
rear of the trunk lid.
Press the button with the trunk symbol on the
keyless access transmitter.
Press the trunk close button on the underside of the
trunk lid.
To begin opening the trunk from the stopped position,
use any of the methods above, except pressing the trunk
close button.
To resume closing the power trunk lid, press the trunk
close button on the underside of the trunk lid.
2-14
Page 73 of 438
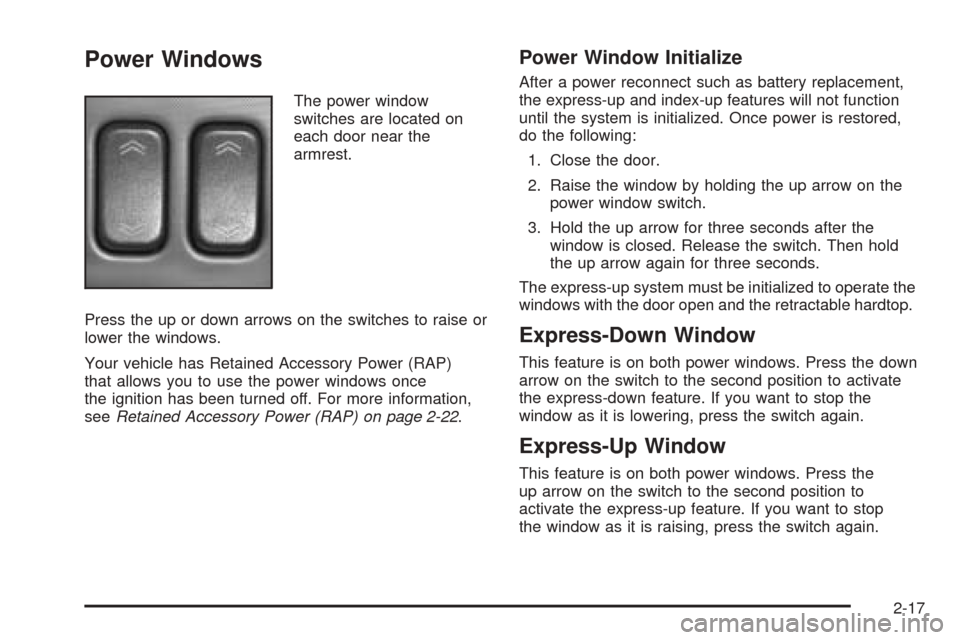
Power Windows
The power window
switches are located on
each door near the
armrest.
Press the up or down arrows on the switches to raise or
lower the windows.
Your vehicle has Retained Accessory Power (RAP)
that allows you to use the power windows once
the ignition has been turned off. For more information,
seeRetained Accessory Power (RAP) on page 2-22.
Power Window Initialize
After a power reconnect such as battery replacement,
the express-up and index-up features will not function
until the system is initialized. Once power is restored,
do the following:
1. Close the door.
2. Raise the window by holding the up arrow on the
power window switch.
3. Hold the up arrow for three seconds after the
window is closed. Release the switch. Then hold
the up arrow again for three seconds.
The express-up system must be initialized to operate the
windows with the door open and the retractable hardtop.
Express-Down Window
This feature is on both power windows. Press the down
arrow on the switch to the second position to activate
the express-down feature. If you want to stop the
window as it is lowering, press the switch again.
Express-Up Window
This feature is on both power windows. Press the
up arrow on the switch to the second position to
activate the express-up feature. If you want to stop
the window as it is raising, press the switch again.
2-17
Page 76 of 438
The theft-deterrent system will not arm if you lock the
driver’s door with the power door lock switch after
the doors are closed.
If your passenger stays in the vehicle when you leave
with the keyless access transmitter, have the passenger
lock the vehicle after the doors are closed. This way the
alarm will not arm, and your passenger will not set it off.
Testing the Alarm
Do the following to test the system:
1. Make sure the trunk lid is latched.
2. Lower the window on the driver’s door.
3. Manually arm the system.
4. Close the doors and wait 30 seconds.
5. Reach through the open window and manually pull
the release lever on the �oor.
6. Turn off the alarm by pressing the unlock button on
the transmitter.If the alarm is inoperative, check to see if the horn
works. If not, check the horn fuse. SeeFuses and Circuit
Breakers on page 6-80. If the horn works, but the
alarm doesn’t go off, see your dealer.
Disarming the System
Always use your keyless access transmitter to unlock a
door either by pressing the unlock button on the
transmitter or by squeezing the door handle sensor
while you have the transmitter with you. Unlocking a
door any other way will set off the alarm. If your alarm
sounds, press the unlock button on the keyless
access transmitter to disarm it.
2-20
Page 77 of 438
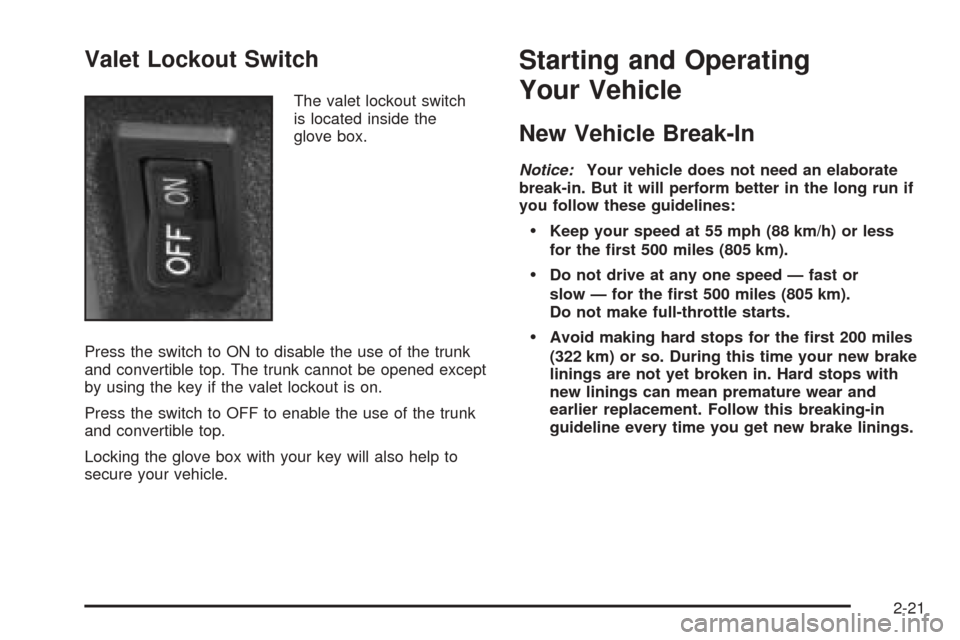
Valet Lockout Switch
The valet lockout switch
is located inside the
glove box.
Press the switch to ON to disable the use of the trunk
and convertible top. The trunk cannot be opened except
by using the key if the valet lockout is on.
Press the switch to OFF to enable the use of the trunk
and convertible top.
Locking the glove box with your key will also help to
secure your vehicle.
Starting and Operating
Your Vehicle
New Vehicle Break-In
Notice:Your vehicle does not need an elaborate
break-in. But it will perform better in the long run if
you follow these guidelines:
Keep your speed at 55 mph (88 km/h) or less
for the �rst 500 miles (805 km).
Do not drive at any one speed — fast or
slow — for the �rst 500 miles (805 km).
Do not make full-throttle starts.
Avoid making hard stops for the �rst 200 miles
(322 km) or so. During this time your new brake
linings are not yet broken in. Hard stops with
new linings can mean premature wear and
earlier replacement. Follow this breaking-in
guideline every time you get new brake linings.
2-21
Page 78 of 438
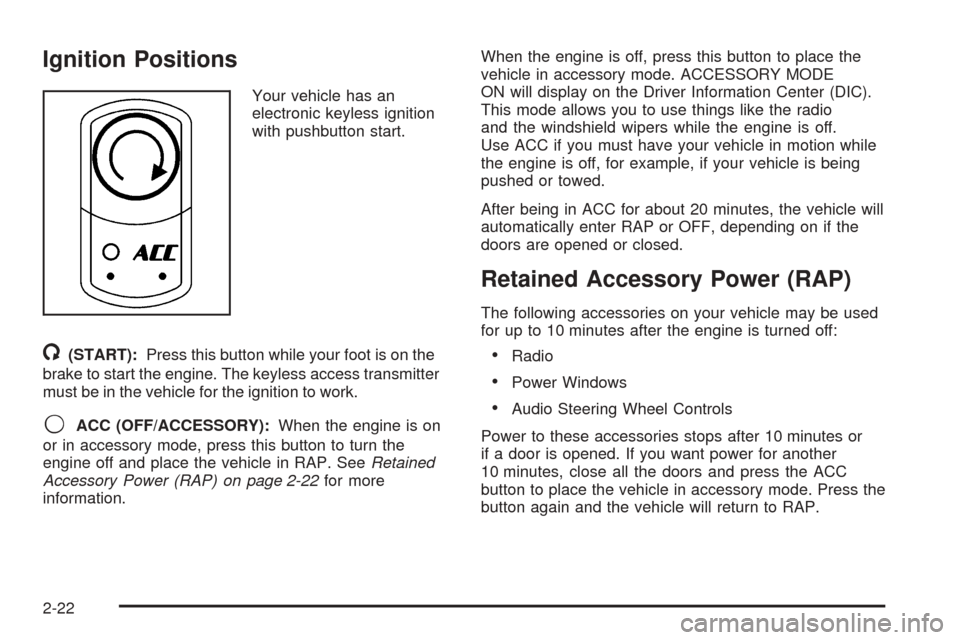
Ignition Positions
Your vehicle has an
electronic keyless ignition
with pushbutton start.
/(START):Press this button while your foot is on the
brake to start the engine. The keyless access transmitter
must be in the vehicle for the ignition to work.
9ACC (OFF/ACCESSORY):When the engine is on
or in accessory mode, press this button to turn the
engine off and place the vehicle in RAP. SeeRetained
Accessory Power (RAP) on page 2-22for more
information.When the engine is off, press this button to place the
vehicle in accessory mode. ACCESSORY MODE
ON will display on the Driver Information Center (DIC).
This mode allows you to use things like the radio
and the windshield wipers while the engine is off.
Use ACC if you must have your vehicle in motion while
the engine is off, for example, if your vehicle is being
pushed or towed.
After being in ACC for about 20 minutes, the vehicle will
automatically enter RAP or OFF, depending on if the
doors are opened or closed.
Retained Accessory Power (RAP)
The following accessories on your vehicle may be used
for up to 10 minutes after the engine is turned off:
Radio
Power Windows
Audio Steering Wheel Controls
Power to these accessories stops after 10 minutes or
if a door is opened. If you want power for another
10 minutes, close all the doors and press the ACC
button to place the vehicle in accessory mode. Press the
button again and the vehicle will return to RAP.
2-22
Page 79 of 438
Starting Your Engine
Move your shift lever to PARK (P) or NEUTRAL (N).
Your engine will not start in any other position — that is
a safety feature. To restart when you are already
moving, use NEUTRAL (N) only.
The keyless access transmitter must be in the vehicle
for the ignition to work.
Notice:Do not try to shift to PARK (P) if your
vehicle is moving. If you do, you could damage the
transmission. Shift to PARK (P) only when your
vehicle is stopped.
1. With your foot on the brake pedal, press the
START button. When the engine begins cranking,
let go of the button. The idle speed will go down as
your engine gets warm.
If the battery in the keyless access transmitter is
weak, the DIC will display FOB BATTERY LOW.
You can still drive the vehicle. See “Battery
Replacement” underKeyless Access System
Operation on page 2-5for more information.
2. If the engine does not start and no DIC message is
displayed, wait 15 seconds before trying again.Notice:Your engine is designed to work with the
electronics in your vehicle. If you add electrical
parts or accessories, you could change the way the
engine operates. Before adding electrical equipment,
check with your dealer. If you do not, your engine
might not perform properly.
Stopping Your Engine
Move the shift lever to PARK (P) and press the ACC
button. If the shifter is not in PARK (P), the vehicle will
go into accessory mode and the DIC will display
SHIFT TO PARK. Once the shifter is moved to
PARK (P), the vehicle will turn off.
If the keyless access transmitter is not detected while
going to off, the DIC will display NO FOB – OFF
OR RUN?.
SeeDIC Warnings and Messages on page 3-64
for more information.
2-23