ignition CHEVROLET ASTRO 1996 User Guide
[x] Cancel search | Manufacturer: CHEVROLET, Model Year: 1996, Model line: ASTRO, Model: CHEVROLET ASTRO 1996Pages: 372, PDF Size: 21.51 MB
Page 83 of 372
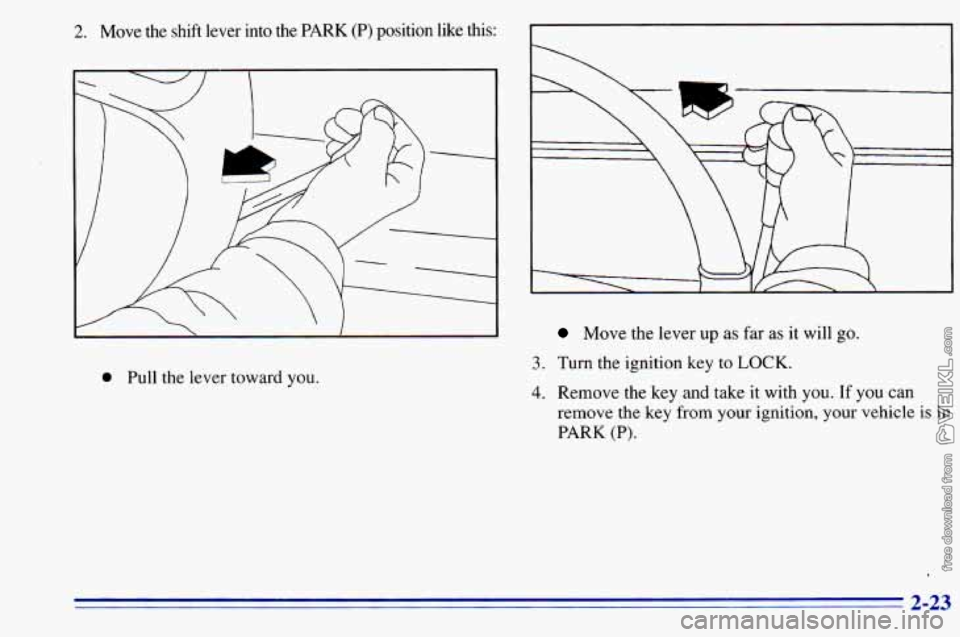
2. Move the shift lever into the PARK (P) position like this:
0 Pull the lever toward you.
Move the lever up as far as it will go.
3. Turn the ignition key to LOCK.
4. Remove the key and take it with you. If you can
remove the key from your ignition, your vehicle is in
PARK (P).
2-23
Page 85 of 372
Shifting Out of PARK (P)
Your vehicle has a brake-transmission shift interlock.
You have to fully apply your regular brake before you
can shift from PARK (P) when the ignition is in the
RUN position. See “Automatic Transmission” in
the Index.
If
you cannot shift out of PARK (P), ease pressure on
the shift lever
-- push the shift lever all the way into
PARK
(P) as you maintain brake application. Then
move the shift lever into the gear
you want.
If
you ever hold the brake pedal down but still can’t
shift out
of PARK (P), try this:
I. Turn the key to OFF.
2. Apply and hold the brake until the end of Step 4.
3. Shift to NEUTRAL (N).
4. Start the vehicle and then shift to the drive gear
you want.
5. Have the vehicle fixed as soon as you can.
Parking nvPr Thiq Th: A R rn
CAUTION:
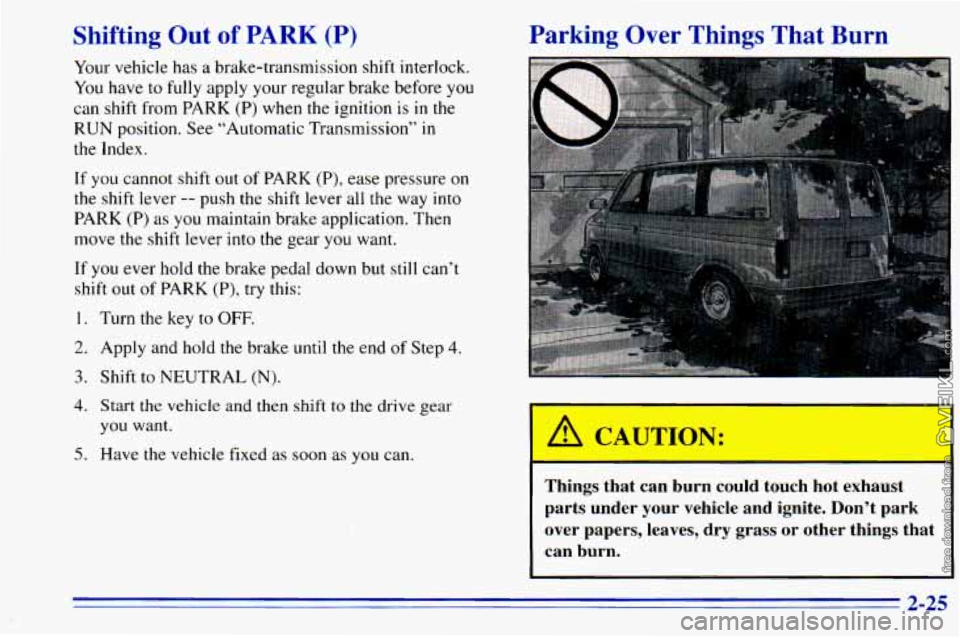
Things that can burn could touch hot exhaust
parts under your vehicle and ignite. Don’t park
over papers, leaves, dry grass or other things that
can
burn.
2-25
Page 87 of 372
CAUTION:
It can be dangerous to get out of your vehicle if
the shift lever is not fully in
PARK (P) with the
parking brake firmly set. Your vehicle can roll.
Don’t leave your vehicle when the engine is
running unless you have to.
If you’ve left the
engine running, the vehicle can move suddenly.
You or others could be injured.
To be sure your
vehicle won’t move, even when you’re on fairly
level ground, always set your parking brake and
move the shift lever to
PARK (P).
Follow the proper steps to be sure your vehicle won’t
move. See “Shifting Into
PARK (P)” in the Index.
If you’re pulling a trailer, see “Towing
a Trailer” in
the Index.
Windows
Manual Windows
To open your manual windows, turn the hand crank on
each door to raise or lower your side door windows.
Power Windows
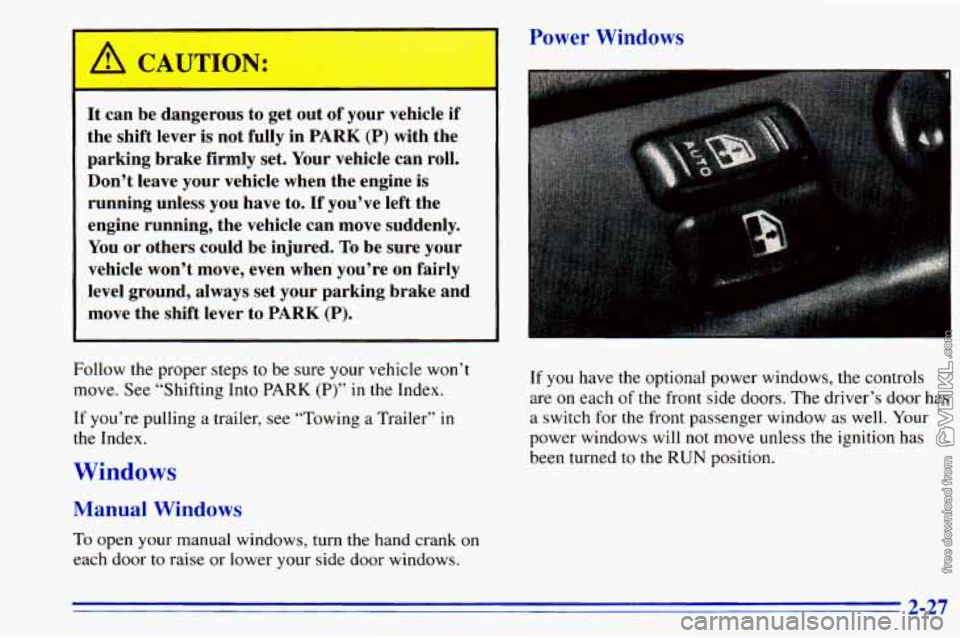
If you have the optional power windows, the controls
are
on each of the front side doors. The driver’s door has
a switch for the front passenger window
as well. Your
power windows will not move unless the ignition has
been turned to the
RUN position.
2-27
Page 94 of 372
Increasing Speed While Using Cruise Control
There are two ways to go to a higher speed:
Use the accelerator pedal to get to the higher speed.
Press the button at the end of the lever, then release
the button and the accelerator pedal. You’ll now
cruise at the higher speed.
Move the cruise switch from ON to R/A. Hold it
there until you get up to the speed you want, and
then release the switch.
(To increase your speed in
very small amounts, move the switch to
WA for less
than
3/4 of a second. Each time you do this, your
vehicle will go about
1 mph (1.6 kdh) faster.)
Reducing Speed While Using Cruise Contrel
There are two ways to reduce your speed while using
cruise control:
0 Press the button at the end of the lever until you
reach the lower speed you want, then release it.
0 To slow down in very small amounts, press the
button for less than
1/2 second. Each time you do
this, you’ll go 1 mph (1.6 km/h) slower.
Passing Another Vehicle While Using Cruise Control
Use the accelerator pedal to increase .your speed. When
you take your foot off the pedal, your vehicle will slow
down to the cruise control speed you set earlier.
Using Cruise Control on Hills
How well your cruise control will work on hills depends
upon your speed, load
and the steepness of the hills.
When going up steep
hills, you may want to step on the
accelerator pedal
to maintain your speed. When going
downhill, you may have to brake or shift to a lower gear
to keep your speed down. Of course, applying the brake
takes you out of cruise control. Many drivers find this to
be too much trouble and don’t use cruise control on
steep hills.
Ending Cruise Control
There are two ways to turn off the cruise control:
Step lightly on the brake pedal.
Move the cruise switch to 0,FE
Erasing Speed Memory
When you turn off the cruise control or the ignition.
your cruise control set speed memory
is erased.
2-34
Page 96 of 372
Headlamps On Reminder
A reminder tone will sound when your headlamps or
parking lamps
are turned on and your ignition is in the
OFF, LOCK or ACCESSORY position. To turn the tone
off, turn the switch
to the OFF position.
Daytime Running Lamps (If Equipped)
Daytime Running Lamps (DRL) can make it easier for
others
to see the front of your vehicle during the day.
DRL can be helpful in many different driving
conditions, but they can be especially helpful in the
short periods after dawn and before sunset.
The DRL system will make your headlamps come
on at
a reduced brightness when:
the ignition is on,
the headlamp switch is off and
the parking brake is released.
When the DRL are on,
only your headlamps will be on.
The taillamps, sidemarker and other lamps won’t be on.
Your instrument panel won’t be
lit up either. When
it begins
to get dark, your DRL indicator light is a
reminder
to turn your headlamp switch on. The other
lamps that come on with your headlamps will also
come
on.
When you turn the headlamp switch off, the regular
lamps will go off, and your headlamps will change to
the reduced brightness of DRL.
To idle your vehicle with the DRL off, set the parking
brake. The DRL will stay off until you release the
parking brake.
As with any vehicle, you should turn
on the regular
headlamp system when you need it.
2-36
Page 98 of 372
If the button is pressed in, the interior lamps will not
come on when any
of the vehicle’s doors are open,
unless your vehicle has the optional Keyless Entry
system. The button
is located next to the lamp
switch knob.
If you have the optional reading lamps, they will still
operate if the button
is pressed-in.
Reading Lamps.(Option)
You may have the optional reading lamps next to the
dome lamps. Turn the lamps on and
off by pressing the
switch next
to the lamp.
You can adjust the lamps to any desired position by
rotating the ,lamp and they will work when the ignition
is on or off. Be sure to turn the lamps off before you
leave the vehicle.
.- , , ,,
Mirrors
Inside Daymight Rearview Mirror
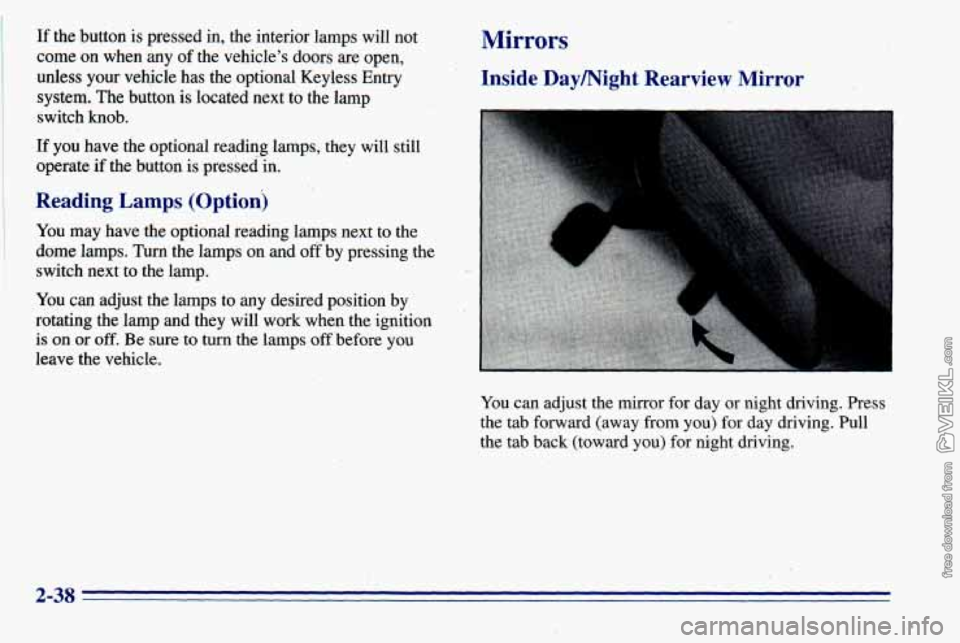
You can adjust the mirror for day or night driving. Press
the tab forward ‘(away from
you) for day driving. Pull
the tab back (toward
you) for night driving.
2-38
Page 105 of 372
Turn the display on or off 'by pressing the ON/OFF
switch. Display the temperature in either degrees
Fahrenheit (English) or Celsius (metric) by pressing
the USMET switch.
Before you turn on the ignition
and move the vehicle,
the temperature indicated
will be the last outside
temperature recorded with the ignition
on.
If the outside temperature is 37°F (3°C) or lower when
you turn on the ignition, ICE will appear on the display.
This
is a warning to the driver that road conditions may
be icy, and
that appropriate precautions should be taken.
The compass is self-calibrating,
so it does not need to be
manually set. However, when your vehicle is new, the
compass may function erratically. If it
does, CAL
(Calibration) will appear on the display. To correct the
problem, drive slowly in a complete
360" circle three
times, and the compass will function- normally.
Variance is the difference bet-ween magnetic north and
geographic north. In some areas, the difference between
the two can be great enough to cadse false compass
readings. If this happens, follow these instructions to set
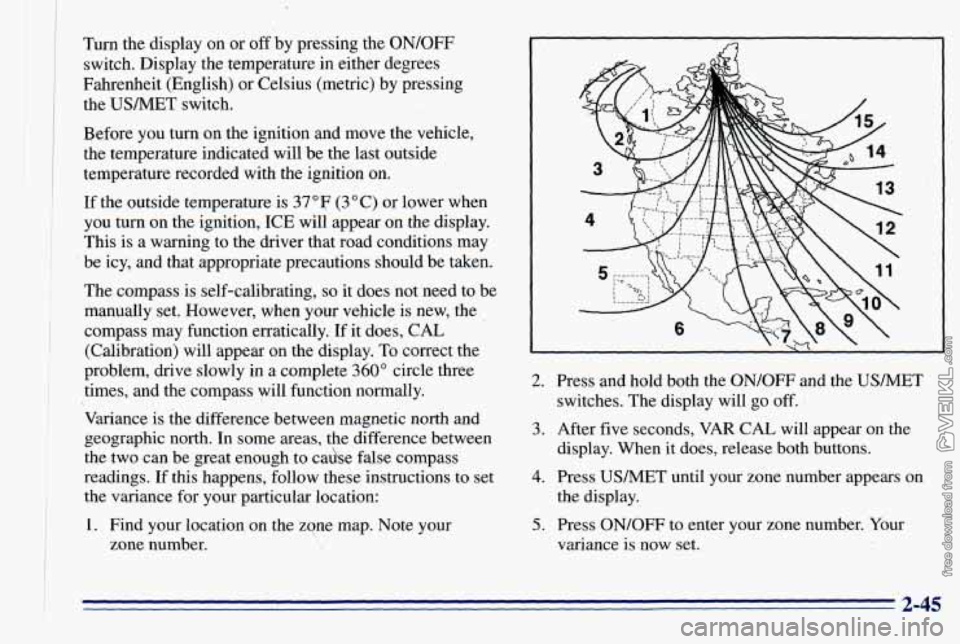
the variance
for your particular location:
1. Find your location on the zone map. Note your
I
zone number.
2. Press and hold both the ON/OFF and the USMET
switches. The display will go off.
1
display. When it does, release both buttons.
the display.
3. After five seconds, VAR CAL will appear on the
4. Press USMET until your zone number appears on
5. Press ON/OFF to enter your zone number. Your
variance is now set.
I 2-45
Page 111 of 372
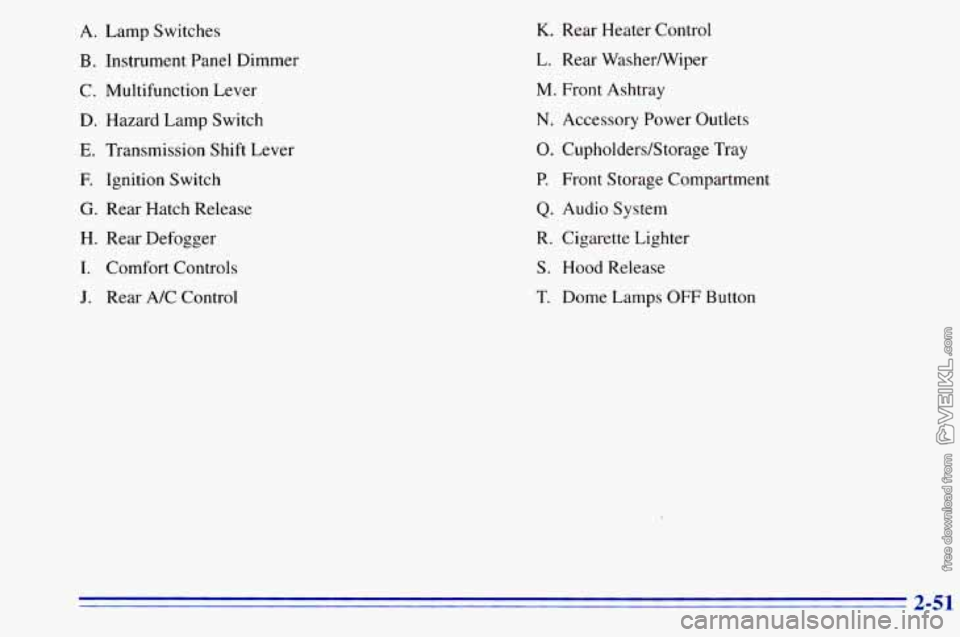
A.
B.
C.
D.
E.
E
G.
H.
I.
Lamp Switches
Instrument Panel Dimmer
Multifunction Lever
Hazard Lamp Switch
Transmission Shift Lever
Ignition Switch
Rear Hatch Release
Rear Defogger
Comfort Controls
J. Rear A/C Control
K. Rear Heater Control
L. Rear WasherNiper
M. Front Ashtray
N. Accessory Power Outlets
0. Cupholders/Storage Tray
P. Front Storage Compartment
Q. Audio System
R. Cigarette Lighter
S. Hood Release
T. Dome Lamps OFF Button
2-51
Page 114 of 372
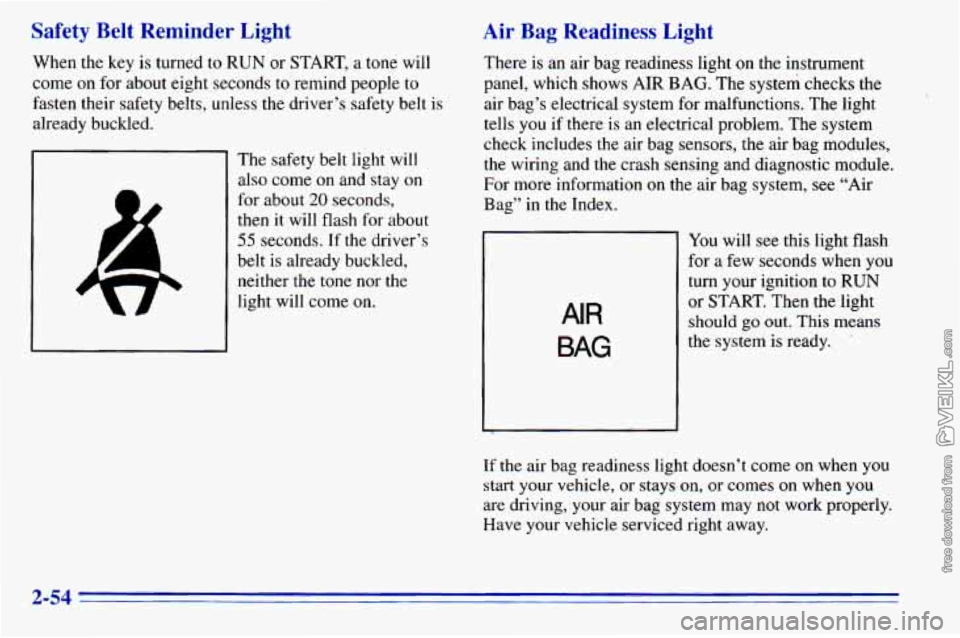
Safety Belt Reminder Light
When the key is turned to RUN or START, a tone will
come on for about eight seconds to remind people to
fasten their safety belts, unless the driver’s safety belt is
already buckled.
The safety belt light will
also come on and stay on
for about
20 seconds,
then it will flash for about
55 seconds. If the driver’s
belt is already buckled, neither the tone nor the
light will come on.
Air Bag Readiness Light
There is an air bag readiness light on the instrument
panel,
which shows AIR BAG. The system checks the
air bag’s electrical system for malfunctions. The light
tells you
if there is an electrical problem. The system
check includes the air bag sensors, the air bag modules,
the wiring and the crash sensing and diagnostic module.
For more information on the air bag system, see “Air
Bag” in the Index.
AIR
BAG
You will see this light flash
for a few seconds when you
turn your ignition to
RUN
or START. Then the light
should
go out. This means
the system is ready.
If the air bag readiness light doesn’t come on when you
start your vehicle, or stays
on, or comes on when you
are driving, your air bag system may not work properly.
Have your vehicle serviced right away.
2-54
Page 115 of 372
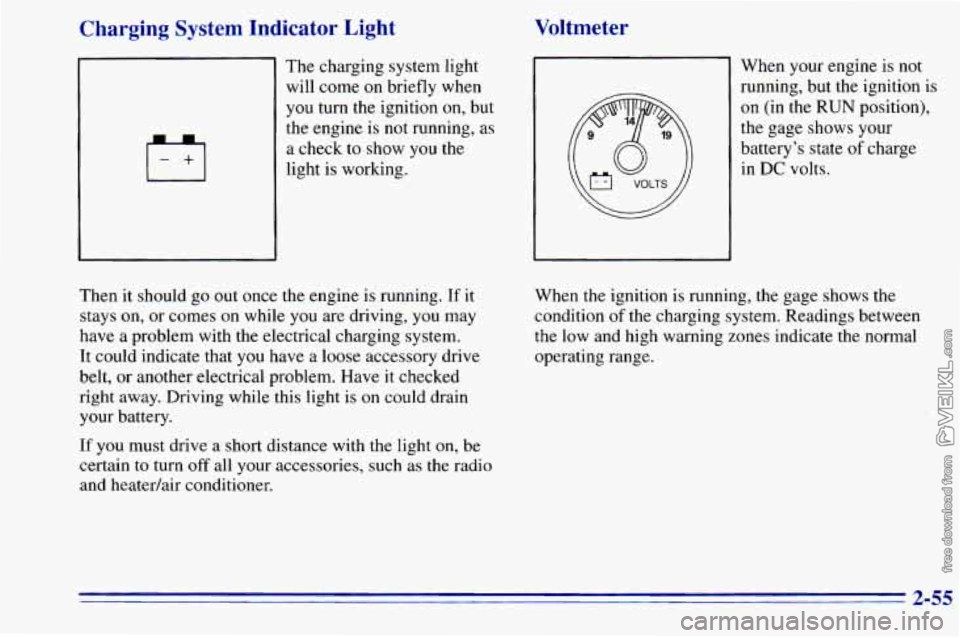
Charging System Indicator Light
j-+l
The charging system light
will come
on briefly when
you turn the ignition on, but
the engine is not running, as
a check
to show you the
light is working.
Voltmeter
I I When your engine is not
running, but the ignition is
on (in the
RUN position),
the gage shows your
battery’s state
of charge
in
DC volts.
Then it should go out once the engine is running.
If it
stays on, or comes on while
you are driving, you may
have a problem with the electrical charging system.
It could indicate that you have a loose accessory drive
belt, or another electrical problem. Have it checked
right away. Driving while this light is on could drain
your battery.
If you must drive a short distance with the light on, be
certain
to turn off all your accessories, such as the radio
and heatedair conditioner. When
the ignition is
running, the gage shows the
condition
of the charging system. Readings between
the low and high warning zones indicate the, normal
operating range.
2-55