ignition CHEVROLET ASTRO 1996 Owner's Guide
[x] Cancel search | Manufacturer: CHEVROLET, Model Year: 1996, Model line: ASTRO, Model: CHEVROLET ASTRO 1996Pages: 372, PDF Size: 21.51 MB
Page 139 of 372
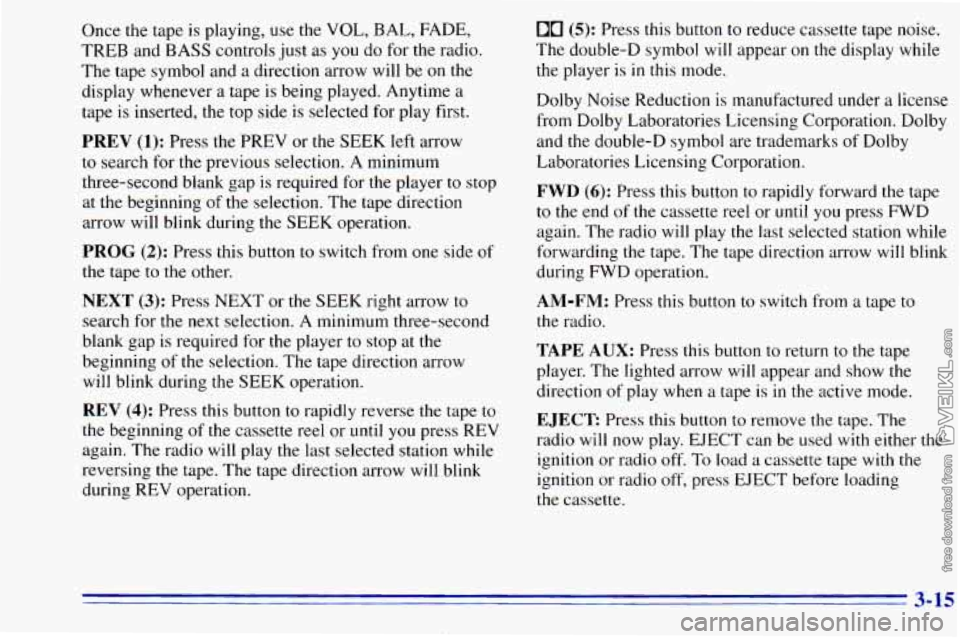
Once the tape is playing, use the VOL, BAL, FADE,
TREB and BASS controls just as
you do for the radio.
The tape symbol and
a direction arrow will be on the
display whenever
a tape is being played. Anytime a
tape is inserted, the top side is selected for play first.
PREV (1); Press the PREV or the SEEK left arrow
to search for the previous selection. A minimum
three-second blank gap is required for the player
to stop
at the beginning of the selection. The tape direction
arrow will blink during the SEEK operation.
PROG (2): Press this button to switch from one side of
the tape to the other.
NEXT (3): Press NEXT or the SEEK right arrow to
search for the next selection. A minimum three-second
blank gap is required for the player to stop at
the
beginning of the selection. The tape direction arrow
will blink during
the SEEK operation.
REV (4): Press this button to rapidly reverse the tape to
the beginning
of the cassette reel or until you press REV
again. The radio will play the last selected station while
reversing
the tape. The tape direction arrow will blink
during REV operation.
00 (5): Press this button to reduce cassette tape noise.
The double-D symbol will appear
on the display while
the player
is in this mode.
Dolby Noise Reduction is manufactured under
a license
from Dolby Laboratories Licensing Corporation. Dolby
and the double-D symbol are trademarks of Dolby
Laboratories Licensing Corporation.
FWD (6): Press this button to rapidly forward the tape
to the end of
the cassette reel or until you press FWD
again. The radio will play
the last selected station while
forwarding the tape. The tape direction arrow will blink
during FWD operation.
AM-FM: Press this button to switch from a tape to
the radio.
TAPE AUX: Press this button to return to the tape
player. The lighted arrow will appear and show the
direction of play when a tape is in the active mode.
EJECT Press this button to remove the tape. The
radio will now play. EJECT can be used
with either the
ignition
or radio off, To load a cassette tape with the
ignition or radio off, press EJECT before loading
the cassette.
3-15
Page 140 of 372
CLN: This message may appear on the display. If it
does, your cassette tape player needs to be cleaned. It
will still play tapes, but
you should clean it as soon as
possible to prevent damage to your tapes and player.
See “Care of Your Cassette Tape Player’’
in the Index.
After you clean the player, press and hold EJECT for
five seconds to reset the CLN indicator. The radio will
display --- to show the indicator was reset.
CD Adapter Kits
Although this is not a recommended practice, it is
possible
to use a CD adapter kit with your cassette
tape player.
The adapter
kit cassette should begin playing like a
regular audio cassette tape once inserted. If the cassette
immediately ejects, turn the radio off, turn the ignition on
and press and hold the TAPE
AUX button until the tape
icon flashes on the display. Insert the adapter cassette
again. It will power up the radio and begin playing.
This override routine
will remain active until EJECT
is pressed.
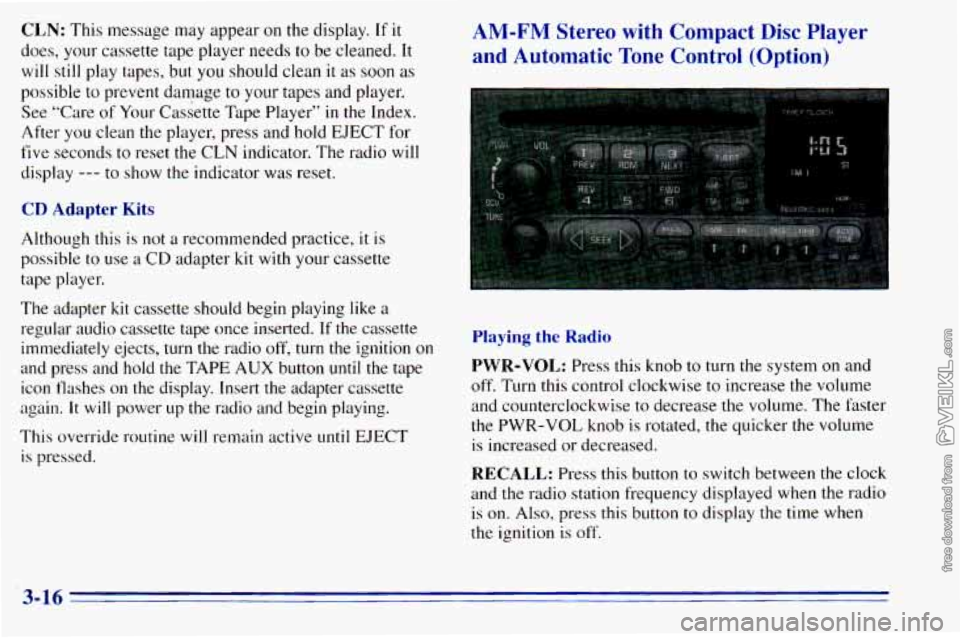
AM-FM Stereo with Compact Disc Player
and Automatic Tone Control (Option)
Playing the Radio
PWR-VOL: Press this knob to turn the system on and
off. Turn this control clockwise to increase the volume
and counterclockwise to decrease the volume. The faster
the PWR-VOL knob
is rotated, the quicker the volume
is increased or decreased.
RECALL: Press this button to switch between the clock
and the radio station frequency displayed when the radio is on.
Also, press this button to display the time when
the ignition is off.
3-16
Page 143 of 372
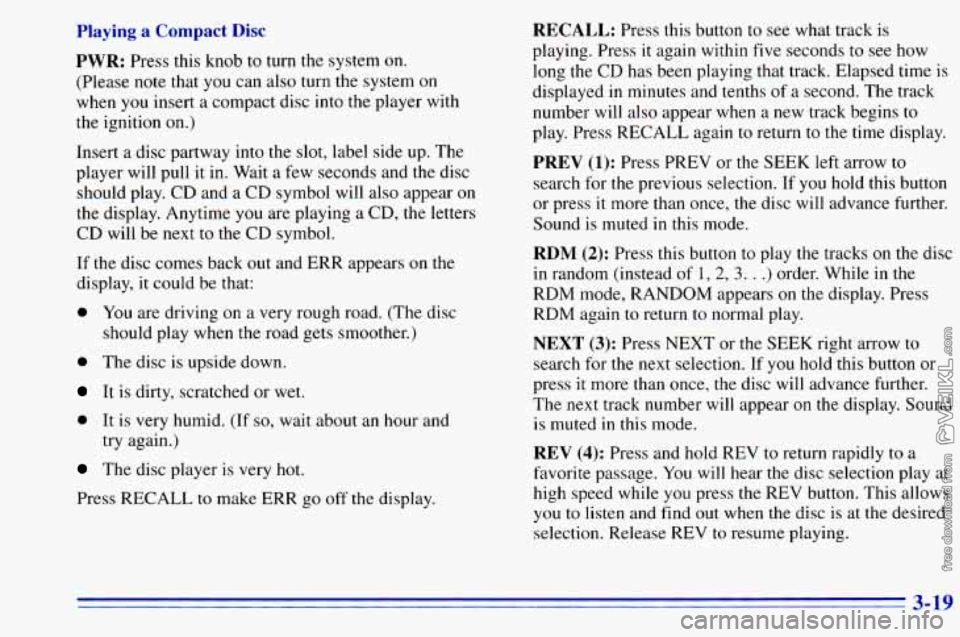
Playing a Compact Disc
PWR:
Press this knob to turn the system on.
(Please note that you can also turn the system on
when you insert a compact disc into the player with
the ignition
on.)
Insert a disc partway into the slot, label side up. The
player will pull it in. Wait a few seconds and the disc
should play. CD and a CD symbol will also appear
on
the display. Anytime you are playing a CD, the letters
CD will be next
to the CD symbol.
If the disc comes back out and ERR appears on the
display, it could be that:
0 You are driving on a very rough road. (The disc
should play when the road gets smoother.)
0 The disc is upside down.
It is dirty, scratched or wet.
0 It is very humid. (If so, wait about an hour and
try again.)
The disc player is very hot.
Press RECALL to make ERR go off the display.
RECALL: Press this button to see what track is
playing. Press
it again within five seconds to see how
long the CD
has been playing that track. Elapsed time is
displayed in minutes and tenths
of a second. The track
number will
also appear when a new track begins to
play. Press RECALL again
to return to the time display.
PREV (1): Press PREV or the SEEK left arrow to
search for the previous selection. If you hold this button
or press
it more than once, the disc will advance further.
Sound is muted
in this mode.
RDM (2): Press this button to play the tracks on the disc
in random (instead
of 1, 2, 3. . .) order. While in the
RDM mode, RANDOM appears
on the display. Press
RDM again
to return to normal play.
NEXT (3): Press NEXT or the SEEK right arrow to
search for the next selection. If
you hold this button or
press
it more than once, the disc will advance further.
The
next track number will appear on the display. Sound
is muted in this mode.
REV (4): Press and hold REV to return rapidly to a
favorite passage. You will hear
the disc selection play at
high speed while you press the REV button. This allows
you
to listen and find out when the disc is at the desired
selection. Release REV
to resume playing.
3-19
Page 144 of 372
FWD (6): Press and hold this button to advance rapidly
within a track. You will hear the disc selection play at
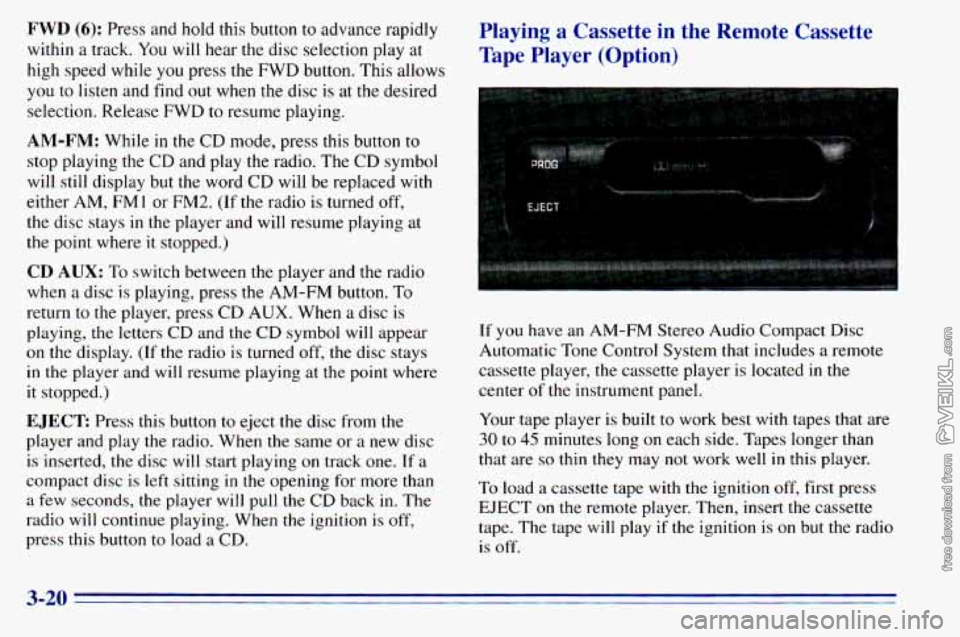
high speed while you press the FWD button. This allows Playing a Cassette in the Remote Cassette
Tape Player (Option)
you to listen and find out when the disc is at the desired
selection. Release FWD to resume playing.
AM-FM: While in the CD mode, press this button to
stop playing the CD and play the radio. The CD symbol
will still display but the word CD will be replaced with
either AM, FMl or
FM2. (If the radio is turned off,
the disc stays in the player and will resume playing at
the point where it stopped.)
CD AUX: To switch between the player and the radio
when a disc is playing, press the AM-FM button.
To
return to the player, press CD AUX. When a disc is
playing,
the letters CD and the CD symbol will appear
on the display. (If the radio is turned off, the disc stays
in the player and will resume playing at the point where
it stopped.)
EJECT: Press this button to eject the disc from the
player and play the radio. When the same or a new disc
is inserted, the disc will start playing
on track one. If a
compact disc is
left sitting in the opening for more than
a few seconds, the player will pull
the CD back in. The
radio will continue playing. When the
ignition is off,
press this button to load a CD.
If you have an AM-FM Stereo Audio Compact Disc
Automatic Tone Control System that includes a remote
cassette player, the cassette player is located in the
center
of the instrument panel.
Your tape player is built
to work best with tapes that are
30 to 45 minutes long on each side. Tapes longer than
that are
so thin they may not work well in this player.
To load a cassette tape with
the ignition off, first press
EJECT on the remote player. Then, insert the cassette
tape. The tape will play
if the ignition is on but the radio
is off.
3-20
Page 145 of 372
Once the tape is playing, use the control knobs for VOL,
AUTO TONE, BAL, FADE, TREB and BASS just as
you do for the radio. A lighted tape symbol shows when
a cassette tape is in
the player. A lighted arrow will also
appear and show the direction of play when a tape is active.
The player automatically senses if the cassette tape is
metal or
002 and adjusts for best playback sound.
For metal tapes, the double-D symbol will appear on
the display.
Anytime a cassette tape is inserted,
the top side is
selected for play first.
PREV (1): Press PREV or the SEEK left arrow (in the
opposite direction that the lighted tape direction arrow
points) to search for the previous selection.
A minimum
three-second blank gap is needed for the player to stop
at the beginning of the selection. The tape direction
arrow will blink during the SEEK operation and the
sound is muted in this mode.
PROG: Press this button on the remote player to go
from one side
of the tape to the other.
NEXT (3): Press NEXT or the SEEK right arrow (in the
direction that
the lighted tape direction arrow points) to
search for the next selection. The tape direction arrow
will blink during SEEK operation and the sound
is
muted in this mode.
REV (4): Press this button to rapidly reverse the tape.
The tape will rapidly reverse
to the beginning of the
cassette reel or until you press REV again. The radio
plays the last selected station during REV.
(5): Press this pushbutton to turn Dolby on and off.
Dolby is active
when a tape inserted in the remote
cassette. The double-D symbol will appear
on
the display.
Dolby Noise Reduction
is manufactured under a license
from Dolby Laboratories Licensing Corporation. Dolby
and the double-D symbol are trademarks
of Dolby
Laboratories Licensing Corporation.
FWD (6): Press this button to rapidly advance the tape.
The tape will rapidly advance to the end
of the cassette
reel or until you press FWD again. The radio plays the
last selected station during FWD.
TAPE: Press the AM-FM button to switch from the
player and
the radio when a tape is playing. To return to
the tape player, press CD AUX. The lighted arrow will
appear next to
the symbol and show the direction of play
when a tape is active.
EJECT Press this button on the remote player to
remove the tape. EJECT can be used with either the
ignition or radio off. Also,
you must press EJECT before
loading a cassette with the radio off
to allow loading.
3-21 U
Page 148 of 372
Activating the Theft-Deterrent Feature
The instructions which follow, explain how to enter your
secret code
to activate the THEFTLOCK system. It is
recommended that you read through all nine steps
before starting the procedure.
NOTE: If you allow more than
15 seconds to elapse
between any steps, the radio automatically reverts to
time and you must start the procedure over at Step
4.
1.
2.
3.
4.
Write down any three or four-digit number from
000 to 1999 and keep it in a safe place separate from
the vehicle.
Turn the ignition
to the ACCESSORY or
RUN position.
Turn the radio off.
PI-- -s the 1 and 4 buttons together. Hold them down
untu --- shows on the display. Next you will use the
secret code number which you have written down.
5. Press MN and 000 will appear on the display.
6. Press MN again to make the last two digits agree
with your code.
7. Press HR to make the first one or two digits agree
with your code.
8. Press AM-FM after you have confirmed that the
code matches the secret code you have written down.
The display
will show REP to let you know that you
need to repeat Steps
5 through 7 to confirm your
secret code.
9. Press AM-FM
and this time the display will show
SEC to let you know
that your radio is secure. The
indicator
by the volume control will begin flashing
when the ignition is turned off.
3-24
Page 149 of 372
Unlocking the Theft-Deterrent Feature After a
Power Loss
Enter your secret code as follows; pause no more than
15 seconds between steps:
1. LOC appears when the ignition is on.
2. Press MN and 000 will appear on the display.
3. Press MN again to make the last two digits agree
with your code.
4. Press HR to make the first one or two digits agree
with your code.
5. Press AM-FM after you have confirmed that the
code matches the secret code you have written down.
The display will show SEC, indicating the radio is
now operable and secure.
If
you enter the wrong code eight times, INOP will
appear on the display. You will have to wait an hour
with the ignition on before you can try again. When you
try again, you will only have three chances to enter the
correct code before INOP appears.
If you lose or forget your code, contact your dealer.
Disabling the Theft-Deterrent Feature
Enter your secret code as follows; pause no more than
15 seconds between steps:
1. Turn the ignition to the ACCESSORY or
RUN position.
2. Turn the radio off.
3. Press the 1 and 4 buttons together. Hold them down
until SEC shows on the display.
4. Press MN and 000 will appear on the display.
5. Press MN again to make the last two digits agree
with your code.
6. Press HR to make the first one or two digits agree
with your code.
code matches the secret code you have written down.
The display will show
---, indicating that the radio is
no longer secured.
7. Press AM-FM after you have confirmed that the
If the code entered is incorrect, SEC will appear on the
display. The radio
will remain secured until the correct
code is entered.
When battery power is disconnected from a secured
radio, the radio won’t turn on and LOC will appear on
the display.
To unlock a secured radio, see 44Unlocking the
Theft-Deterrent Feature After a Power
Loss” earlier in
this section.
3-25
Page 175 of 372
If you drive regularly in steep country, or if you’re
planning to visit there, here are some tips that can make
your trips safer and more enjoyable.
0 Keep your vehicle in good shape. Check all fluid
. levels and also the brakes, tires, cooling system and
transmission. These parts can work hard
on
mountain roads.
0 Know how to go down hills. The most important
thing to know is this: let your engine do some
of the
slowing down. Shift to
a lower gear when you go
down a steep or long hill.
~~~
A CAUTION:
If you don’t shift down, your brakes could get
so hot that they wouldn’t work well. You would
then have poor braking
or even none going
down
a hill. You could crash. Shift down to let
your engine assist your brakes on
a steep
downhill slope. Coas ,g
downhill in
NEUTRAL (N) or with the
ignition
off is dangerous. Your brakes will have to
do
all the work of slowing down. They could get so
hot that they wouldn’t work well. You would then
have poor braking or even none going down
a hill.
You could crash. Always have your engine running
and your vehicle in gear when you go downhill.
0 Know how to go uphill. You may want to shift down
to a lower gear. The lower gears help cool your engine and transmission, and you can climb the hill better.
0 Stay in your own lane when driving on two-lane
roads
in hills or mountains. Don’t swing wide or cut
across the center
of the road. Drive at speeds that let
you stay
in your own lane.
0 As you go over the top of a hill, be alert. There could be
something in your lane, like a stalled car or an accident.
0 You may see highway signs on mountains that warn of
special problems. Examples are long grades, passing or
no-passing zones, a falling rocks area
or winding
roads. Be alert
to these and take appropriate action.
4-21
Page 195 of 372
1. Check the other vehicle. It must have a 12-volt
battery with
a negative ground system.
NOTICE:
If the other system isn’t a 12-volt system with a
negative ground, both vehicles can be damaged.
2. Get the vehicles close enough so the jumper cables
can reach, but be sure the vehicles aren’t touching
each other.
If they are, it could cause a ground
connection you don’t want.
You wouldn’t be able to
start your vehicle, and the bad grounding could
damage the electrical systems.
You could be injured
if the vehicles roll. Set the
parking brake firmly on each vehicle. Put an
automatic transmission
in PARK (P) or a manual
transmission in NEUTRAL (N). If you have a
four-wheel-drive vehicle
with a manual transfer case
shift lever, be sure the transfer case
is not in
NEUTRAL (N).
3. Turn off the ignition on both vehicles. Unplug
unnecessary accessories plugged into
the cigarette
lighter or accessory power outlets. Turn off all lamps
that aren’t needed
as well as radios. This will avoid
sparks and help save both batteries.
In addition, it
could save your radio!
I NOTICE:
If you leave your radio on, it could be badly
damaged. The repairs wouldn’t be covered by
your warranty.
4. Open the hoods and locate the batteries. Find the
positive
(+) and negative (-) terminals on
each battery.
5-3
Page 200 of 372
When your vehicle is being towed, have the ignition
key in the
OFF position. The steering wheel should
be clamped in a straight-ahead position, with
a
clamping device designed for towing service. Do not
use the vehicle’s steering column lock for this. The
transmission should be in NEUTRAL
(N) and the
parking brake released.
If your vehicle has the all-wheel-drive option,
it can
only be towed with all four wheels
off the ground. A
dolly must be used under the un-raised wheels when
towing or the vehicle must be transported
on a flat
bed carrier.
Don’t have your vehicle towed
with the wheels in
contact with the ground if it has all-wheel drive. If a
vehicle with all-wheel drive must be towed with
sling-type or wheel-lift equipment, then either the front
or rear wheels must be supported on a dolly.
NOTICE:
If your vehicle has all-wheel drive, do not have
it towed with the wheels in contact with the
ground or vehicle damage may occur.
A dolly
must be used under the un-raised wheels when
towing or the vehicle must be transported
on a
flat bed carrier.
5-8