CHEVROLET BLAZER 1993 Owners Manual
Manufacturer: CHEVROLET, Model Year: 1993, Model line: BLAZER, Model: CHEVROLET BLAZER 1993Pages: 386, PDF Size: 20.7 MB
Page 141 of 386
Featurns & Controls
30
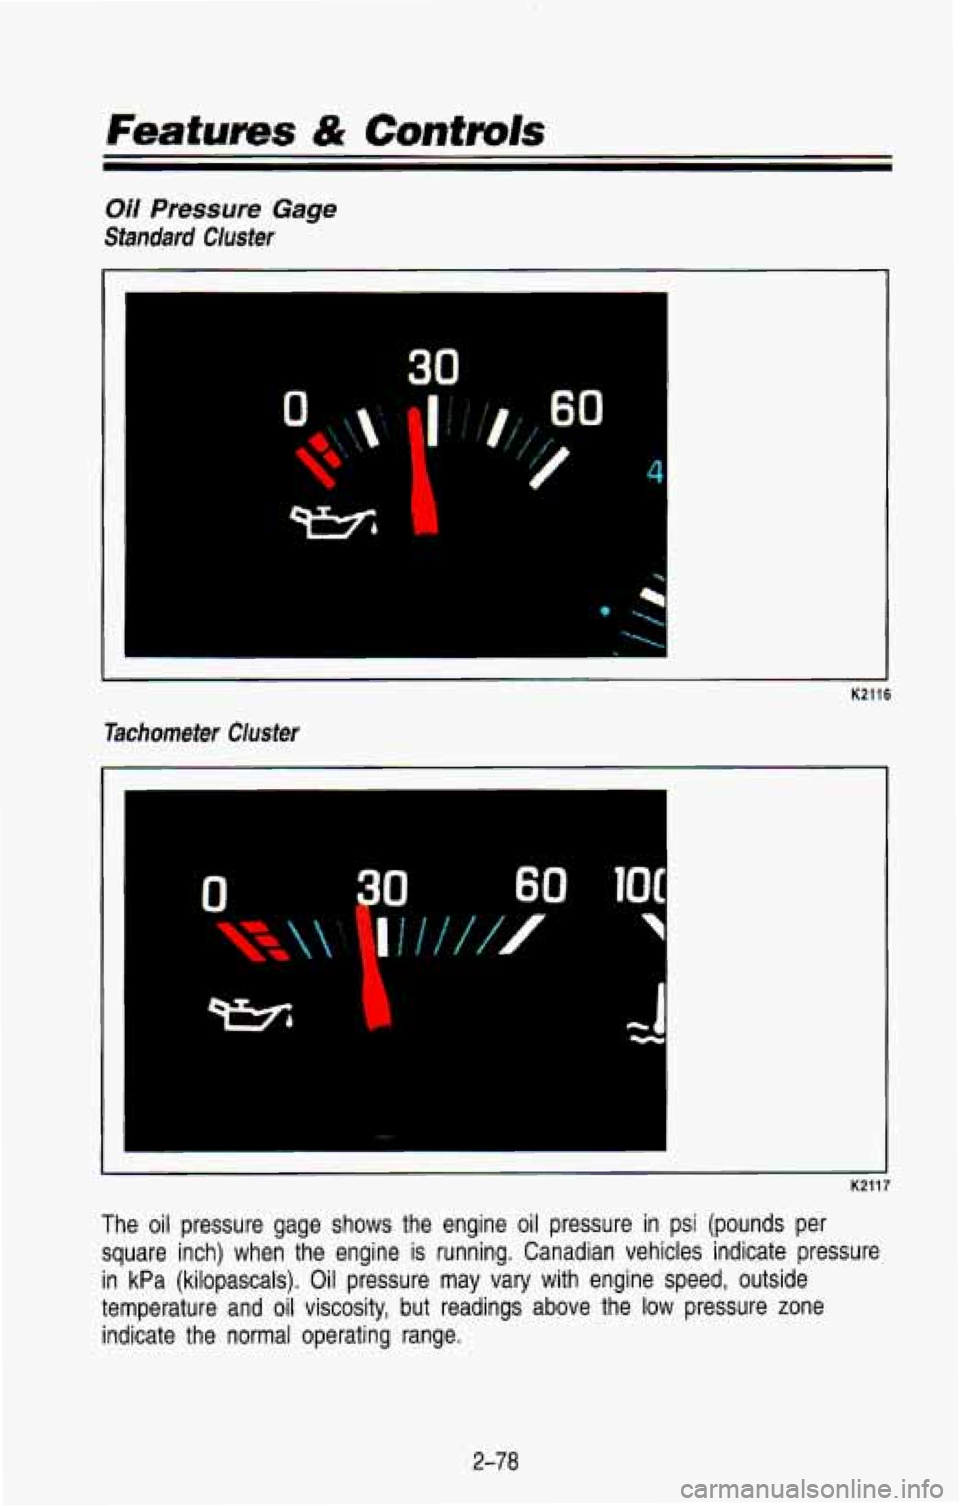
Oil Pressure Gage
Standard Ciusier
Tachometer
Cluster
K2116
K2117
The oil pressure gage shows the engine oil pressure in psi (\
pounds per square inch) when the engine
is running. Canadian vehicles indicate pressure
in kPa (kilopascals). Oil pressure may vary with engine speed\
, outside
temperature and
oil viscosity, but readings above the low pressure zone
indicate the normal operating range.
2-78
Page 142 of 386
A reading in the low pressure zone may be caused by a dangerouslv low oil
level or other problem causing low oil pressure. Check your oi\
l as soon as
possible.
CAUTION
Don’t keep driving if the oil pressure is low. If you do, your engine
can become so hot that it catches on fire, You or others could be
burned. Check your oil as soon as possible and have your vehicle
serviced.
e NOTICE
I
Damage to your engine from neglected oil problems can rnstly at,,
not covered by your ‘Avanty.
I
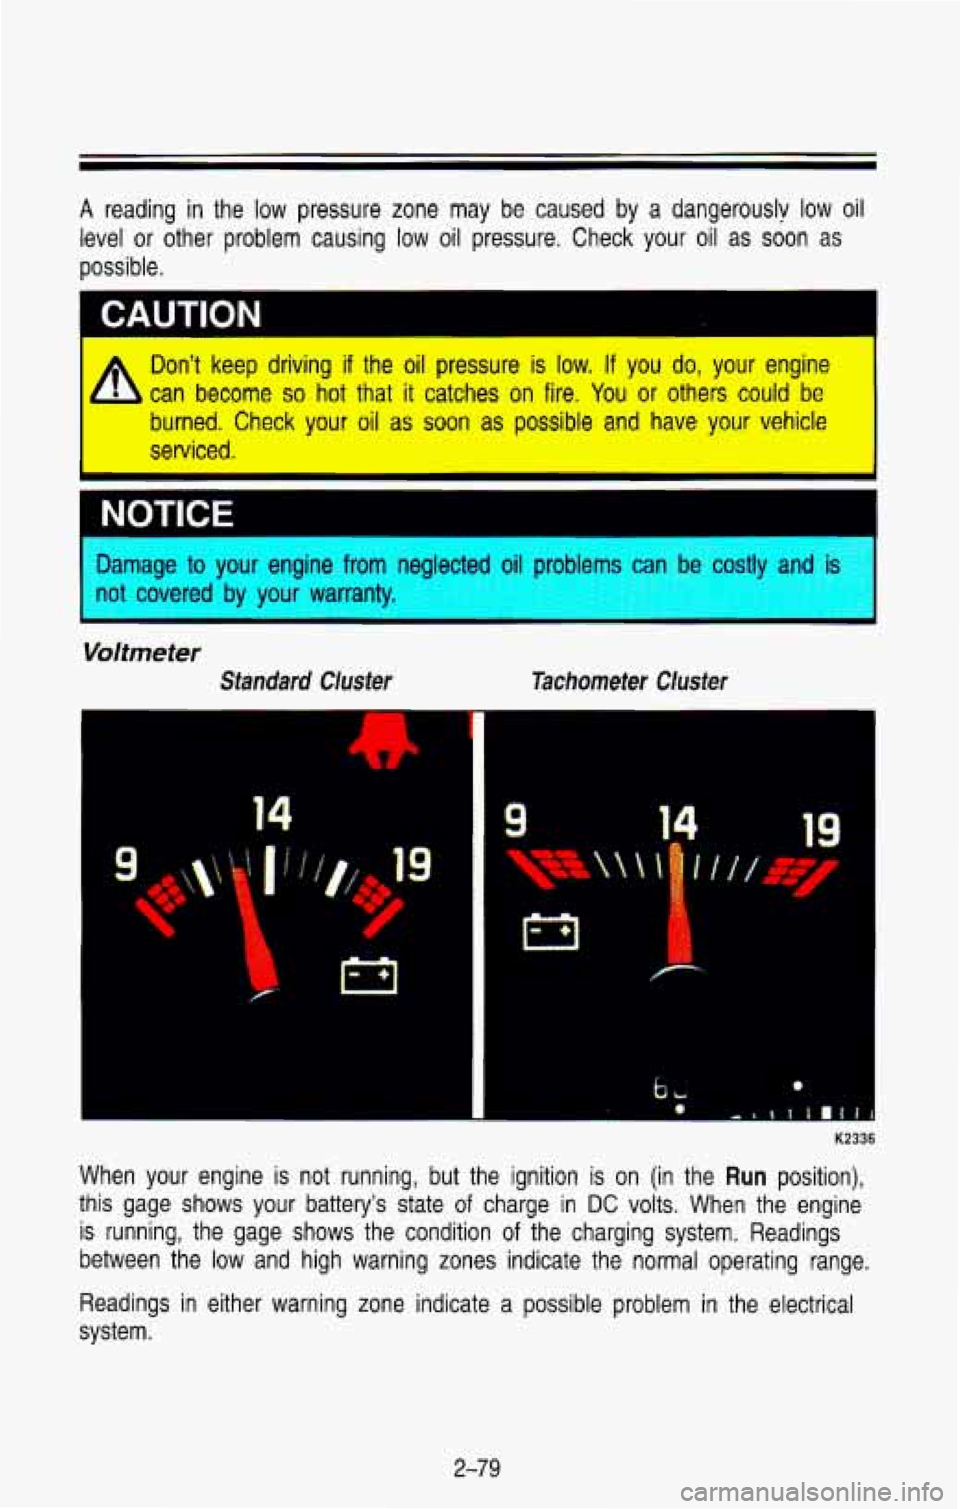
Voltmeter
Standard Cluster
14
Tachometer Cluster
19
GL
K2336
When your engine is not running, but the ignition is on (in \
the Run position),
this gage
shows your battery’s state of charge in DC volts. When the engine
is running, the gage shows the condition
of the charging system. Readings
between the low and high warning zones indicate the normal ope\
rating range.
Readings in either warning zone indicate a possible problem in \
the electrical
system.
2-79
Page 143 of 386
Features & Controls
You can only drive for a short time with the reading in either warning zone. If
you must drive, turn off all unnecessary accessories, and have the vehicle
serviced as soon
as possible.
Convenience Net
CAUTION
A
An improperly stored convenience net could be thrown about the
vehicle during a collision
or sudden maneuver. You or others could
be injured. When you are done using the convenience net, always
store it in its original storage pouch,
and securely reattach the pouch
on the rear side of the spare tire cover.
I
PO22
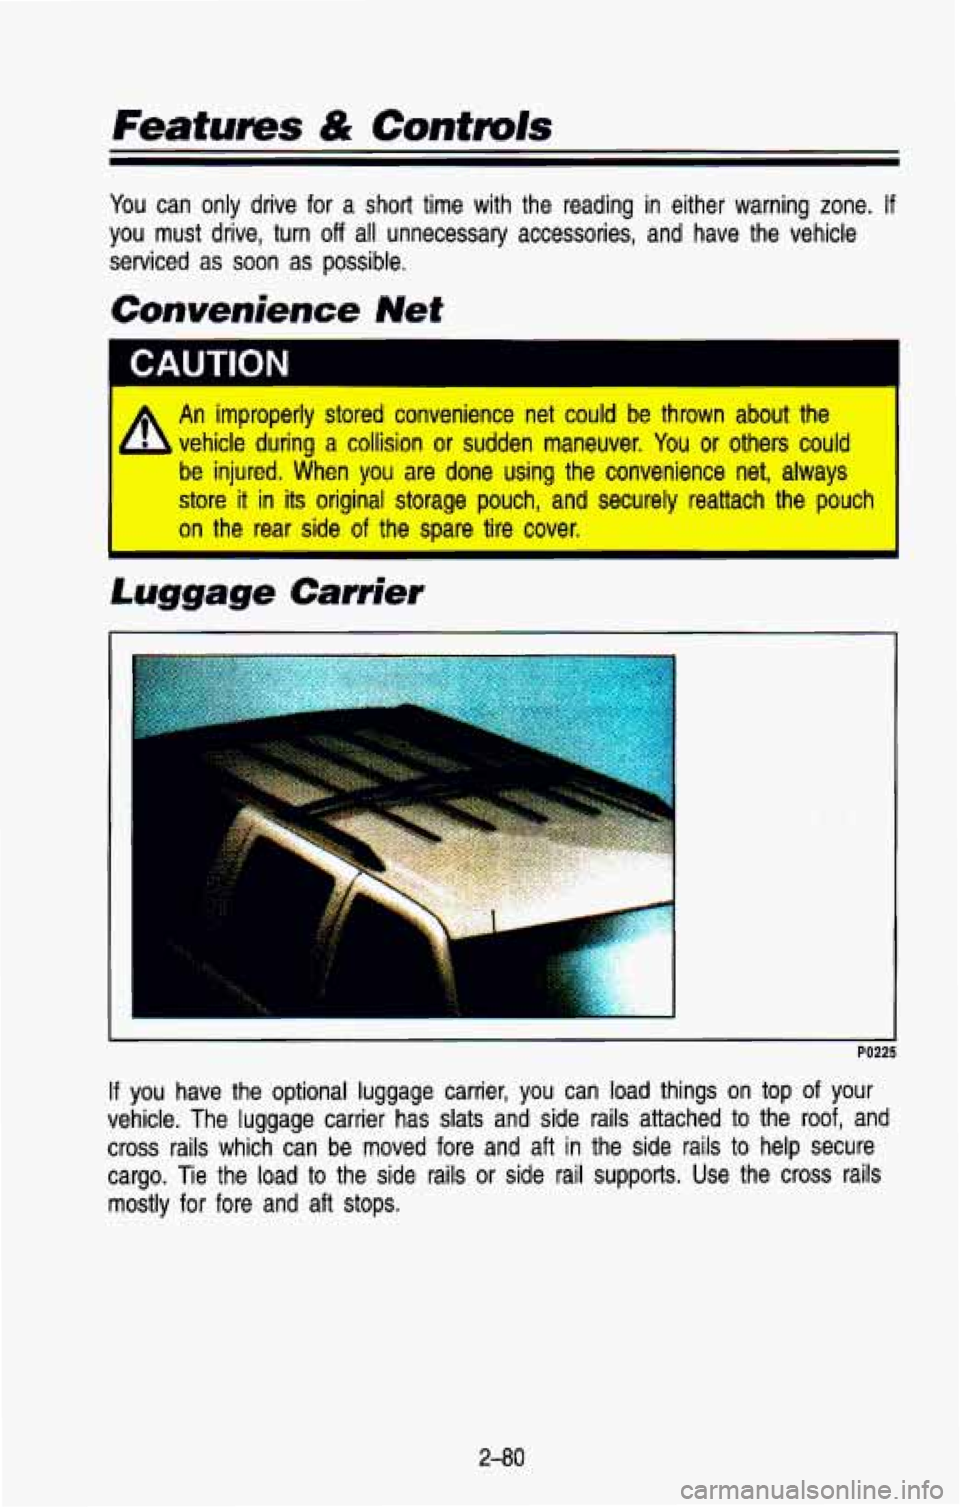
If you have the optional luggage carrier, you can load things on top of your
vehicle. The luggage carrier has slats and side rails attached \
to the roof, and
cross rails which can be moved fore and aft in the side rail\
s to help secure
cargo. Tie the load to the side rails or side rail supports. Use the cross rails
mostly for fore and aft stops.
2-80
Page 144 of 386
NOTICE
Don’t exceed the maximum vehicle capacity when loading your \
vehicle. For
more information on vehicle capacity and loading, see “Loadin\
g Your Vehicle”
in the Index.
To prevent damage or loss of cargo as you’re driving, check now and then to
make sure the luggage carrier and cargo are still securely fastened.
Be sure the cargo is properly loaded.
If small heavy objects are placed on the roof, place the load in the area
over the rear wheels (behind the rear side door on wagon mod\
els).
If
you need to, cut a piece of 3/8 inch plywood to fit inside the cross rails
and side rails to spread the load.
If plywood is used, tie it to the side
rail supports.
Tie the load to the cross rails or the side rail supports. Use the cross
rails only to keep the load from sliding.
If you need to carry long items, move the cross rails as far\
apart as
they will go. Tie the load to the cross rails and the side \
rails or side rail supports. Also tie the load to the bumpers.
Do not tie the load so tightly
that the cross rails or side rails are damaged.
After moving the cross rails, be sure to tighten all the slider screws.
To reduce wind noise, the cross rails must be installed with the \
narrow edge
toward the front of the vehicle.
Also, the front cross rail should be about 8 inches (200 mm) behind the front
anchor on Utility models.
2-8 1
Page 145 of 386
Features & Controls
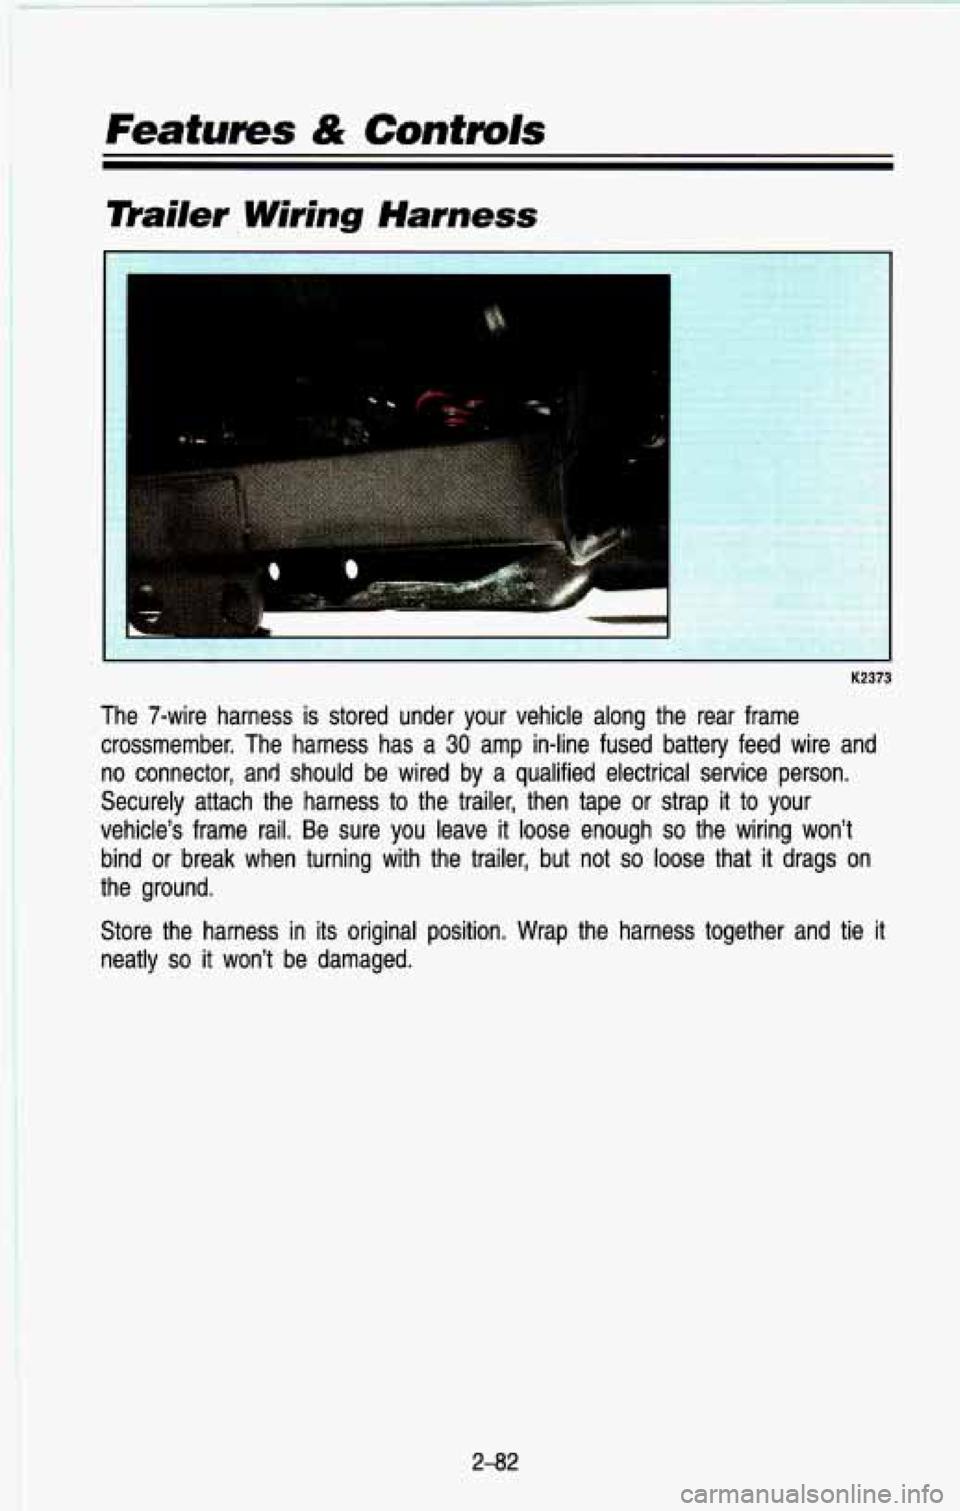
mailer. Wiring Harness
K2373
The 7-wire harness is stored under your vehicle along the rear\
frame
crossmember. The harness has a
30 amp in-line fused battery feed wire and
no connector, and should be wired by a qualified electrical se\
rvice person.
Securely attach the harness to the trailer, then tape or strap\
it
to your
vehicle’s frame rail. Be sure you leave it
loose enough so the wiring won’t
bind or break when turning with the trailer, but not
so loose that it drags on
the ground.
Store the harness in its original position. Wrap the harness t\
ogether and tie it neatly
so it won’t be damaged.
2-82
Page 146 of 386
Comforf Controls & Audio Systems
Section
.
.
In this section you’ll find out how to operate the comfort control and audio
systems offered with your vehicle
. Be sure to read about the particular system
supplied with your vehicle
.
For explanation of vehicle symbols in this section. refer to “Vehicle
Symbols” in Section 0 .
Comfort Controls ........................................................................\
........................... 3-2
Flow-Through Ventilation System
..................................................................... 3-2
Heating System
........................................................................\
.......................... 3-4
Electronic HeatinglAir Conditioning System
..................................................... 3-5
Rear Air Conditioning and Heating Systems
(Wagon Models)
........................................................................\
..................... 3-8
Rear Window Defogger
........................................................................\
........... 3-11
Audio Systems
........................................................................\
............................. 3-12
FM Stereo ........................................................................\
................................ 3-12
AM
........................................................................\
............................................. 3-12
AM Stereo ........................................................................\
................................ 3-13
How
to Operate Your AM ETR@Radio ......................................................... 3-13
How to Operate Your AM-FM Stereo Audio System and
Cassette Player
........................................................................\
.................... 3.14
How to Operate Your AM-FM Stereo Audio System and
Cassette Player with Graphic Equalizer
..................................................... 3-17
Care
of Your Cassette Tape Player ............................................................... 3-21
Fixed Mast Antenna
........................................................................\
................ 3-21
3-1
Page 147 of 386
Comfort Contmls & Audio Systems
Comfort Controls
Flow-Through Ventilation System
1
K2 1 90
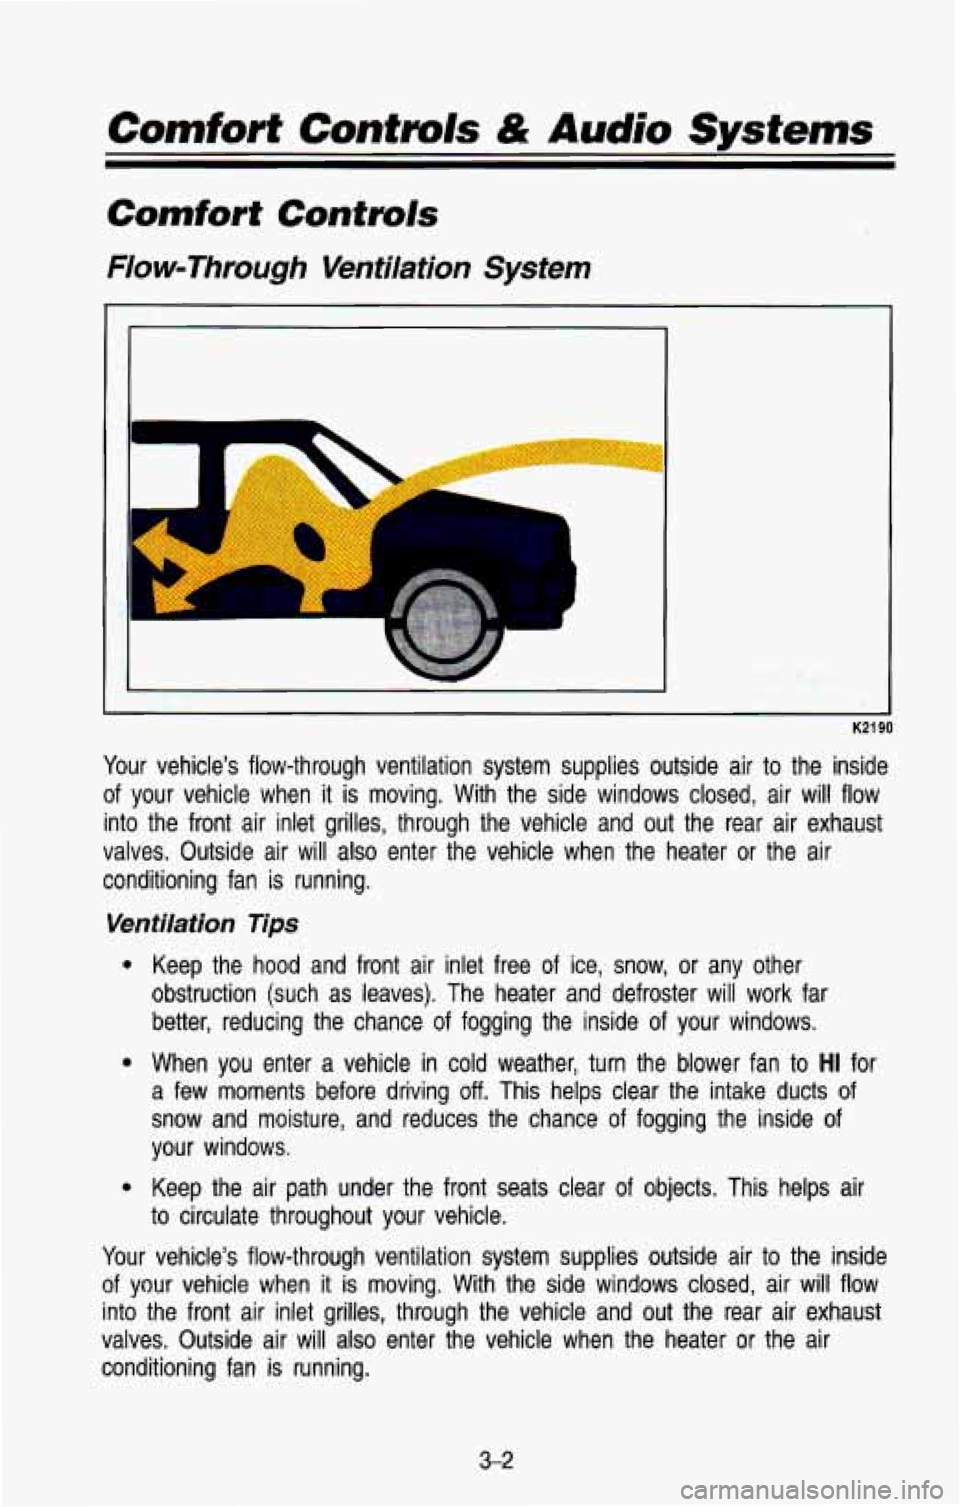
Your vehicle’s flow-through ventilation system supplies outside air \
to the inside
of your vehicle when
it is moving. With the side windows closed, air will flow
into the front air inlet grilles, through the vehicle and out the rear air exhaust
valves. Outside air will also enter the vehicle when the heate\
r or the air conditioning fan is running.
Ventilation Tips
e
e
e
Keep the hood and front air inlet free of ice, snow, or any other
obstruction (such as leaves). The heater and defroster will work far
better, reducing the chance of fogging the inside of your windows.
When you enter a vehicle in cold weather, turn the blower fan\
to
HI for
a few moments before driving
off. This helps clear the intake ducts of
snow and moisture, and reduces the chance of fogging the inside of
your windows.
Keep the air path under the front seats clear of objects. This helps air
to circulate throughout your vehicle.
Your vehicle’s flow-through ventilation system supplies outside air \
to the inside
of your vehicle when it is moving. With the side windows closed, air will flow
into the front air inlet grilles, through the vehicle and out the rear air exhaust
valves. Outside air will also enter the vehicle when the heate\
r or the air
conditioning fan
is running.
3-2
Page 148 of 386
Air Vents
K2315
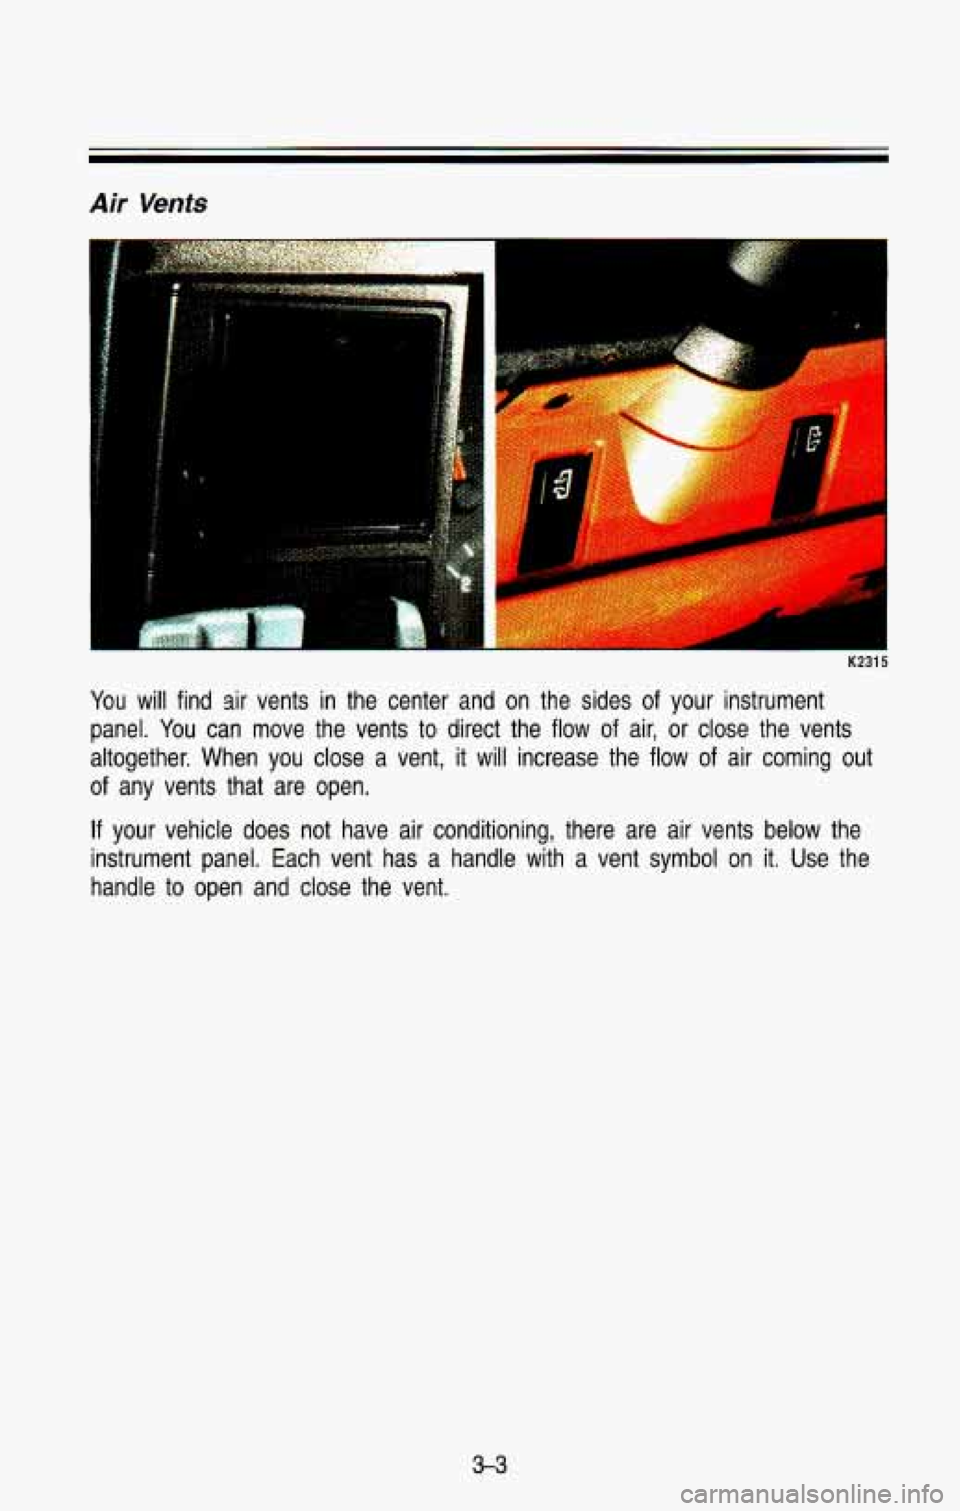
You will find sir vents in the center and on the sides of your instrument
panel. You can move the vents to direct the flow
of air, or close the vents
altogether. When you close a vent, it will increase the flow of air
coming out
of any vents that are open.
If your vehicle does not have air conditioning, there are air vents below the
instrument panel. Each vent has a handle with a vent symbol on it. Use the
handle to open and close the vent.
3-3
Page 149 of 386
Comfort Controls & Audio Systems
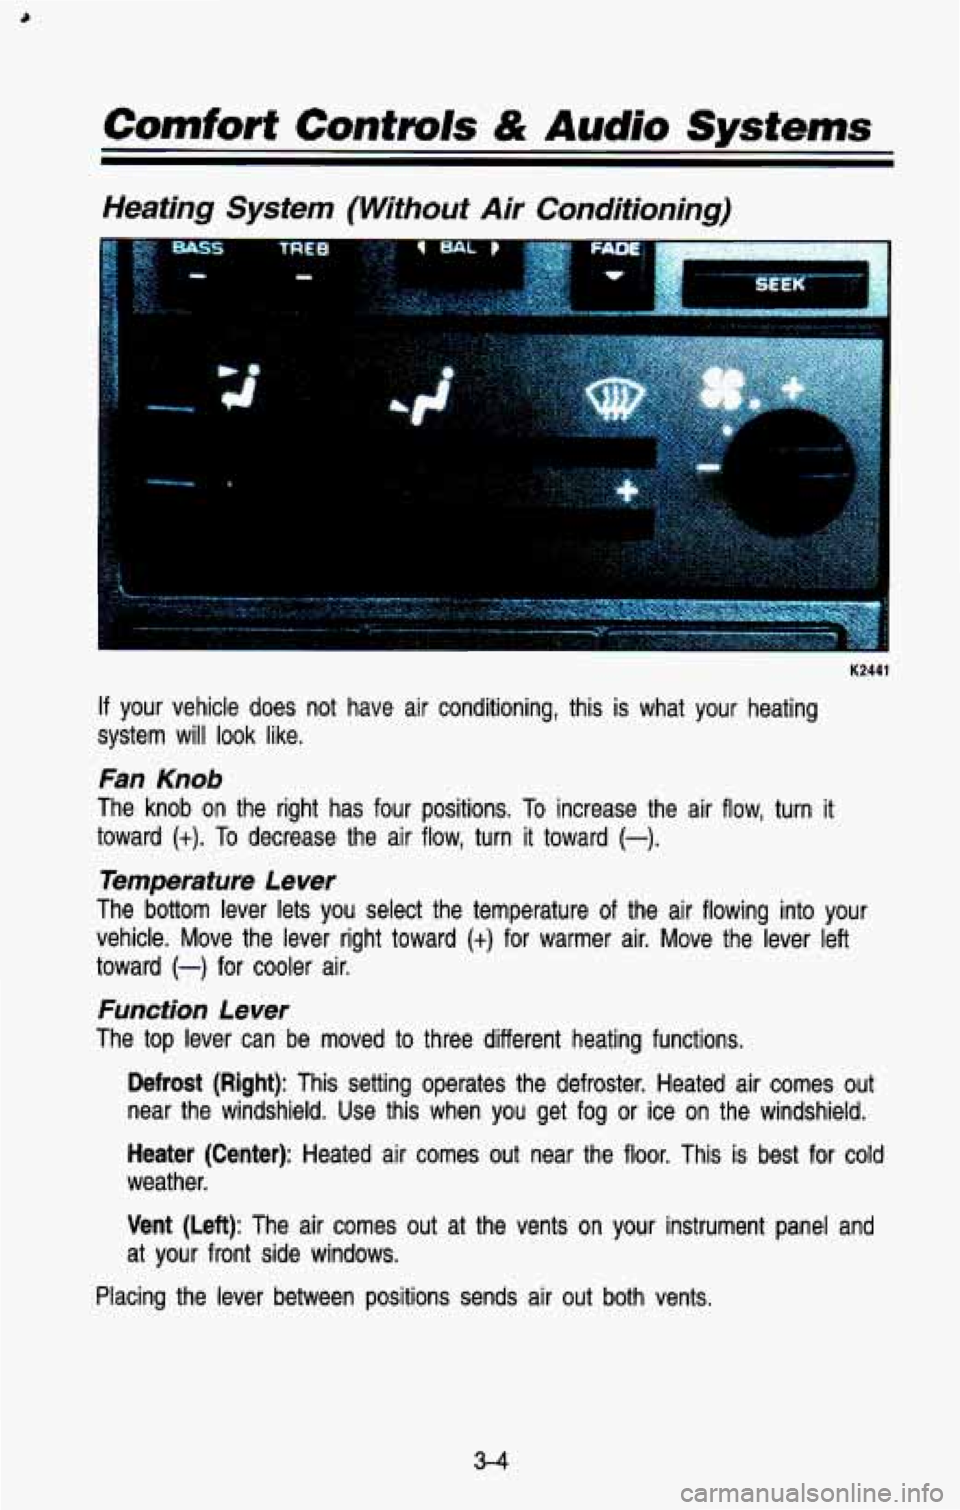
Heating System (Without Air Conditioning)
K2441
If your vehicle does not have air conditioning, this is what your heating
system will look like.
Fan Knob
The knob on the right has four positions. To increase the air flow, turn it
toward
(t). To decrease the air flow, turn it toward (-).
Temperature Lever
The bottom lever lets you select the temperature of the air f\
lowing into your
vehicle. Move the lever right toward
(+) for warmer air. Move the lever left
toward
(-) for cooler air.
Function Lever
The top lever can be moved to three different heating functions.
Defrost (Right): This setting operates the defroster. Heated air comes\
out
near the windshield. Use this when you get fog
or ice on the windshield.
Heater (Center): Heated air comes out near the floor. This is best for cold
weather.
Vent (Left): The air comes out at the vents on your instrument panel and
at your front side windows.
Placing the lever between positions sends air
out both vents.
3-4
Page 150 of 386
Heater Output
Optional Engine Block Heater
If your engine is equipped with an optional engine block heater, you can use
it during initial start-up in cold weather (20"F,
-8OC, or lower) to help heat the
passenger compartment faster. Because an engine block heater war\
ms the
engine coolant, your vehicle's heating system can provide some \
heat as soon
as you start the engine.
The use of an engine block heater also reduces the time it takes for the
engine to reach normal operating temperature, and shortens the time it takes
the heater to reach full output. For more information, See "Engine Block
Heater" in the Index.
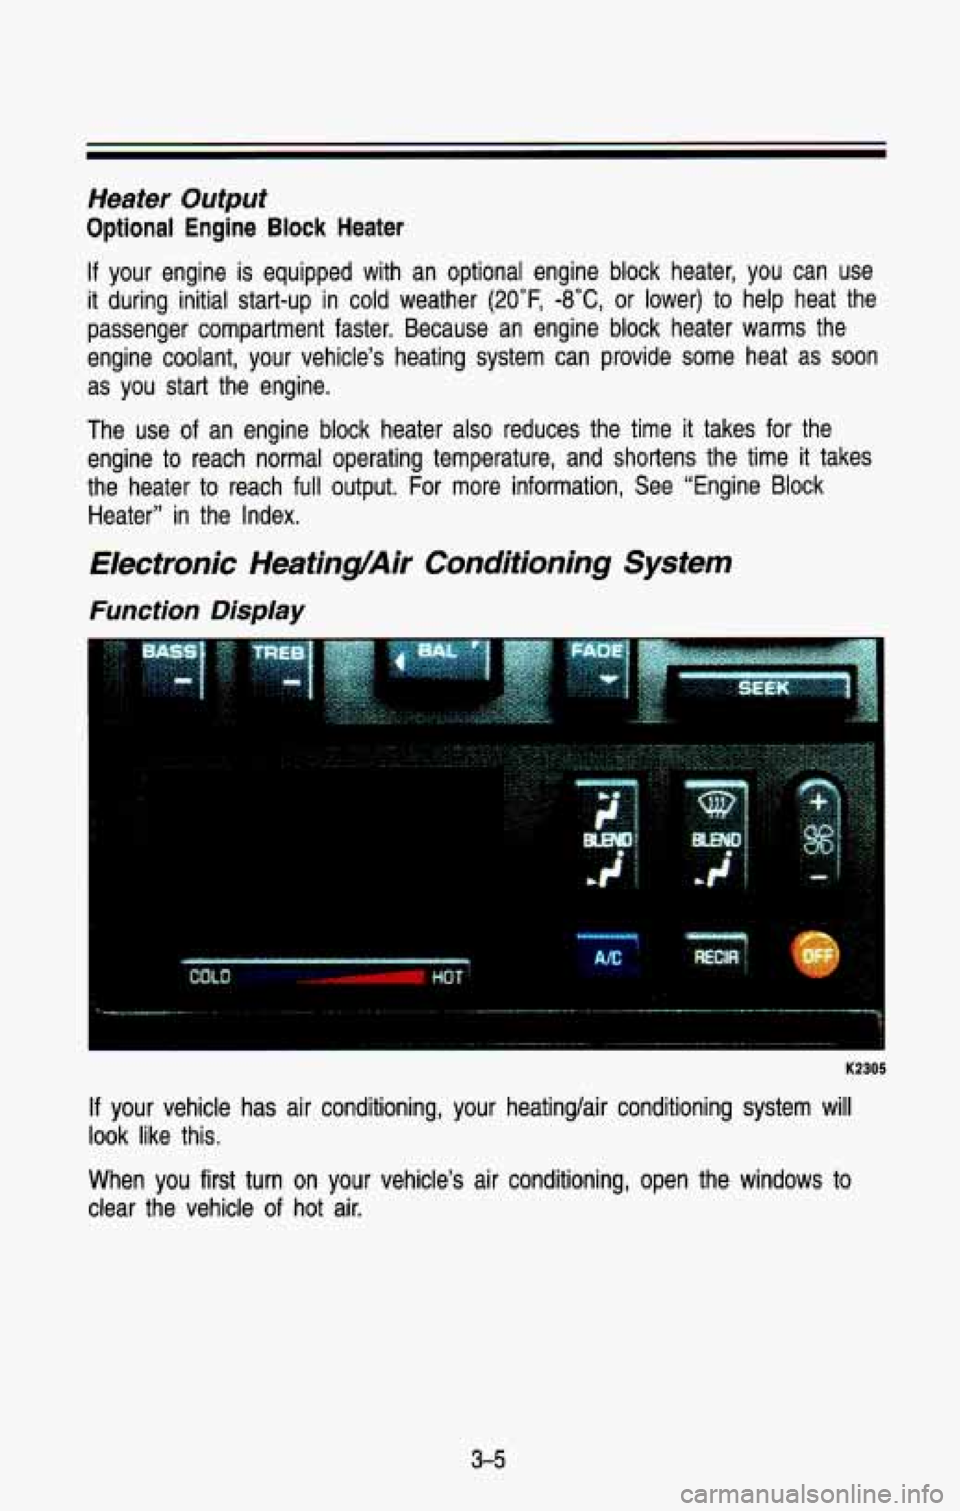
Electronic Heating/Air Conditioning System
Function Display
I ................... ...........I
K2:
If your vehicle has air conditioning, your heating/air conditioning \
system will
look like this.
When you first turn on your vehicle's air conditioning, open the windows
to
clear the vehicle of hot air.
3-5