CHEVROLET BLAZER 1995 2.G Owners Manual
Manufacturer: CHEVROLET, Model Year: 1995, Model line: BLAZER, Model: CHEVROLET BLAZER 1995 2.GPages: 380, PDF Size: 20.04 MB
Page 111 of 380
Downloaded from www.Manualslib.com manuals search engine Temperature and Compass Display
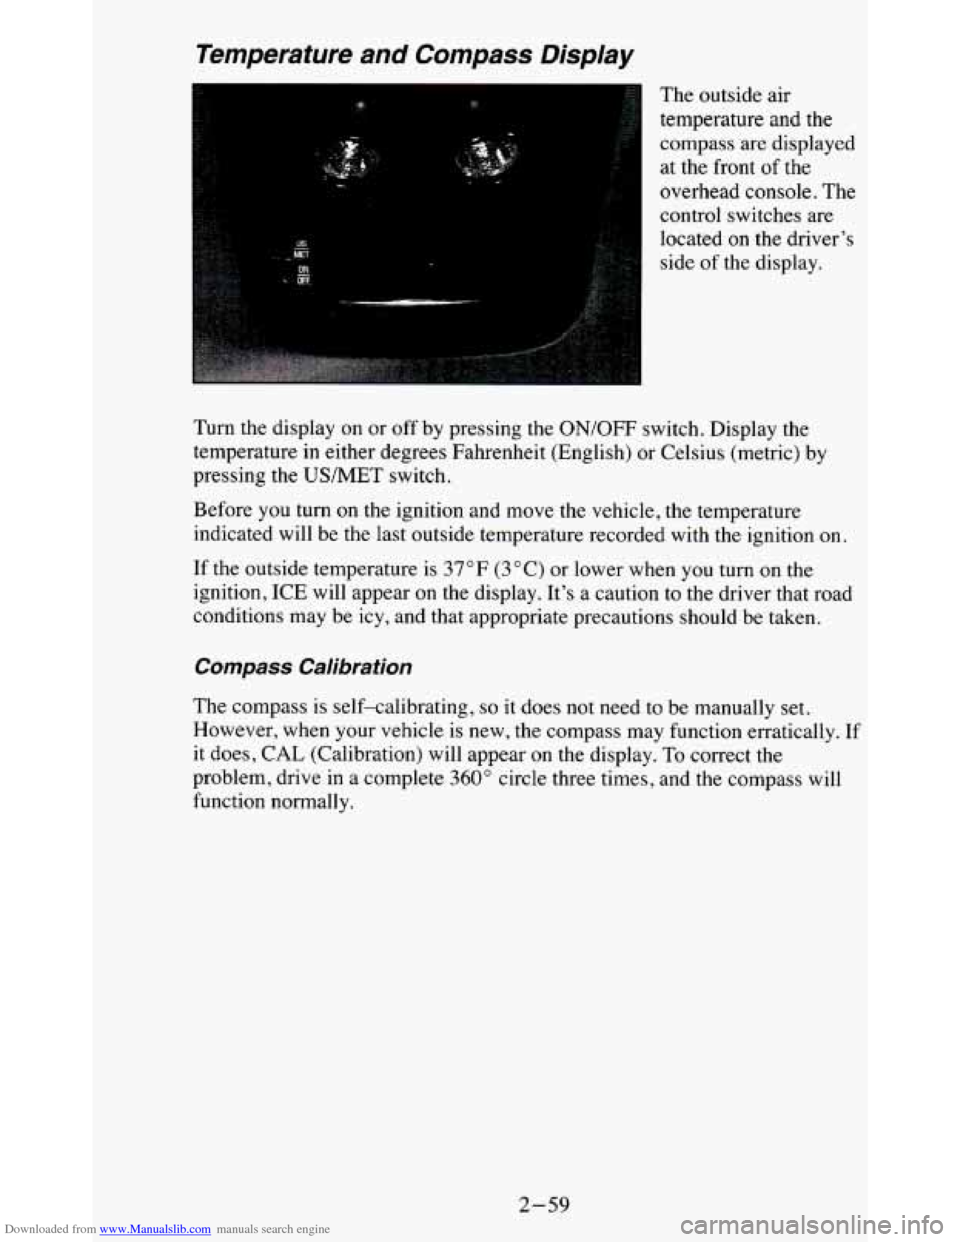
The outside air
temperature and the
compass are displayed
at the front of the
overhead console. The
control switches are
located
on the driver's
side of the display.
Turn the display on or
off by pressing the ON/OFF switch. Display the
temperature in either degrees Fahrenheit (English) or Celsius (metric) by
pressing the US/MET switch.
Before you turn
on the ignition and move the vehicle, the temperature
indicated will be the last outside temperature recorded with the ignition on.
If the outside temperature is
37 "F (3 "C) or lower when you turn on the
ignition, ICE will appear
on the display. It's a caution to the driver that road
conditions may be icy, and that appropriate precautions should be taken.
Gompass Calibration
The compass is self-calibrating, so it does not need to be manually set.
However, when your vehicle is new, the compass may function er\
ratically. If
it does, CAL (Calibration) will appear
on the display. To correct the
problem, drive in a complete
360" circle three times, and the compass will
function normally.
2-59
Page 112 of 380
Downloaded from www.Manualslib.com manuals search engine Compass Variance
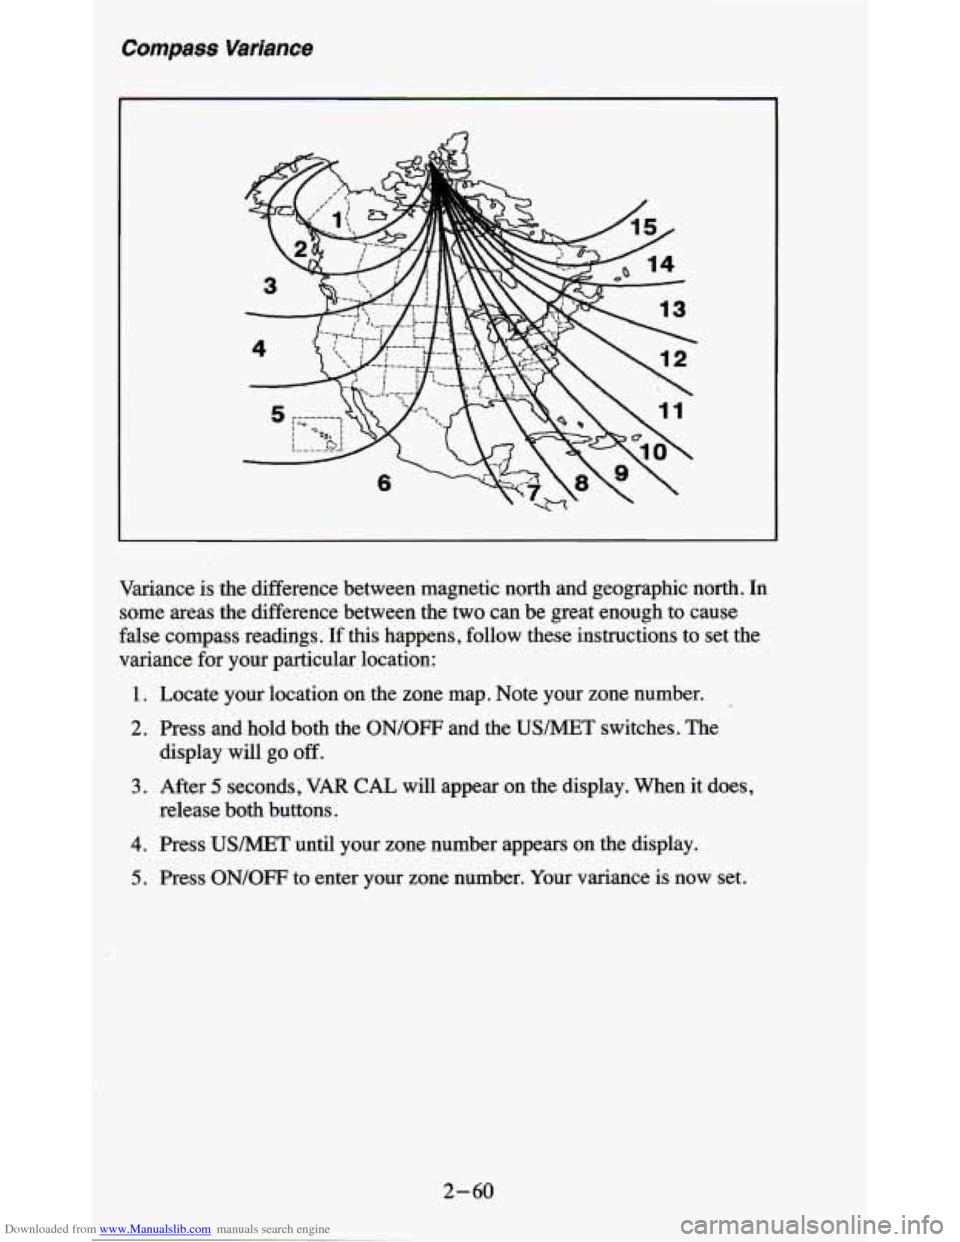
Variance is the difference between magnetic north and geographic north. In
some areas the difference between the two can be great enough to cause
false compass readings.
If this happens, follow these instructions to set the
variance for your particular location:
1. Locate your location on the zone map. Note your zone number.
2. Press and hold both the ON/OFF and the USMET switches. The
display will
go off.
release both buttons.
3. After 5 seconds, VAR CAL will appear on the display. When it does,
4. Press USMET until your zone number appears on the display.
5. Press ON/OFF to enter your zone number. Your variance is now set.
2-60
Page 113 of 380
Downloaded from www.Manualslib.com manuals search engine Garage Door Opener Compartment
If you have a garage door opener, the front overhead compartment can be
used to conveniently store the opener.
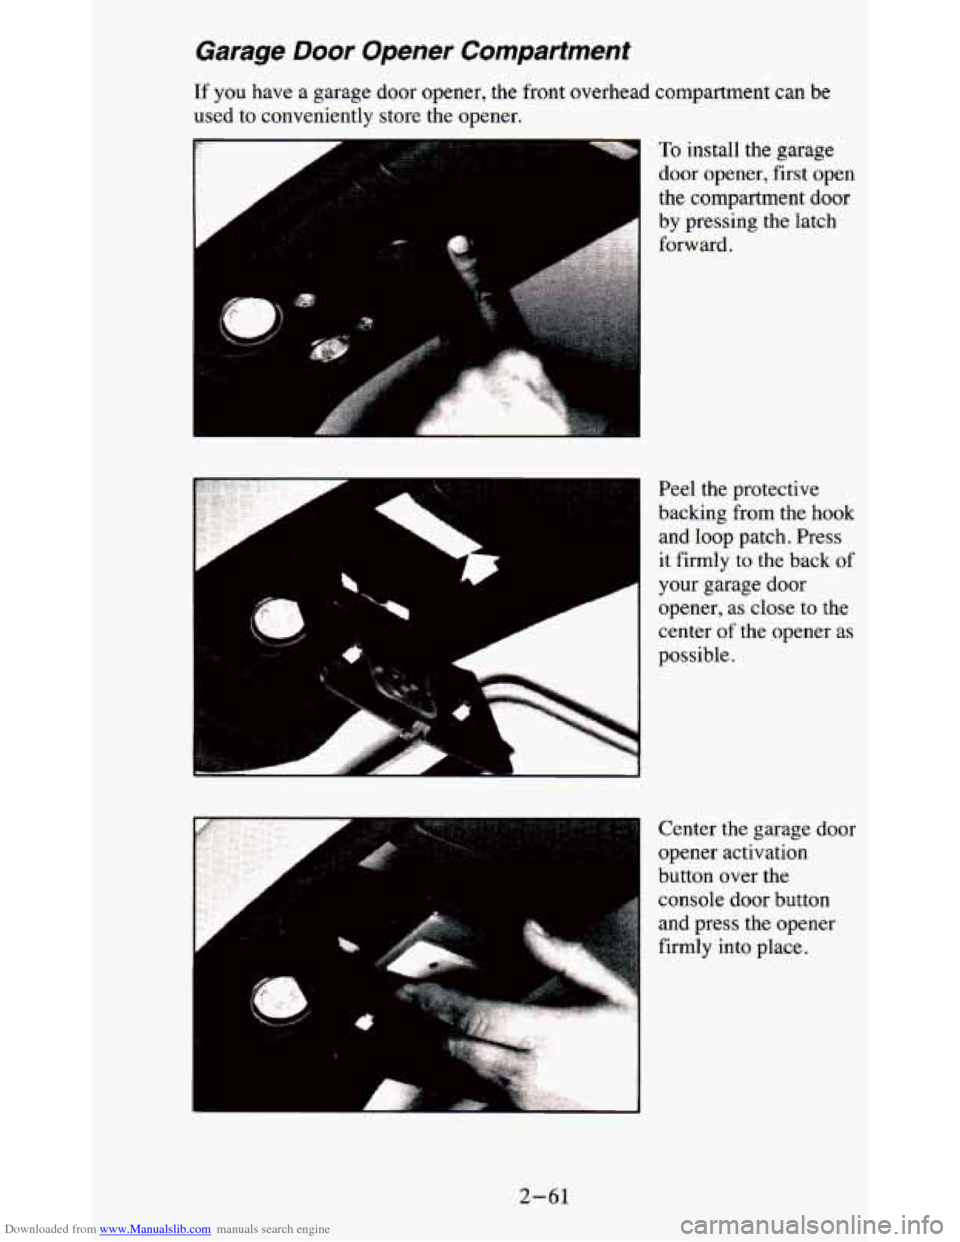
To install the garage
door opener, first open
the compartment door
by pressing the latch
Peel the protective
backing
from the hook
and loop patch. Press
it firmly to the back
of
your garage door
opener,
as close to the
center
of the opener as
possible.
Center the garage door
opener activation
button over the
console door button
and press the opener
firmly into place.
2-61
Page 114 of 380
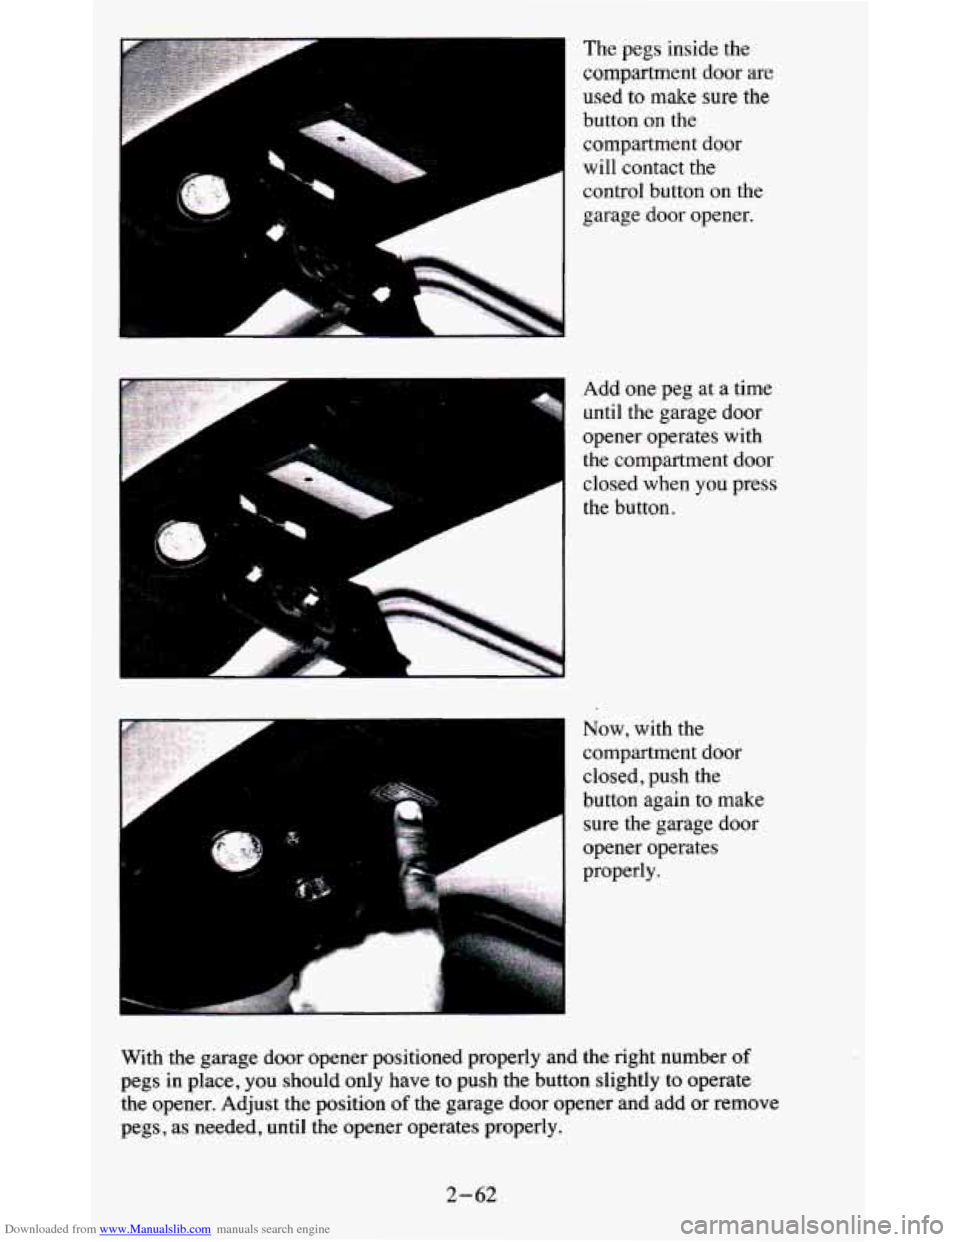
Downloaded from www.Manualslib.com manuals search engine The pegs inside the
compartment door are
used
to make sure the
button on the
1
compartment door
will contact the
control button on the
garage door opener.
Add one peg at a time
until the garage door
opener operates with
the compartment door
closed when you press
the button.
F
Now, with the
compartment door
closed, push the
button again to make
sure the garage door
opener operates
properly.
With the garage door opener positioned properly and the right number
of
pegs in place, you should only have to push the button slightly to operate
the opener. Adjust the position
of the garage door opener and add or remove
pegs, as needed, until the opener operates properly.
2-62
Page 115 of 380
Downloaded from www.Manualslib.com manuals search engine Convenience Net
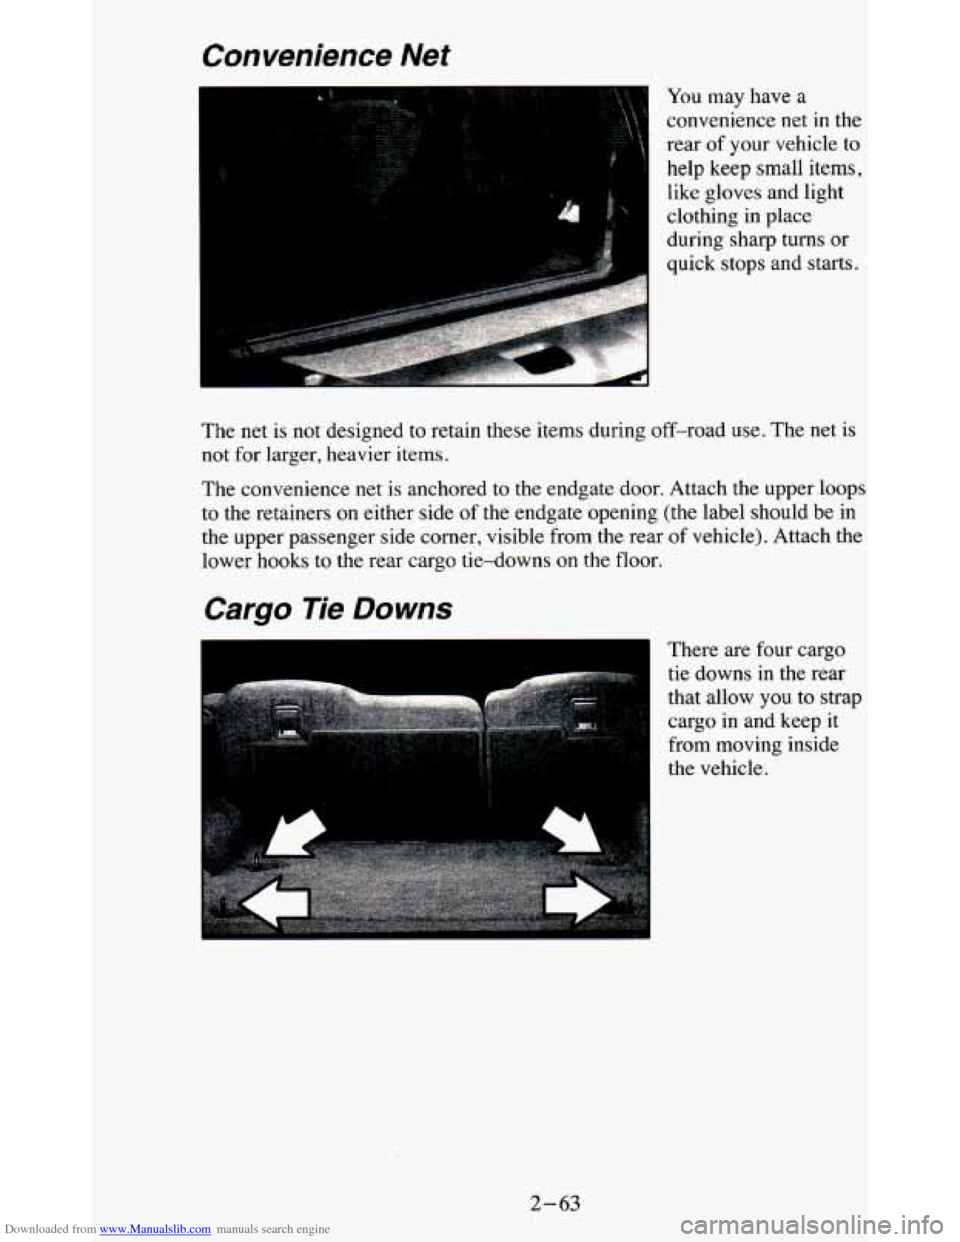
You may have a
convenience net
in the
rear
of your vehicle to
help keep small items,
like gloves and light
clothing
in place
during sharp turns or
quick stops
and starts.
The net
is not designed to retain these items during off-road use. The net is
not for larger, heavier items.
The convenience net is anchored to the endgate door. Attach the upper loops
to the retainers on either side
of the endgate opening (the label should be in
the upper passenger side corner, visible from the rear of vehicle). Attach the
lower hooks to the rear cargo tie-downs on the floor.
Cargo Tie Downs
There are four cargo
tie downs in the rear
that allow you to strap
cargo in and keep it
from moving inside
the vehicle.
2-63
Page 116 of 380
Downloaded from www.Manualslib.com manuals search engine Cargo Cover Or Roll-Up Cargo Cover
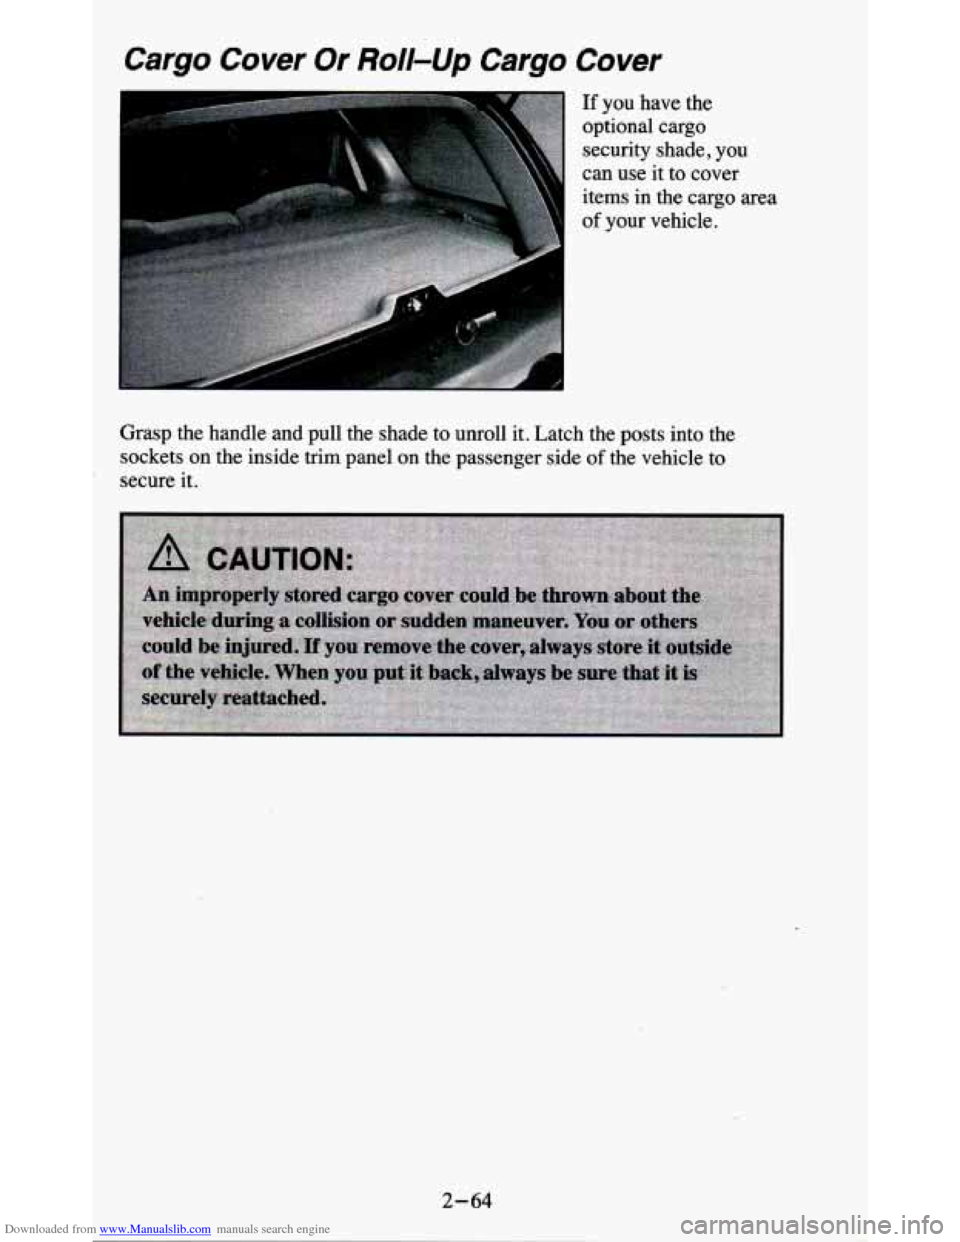
If you have the
optional cargo security shade,
you
can use it to cover
items in the cargo area
of your vehicle.
Grasp the handle and pull the shade
to unroll it. Latch the posts into the
sockets on the inside trim panel on the passenger side
of the vehicle to
secure it.
2-64
Page 117 of 380
Downloaded from www.Manualslib.com manuals search engine Instrument Panel
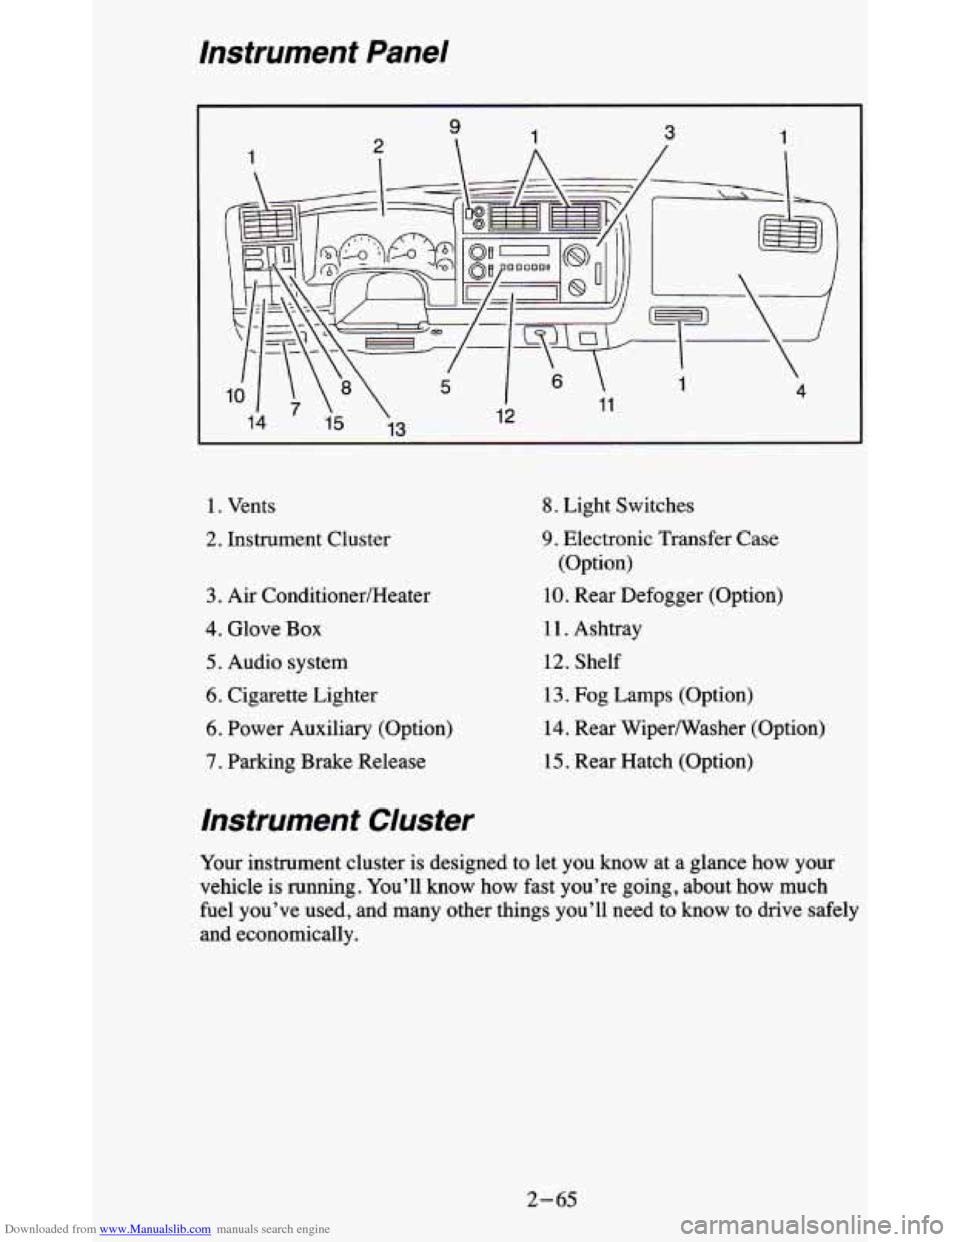
1. Vents
2. Instrument Cluster
3. Air ConditionedHeater
4. Glove Box
5. Audio system
6. Cigarette Lighter
6. Power Auxiliary (Option)
7. Parking Brake Release
8. Light Switches
9. Electronic Transfer Case
(Option)
10. Rear Defogger (Option)
11. Ashtray
12. Shelf
13. Fog Lamps (Option)
14. Rear Wipermasher (Option)
15. Rear Hatch (Option)
Instrument Cluster
Your instrument cluster is designed to let you know at a glance how your
vehicle
is running. You’ll know how fast you’re going, about how much
fuel you’ve used, and many other things you’ll need to know to drive safely
and economically.
2- 65
Page 118 of 380
Downloaded from www.Manualslib.com manuals search engine Speedometer and Odometer
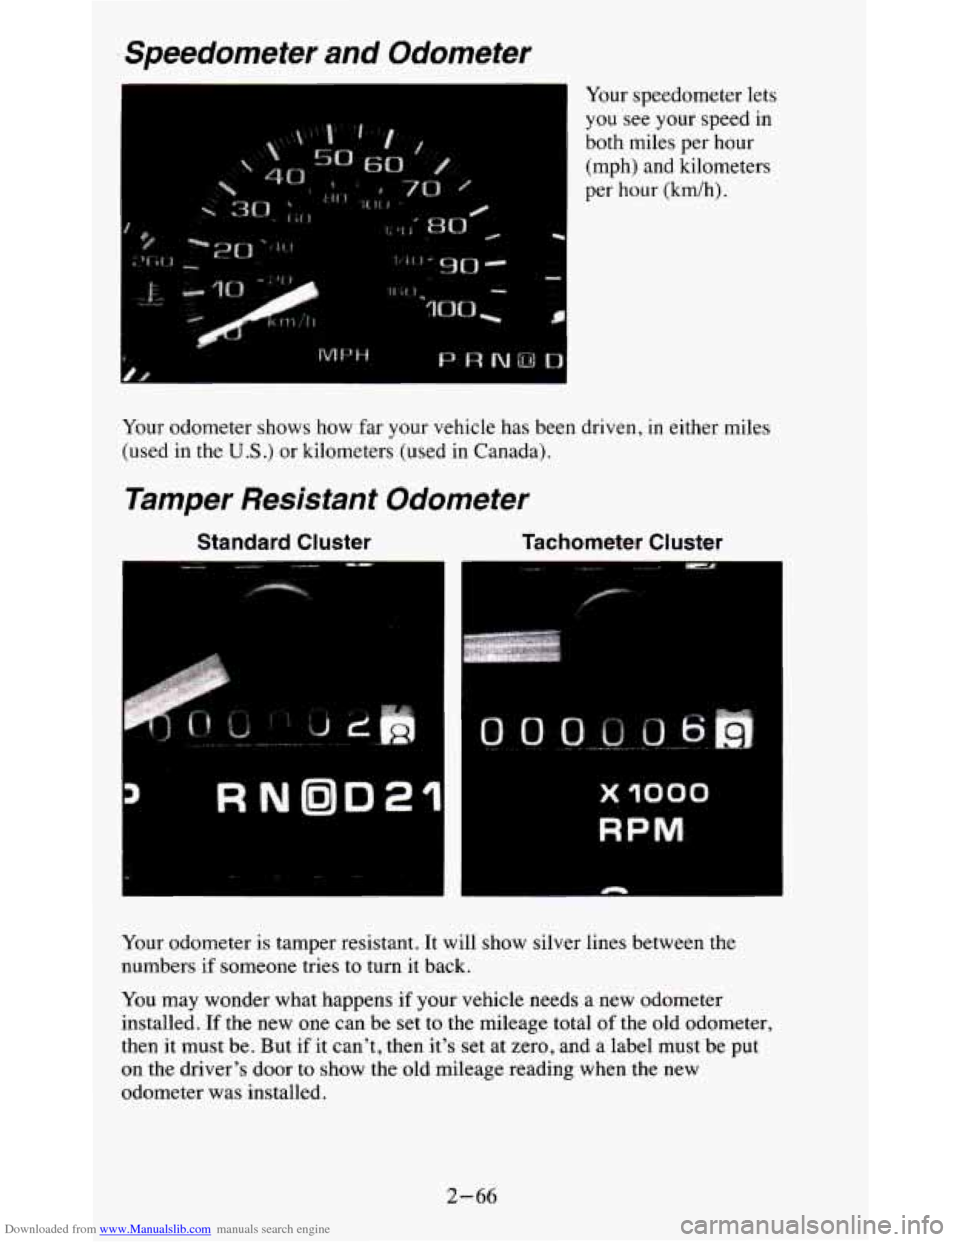
Your speedometer lets
you see your speed in
both miles per hour
(mph) and kilometers
per hour
(krdh).
Your odometer shows how far your vehicle has been driven, in either miles
(used in the
U.S .) or kilometers (used in Canada).
Tamper Resistant Odometer
___"..." ..
Standard Cluster Tachometer Cluster
Your odometer is tamper resistant. It will show silver lines between\
the
numbers
if someone tries to turn it back.
You may wonder what happens if your vehicle needs a new odometer
installed. If the new one can be set
to the mileage total of the old odometer,
then it must be. But if it can't, then it's
set at zero, and a label must be put
on the driver's door to show the old mileage reading when the ne\
w
odometer was installed.
2-66
Page 119 of 380
Downloaded from www.Manualslib.com manuals search engine Trip Odometer
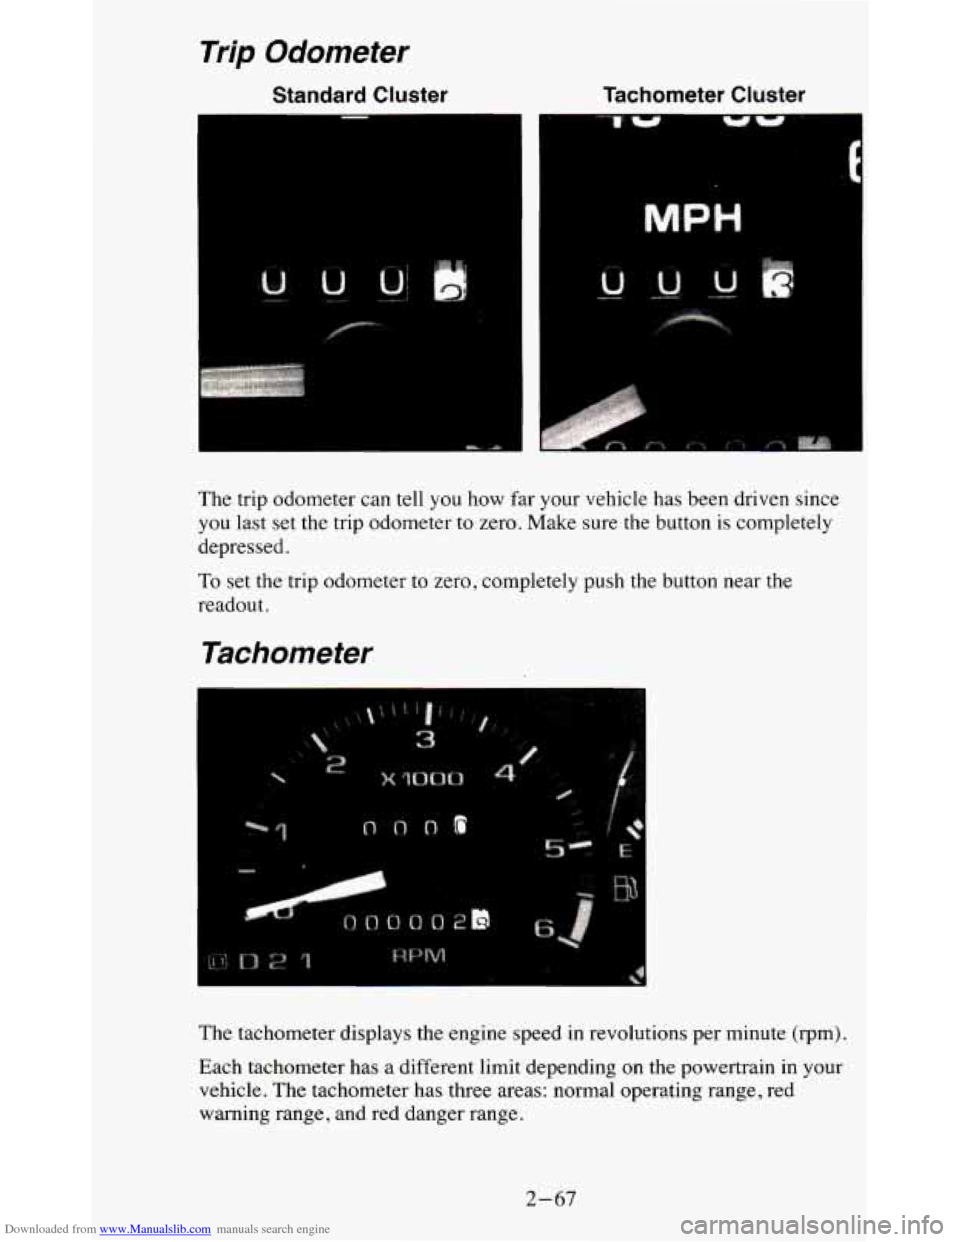
Standard Cluster Tachometer Cluster
The trip odometer can tell you how far your vehicle has been driven since
you last set the trip odometer
to zero. Make sure the button is completely
depressed.
To set the trip odometer to zero, completely push the button near the
readout.
Tachometer
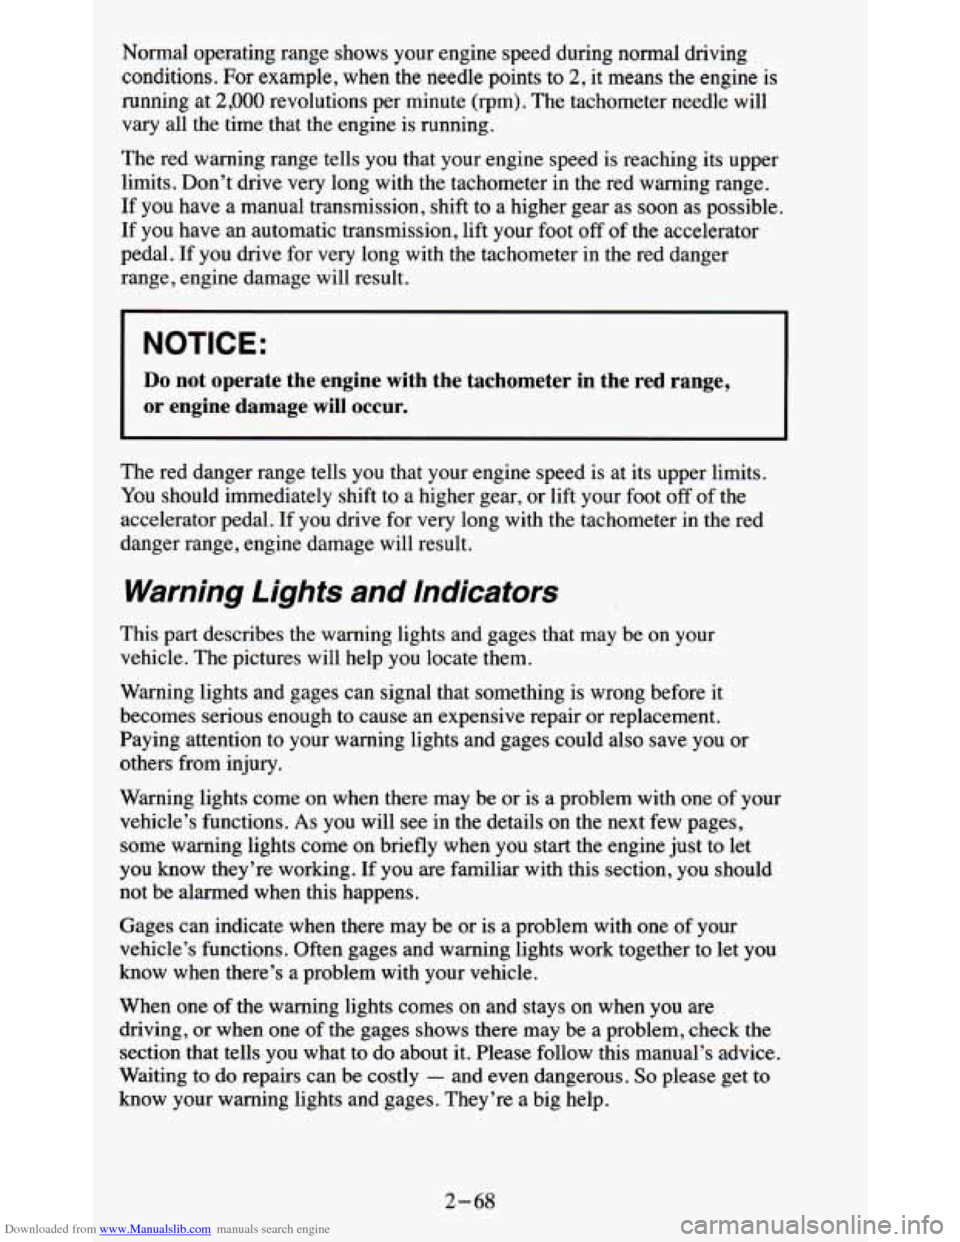
The tachometer displays the engine speed in revolutions per minute (rpm).
Each tachometer has a different limit depending on the powertrain in your
vehicle. The tachometer has three areas: normal operating range, red
warning range, and red danger range.
2-67
Page 120 of 380
Downloaded from www.Manualslib.com manuals search engine Normal operating range shows your engine speed during normal driving
conditions.
For example, when the needle points to 2, it means the engine is
running at 2,000 revolutions per minute (rpm). The tachometer needle will
vary all the time that the engine is running.
The red warning range tells you that your engine speed is reaching its upper
limits. Don’t drive very long with the tachometer in the red warning range.
If you have a manual transmission, shift to a higher gear as
soon as possible.
If you have an automatic transmission, lift your foot
off of the accelerator
pedal. If you drive for very long with the tachometer in the red danger
range, engine damage will result.
NOTICE:
Do not operate the engine with the tachometer in the red range,
or engine damage will occur.
The red danger range tells you that your engine speed is at its upper limits.
You should immediately shift to a higher gear, or lift your foot
off of the
accelerator pedal. If you drive for very long with the tachometer in the red
danger range, engine damage will result.
Warning Lights and Indicators
This part describes the warning lights and gages that may be on your
vehicle. The pictures will help you locate them.
Warning lights and gages can signal that something is wrong before it
becomes serious enough to cause an expensive repair or replacement.
Paying attention
to your warning lights and gages could also save you or
others from injury.
Warning lights come on when there may be or is a problem with one of your
vehicle’s functions.
As you will see in the details on the next few pages,
some warning lights come on briefly when you start the engine just to let
you know they’re working. If you are familiar with this section, you should
not be alarmed when this happens.
Gages caa indicate when there may be or is a problem with one of your
vehicle’s functions. Often gages and warning lights work together to let you
know when there’s a problem with your vehicle.
When one of the warning lights comes on and stays on when you are
driving, or when one of the gages shows there may be a problem, check the
section that tells you what
to do about it. Please follow this manual’s advice.
Waiting to
do repairs can be costly - and even dangerous. So please get to
know your warning lights and gages. They’re a big help.
2-68