CHEVROLET BLAZER 1997 2.G Owners Manual
Manufacturer: CHEVROLET, Model Year: 1997, Model line: BLAZER, Model: CHEVROLET BLAZER 1997 2.GPages: 402, PDF Size: 21.93 MB
Page 101 of 402
Downloaded from www.Manualslib.com manuals search engine Increasing Speed While Using Cruise Controi
There are two ways to go to a higher speed:
Use the accelerator pedal to get to the higher speed.
Press the button at the end of the lever, then release
the button and
the accelerator pedal. You'll now
cruise at the higher speed.
Move the cruise switch from ON to R/A. Hold it
there until you get up to the speed you want. and
then release the switch.
(To increase your speed in
very small amounts. move the switch to R/A. Each
time
you do this, your vehicle will go about 1 mph
(1.6
km/h) faster.)
Reducing Speed While Using Cruise Control
Press in the button at the end of the lever until you reach
the lower speed you want. then release it.
To slow down in very small amounts, press the button
for less than a half a second. Each time you do this.
you'll
go 1 mph ( I .6 kndh) slower.
Passing Another Vehicle While Using Cruise Control
Use the accelerator pedal tu increase your speed. When
you take your foot off the pedal. your vehicle \vi11 slow
down to the cruise control speed you set earlier.
Using Cruise Control on Hills
How well your cruise control will work on hills depends
upon your speed. load and the steepness
of the hills.
When going
up steep hills. you may want to step on the
accelerator pedal to maintain your speed. When going
downhill, you may have
to brake or shift to a lower gear
to keep your speed down. Of course. applying the brake
takes
you out of cruise control. Many drivers find this to
be too rnuch trouble and don't use cruise control on
steep hills.
Ending Cruise Control
There are two ways to turn off the cruise control:
Step lightly on the brake pedal or push the clutch
pedal,
if you have a manual transmission.
Move the cruise switch to OFF.
Erasing Speed Memory
When you turn oft' the cruise control or the ignition.
your cruise control set speed memory
is erased.
2-44
Page 102 of 402

Downloaded from www.Manualslib.com manuals search engine Exterior Lamps
.. .- I
: ' aD
.-
*
The switches are on the left side of your instrument panel. Press
the top switch with the parking lamps symbol on it
to turn on:
0 Parking Lamps
0 Sidemarker Lamps
0 Taillamps
0 License Plate Lamps
0 Instrument Panel Lights
0 Transfer Case Indicator Light (if you have one)
Press the bottom switch with the master lamps symbol on
it to turn on all the lamps listed as well as the headlamps.
Press the
side of the switch marked OFF to turn off
your lamps.
2-45
Page 103 of 402
Downloaded from www.Manualslib.com manuals search engine Lamps On Reminder
A reminder tone will sound when your headlamps or
parking lamps are turned on and your ignition
is in OFF,
LOCK or ACCESSORY. To turn the tone off, press the
OFF switch.
Daytime Running Lamps
Daytime Running Lamps (DRL) can make it easier for
others to see the front
of your vehicle during the day.
DRL can be helpful
in many different driving
conditions. but they can be especially helpful
in the
short periods after dawn and before sunset.
The DRL system will make your headlamps come on at
reduced brightness when:
the ignition is on,
the headlamp switch is off and
the parking brake is released. When
the DRL are
on, only your headlamps will be on.
The taillamps, sidemarker and other lamps won’t be on.
The instrument panel won’t be lit up either.
When it begins to get dark, your
DRL indicator light is a
reminder to turn your headlamp switch on. The other
lamps that come on with your headlamps will also
come
on.
When you turn the headlamp switch off, the regular
lamps will
go off, and your headlamps will change to
the reduced brightness
of DRL.
To idle your vehicle with the DRL off, set the parking
brake. The DRL will stay off until you release the
parking brake.
As with any vehicle, you should turn on the regular
headlamp system
when you need it.
2-46
Page 104 of 402
Downloaded from www.Manualslib.com manuals search engine Fog Lamps (If Equipped)
I
..
$0 OFF
FOG LAMPS
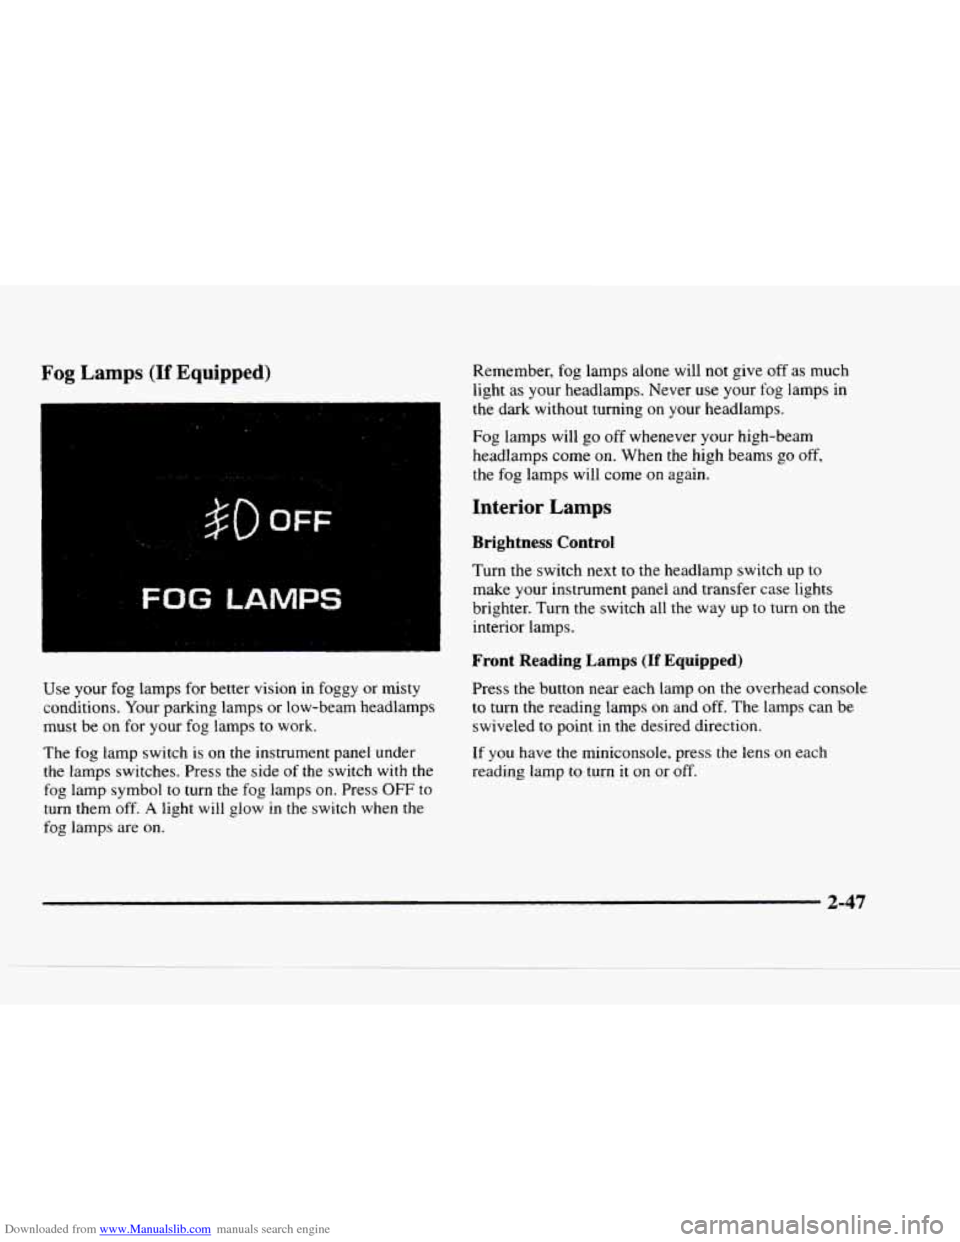
Use your fog lamps for better vision in foggy or misty
conditions. Your parking lamps or low-beam headlamps
must
be on for your fog lamps to work.
The
fog lamp switch is on the instrument panel under
the lamps switches. Press the side of the switch with the
fog lamp symbol
to turn the fog lamps on. Press OFF to
turn them off. A light will glow in the switch when the
fog lamps are
on.
Remember, fog lamps alone will not give off as much
light as your headlamps. Never
use your fog lamps in
the dark without turning
on your headlamps.
Fog lamps will go off whenever your high-beam
headlamps come
on. When the high beams go off,
the
fog lamps will come on again.
Interior Lamps
Brightness Control
Turn the switch next to the headlamp switch up to
make your instrument panel and transfer case lights
brighter. Turn the switch all the way up to turn on the
interior lamps.
Front Reading Lamps (If Equipped)
Press the button near each lamp on the overhead console
to turn the reading lamps on and off. The lamps can be
swiveled
to point in the desired direction.
If
you have the miniconsole, press the lens on each
reading lamp to turn it on or off.
2-47
Page 105 of 402
Downloaded from www.Manualslib.com manuals search engine Front Map Lamps (If Equipped)
If your vehicle has optional front map lamps, they
are located
on the inside rearview mirror. They will
automatically come
on for approximately 20 seconds
when either front door is opened or unlocked with the
Keyless Entry System,
if so equipped. or until the
ignition key
is turned to RUN or ACCESSORY. The
lamps
will also stay on for approximately 15 seconds
after you exit the vehicle.
They
will also stay on for I5 seconds when the INT
LIGHTS switch on the instrument panel is turned on
then off, while the ignition is off.
You can also turn the lamps on and off by pressing the
switch near each lamp.
Dome Lamps
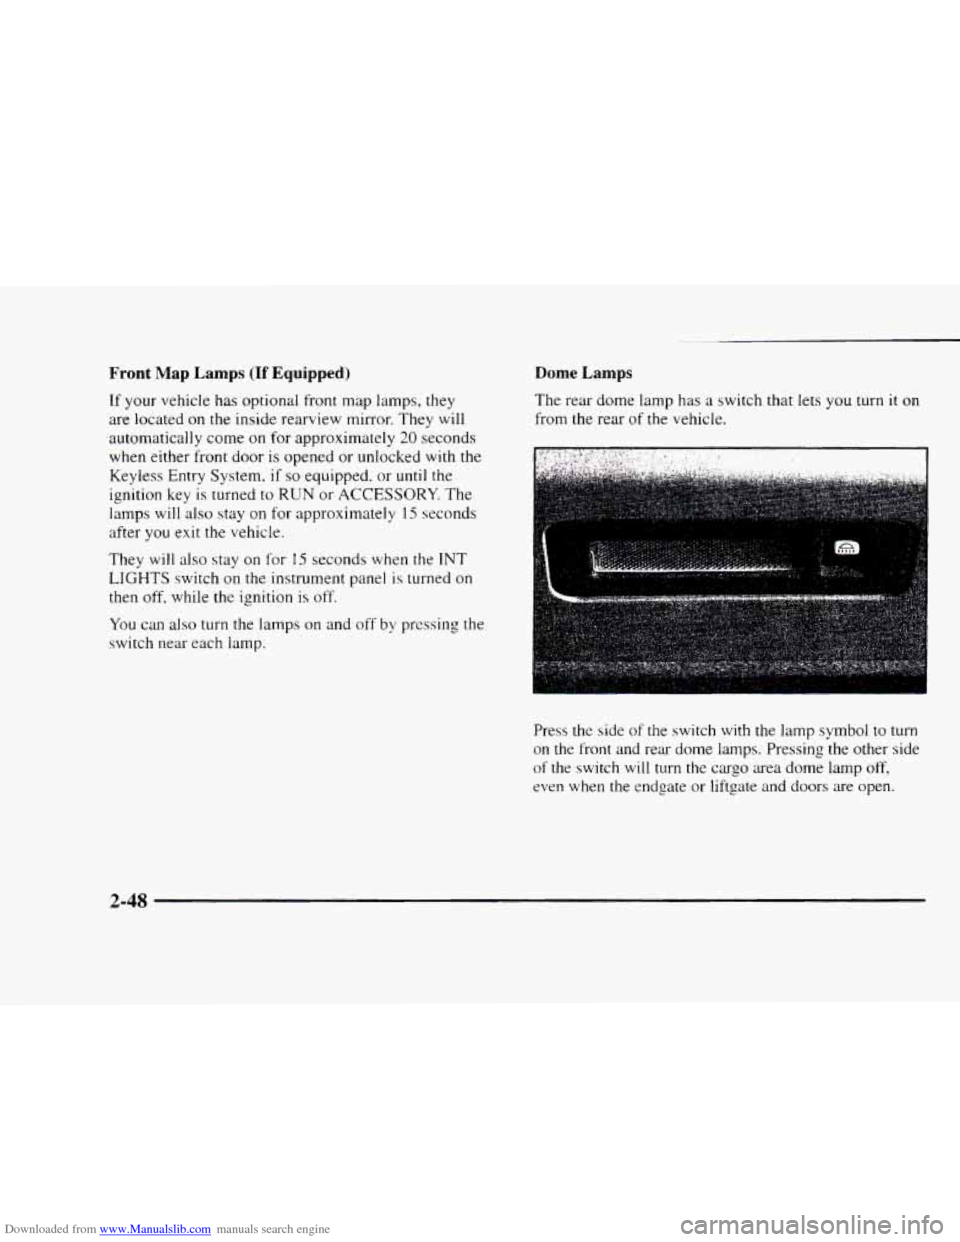
The rear dome lamp has a switch that lets you turn it on
from the rear of the vehicle.
Press the side
of the switch with the lamp symbol to turn
on the front and rear dome lamps. Pressing the other side
of the switch will turn the cargo area dome lamp off,
even when the endgate or liftgate and doors are open.
2-48
Page 106 of 402
Downloaded from www.Manualslib.com manuals search engine Mirrors
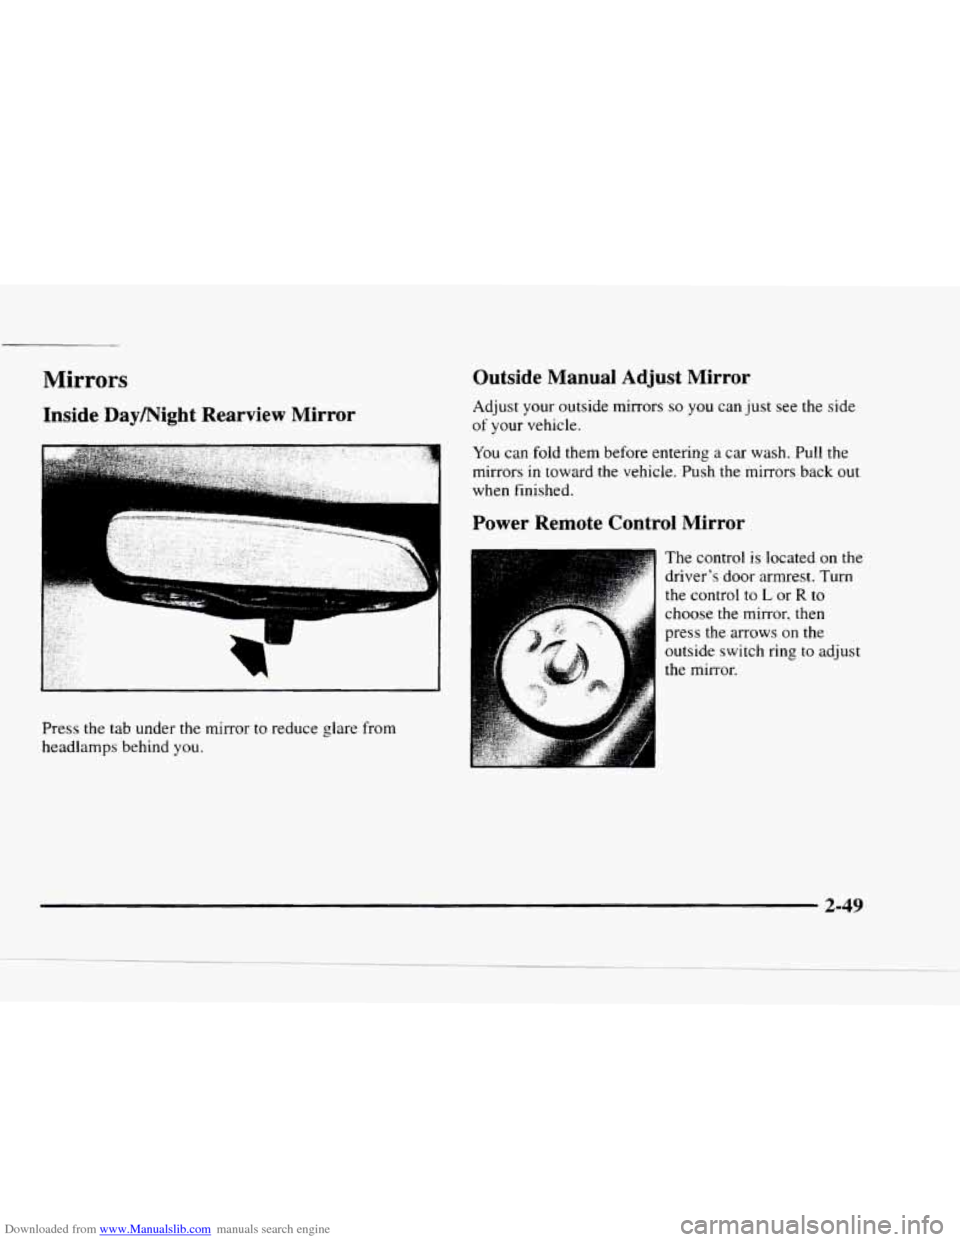
Inside Daymight Rearview Mirror
Press the tab under the mirror to reduce glare from
headlamps behind you.
Outside Manual Adjust Mirror
Adjust your outside mirrors so you can just see the side
of your vehicle.
You can fold them before entering a car wash. Pull the
mirrors
in toward the vehicle. Push the mirrors back out
when finished.
Power Remote Control Mirror
The control is located on the
driver's door armrest. Turn
the control
to L or R to
choose the mirror, then
press the
arrows on the
outside switch
ring to adjust
the mirror.
2-49
Page 107 of 402
Downloaded from www.Manualslib.com manuals search engine Convex Outside Mirror
Your passenger’s side mirror is convex. A convex
mirror’s surface is curved
so you can see more from the
driver’s seat.
A CAUTION:
A convex mirror can make things (like other
vehicles) look farther away than they really are.
If you cut too sharply into the right lane, you
could hit a vehicle on your right. Check your
inside mirror or glance over your shoulder before
changing lanes.
Storage Compartments
Glove Box
To open your glove box, squeeze the lever at the top of
the glove box and lower the door. Two cup depressions
are provided for your convenience.
but the glove box
should not be open while driving.
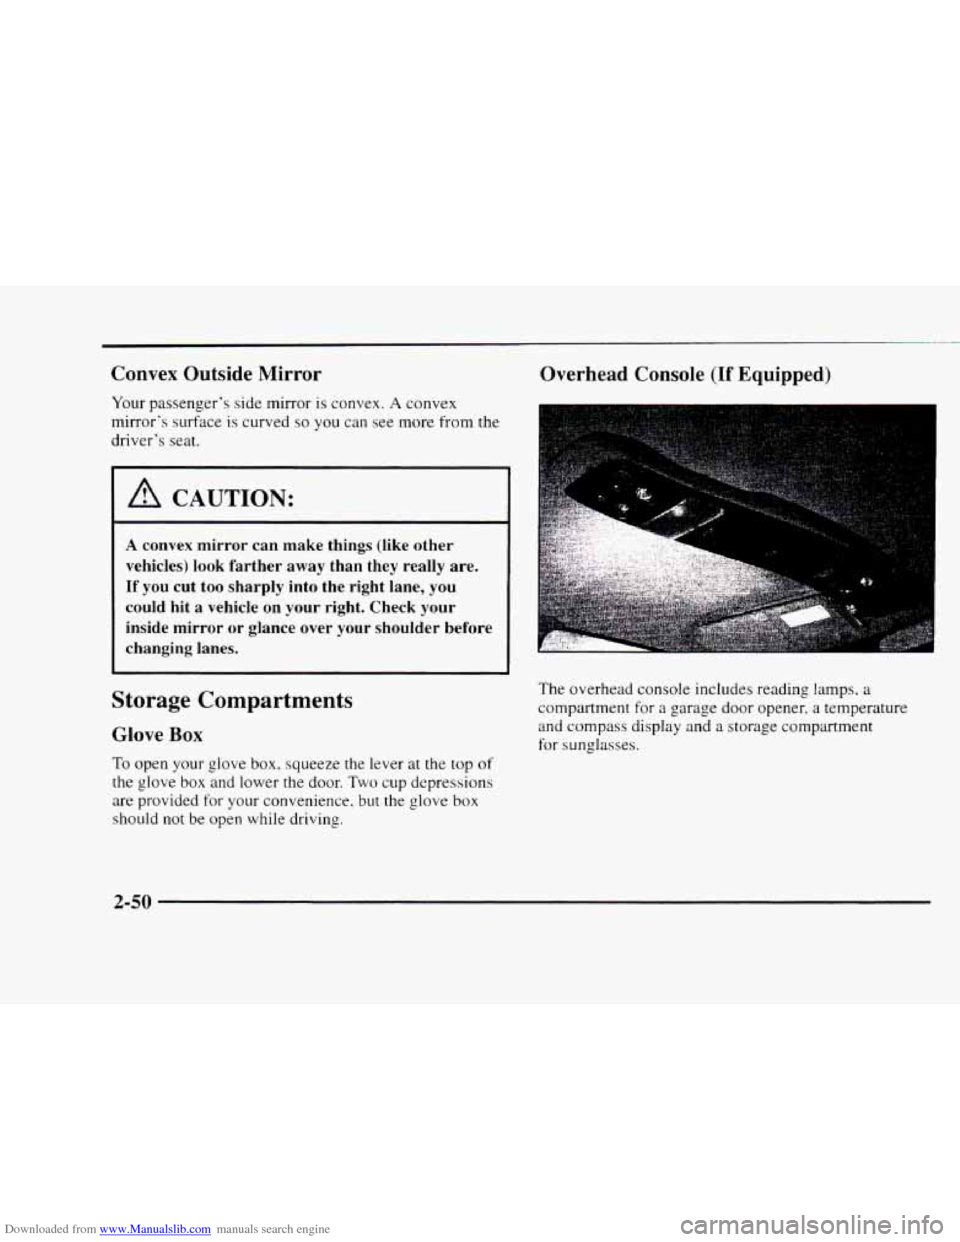
Overhead Console (If Equipped)
The overhead console includes reading lamps, a
compartment for a garage door opener, a temperature
and compass display and
a storage compartment
for sunglasses.
2-50
Page 108 of 402
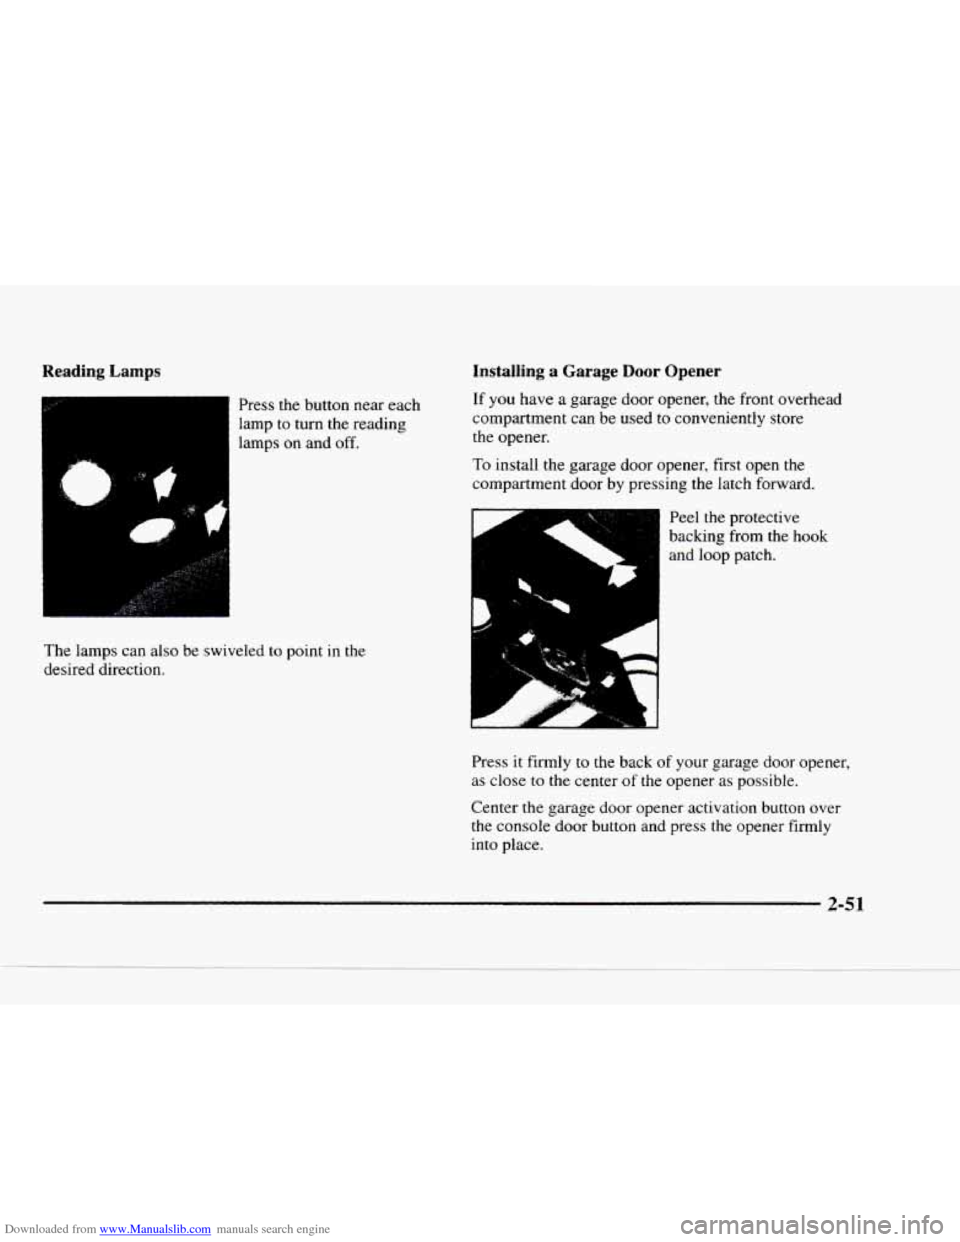
Downloaded from www.Manualslib.com manuals search engine Reading Lamps
The lamps can also be swiveled to point in the
desired direction.
Installing a Garage Door Opener
If you have a garage door opener, the front overhead
compartment can be used to conveniently store
the opener.
To install the garage door opener, first open the
compartment door by pressing the latch forward.
I Peel the protective
backing from the hook
and
loop patch.
‘I
Press it firmly to the back of your garage door opener,
as close to the center of the opener as possible.
Center the garage door opener activation button over
the console door button and press the opener firmly
into place.
2-51
Page 109 of 402
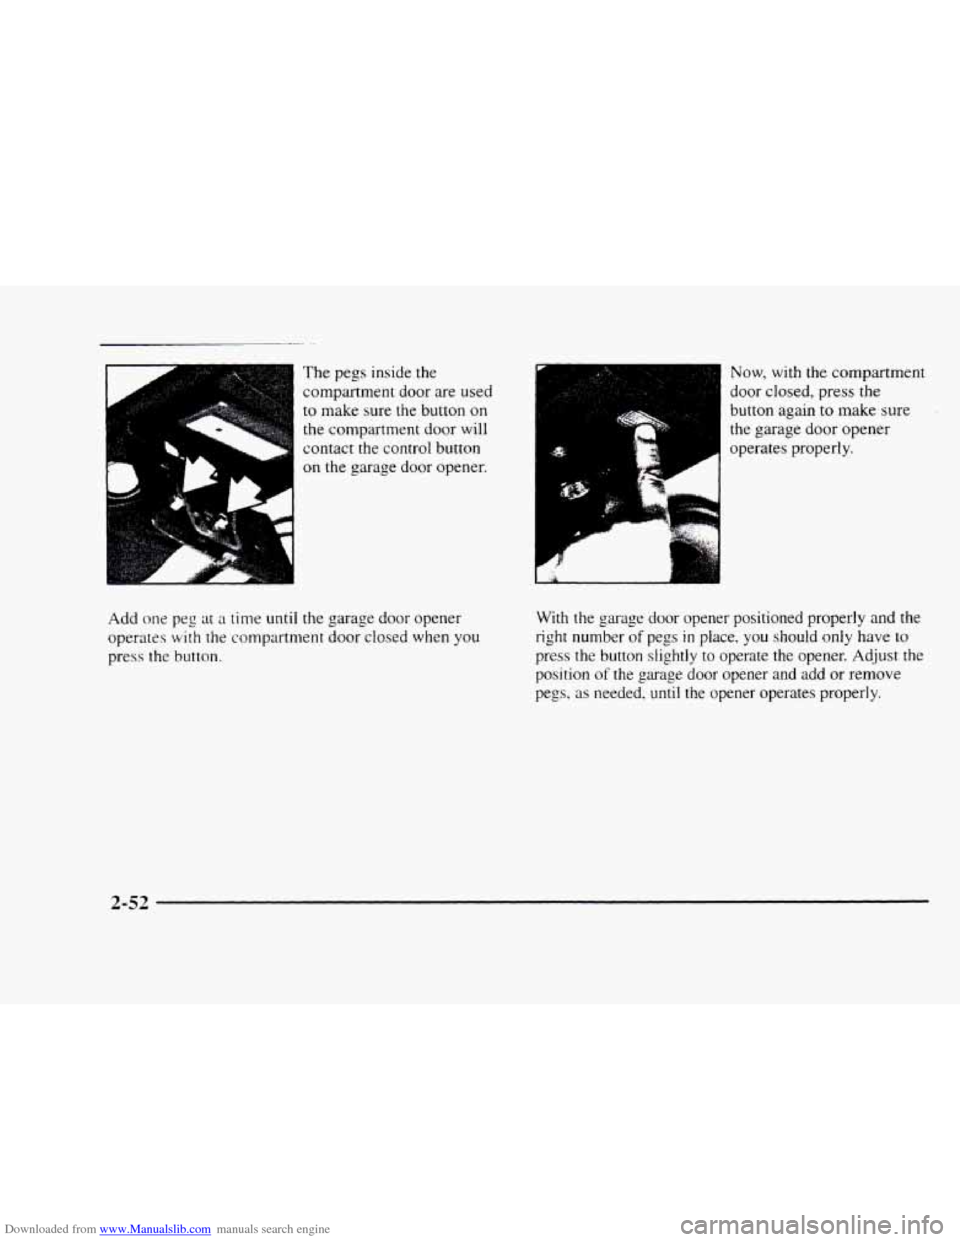
Downloaded from www.Manualslib.com manuals search engine The pegs inside the
compartment door are used
to make sure the button
on
the compartment door will
contact the control button
on the garage door opener.
Add one peg
at a time until the garage door opener
operates
with the compartment door closed when you
press the button.
A
I
Now, with the Compartment
door closed, press
the
button again to make sure
the garage door opener
operates properly.
With the garage door opener positioned properly and the
right number
of pegs in place, you should only have to
press the button slightly to operate the opener. Adjust the
position
of the garage door opener and add or remove
pegs, as needed, until the opener operates properly.
2-52
Page 110 of 402
Downloaded from www.Manualslib.com manuals search engine Temperature and Compass Display
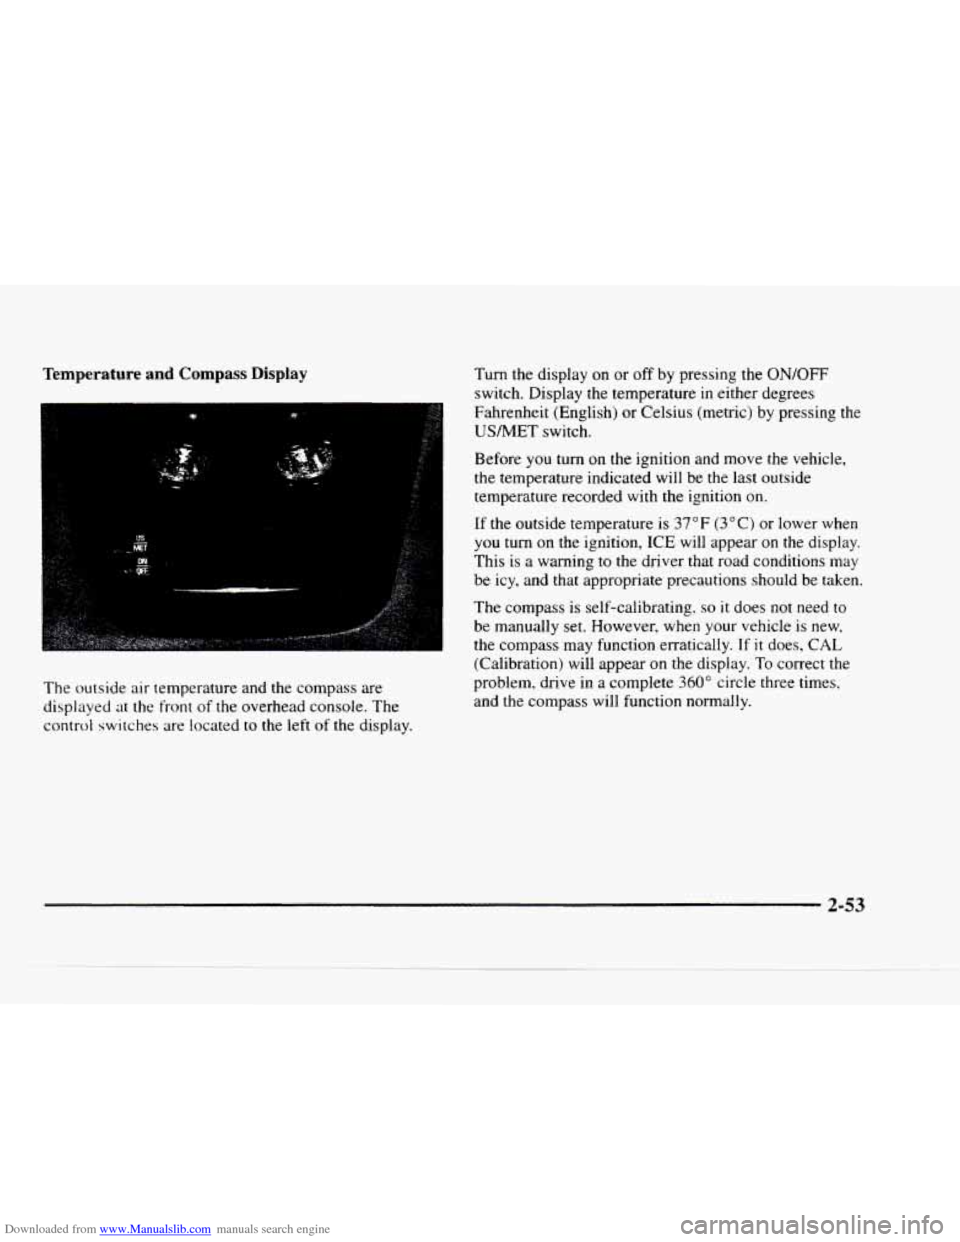
The outside air temperature and the compass are
displayed at the front
of the overhead console. The
control switches are located
to the left of the display.
Turn the display on or off by pressing the ON/OFF
switch. Display the temperature in either degrees
Fahrenheit (English) or Celsius (metric) by pressing the
USNET switch.
Before you
turn on the ignition and move the vehicle,
the temperature indicated will be the last outside
temperature recorded with the ignition on.
If the outside temperature is 37 OF (3 O C) or lower when
you turn on the ignition, ICE will appear on the display.
This is a warning to
the driver that road conditions may
be icy, and that appropriate precautions should be taken.
The compass is self-calibrating.
so it does not need to
be manually set. However, when your vehicle is new,
the compass may function erratically. If it does,
CAL
(Calibration) will appear on the display. To correct the
problem, drive
in a complete 360" circle three times,
and the compass will function normally.
2-53