CHEVROLET BLAZER 1997 2.G Owners Manual
Manufacturer: CHEVROLET, Model Year: 1997, Model line: BLAZER, Model: CHEVROLET BLAZER 1997 2.GPages: 402, PDF Size: 21.93 MB
Page 111 of 402

Downloaded from www.Manualslib.com manuals search engine Variance is the difference between magnetic north and
geographic north.
In some areas, the difference between
the
two can be great enough to cause false compass
readings. If
this happens, follow these instructions to set
the variance for your particular location:
1. Find your location on the zone map. Note your
zone number.
2. Press and hold both the ON/OFF and the USMET
switches. The display will go off.
3. After five seconds, VAR CAL will appear on the
display. When it does, release both buttons.
4. Press USMET until your zone number appears on
the display.
5. Press ON/OFF to enter your zone number. Your
variance
is now set.
Driver Information System
(If
Equipped)
This system displays the outside air temperature,
compass direction and trip information
in the
overhead console.
The
USMET (United Statedmetric) button allows you to
switch the display between the English and metric system.
The
MODE button can be used to toggle between three
modes of operation:
OFF? COMPEEMP and TRIP.
OFF: This turns the system off.
COMP/TEMP: The display provides the outside
temperature and one
of eight compass readings to
indicate the direction the vehicle is facing.
2-54
Page 112 of 402
Downloaded from www.Manualslib.com manuals search engine The compass is self-calibrating, so it does not need
to be manually set. However, if C (Calibration) is
displayed, the compass will need to be calibrated.
You may also place the compass in a noncalibrated
mode by pressing and holding the MODE and USMET
buttons simultaneously while in the COMP/TEMP
mode. After about
10 seconds, the compass will display
C and you can release the buttons. Drive the vehicle
in
a complete 360" circle three times at a speed of less
than
5 mph (8 km/h), and the compass will function
normally. Once the calibration is complete, the display
will return to a compass reading.
Variance is the difference between magnetic north and
geographic north.
In some areas, the difference between
the two can be great enough to cause false compass
readings.
If this happens, follow these instructions to
set the variance for your particular location:
1.
2.
3.
4.
Find your location on the zone map earlier in this
section. Note your zone number.
Press and hold both the
MODE and the US/MET
buttons
in the COMPREMP mode.
After five seconds, the compass will acknowledge
the variation mode by displaying the current zone
number. When
it does, release both buttons.
Press USMET until your zone number appears
on the display.
5. Press MODE to enter your zone number. Your
variance is now set and the display
will return to
the COMP/TEMP mode.
TRIP: Once in the TRIP mode, pressing the
MODE button will step
you through the following
TRIP functions:
AVG ECON: The average fuel economy since the
INST ECON: Instantaneous fuel economy for the
last
reset is displayed.
last second of driving is displayed.
RANGE: The display indicates the estimated
distance that can be travelled
with the remaining
fuel in the tank, based on the fuel economy for the
last few hours
of driving.
FUEL USED: The fuel used since the last reset
is displayed.
AVG SPEED: The average speed since the last
To reset the trip computer, press the
MODE and
USMET buttons simultaneously for
at least two
seconds. All functions
will be displayed for half a
second once the system is reset. Reset can only be
performed
in the AVG ECON, FUEL USED and
AVG SPEED modes. All three modes are reset
simultaneously. reset
is displayed.
2-55
Page 113 of 402
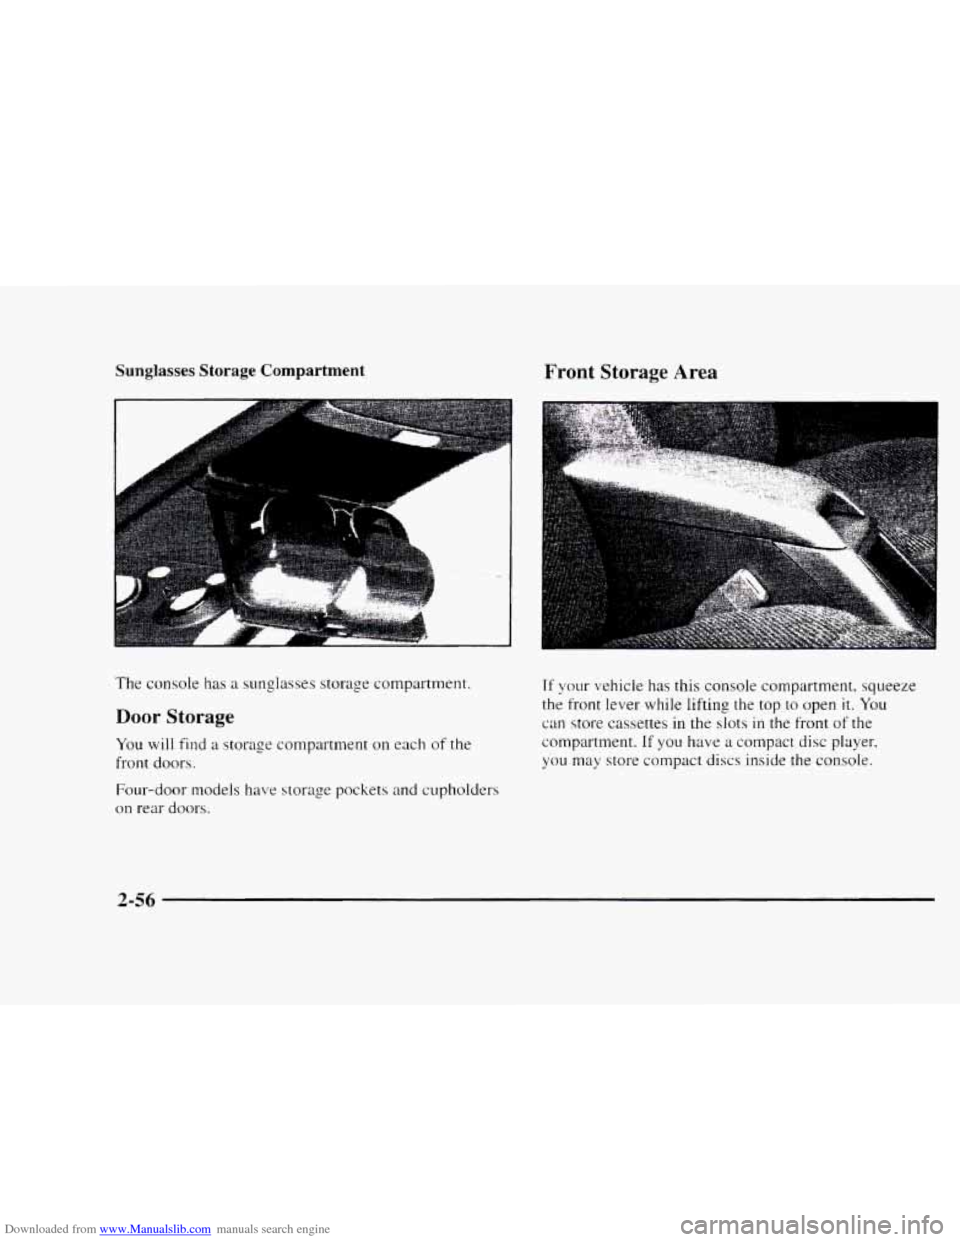
Downloaded from www.Manualslib.com manuals search engine Sunglasses Storage Compartment
The console has a sunglasses storage compartment.
Door Storage
You will find a storage compartment on each of the
front doors.
Four-door models have storage pockets and cupholders
on
rear doors.
Front Storage Area
.. ..
56:
Tf your vehicle has this console compartment, squeeze
the
front lever while lifting the top to open it. You
can store cassettes
in the slots in the front of the
compartment.
If you have a compact disc player.
you
may store compact discs inside the console.
2-56
Page 114 of 402
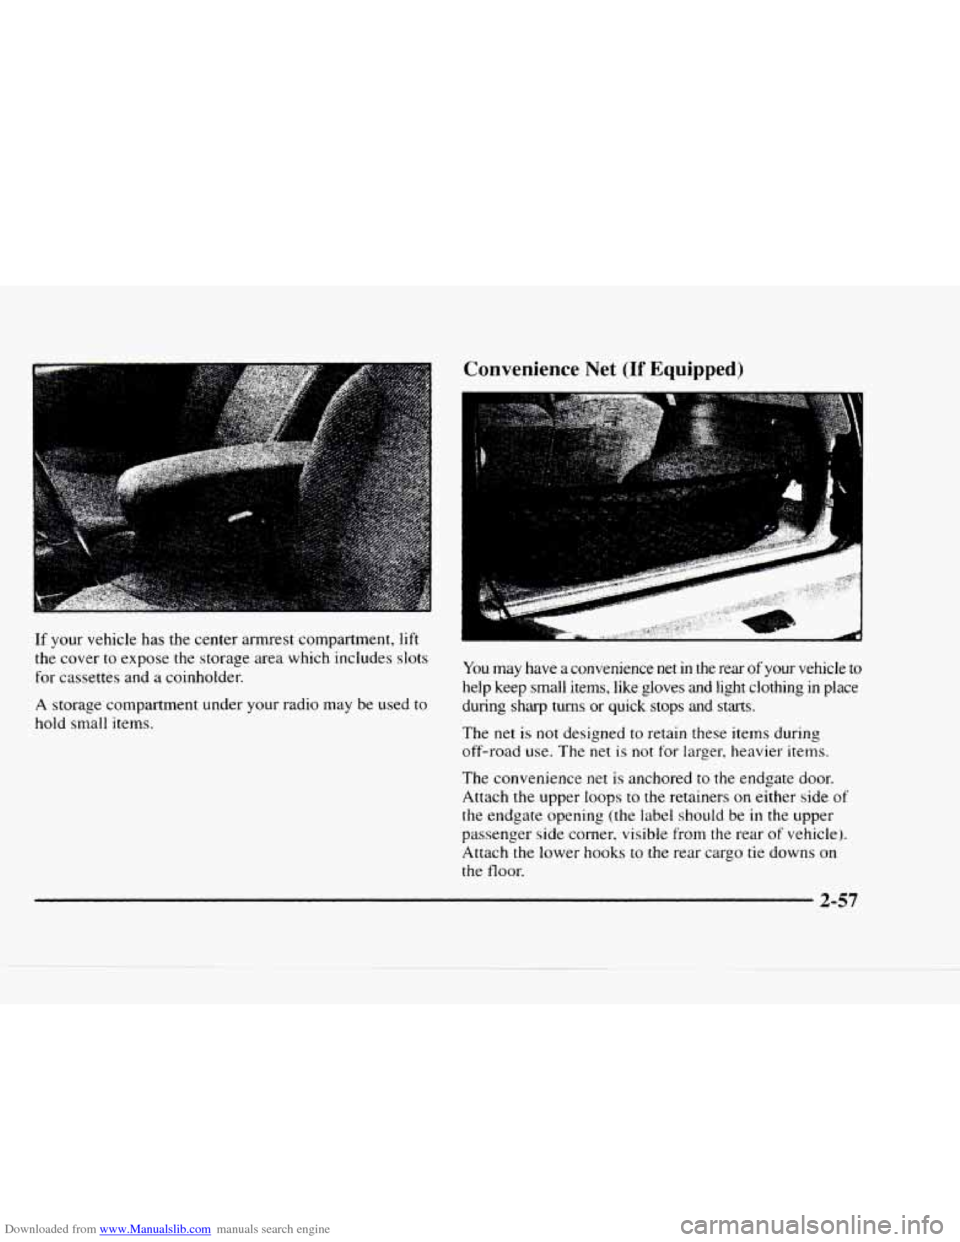
Downloaded from www.Manualslib.com manuals search engine If your vehicle has the center armrest compartment, lift
the cover to expose the storage area which includes slots
for cassettes and
a coinholder.
A storage compartment under your radio may be used to
hold small items.
Convenience Net (If Equipped)
You may have a convenience net in the rear of your vehicle to
help keep small items, like gloves and light clothing
in place
during
sharp turns or quick stops and starts.
The net is not designed to retain these items during
off-road use. The net
is not for larger, heavier items.
The convenience net is anchored
to the endgate door.
Attach
the upper loops to the retainers on either side of
the endgate opening (the label should be in the upper
passenger side corner, visible from the rear
of vehicle).
Attach
the lower hooks to the rear cargo tie downs on
the floor.
Page 115 of 402
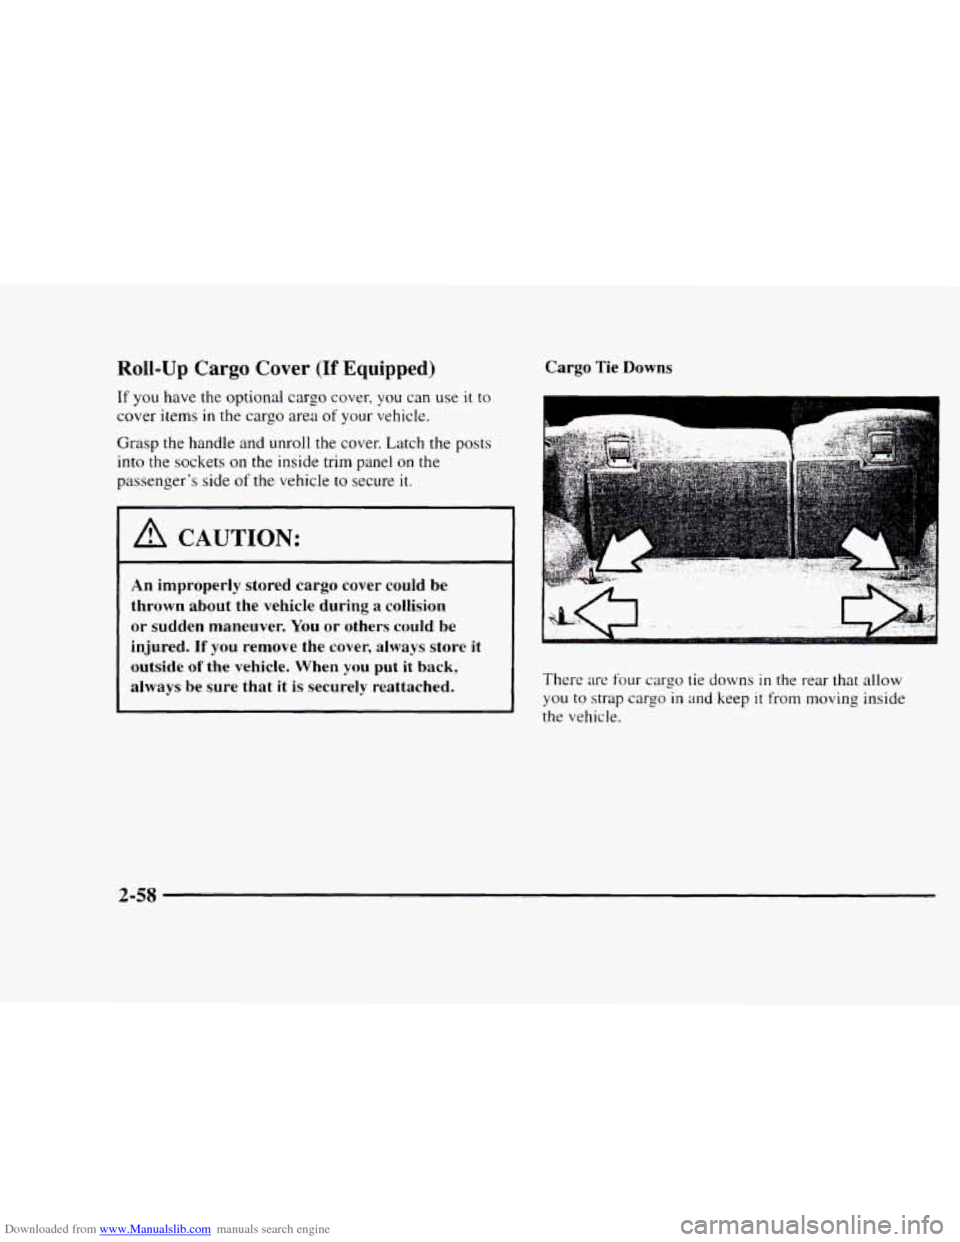
Downloaded from www.Manualslib.com manuals search engine Roll-Up Cargo Cover (If Equipped)
If you have the optional cargo cover, you can use it to
cover items in the cargo area of your vehicle.
Grasp the handle and unroll the cover. Latch the posts
into the sockets on the inside trim panel on the
passenger's side
of the vehicle to secure it.
I A CAUTION:
An improperly stored cargo cover could be
thrown about the vehicle during
a collision
or sudden maneuver. You or others could be
injured.
If you remove the cover, always store it
outside of the vehicle. When you put it back,
always be sure that it is securely reattached. Cargo
Tie
Downs
There are four cargo tie downs in the rear that allow
you to strap cargo in and keep it from moving inside
the vehicle.
2-58
Page 116 of 402
Downloaded from www.Manualslib.com manuals search engine Luggage Carrier (If Equipped)
A CAUTION:
If you try to carry something on top of your
vehicle that
is longer or wider than the luggage
carrier
-- like paneling, plywood, a mattress, and
so forth -- the wind can catch it as you drive
along. This can cause you
to lose control. What
you are carrying could be violently torn
off, and
this could cause you or other drivers to have
a
collision, and of course damage your vehicle. You
may be able to carry something like this inside.
But, never carry something longer or wider than
the luggage carrier on top
of your vehicle.
The luggage carrier has slats, side rails and crossrails
attached to the roof to secure cargo.
The moveable tie
downs, attached to the side rails, should
be used to
secure loads
to the luggage carrier.
Use
GM accessory racks that are compatible with your
luggage carrier for transporting sports equipment.
These are available through your
GM dealer.
2-59
Page 117 of 402
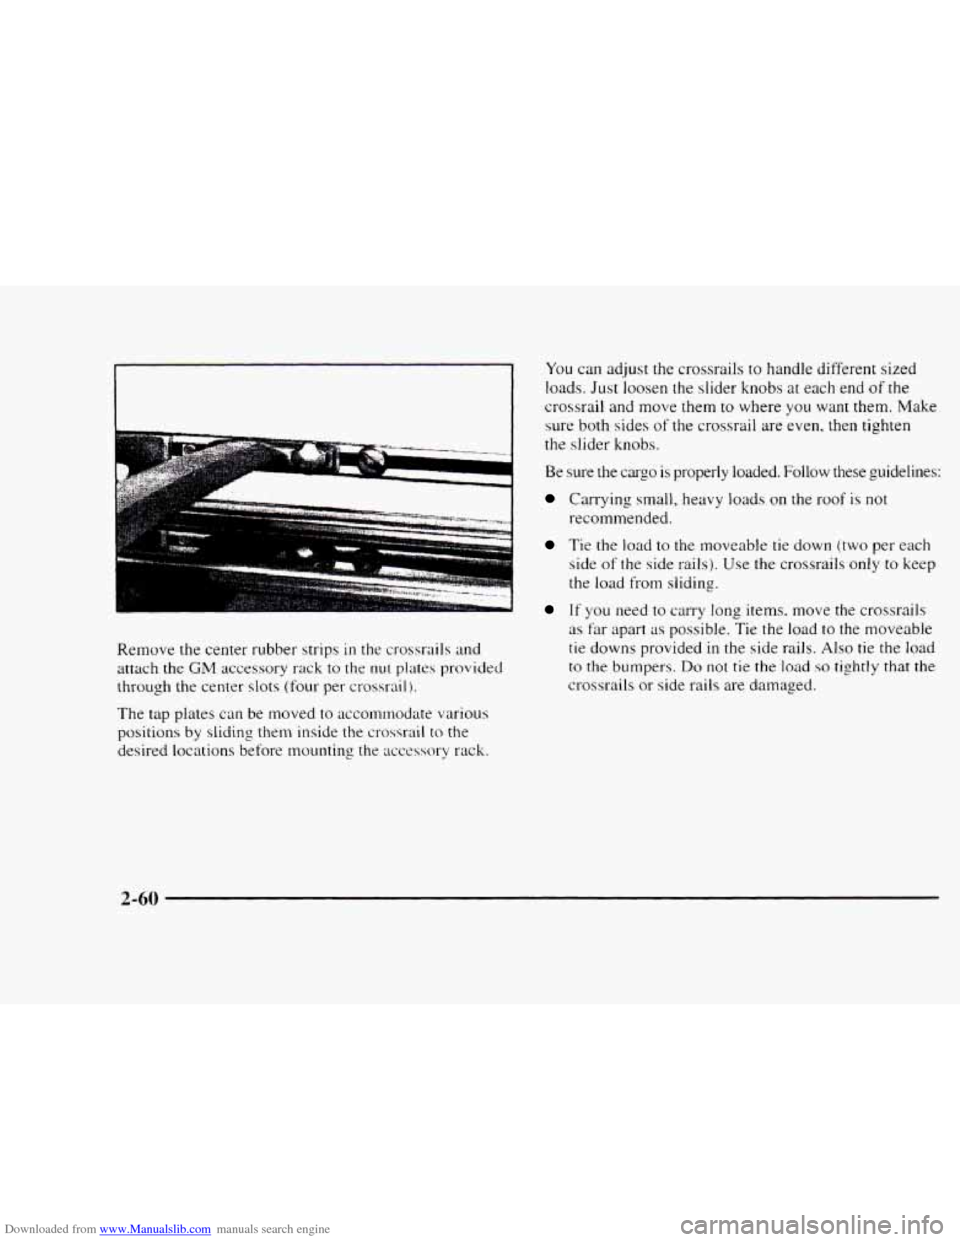
Downloaded from www.Manualslib.com manuals search engine Remove the center rubber strips in the crossrails and
attach the GM accessory rack to the nut plates provided
through the center slots
(four per crossrail ).
The tap plates can be moved to accommodate various
positions
by sliding them inside the crossrail to the
desired locations before mounting the
acccssory rack.
You can adjust the crossrails to handle different sized
loads.
Just loosen the slider knobs at each end of the
crossrail and move them
to where you want them. Make
sure both sides
of the crossrail are even. then tighten
the slider knobs.
Be sure the cargo is properly loaded. Follow these guidelines:
Carrying small, heavy loads on the roof is not
recommended.
Tie the load to the moveable tie down (two per each
side of the side rails). Use the crossrails only
to keep
the
load from sliding.
If you need to carry long items, move the crossrails
as far apart as possible. Tie the load to the moveable
tie downs provided
in the side rails. Also tie the load
to the bumpers. Do not tie the load so tightly that the
crossrails or side rails are damaged.
2-60
Page 118 of 402
Downloaded from www.Manualslib.com manuals search engine NOTICE:
Loading cargo that weighs more than 200 lbs.
(91 kg) on the luggage carrier may damage your
vehicle. When you carry large things, never let
them hang over the rear or the sides
of your
vehicle. Load your cargo
so that it rests on the
slats and does not scratch or damage the vehicle.
Put the cargo against the side rails and fasten it
securely to the luggage carrier. Put the main
weight as far forward as you can.
Don’t exceed the maximum vehicle capacity when
loading your vehicle. For more information
on vehicle
capacity and loading, see “Loading Your Vehicle”
in
the Index.
To prevent damage or loss of cargo as you’re driving,
check now and then
to make sure the luggage carrier and
cargo are still securely fastened.
Ashtrays and Cigarette Lighter
To use the lighter, press it in all the way, and let go.
When it’s ready, it will pop back by itself.
NOTICE:
~~~ -~ - ~
Don’t hold a cigarette lighter in with your hand
while it
is heating. If you do, it won’t be able to
back away from the heating element when it’s
ready. That can make it overload, damaging the
lighter and the heating element.
The front ashtray must be completely pulled out to the
open position before the ashtray cover opens and
smoking material can be deposited.
2-6 1
Page 119 of 402
Downloaded from www.Manualslib.com manuals search engine NOTICE:
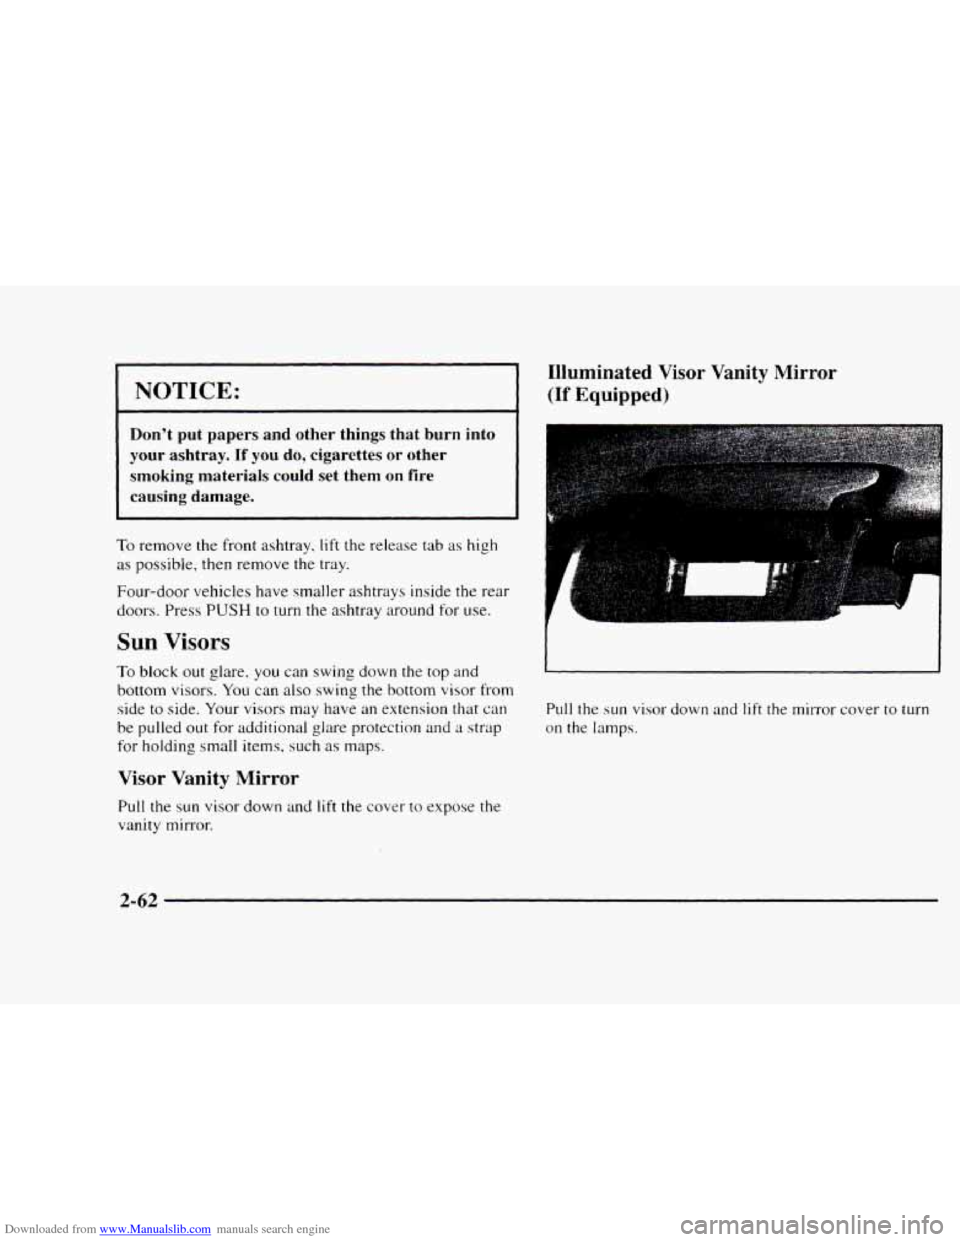
Illuminated Visor Vanity Mirror
(If Equipped)
Don’t put papers and other things that burn into
your ashtray.
If you do, cigarettes or other
smoking materials could set them
on fire
causing damage.
To remove the front ashtray, lift the release tab as high
as possible, then remove the tray.
Four-door vehicles have smaller ashtrays inside the rear
doors. Press
PUSH to turn the ashtray around for use.
Sun Visors
To block out glare. you can swing down the top and
bottom visors. You can also swing the bottom visor from
side
to side. Your visors may have an extension that can
be pulled
out for additional glare protection and a strap
for holding small items, such as maps.
Visor Vanity Mirror
Pull the sun visor down and lift the cover to expose the
vanity mirror.
V
Pull the sun visor down and lift the mirror cover to turn
on the lamps.
2-62
Page 120 of 402
Downloaded from www.Manualslib.com manuals search engine Accessory Power Outlets (If Equipped)
If you have accessory power outlets, you can plug in
auxiliary electrical equipment. The accessory power
outlets are located below the cigarette lighter. Just pull
down from the top of the door and follow
the proper
installation instructions that are included with any
electrical equipment you install.
These circuits are protected
by a fuse and have
maximum current levels.
I NOTICE:
When using the accessory power outlets, maximum
electrical load must not exceed
25 amps. Always
turn
off any electrical equipment when not in use.
Leaving electrical equipment on for extended
periods
will drain your battery.
Sunroof (If Equipped)
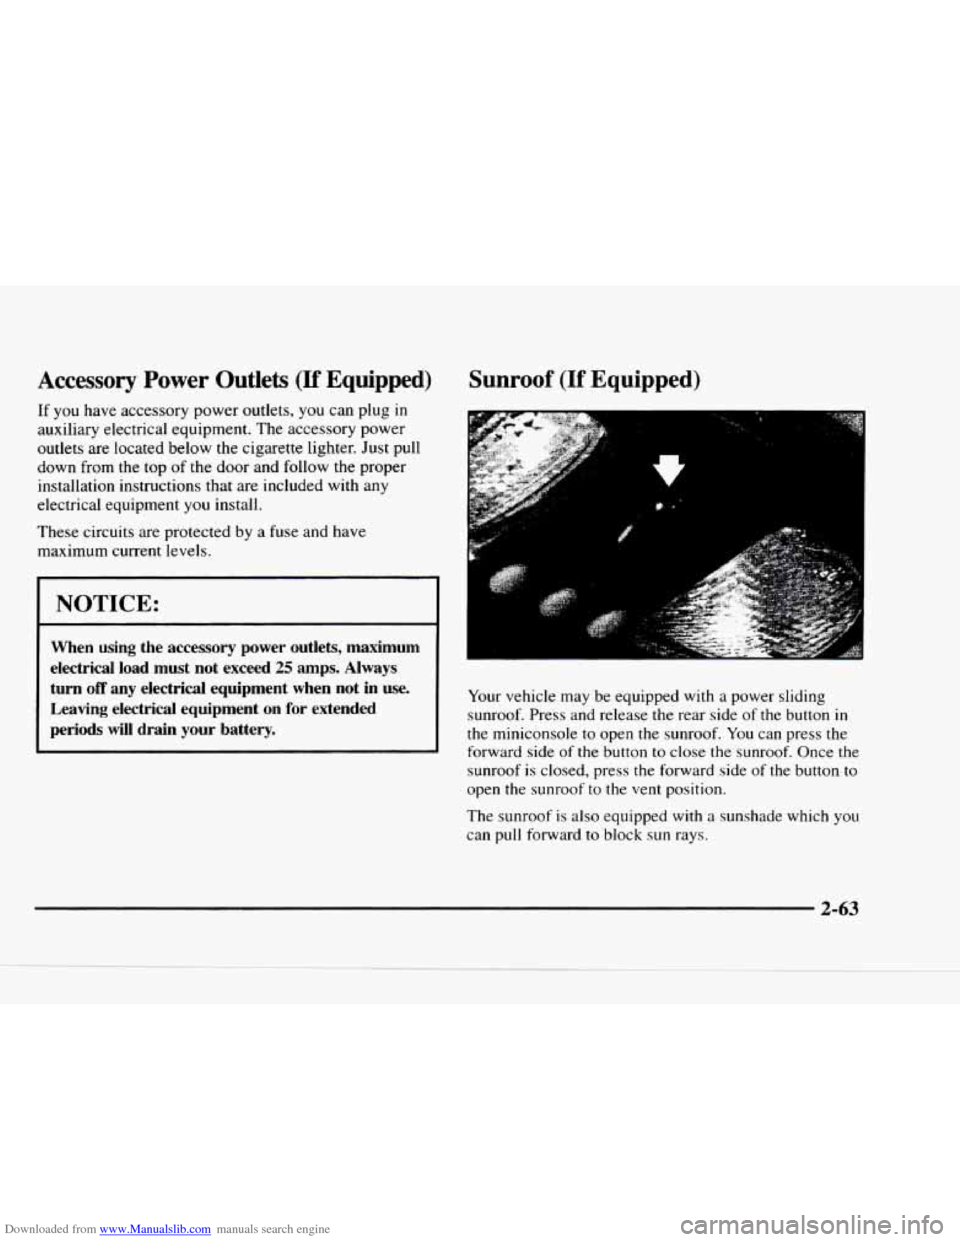
Your vehicle may be equipped with a power sliding
sunroof. Press and release the rear side of the button
in
the miniconsole to open the sunroof. You can press the
forward side
of the button to close the sunroof. Once the
sunroof
is closed, press the forward side of the button to
open the sunroof to the vent position.
The sunroof
is also equipped with a sunshade which you
can
pull forward to block sun rays.
2-63