wheel CHEVROLET BLAZER 1998 2.G User Guide
[x] Cancel search | Manufacturer: CHEVROLET, Model Year: 1998, Model line: BLAZER, Model: CHEVROLET BLAZER 1998 2.GPages: 416, PDF Size: 22.4 MB
Page 92 of 416
Downloaded from www.Manualslib.com manuals search engine How long should you keep the coolant heater plugged
in? The answer depends on the outside temperature, the
kind
of oil you have, and some other things. Instead of
trying to list everything here,
we ask that you contact
your dealer in the area where you’ll be parking your
vehicle. The dealer can give you the best advice for that
particular area.
Automatic Transmission Operation
Your automatic transmission may have a shift lever
located on the console between the seats
or on the
steering column.
There
are several different positions for your shift lever.
If your vehicle is equipped with a column shift lever, it
features an electronic shift position indicator within the
instrument cluster. This display must be powered
anytime the shift lever is capable
of being moved out of
PARK (P). This means that if your key is in OFF, but
not locked, there will be
a small current drain on your
battery which could discharge your battery over a period
of time. If you need to leave your key in the ignition in
OFF for an extended period, it is recommended that you
disconnect the battery cable from the battery to prevent
discharging your battery. PARK
(P): This
locks your rear wheels. It’s the best
position to use when you start your engine because your
vehicle can’t move easily.
It is dangerous to get out of your vehicle if the
shift lever is
not fully in PARK (P) with the
parking brake firmly set. Your vehicle can roll.
Don’t leave your vehicle when the engine is
running unless you have to. If you have left the
engine running, the vehicle can move suddenly.
You
or others could be injured. To be sure your
vehicle won’t move, even when you’re on
fairly
level ground, always set your parking brake and
move the shift lever to PARK
(P).
See “Shifting Into PARK (P)” in the Index. If
you’re pulling a trailer, see “Towing a nailer’’ in
the Index.
2-18
Page 93 of 416
Downloaded from www.Manualslib.com manuals search engine Ensure the shift lever is fully in PARK (P) range
before starting the engine. Your vehicle has
a
Brake-Transmission Shift Interlock (BTSI). You have to
fully apply your regular brakes before you
can shift
from PARK
(P) when the ignition key is in RUN. If you
cannot shift out of PARK (P), ease pressure on the shift
lever
-- push the shift lever all the way into PARK (P)
(press the button in on the console shift lever) as you
maintain brake application. Then move the shift lever
into the gear
you wish. See “Shifting Out of PARK (P)”
in the Index.
REVERSE (R): Use this gear to back up.
NOTICE:
Shifting to REVERSE (R) while your vehicle
is moving forward could damage your
transmission. Shift
to REVERSE (R) only after
your vehicle is stopped.
To rock your vehicle back and forth to get out
of snow,
ice or sand without damaging your transmission, see
“Stuck: In Sand,
Mud, Ice or Snow” in the Index. NEUTRAL
(N): In this position,
your engine doesn’t
connect with the wheels.
To restart when you’re already
moving, use NEUTRAL
(N) only.
Shifting out of PARK
(P) or NEUTRAL (N) while
your engine is “racing” (running at high speed) is
dangerous. Unless your foot
is firmly on the
brake pedal, your vehicle could move very
rapidly. You could lose control and hit people or
objects. Don’t shift out of PARK
(P) or
NEUTRAL
(N) while your engine is racing.
NOTICE:
Damage to your transmission caused by shifting
out of PARK
(P) or NEUTRAL (N) with the
engine racing isn’t covered by your warranty.
2-19
Page 94 of 416
Downloaded from www.Manualslib.com manuals search engine DRIVE (D): This position is for normal driving. If you
need more power for passing, and you’re:
@ Going less than about 35 mph (55 km/h), push your
Going about 35 mph (55 km/h) or more, push the
accelerator
pedal about halfway down.
accelerator all the way down.
You’ll shift down to the next gear and have more power.
DRTVE @) should not be used when towing a trailer,
carrying a heavy load, driving on steep hills, or for
off-road driving. Select
THIRD (3) when operating the
vehicle under
any of these conditions.
THIRD (3): This position is also used for normal
driving, however it offers more power and lower fuel
economy than DRIVE (D). You should use THIRD
(3)
when towing a trailer, carrying a heavy load, driving on
steep hills or winding roads or for off-road driving.
SECOND (2): This position gives you more power but
lower fuel economy
than THIRD (3). You can use
SECOND
(2) on hills. It can help control your speed as
you go down steep mountain roads, but then you would
also want to
use your brakes off and on.
You
can alS0 use SECOND (2) for starting your vehicle
from a stop on slippery road surfaces.
FIRST (1): This position gives you even more power
(but lower fuel economy) than SECOND
(2). You can
use it on very steep hills, or in deep snow or mud. If the
selector lever is put in FIRST
(1) while the vehicle is
moving forward, the transmission won’t shift into
FIRST
(1) until the vehicle is going slowly enough.
NOTICE:
If your rear wheels can’t rotate, don’t try to
drive. This might happen if you were stuck in
very deep sand or
mud or were up against a solid
object.
You could damage your transmission.
Also, if you stop when going uphill, don’t hold your
vehicle there with only the accelerator
pedal. This
could overheat and damage the transmission. Use
your brakes or shift into PARK (P) to hold your
vehicle in position on
a hill.
2-20
Page 96 of 416
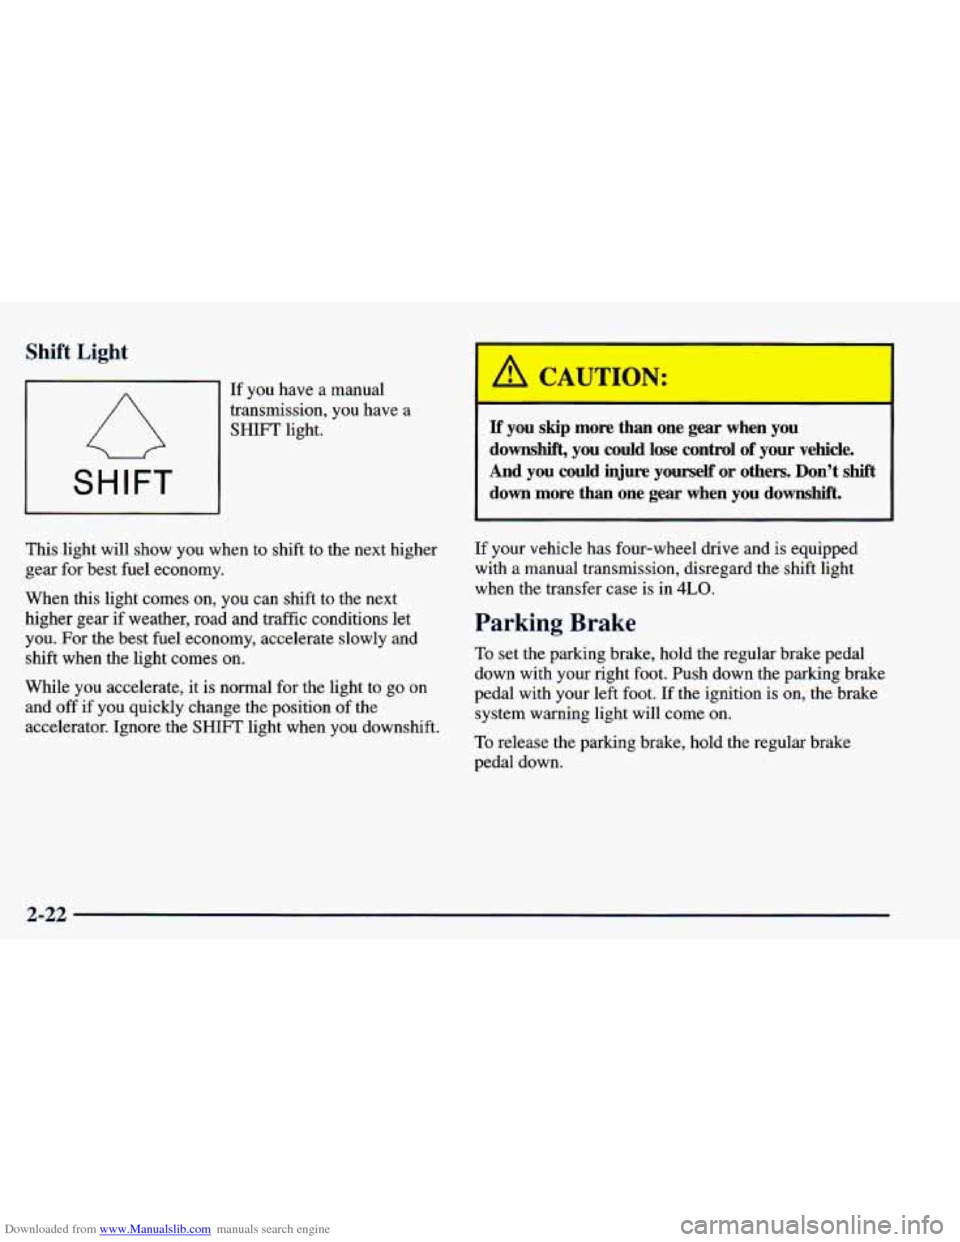
Downloaded from www.Manualslib.com manuals search engine Shift Light
A
SHIFT
If you have a manual
transmission, you have
a
SHIFT light.
This light will show you when to shift to the next higher
gear for best fuel economy.
When this light comes on, you can shift to the next
higher gear if weather, road and traffic conditions let
you.
For the best fuel economy, accelerate slowly and
shift when
e light comes on.
While you accelerate, it is normal for the light to go
on
and off if you quickly change the position of the
accelerator. Ignore the SHIFT light when you downshift.
I ' A CAUTION: I
If you skip more than one gear when you
downshift, you could lose control
of your vehicle.
And you could injure yourself or others. Don't shift down more than one gear when you downshift.
If your vehicle has four-wheel drive and is equipped
with a manual transmission, disregard the shift light
when the transfer case is in
4LO.
Parking Brake
To set the parking brake, hold the regular brake pedal
down with your right foot. Push down the parking brake
pedal with your left foot.
If the ignition is on, the brake
system warning light will come on.
To release the parking brake, hold the regular brake
pedal down.
2-22
Page 103 of 416
Downloaded from www.Manualslib.com manuals search engine -
- cking Rear Axle (If Equipped)
11 you have this feature, your locking rear axle can give
you additional traction on snow, mud, ice, sand or
gravel. It works like a standard axle most of the time,
but when one of the rear wheels has
no traction and the
other does, this feature will allow the wheel with
traction to move the vehicle.
Four-wheel Drive (If Equipped)
Electronic Transfer Case (If Equipped)
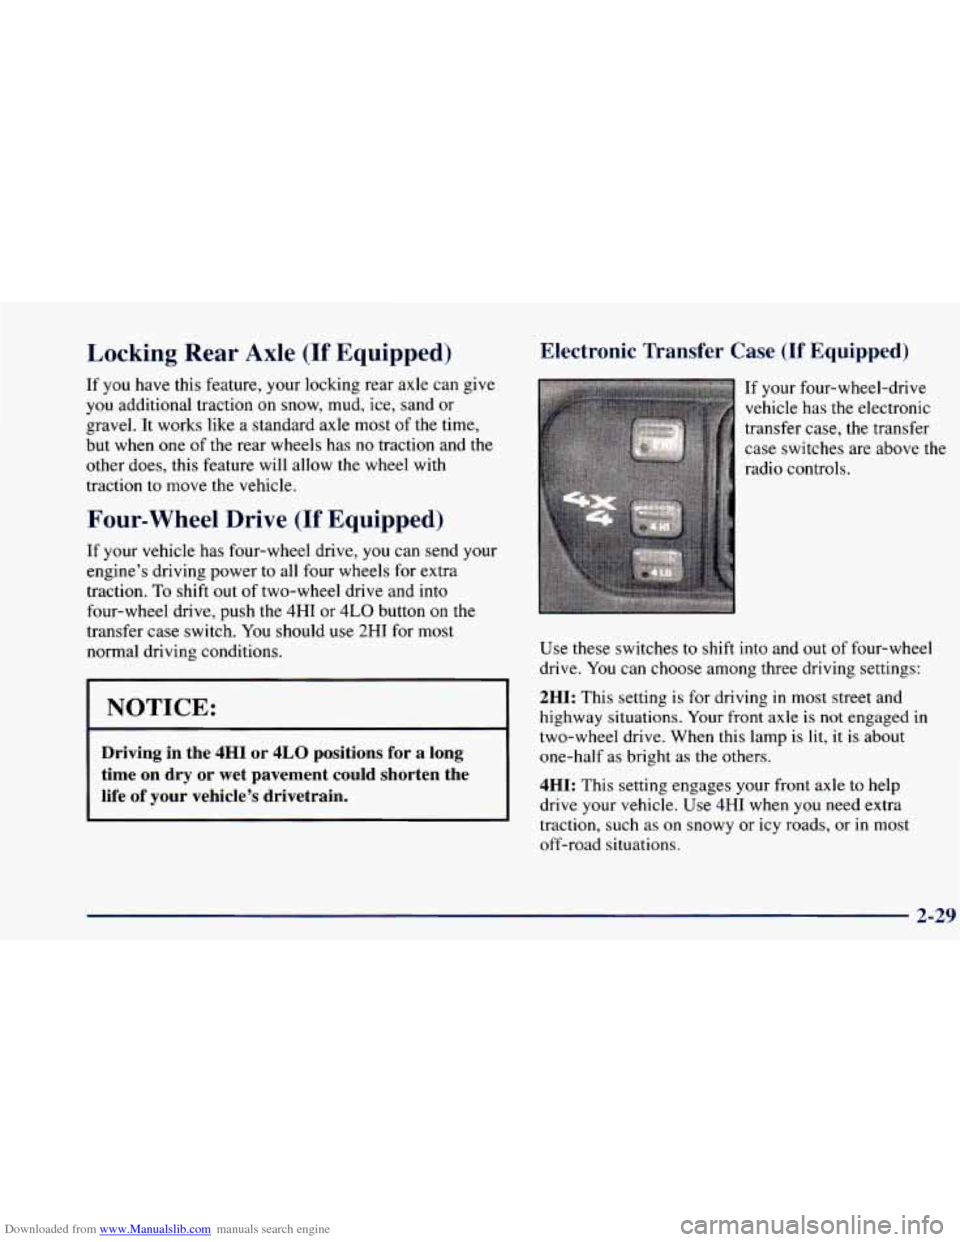
If your four-wheel-drive
vehicle
has the electronic
transfer case,
the transfer
case switches are above the
radio controls.
If your vehicle has four-wheel drive, you can send your
engine’s driving power to all four wheels for extra
traction.
To shift out of two-wheel drive and into
four-wheel drive, push the
4HI or 4LO button on the
transfer case switch. You should
use 2HI for most
normal driving conditions. Use these switches to shift into and out
of four-wheel
drive.
You can choose among three driving settings:
2HI: This setting is for driving in most street and
highway situations. Your front axle
is not engaged in
two-wheel drive. When this lamp is lit, it is about
NOTICE:
Driving in the 4HI or 4LO positions for a long
time on dry or wet pavement could shorten the one-half as bright as the others.
life of your vehicle’s drivetrain. 4HI: This setting engages your front axle to help
drive your vehicle. Use 4HI when you need extra
traction, such
as on snowy or icy roads, or in most
off-road situations.
2-29
Page 104 of 416
Downloaded from www.Manualslib.com manuals search engine 4LO: This setting also engages your front axle to give
you extra traction.
You may never need 4LO. It sends
the maximum power to
all four wheels. You might
choose 4LO if you were driving off-road in sand, mud
or deep snow and climbing or descending steep hills.
Indicator lights in the switches show you which setting
you
are in. The indicator lights will come on briefly when
you
turn on the ignition and one will stay on. If the lights
do not
come on, you should take your vehicle in for
service.
An indicator light will flash while shifting. It will
remain illuminated when the shift is completed.
Shifting from 2HI to 4HI
Press and release the 4HI switch. This can be done at
any speed, and the front axle will lock automatically.
Shifting from 4HI to 2HI
Press and release the 2HI switch. This can be done at
any speed, and the front axle will unlock automatically.
Shifting from 2HI or 4HI to 4LO
To shift from 2HI or 4HI to 4L0, the vehicle must be
stopped or moving less than 3 mph (4.8 kmh) with the
transmission
in NEUTRAL (N) in vehicles equipped with an automatic transmission
or the clutch pedal
engaged in vehicles equipped with
a manual
transmission. The preferred method for shifting into
4LO is to have your vehicle moving
1 to 2 mph
(1.6 to 3.2 km/h). Press and release the 4LO switch.
You must wait for the 4LO indicator light to stop
flashing and remain illuminated before shifting your
transmission into gear or releasing the clutch pedal.
If the 4LO switch is pressed when your vehicle is in
gear
and/or moving, the 4LO indicator light will flash
for 30 seconds and not complete the shift unless your
vehicle is moving slower than 3 mph (4.8
kmh) and
the transmission is in NEUTRAL
(N) or the clutch
pedal engaged.
On automatic transmission equipped vehicles, if your
transfer case does
not shift into 4L0, your transmission
indicator switch may require adjustment. With your
transmission in NEUTRAL
(N), press and release the
4LO switch. While the 4LO indicator light is flashing,
shift your transmission into PARK (P). Wait until the
4LO indicator light remains illuminated before shifting
your transmission into gear. This will get you into 4L0,
but you should take your vehicle in for service to restore
normal operation.
2-30
Page 107 of 416
Downloaded from www.Manualslib.com manuals search engine Swing-Out Windows (2-Door Only)
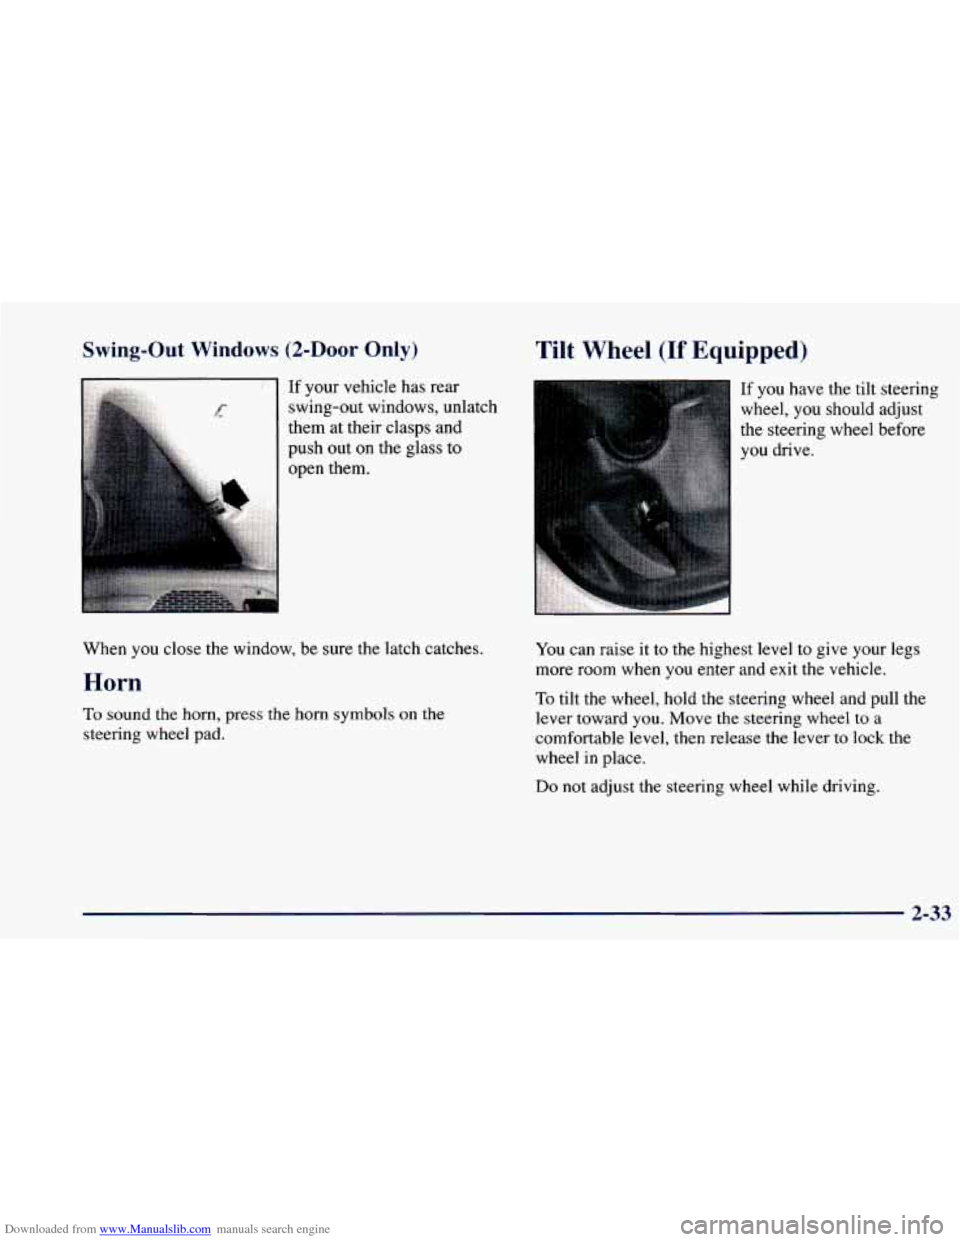
, , . . .. . ... . . . .. ..a&:. If your vehicle has rear
swing-out windows, unlatch
them at their clasps and
push out on the glass to
open them.
Tilt Wheel (If Equipped)
If you have
the tilt steering
wheel, you should adjust
the steering wheel before
you drive.
When you close the window,
be sure the latch catches.
Horn
To sound the horn, press the horn symbols on the
steering wheel pad. You
can raise it to the highest level to give
your legs
more room when
you enter and exit the vehicle.
To tilt the wheel, hold the steering wheel and pull the
lever toward
you. Move the steering wheel to a
comfortable level, then release the lever to lock the
wheel in place.
Do not adjust the steering wheel while driving.
2-33
Page 112 of 416
Downloaded from www.Manualslib.com manuals search engine If you have a manual transmission and you apply your
brakes or push the clutch pedal, the cruise control will
shut off.
CAUTION:
Cruise control can be dangerous where you
can’t drive safely at a steady speed.
So,
don’t use your cruise control on winding
roads or in heavy traffic.
slippery roads. On such roads, fast changes
in tire traction can cause needless wheel
spinning, and you could lose control. Don’t
use cruise control
on slippery roads.
Cruise control can be dangerous on Setting Cruise Control
I CAUTION:
I
If you
leave your cruise control switch on when
you’re not using cruise, you might hit
a button
and
go into cruise when you don’t want to. You
could be startled and even lose control. Keep the
cruise control switch
off until you want to use it.
1. Move the cruise control switch to ON.
2. Get up to the speed you want.
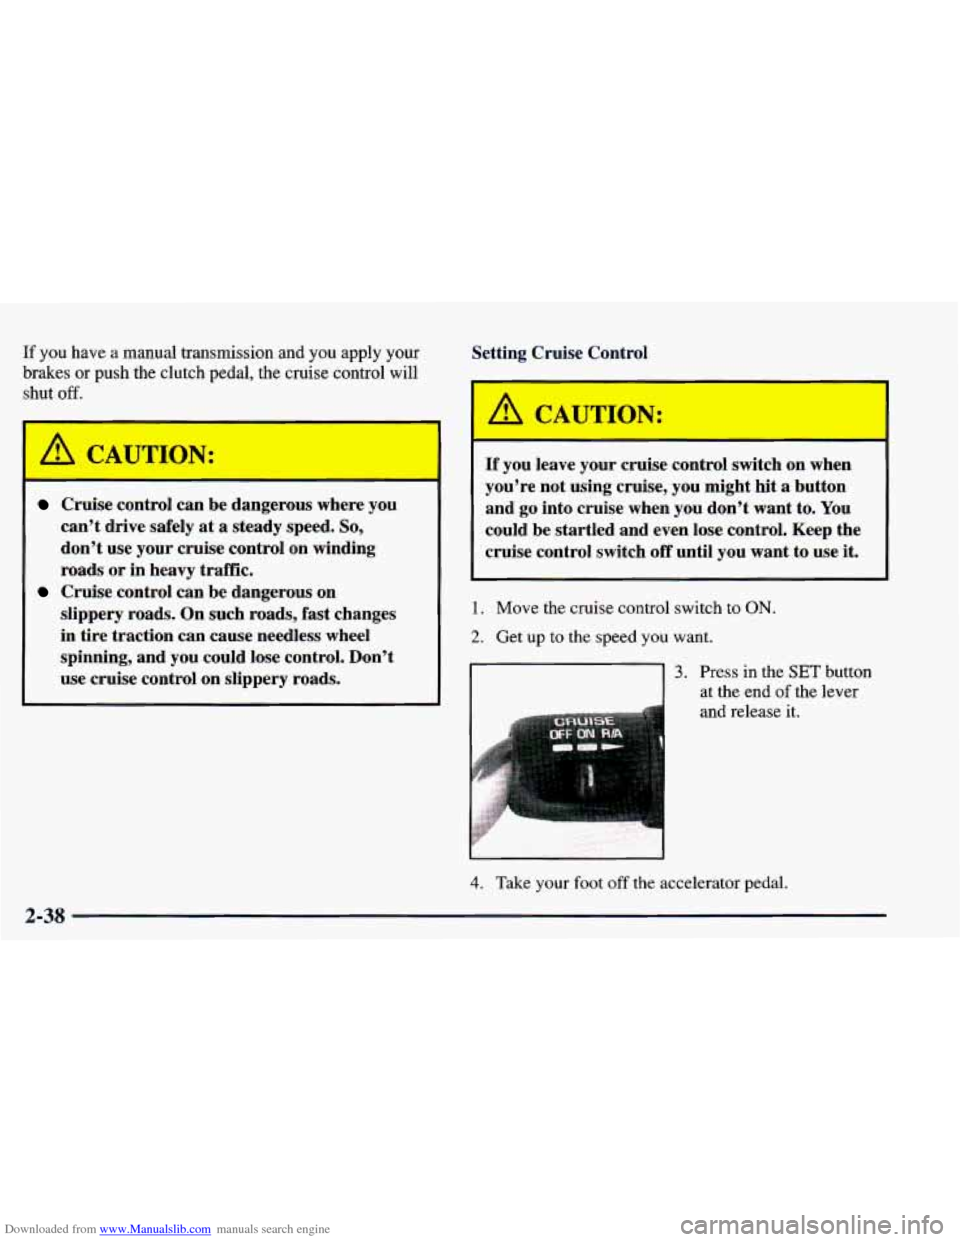
3. Press in the SET button
at the end
of the lever
and release it.
4. Take your foot off the accelerator pedal.
2-38
Page 117 of 416
Downloaded from www.Manualslib.com manuals search engine Interior Lamps
Brightness Control
Turn the switch next to the headlamp switch up to make
your instrument panel lights brighter. Turn the switch
all
the way up to turn on the interior lamps.
Exit Lighting
With exit lighting, the interior lamps will come on when
you remove the key from the ignition to help you see
while exiting the vehicle. These lights will stay on for a
short period of time and then will go out.
Illuminated Entry
Your vehicle is equipped with an illuminated
entry feature.
When the doors are opened, the dome lamps will come
on if the DOME OVERRIDE button is out. When
all the doors are closed, or the front door handles are
lifted and released, the lamps will stay on for a short
period
of time and will then go out. When the
DOME OVERRIDE button is pressed in, the
lamps will go out immediately.
Front Reading Lamps (If Equipped)
Press the button near each lamp on the overhead console
to turn the reading lamps on and
off. The lamps can be
swiveled to point in the desired direction.
If you have the mini-console, press the lens on each
lamp to turn it
on or off.
Front Map Lamps (If Equipped)
If your vehicle has optional front map lamps, they are
located on the inside rearview mirror. They will
automatically come on for approximately
40 seconds when
the doors are unlocked with the keyless entry transmitter (if equipped) or until the ignition key is turned to RUN or\
ACCESSORY. The lamps will
also stay on for
approximately
40 seconds after you exit the vehicle unless
you lock the doors with the keyless entry transmitter.
You can also turn the lamps on and off by pressing the
switch near each lamp.
Dome Lamps
The dome lamps will come on when you open the doors.
You can also turn the dome lamps on by rotating the
thumb wheel, located next to the parking/headlamps
knob, all the way up
to the top detent position. In this
position, the dome lamps will remain on whether the
doors are opened or closed.
2-43
Page 160 of 416
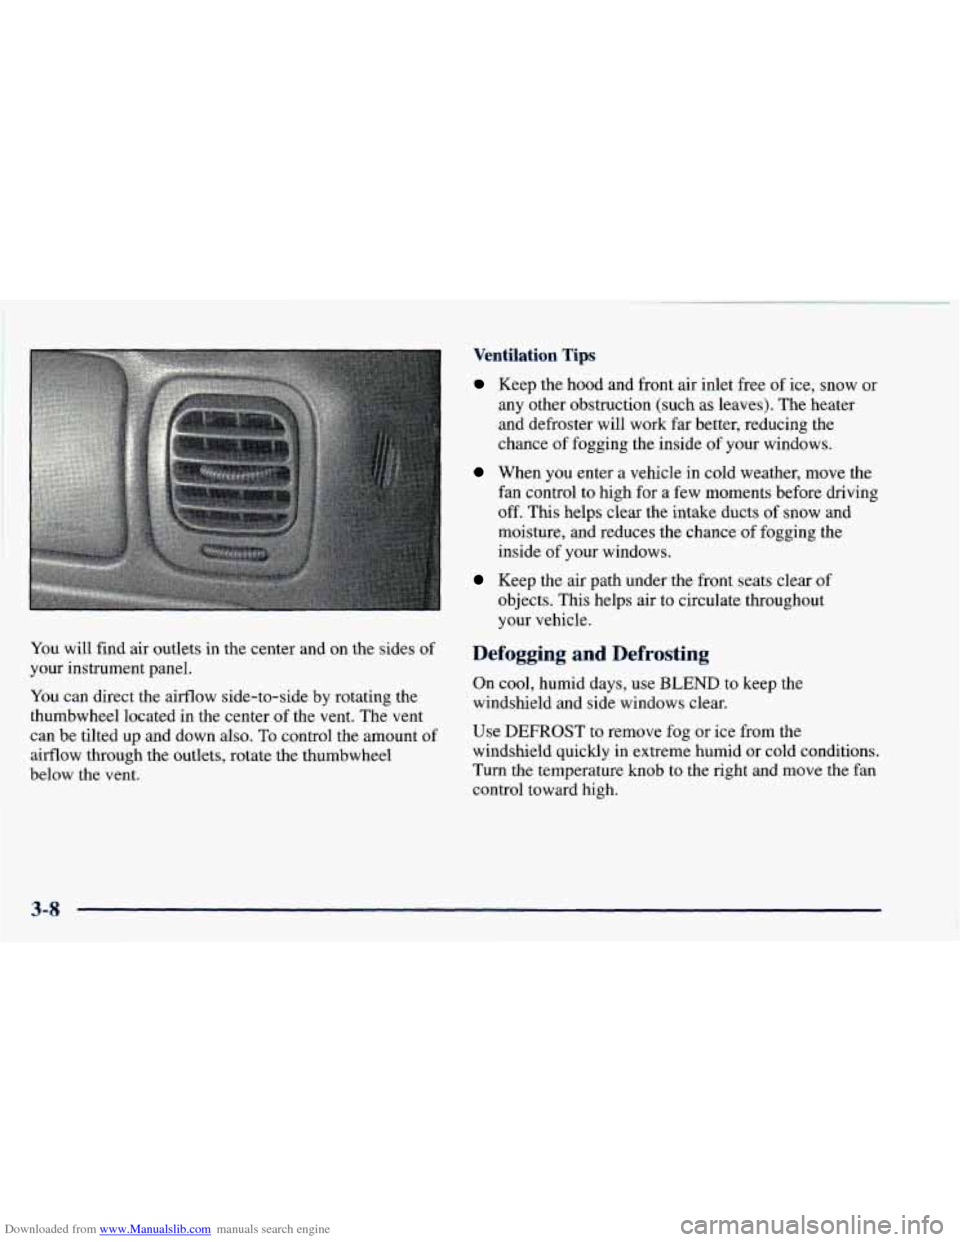
Downloaded from www.Manualslib.com manuals search engine You will find air outlets in the center and on the sides of
your instrument panel.
You can direct the airflow side-to-side by rotating the
thumbwheel located in the center of the vent. The vent
can be tilted
up and down also. To control the amount of
airflow through the outlets, rotate the thumbwheel
below the vent.
Ventilation Tips
Keep the hood and front air inlet free of ice, snow or
any other obstruction (such
as leaves). The heater
and defroster will work far better, reducing the
chance
of fogging the inside of your windows.
When you enter a vehicle in cold weather, move the
fan control to high for
a few moments before driving
off. This helps clear the intake ducts of snow and
moisture, and reduces the chance of fogging the
inside of your windows.
objects. This helps air to circulate throughout
your vehicle.
Keep the air path under the front seats clear of
Defogging and Defrosting
On cool, humid days, use BLEND to keep the
windshield and side windows clear.
Use DEFROST to remove fog or ice from the
windshield quickly in extreme humid or cold conditions.
Turn the temperature knob to the right and move the fan
control toward high.
3-8