radio CHEVROLET CAMARO 1997 4.G User Guide
[x] Cancel search | Manufacturer: CHEVROLET, Model Year: 1997, Model line: CAMARO, Model: CHEVROLET CAMARO 1997 4.GPages: 404, PDF Size: 20.96 MB
Page 149 of 404
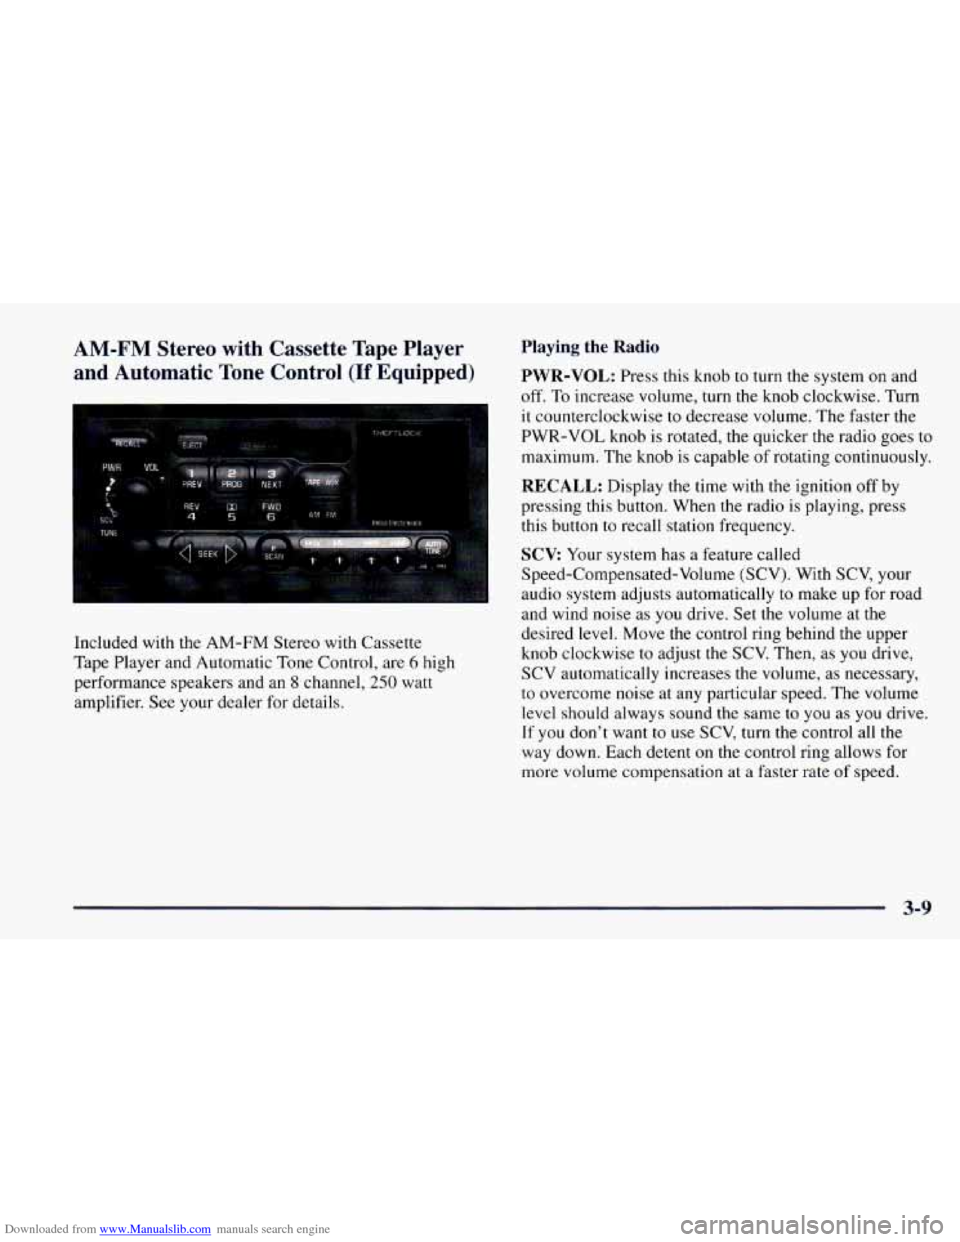
Downloaded from www.Manualslib.com manuals search engine AM-FM Stereo with Cassette Tape Player
and Automatic Tone Control
(If Equipped)
Included with the AM-FM Stereo with Cassette
Tape Player and Automatic
Tone Control, are 6 high
performance speakers and an
8 channel, 250 watt
amplifier. See your dealer for details.
Playing the Radio
PWR-VOL: Press this knob to turn the system on and
off. To increase volume, turn the knob clockwise. Turn
it counterclockwise to decrease volume. The faster the
PWR-VOL knob is rotated, the quicker the radio goes
to
maximum. The knob is capable of rotating continuously.
RECALL: Display the time with the ignition off by
pressing this button. When the radio is playing, press
this button to recall station frequency.
SCV Your system has a feature called
Speed-Compensated-Volume (SCV). With SCV, your
audio system adjusts automatically to make up for road
and wind noise
as you drive. Set the volume at the
desired level. Move the control ring behind the upper
knob clockwise to adjust the SCV. Then, as
you drive,
SCV automatically increases the volume,
as necessary,
to overcome noise at any particular speed. The volume
level should always sound the same
to you as you drive.
If you don’t want
to use SCV, turn the control all the
way down. Each detent on the control ring allows for
more volume compensation at a faster rate of speed.
3-9
Page 150 of 404
Downloaded from www.Manualslib.com manuals search engine Finding a Station AM-FM:
Press this button to switch between AM, FMl
and FM2. The display shows your selection.
TUNE: Press this knob lightly so it extends. Turn it to
choose radio stations. Push the knob back into its stored
position when you’re not using it.
SEEK: Press the right or left arrow to go to the
next higher or lower station. The sound will mute
while seeking.
SCAN: Press and hold SEEK for two seconds until
SCAN appears on the display. SCAN allows you to
listen to each station for a few seconds. The radio will
go to
a station, stop for a few seconds, then go on to the
next station. Press
SEEK again to stop scanning. The
sound will mute while scanning.
PUSHBUTTONS: The six numbered pushbuttons let
you return to your favorite stations. You can set up to
18 stations (six AM, six FM 1 and six FM2). Just:
1. Press AM-FM to select the band.
2. Tune in the desired station.
3. Press AUTO TONE to select the equalization that
best suits the type
of station selected.
4.
5.
Press and hold one of the six numbered buttons. The
sound will mute. When it returns, release the button.
Whenever you press that numbered button, the
station
you set will return and the AUTO TONE
equalization that you selected will also be
automatically selected for that button.
Repeat the steps for each pushbutton.
P.SCAN: Press this button to listen to each of your
favorite stations stored on your pushbuttons for a few
seconds. The radio will scan through each of the stations
stored
on your pushbuttons, except those stations with
weak reception. The AUTO TONE setting stored for
that pushbutton will be automatically chosen. Press
P.SCAN or
one of the pushbuttons again to stop
scanning. P.SCAN will be displayed whenever the tuner
is in the P.SCAN mode. The channel number (Pl-P6)
will appear momentarily just before the frequency is
displayed. In FM mode, this function will scan through
both FM 1 and FM2 preset stations and FM 1 or FM2
will appear
on the display.
3-10
Page 151 of 404
Downloaded from www.Manualslib.com manuals search engine Setting the Tone Adjusting the Speakers
BASS: Press this knob lightly so it extends. Turn the
knob clockwise to increase bass and counterclockwise to
decrease bass. When you use this control, the radio’s
AUTO TONE setting will switch to manual.
TREB: Press this knob lightly so it extends. Turn the
knob clockwise to increase treble and counterclockwise
to decrease treble. When you use this control, the radio’s
AUTO TONE setting will switch to manual.
If a station
is weak or noisy, you may want to decrease the treble.
Push these knobs back into their stored positions when
you’re not using them.
AUTO TONE: This feature allows you to choose
preset bass and treble equalization settings designed for
classical, news, rock, pop, country/western and jazz
stations.
C/W will appear on the display when you first
press AUTO TONE. Each time you press it, another
setting will appear on the display. Press it again after
JAZZ appears and the AUTO TONE display will go
blank. Tone control will return to the BASS and
TREB
knobs. Also, if you use the BASS and TREB knobs,
control will return to them and the AUTO TONE
display will go blank.
BAL: Press this knob lightly so it extends.
Turn the knob clockwise for the right speakers and
counterclockwise for the left speakers. The middle
position balances the sound between the speakers.
FADE: Press this knob lightly so it extends. Turn the
knob clockwise to adjust the sound to the front speakers
and counterclockwise for the rear speakers. The middle
position balances the sound between the speakers.
Push these knobs back into their stored positions when
you’re not using them.
Playing a Cassette Tape
Your tape player is built to work best with tapes that are
30
to 45 minutes long on each side. Tapes longer than
that are
so thin they may not work well in this player. If
a tape is inserted when the ignition is on but the radio is
off, the tape will begin playing. A tape symbol is shown
in the center of the graphic display whenever a tape is
inserted. When a tape is active, the tape symbol will be
accompanied by a direction arrow.
3-11
Page 152 of 404
Downloaded from www.Manualslib.com manuals search engine NEXT (3): Press this button or the SEEK right arrow
to search for the next selection on the tape. If you hold
the button or press it more than once, the player will
continue moving forward through the tape. Your tape
must have at least three seconds of silence between
each selection
for NEXT or SEEK to work. The tape
direction arrow blinks during NEXT w SEEK operation.
The sound will mute during mXT or SEEK operatioir,
Press this button or one of the SEEK arrows again to
return to normal play.
REV (4): Press this button to reverse the tape rapidly.
Press
it again to return to playing speed. The radio will
play the last-selected station while the tape reverses.
CRI (5): Press this button to reduce background noise.
Note
that the double-D symbol will appea on the display.
Dolby@ Noise Reduction is manufactured under a
license from Dolby Laboratories Licensing Corporation.
Dolby and
the double-D symbol are trademarks of
Dolby Laboratories Licensing Corporation.
FWD (6): Press this button to advance quickly to
another
part of the tape. Press the button again to return
to playing speed. The radio will play the last-selected
station
while the tape advances.
3-12
Page 153 of 404
Downloaded from www.Manualslib.com manuals search engine AM-FM: Press this button to play me radio when a tape
is in the player.
TAPE AUX: Press this button to change to the tape
function when the radio
is on. The tape symbol with an
arrow will appear
on the display when the tape is active.
If your system is equipped with a remote playback
device, pressing this button a second time will allow the
remote device
to play.
EJECT: Press this button to remove the tape. The
radio will play. EJECT may be activated with either the
ignition or radio off. Cassettes may be loaded with the
radio
off if this button is pressed first.
CLN: If this message appears on the display, the
cassette tape player needs to be cleaned. It will still play
tapes, but you should clean it as soon
as possible to
prevent damage to the tapes and player. See “Care of
Your Cassette Tape Player” in the Index. After
you clean
the player, press and hold EJECT for five seconds
to
reset the CLN indicator. The radio will display --- to
show the indicator was reset.
CD Adapter Kits
It is possible to use a CD adapter kit with your cassette
tape player after activating
the bypass feature on your
tape player. To
activate the bypass feature, the ignition must be
on.
Turn your radio off. Press TAPE AUX and hold for three
seconds. After three seconds, the tape symbol on the
display will flash for two seconds indicating the feature is
active.
Turn the radio on and insert the adapter.
This override feature will remain active until EJECT
is pressed.
Trunk Mounted CD Changer
With the optional compact disc changer, you can play up
to 12 discs continuously. Normal size discs may be
played using the trays supplied
in the magazine. The
small discs
(8 cm) can be played only with specially
designed trays.
NOTICE:
Objects in the trunk which may shift or slide
during driving could damage your
CD changer.
Protect your
CD changer by using the
convenience net whenever possible. Place large
objects in the trunk appropriately
so that they
will not come into contact with the
CD changer.
3-13
Page 154 of 404
Downloaded from www.Manualslib.com manuals search engine 'I
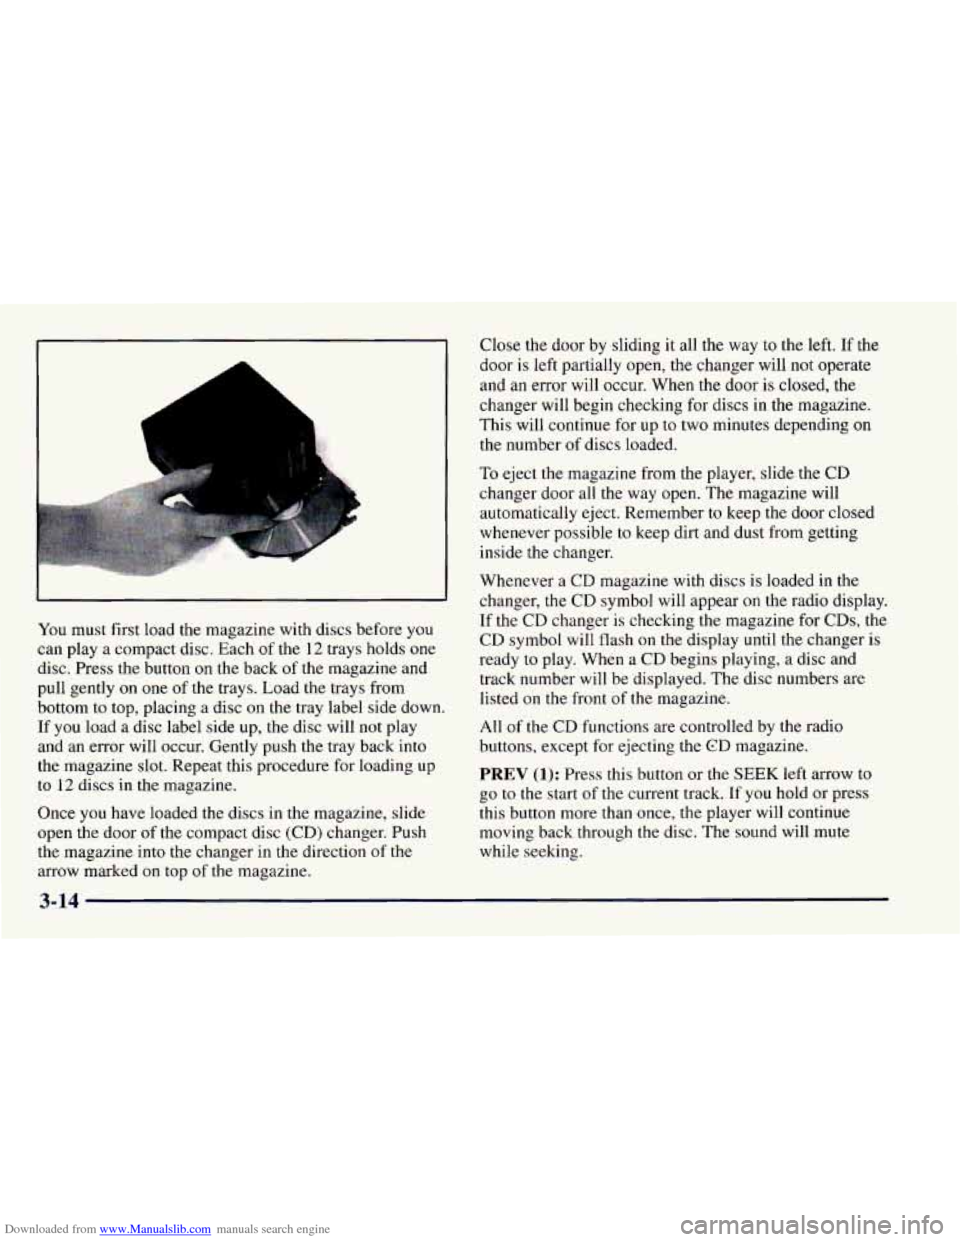
You must first load the magazine with discs before you
can play a compact disc. Each of the 12 trays holds one
disc. Press the button on the back of the magazine and
pull gently on one of the trays. Load the trays from
bottom to top, placing a disc on the tray label side down.
If you load a disc label side up, the disc will not play
and an error will occur. Gently push the tray back into
the magazine
slot. Repeat this procedure for loading up
to
12 discs in the magazine.
Once you have loaded the discs in the magazine, slide
open the door of the compact disc (CD) changer. Push
the magazine into the changer in the direction
of the
arrow marked
on top of the magazine. Close the door
by sliding it all the way
to the left. If the
door is
left partially open, the changer will not operate
and
an error will occur. When the door is closed, the
changer will begin checking for discs in the magazine.
This will continue for up
to two minutes depending on
the number of discs loaded.
To eject the magazine from the player, slide the CD
changer door all the way open. The magazine will
automatically eject. Remember to keep the door closed
whenever possible to keep dirt and dust from getting
inside
the changer.
Whenever a CD magazine with discs is loaded in the
changer, the CD symbol will appear
on the radio display.
If the CD changer
is checking the magazine for CDs, the
CD symbol will flash
on the display until the changer is
ready
to play. When a CD begins playing, a disc and
track number will be displayed.
The disc numbers are
listed on the front of the magazine.
All
of the CD functions are controlled by the radio
buttons, except for ejecting
the CD magazine.
PREV
(1): Press this button or the SEEK left arrow to
go to the start of the current track. If you hold or press
this button more than once, the player will continue
moving back through the disc. The sound will mute
while seeking.
3-14
Page 155 of 404
Downloaded from www.Manualslib.com manuals search engine PROG (2): Press this button to select a disc. The disc
number and track number will be displayed.
NEXT (3): Press this button or the SEEK right arrow to
to go to the next track. If
you hold the button or press it
more than once, the player will continue moving forward
through the tape. The sound will mute while seeking.
REV (4): Press and hold this button to reverse quickly
through a track selection. Release it to resume playing.
FWD (6): Press and hold this button to advance quickly
through a track selection. Release it
to resume playing.
SEEK: Press the right arrow to seek to the next
selection on the CD. Press the left arrow to search for
the previous selection on the CD. The sound will mute
while seeking.
SCAN: When you press SCAN while playing a CD, you
will hear the first few seconds of each disc. Press SCAN
again
to stop on a CD. The CD will mute while scanning
and SCAN will appear on the display.
P.SCAN: Press this button to hear the tracks in random,
rather than sequential, order. RANDOM will appear on
the display. Press P.SCAN again to. turn off random play.
TAPE AUX: Press this button if you have a disc loaded
in the changer and the radio is playing to play a compact
disc. Press AM-FM to return
to the radio when a compact
disc is playing. Press TAPE AUX to switch
between the tape and compact disc if both are loaded.
EJECT: Slide the CD changer door all the way open
and the disc holder will automatically eject.
Compact Disc Changer Errors
If an error occurs while trying to play a CD in the
compact disc changer, the following conditions may
have caused the error:
a
0
0
0
0
The road is too rough. The disc should play when the
road is smoother.
The disc is dirty, scratched, wet or loaded label
side up.
The air is very humid.
If so, wait about an hour and
try again.
The CD changer door is open. Completely close the
changer door to restore normal operation.
An empty magazine is inserted in the CD changer.
Try the magazine again with a disc loaded on one
of
the trays.
If any error occurs repeatedly or if an error cannot be
corrected, please contact your dealer.
3-15
Page 156 of 404
Downloaded from www.Manualslib.com manuals search engine AM-FM Stereo with Compact Disc Player
and Automatic Tone Control
(If Equipped)
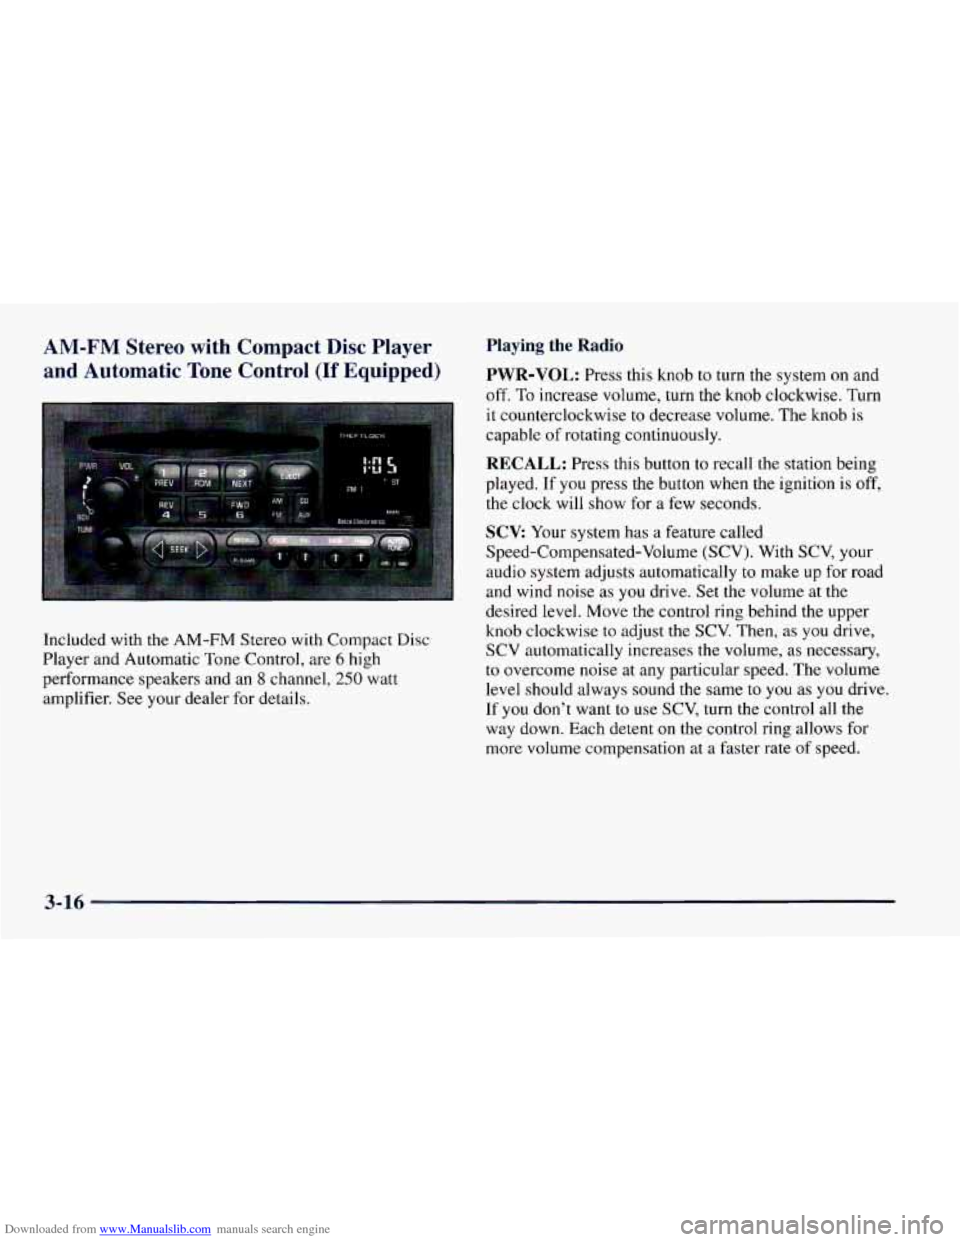
Included with the AM-FM Stereo with Compact Disc
Player and Automatic Tone Control, are
6 high
performance speakers and an
8 channel, 250 watt
amplifier. See your dealer for details.
Playing the Radio
PWR-VOL: Press this knob to turn the system on and
off. To increase volume, turn the knob clockwise. Turn
it counterclockwise to decrease volume. The knob is
capable of rotating continuously.
RECALL: Press this button to recall the station being
played.
If you press the button when the ignition is off,
the clock will
show for a few seconds.
SCV: Your system has a feature called
Speed-Compensated-Volume (SCV). With SCV, your
audio
system adjusts automatically to make up for road
and wind noise as
you drive. Set the volume at the
desired level. Move the control ring behind the upper
knob clockwise
to adjust the SCV. Then, as you drive,
SCV automatically increases the volume, as necessary,
to overcome noise at any particular speed. The volume
level should always sound the same to you as you drive.
If
you don’t want to use SCV, turn the control all the
way down. Each detent on the control ring allows for
more volume compensation at
a faster rate of speed.
3-16
Page 157 of 404
Downloaded from www.Manualslib.com manuals search engine Finding a Station
AM-FM: Press this button to switch between AM, FMl
and
FM2. The display shows your selection.
TUNE: Press this knob lightly so it extends. Turn it to
choose radio stations. Push the knob back into its stored
position when you’re not using it.
SEEK: Press the right or left arrow to go to the next
higher or lower station and stay there.
The sound will
mute while seeking.
SCAN: Press one of the SEEK arrows for two seconds,
and SCAN will appear on
the display. Use SCAN to
listen to stations for a few seconds. The radio will go to
a station, stop for a few seconds, then go on to the next
station. Press
SEEK again to stop scanning. The sound
will mute while scanning.
PUSHBUTTONS: The six numbered pushbuttons let
you return to your favorite stations. You can set up to
18 stations (six AM, six FM1 and six FM2). Just:
1. Press AM-FM to select the band.
2. Tune in the desired station.
3. Press AUTO TONE to select the equalization that
best suits the type
of station selected.
4. Press and hold one of the six numbered buttons. The
sound will mute. When it returns, release the button.
Whenever you press that numbered button, the
station
you set will return and the AUTO TONE
equalization that
you selected will also be
automatically selected for that button.
5. Repeat the steps for each pushbutton.
P.SCAN: Press this button to listen to each of your
favorite stations stored on your pushbuttons for a few
seconds. The radio will scan through each
of the stations
stored on your pushbuttons, except those stations with
weak reception. The AUTO TONE setting stored for
that pushbutton will be automatically chosen. Press
P.SCAN or one of the pushbuttons again to stop
scanning. P.SCAN will be displayed whenever the
tuner is
in the P.SCAN mode. The channel number
(PI -P6) will appear momentarily just before the
frequency is displayed.
Setting the Tone
BASS:
Press this knob lightly so it extends. Turn the
knob clockwise to increase bass and counterclockwise to
decrease bass. When you use this control, the radio’s
AUTO TONE setting will switch to manual.
3-17
Page 158 of 404
Downloaded from www.Manualslib.com manuals search engine TREB: Press this knob lightly so it extends. Turn the
knob clockwise
to increase treble and counterclockwise
to decrease treble. When
you use this control, the radio’s
AUTO TONE setting will switch to manual. If
a station
is weak or noisy, you may want to decrease the treble.
Push these knobs back into their stored positions when
you’re not using them.
AUTO TONE: This feature allows you to choose
preset bass and treble equalization settings designed for
classical, news, rock, pop, country/western and jazz
stations.
C/W will appear on the display when you first
press AUTO TONE. Each time you press it, another
setting will appear
on the display. Press it again after
JAZZ appears and the AUTO TONE display will go
blank. Tone control will return to the BASS and TREB
knobs. Also, if you use the BASS and TREB knobs,
control will return to them and the AUTO TONE
display will go blank.
Adjusting the Speakers
BAL:
Press this knob lightly so it extends. Turn the
knob clockwise for right speakers and counterclockwise
for left speakers. The middle position balances the
sound between the speakers.
FADE: Press this knob lightly so it extends. Turn the
knob clockwise to adjust the sound to the front speakers
and counterclockwise
for the rear speakers. The middle
position balances the sound between the speakers.
Push these knobs back into their stored positions when
you’re not using them.
Playing a Compact Disc
Insert a disc partway into the slot, label side up. The
player will pull it in.
The disc should begin playing. The
display will show CD and the CD symbol.
If you’re driving
on a very rough road or if it’s very hot,
the disc may not play and ERR (error) may appear on
the display. Press RECALL to take ERR off the display.
When things get back to normal, the disc should play.
If the disc comes out, it could be that:
The disc is upside down.
It is dirty, scratched or wet.
It is very humid. (If so, wait about an hour and
try again.)
3-18