radio CHEVROLET CAMARO 1997 4.G Owners Manual
[x] Cancel search | Manufacturer: CHEVROLET, Model Year: 1997, Model line: CAMARO, Model: CHEVROLET CAMARO 1997 4.GPages: 404, PDF Size: 20.96 MB
Page 57 of 404
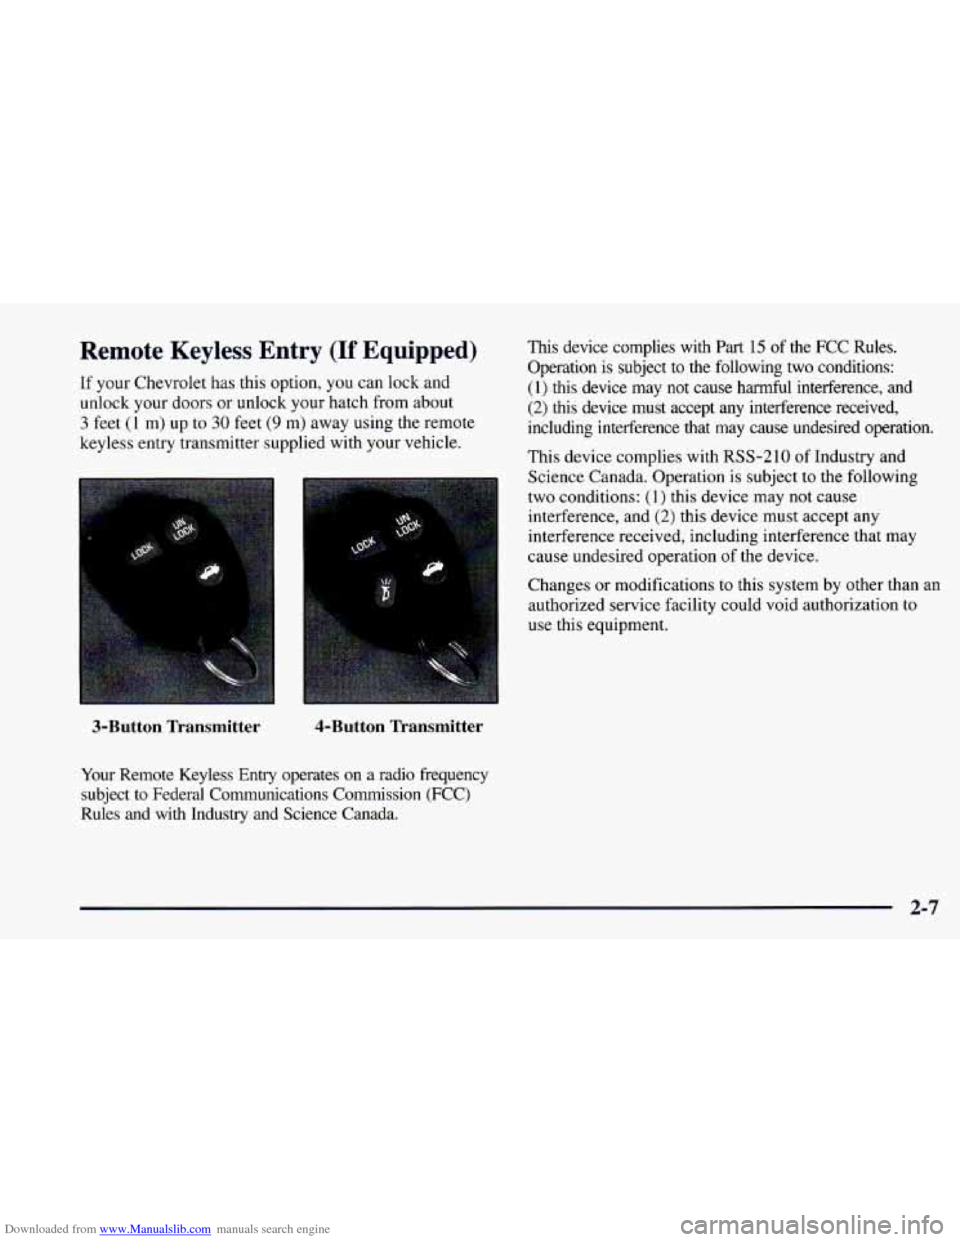
Downloaded from www.Manualslib.com manuals search engine Remote Keyless Entry (If Equipped)
If your Chevrolet has this option, you can lock and
unlock your doors or unlock your hatch from about
3 feet (1 m) up to 30 feet (9 m) away using the remote
keyless entry transmitter supplied with your vehicle.
3-Button Transmitter 4-Button Transmitter
Your
Remote Keyless Entry operates on a radio frequency
subject
to Federal Communications Commission (FCC)
Rules and with Industry and Science Canada.
This device complies with Part 15 of the FCC Rules.
Operation is subject to the following two conditions:
(1) this device may not cause harmful interference, and
(2) this device must accept any interference received,
including interference that may cause undesired operation.
This device complies with
RSS-210 of Industry and
Science Canada. Operation is subject
to the following
two conditions:
(1) this device may not cause
interference, and
(2) this device must accept any
interference received, including interference that may
cause undesired operation
of the device.
Changes or modifications to this system by other than an
authorized service facility could void authorization
to
use this equipment.
2-7
Page 60 of 404
Downloaded from www.Manualslib.com manuals search engine Have each transmitter you intend to match ready for the
next steps.
To match transmitters to your vehicle:
1.
2.
3.
4.
5.
6.
7.
Turn the ignition to the RUN position, then to the
OFF position. This will disarm the Vehicle and
Content Theft-DeterrendAlarm System (if your
vehicle has this option).
Remove the RADIO fuse. This fuse is located in the
main fuse block, located on the left side
of your main
instrument panel. See “Fuses and Circuit Breakers”
in the Index.
Turn the ignition switch from the
OFF to the RUN
position three times quickly (within five seconds).
The vehicle will respond by locking the doors,
unlocking the driver’s doors and releasing the hatch.
Your transmitter is now ready
to match the vehicle.
Press and hold the LOCK and UNLOCK buttons
on
the first transmitter for 15 seconds. The vehicle will
respond as in step
3.
Repeat Step 4 for the remaining transmitters.
When you have finished matching all
of your
transmitters, replace the
RADIO fuse.
Check that all transmitters work by pressing
their buttons.
If the transmitters don’t work, or if you’d rather not match
the transmitters yourself, see your Chevrolet dealer.
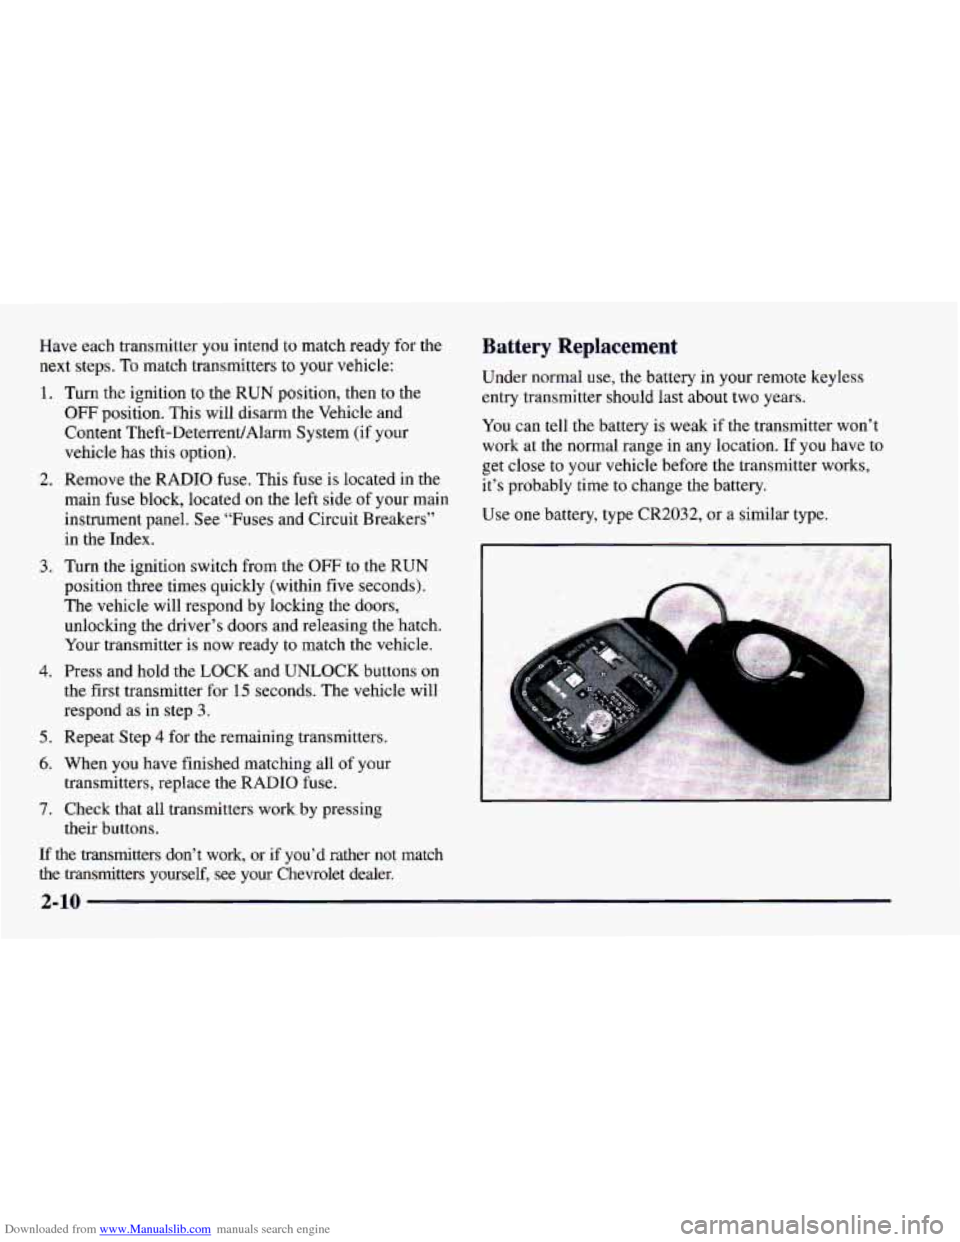
Battery Replacement
Under normal use, the battery in your remote keyless
entry transmitter should last about two years.
You can tell the battery is weak if the transmitter won’t
work at the normal range in any location. If
you have to
get close
to your vehicle before the transmitter works,
it’s probably time to change the battery.
Use one battery, type CR2032, or a similar type.
2-10
Page 69 of 404
Downloaded from www.Manualslib.com manuals search engine To program features, your vehicle must be in the
programming mode. Follow these steps:
1.
2.
3.
4.
5,
Put your key in the ignition.
Turn the ignition to the
RUN position to disarm the
Vehicle and Content Theft-DeterrentlAlarm System.
Turn the ignition to the
OFF position.
Remove
the RADIO fuse. This fuse is in the main
fuse block, located on the left side
of your
instrument panel. When the main fuse block is open,
the RADIO fuse is located in the lower right hand
corner of the fuse panel. See “Fuses and Circuit
Breakers’’ in the Index.
Turn the ignition
to the ACC position.
You should hear a chime to verify that the system is
in programming mode, If the chime sounds once,
you will be able to program Exit Lighting, Delayed
Illumination, Last
Door Closed Locking and Lockout
Prevention only. If the chime sounds twice and your
vehicle is equipped with the Vehicle and Content
Theft-Deterrent System,
you will also be able to set
Remote Keyless Entry Verification, Arming Method,
Arming Verification, Driver’s Door Delay and Shock
Sensor Enable.
Exit Lighting and Delayed Illumination
Exit Lighting: Your interior lights will come on for up
to 25 seconds when the key is removed from the
ignition switch.
Delayed Illumination: Your interior lights will come
on
and stay on for up to 25 seconds when entering the vehicle
and for up
to five seconds when leaving your vehicle.
Your vehicle comes with both features enabled. (Mode 4)
To change the factory setting, do the following:
1. Turn the courtesy la~nps on by turning the instrument
panel brightness control knob all the way up.
2. Count the number of chimes you hear. The number
of chimes tells you which mode your vehicle is
set for.
3. Turn the courtesy lamp switch to OFF.
4. Turn the courtesy lamp switch from ON to OFF until
you hear the number of chimes that correspond to the
mode selection you want.
Mode 1: Both Off
Mode 2: Delayed Illumination Only
Mode 3: Exit Lighting Only
Mode 4: Both On
2-19
Page 73 of 404
Downloaded from www.Manualslib.com manuals search engine Mode 1: Zero Delay and Shock Sensor Disabled
(The alarm will sound immediately if the driver’s door
is opened with your key and the shock sensor
will not
be available to measure sharp blows to your vehicle).
Mode 2: Eight Second Delay and Shock Sensor
Disabled (The alarm will sound eight seconds after the
driver’s door is opened with your key and the shock
sensor will not be available to measure sharp blows to
your vehicle).
Mode 3: Zero Delay and Shock Sensor Enabled (The
alarm will sound immediately after the driver’s door is
opened with your key and
the shock sensor will be
available to measure sharp blows to your vehicle).
Mode 4: Eight Second Delay and Shock Sensor Enabled
(The
alarm will sound eight seconds after the driver’s
door is opened with your key and the shock sensor will
be available to measure sharp blows to your vehicle).
Leaving Programming Mode
When programming is done, turn the ignition switch to
the
OFF position and replace the RADIO fuse.
New Vehicle “Break-In”
NOTICE:
Your modern Chevrolet doesn’t need an
elaborate “break-in.” But
it will perform better
in the long run if you follow these guidelines:
0 Keep your speed at 55 mph (88 km/h) or
less for the
first 500 miles (805 km).
0 Don’t drive at any one speed -- fast or
slow
-- for the first 500 miles (805 km).
Don’t make full-throttle starts.
200 miles (322 km) or so. During this time
your new brake linings aren’t yet broken
in. Hard stops with new linings can mean
premature wear and earlier replacement.
Follow
this breaking-in guideline every
time you get new brake linings.
See “Towing
a Trailer” in the Index for
more information.
0 Avoid making hard stops for the first
0 Don’t tow a trailer during break-in.
2-23
Page 75 of 404
Downloaded from www.Manualslib.com manuals search engine START (E): Starts the engine. When the engine starts,
release the key. The ignition switch will return to
RUN
for normal driving.
Note that even if the engine is not running,
ACC and
RUN allow you to operate your electrical accessories,
such as the radio and ventilation fan.
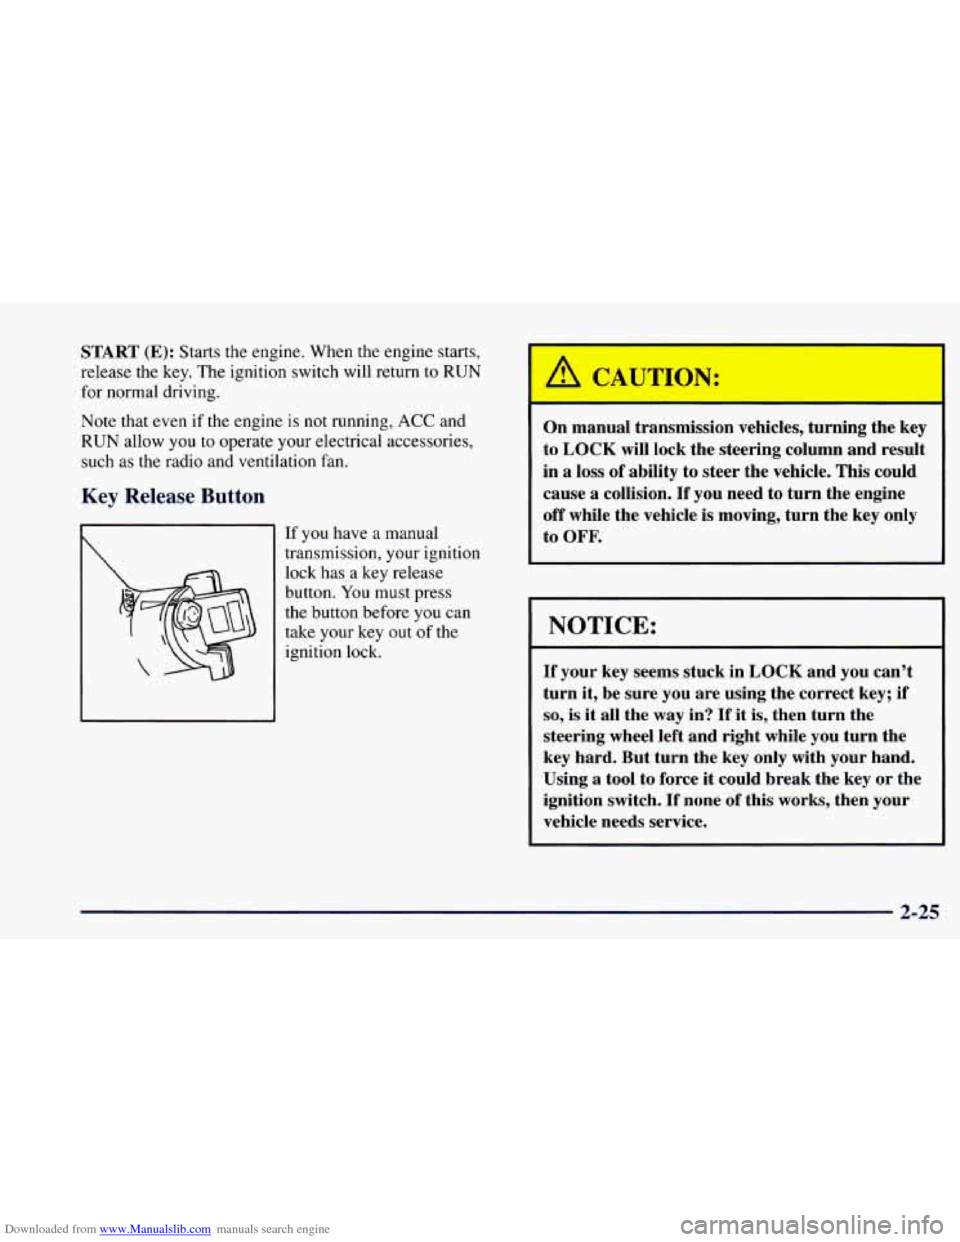
Key Release Button
If you have a manual
transmission, your ignition
lock has a key release
button.
You must press
the button before
you can
take your key
out of the
ignition lock. On manual transmission
vehicles, turning the key
to
LOCK will lock the steering column and result
in
a loss of ability to steer the vehicle. This could
cause
a collision. If you need to turn the engine
off while the vehicle is moving, turn the key only
to OFF.
NOTICE:
If your key seems stuck in LOCK and you can’t
turn it, be sure you are using the correct key; if
so, is it all the way in? If it is, then turn the
steering wheel left and right while you turn the
key hard. But turn the key only with your hand.
Using
a tool to force it could break the key or the
ignition switch.
If none of this works, then your
vehicle needs service.
2-25
Page 111 of 404
Downloaded from www.Manualslib.com manuals search engine Sun Visors
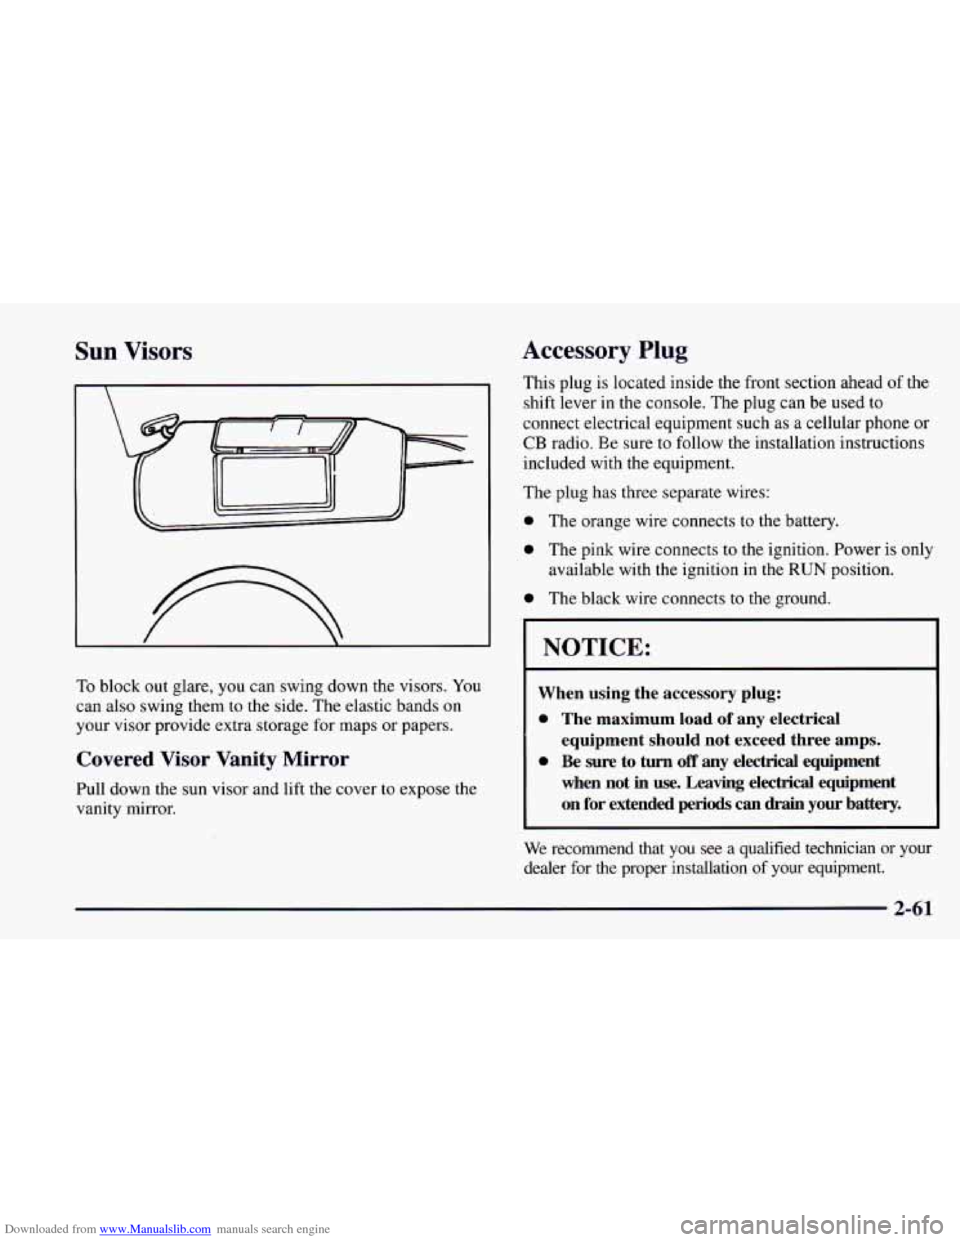
To block out glare, you can swing down the visors. You
can also swing them to the side. The elastic bands on
your visor provide extra storage for maps or papers.
Covered Visor Vanity Mirror
Pull down the sun visor and lift the cover to expose the
vanity mirror.
Accessory Plug
This plug is located inside the front section ahead of the
shift lever
in the console. The plug can be used to
connect electrical equipment such
as a cellular phone or
CB radio. Ee sure to follow the installation instructions
included with the equipment.
The plug has three separate wires:
0 The orange wire connects to the battery.
0 The pink wire connects to the ignition. Power is only
available with the ignition in the
RUN position.
0 The black wire connects to the ground.
I NOTICE:
When using the accessory plug:
0 The maximum load of any electrical
equipment should not exceed three amps.
0 Be sure to turn off any electrical equipment
when not
in use. Leaving electrical equipment
on for extended periods
can drain your battery.
We recommend that you see a qualified technician or your
dealer for the proper installation
of your equipment.
Page 141 of 404
Downloaded from www.Manualslib.com manuals search engine Section 3 Comfort Controls and Audio Systems
In this section, you’ll find out how to operate the comfort control and audio systems offered with your Chevrolet.
Be sure
to read about the particular systems supplied with your vehicle.
3-2 3-3
3-3
3-4
3-4
3 -5
3-5
3-6 3-6
3
-6
Comfort Controls Air Conditioning
Cooling
Heating
Ventilation System
Defogging and Defrosting
Rear Window Defogger
Audio Systems
Setting the Clock for Systems without
Automatic Tone Control
Setting the Clock for Systems with Automatic
Tone Control 3-9
3-16
3-20
3-22
3-22
3-23
3-24 3-24
3-6
AM-FM
Stereo with Cassette Tape Player
AM-FM Stereo with Cassette Tape Player and
Automatic
Tone Control
AM-FM Stereo with Compact Disc Player and
Automatic Tone Control
Theft-Deterrent Feature Understanding Radio Reception
Tips About Your Audio System
Care of Your Cassette Tape Player
Care
of Your Compact Discs
Fixed Mast Antenna
3-1
Page 146 of 404
Downloaded from www.Manualslib.com manuals search engine Audio Systems
Your Delco@ audio system has been designed to operate
easily and give years
of listening pleasure. You will get
the most enjoyment out of it if you acquaint yourself
with it first. Find out what your Delco system can do
and how to operate all its controls, to be sure you’re
getting the most out of the advanced engineering that
went into it.
If you have power door locks, your vehicle has a feature
called Retained Accessory Power (RAP). With RAP,
you can play your audio system even after the ignition is
off.
See “Retained Accessory Power’’ in the Index.
Setting the Clock for Systems without
Automatic
Tone Control
Press SET. SET will appear on the display for five
seconds. Within five seconds, press and hold
the right
arrow on the SEEK button until the correct minute
appears. Press and hold the left arrow
on the SEEK
button until the correct hour appears.
Setting the Clock for Systl- with
Automatic Tone Contro,
Press and hold HR until the correct hour appears. Press
and hold
MN until the correct minute appears.
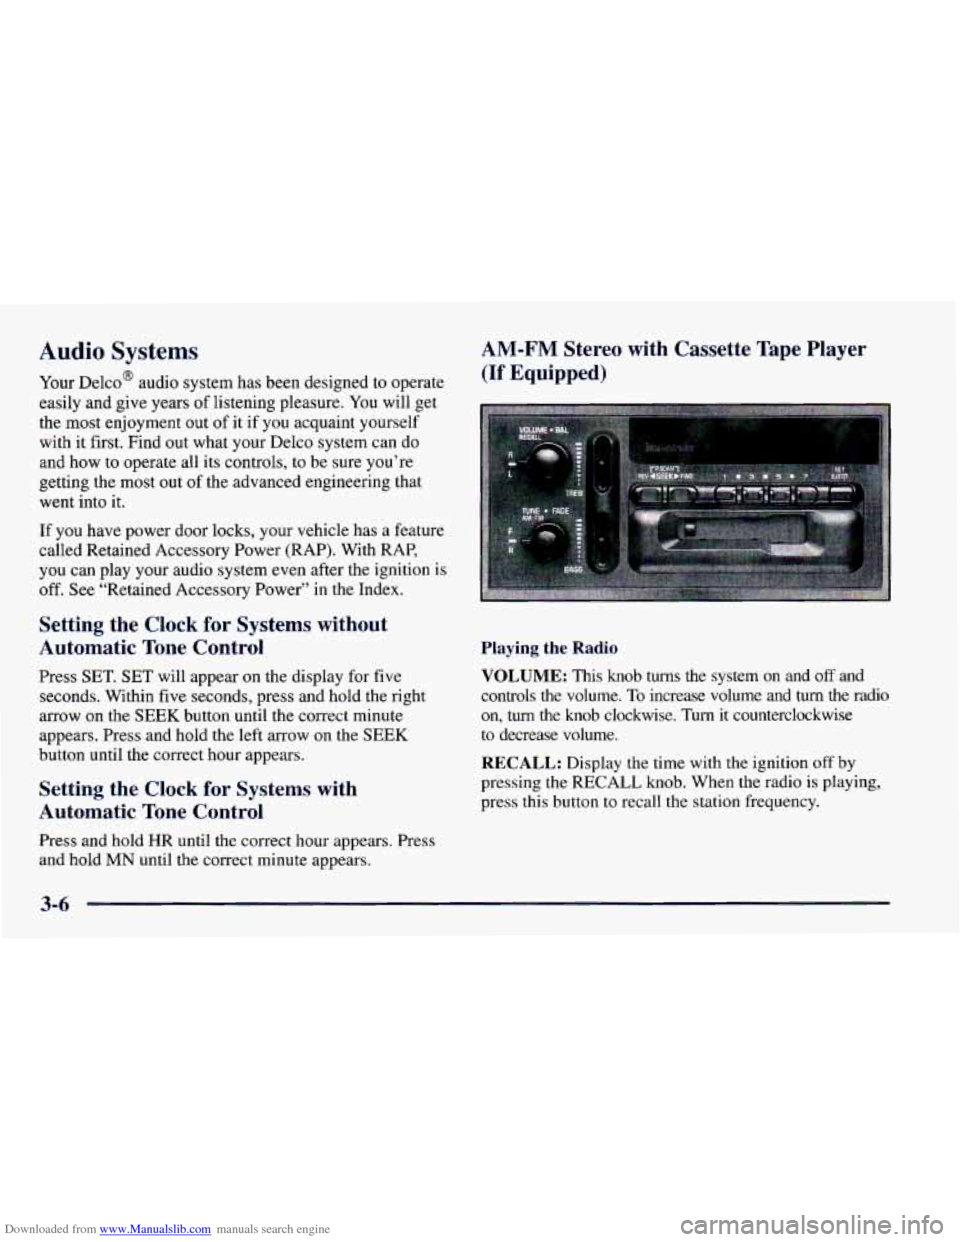
AM-FM Stereo with Cassette Tape Player
(If Equipped)
Playing the Radio
VOLUME:
This knob turns the system on and off and
controls the volume.
To increase volume and turn the radio
on, turn the knob clockwise. Turn it counterclockwise
to decrease volume.
RECALL: Display the time with the ignition off by
pressing
the RECALL knob. When the radio is playing,
press this button
to recall the station frequency.
3-6
Page 147 of 404
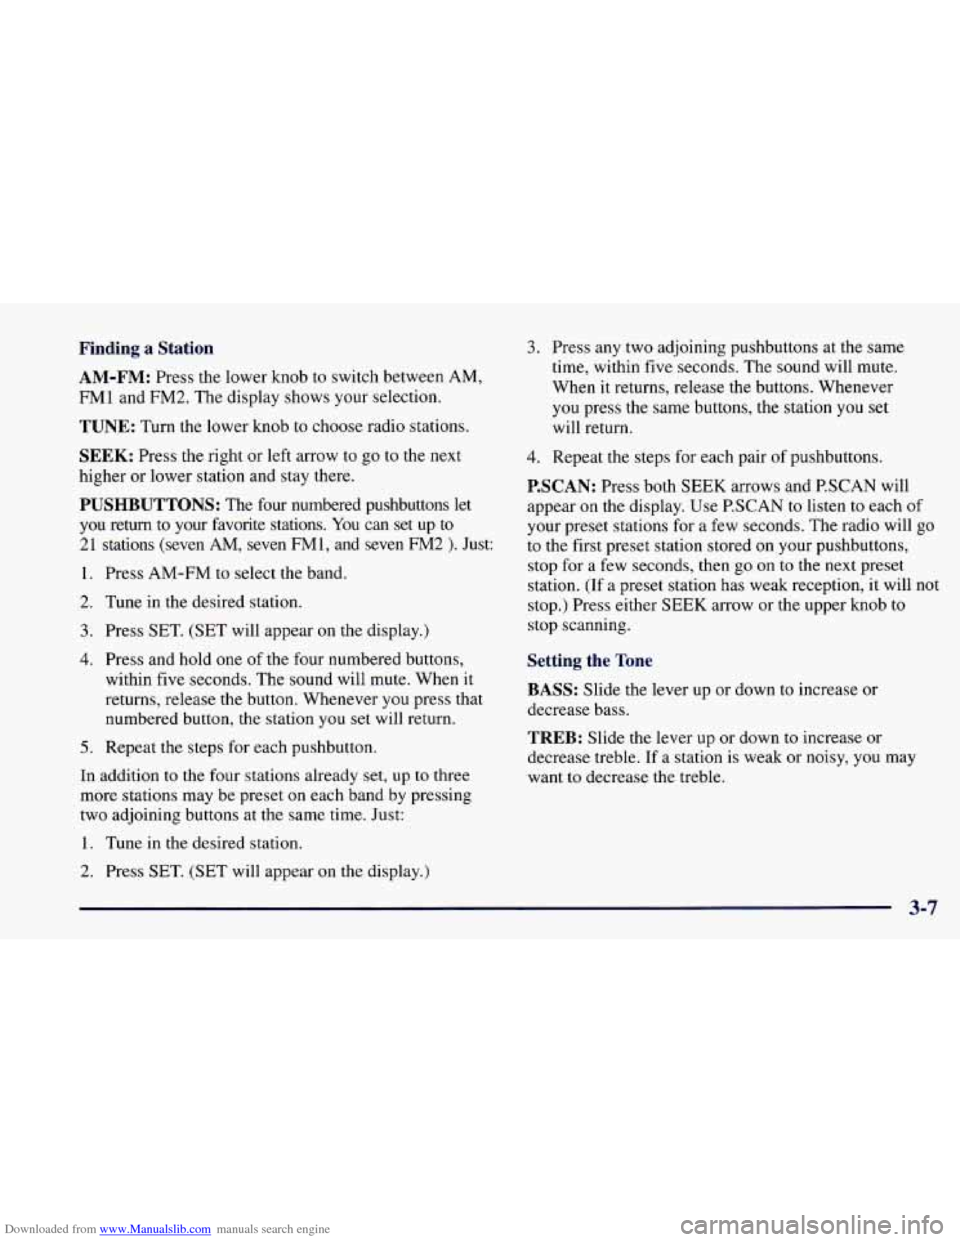
Downloaded from www.Manualslib.com manuals search engine Finding a Station
AM-FM:
Press the lower knob to switch between AM,
FM1 and FM2. The display shows your selection.
TUNE: Turn the lower knob to choose radio stations.
SEEK: Press the right or left arrow to go to the next
higher or lower station and stay there.
PUSHBUTTONS: The four numbered pushbuttons let
you return to your favorite stations. You can set up to
21 stations (seven AM, seven FMl, and seven EM2 ). Just:
1. Press AM-FM to select the band.
2. Tune in the desired station.
3. Press SET. (SET will appear on the display.)
4, Press and hold one of the four numbered buttons,
within five seconds. The sound will mute. When it
returns, release the button. Whenever you press that
numbered button, the station you
set will return.
5. Repeat the steps for each pushbutton.
In addition to the four stations already set, up to three
more stations may be preset on each band by pressing
two adjoining buttons at the same time. Just:
1. Tune in the desired station.
3. Press any two adjoining pushbuttons at the same
time, within five seconds. The sound will mute.
When it returns, release the buttons. Whenever
you press the same buttons, the station
you set
will return.
4. Repeat the steps for each pair of pushbuttons.
P.SCAN: Press both SEEK arrows and P.SCAN will
appear on the display. Use P.SCAN to listen
to each of
your preset stations for a few seconds. The radio will go
to the first preset station stored on your pushbuttons,
stop for a few seconds, then go on to the next preset
station. (If a preset station has weak reception, it will not
stop.) Press either SEEK arrow or the upper knob to
stop scanning.
Setting the Tone
BASS: Slide the lever up or down to increase or
decrease bass.
TREB: Slide the lever up or down to increase or
decrease treble. If a station is weak or noisy, you may
want
to decrease the treble.
2. Press SET. (SET will appear on the display.)
Page 148 of 404
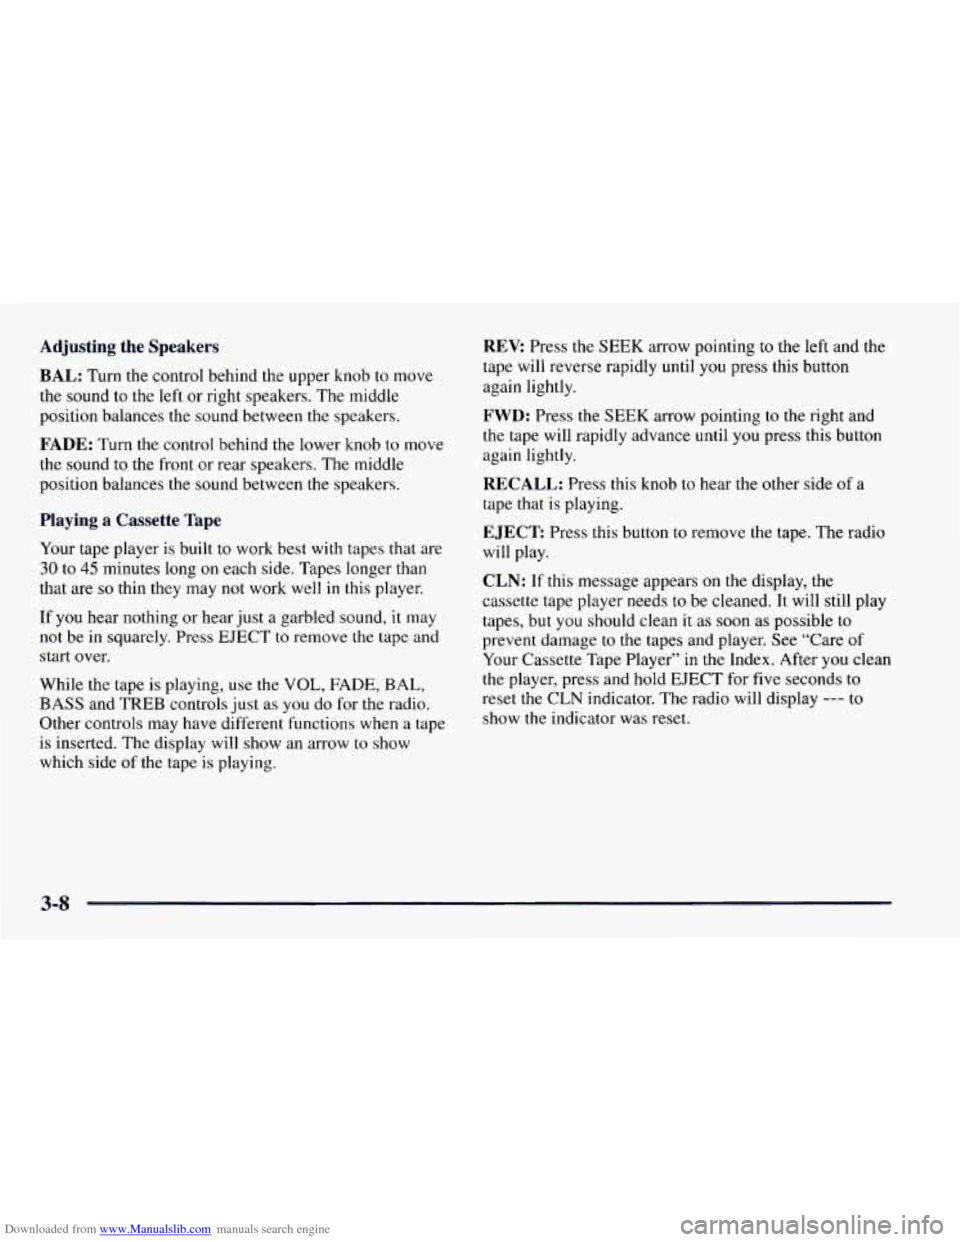
Downloaded from www.Manualslib.com manuals search engine Adjusting the Speakers
BAL: Turn the control behind the upper knob to move
the sound to the left or right speakers. The middle
position balances the sound between the speakers.
FADE: Turn the control behind the lower knob to move
the sound to the front or rear speakers. The middle
position balances the sound between
the speakers.
Playing a Cassette Tape
Your tape player is built to work best with tapes that are
30 to 45 minutes long on each side. Tapes longer than
that are
so thin they may not work well in this player.
If
you hear nothing or hear just a garbled sound, it may
not be in squarely. Press EJECT to remove the tape and
start over.
While the tape is playing, use the
VOL, FADE, BAL,
BASS and TREB controls just as you do for the radio.
Other controls may have different functions when a tape
is inserted. The display will show an arrow to show
which side
of the tape is playing.
REV Press the SEEK arrow pointing to the left and the
tape will reverse rapidly until you press this button
again lightly.
FWD: Press the SEEK arrow pointing to the right and
the tape will rapidly advance until you press this button
again lightly.
RECALL: Press this knob to hear the other side of a
tape that is playing.
EJECT Press this button to remove the tape. The radio
will play.
CLN: If this message appears on the display, the
cassette tape player needs to be cleaned. It will still play
tapes, but you should clean it as soon as possible to
prevent damage to the tapes and player. See “Care
of
Your Cassette Tape Player” in the Index. After you clean
the player, press and hold EJECT for five seconds to
reset the
CLN indicator. The radio will display --- to
show the indicator was reset.
3-8