lights CHEVROLET CAVALIER 1994 1.G Owners Manual
[x] Cancel search | Manufacturer: CHEVROLET, Model Year: 1994, Model line: CAVALIER, Model: CHEVROLET CAVALIER 1994 1.GPages: 243, PDF Size: 15.06 MB
Page 10 of 243
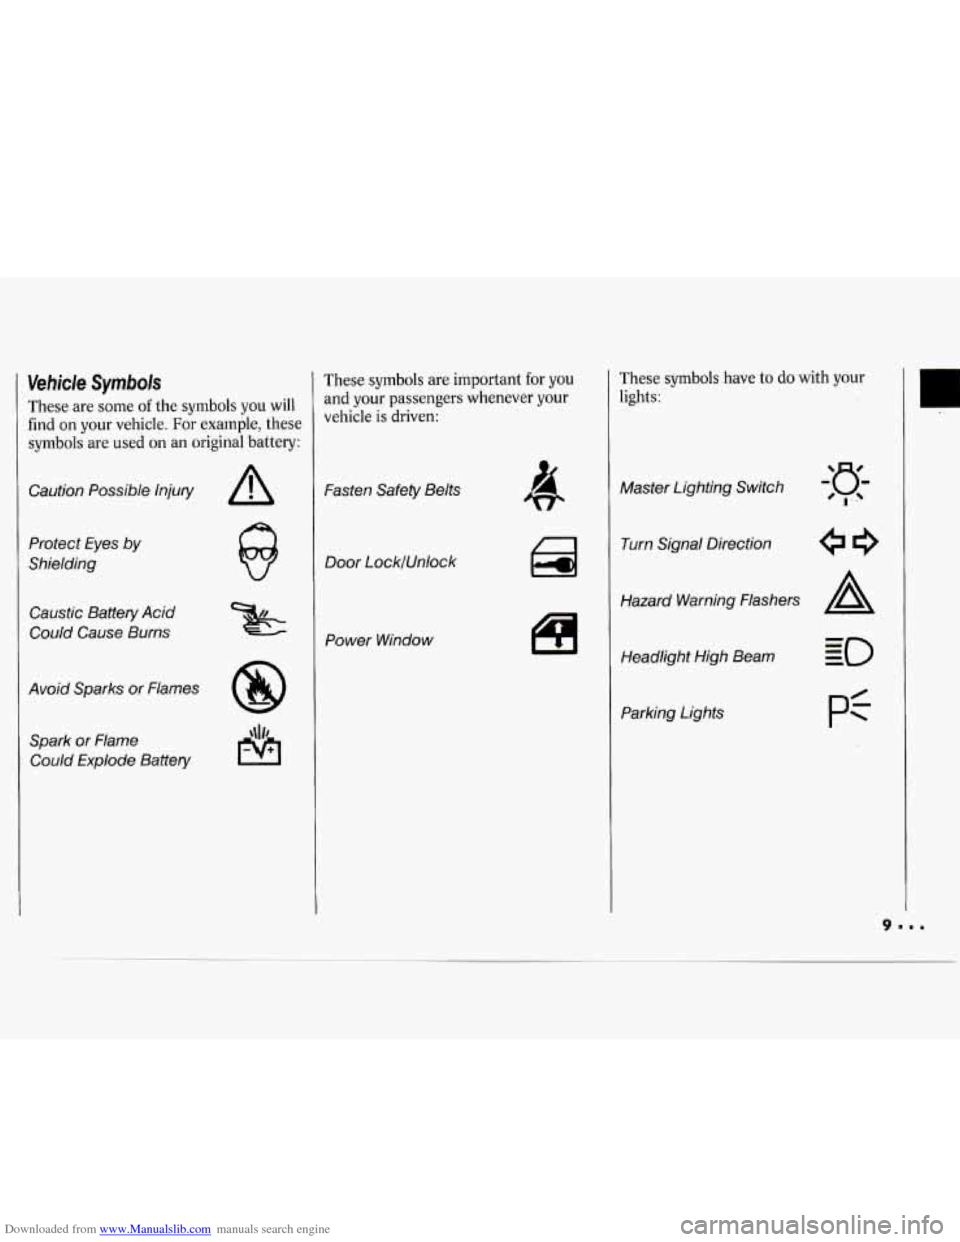
Downloaded from www.Manualslib.com manuals search engine Vehicle Symbols
These are some of the symbols you will
find
on your vehicle. For example, these
symbols are used on an original battery:
Caution Possible lnjuty
Protect Eyes
by
Shielding
Caustic Battery Acid
Could Cause Burns
Avoid Sparks or Flames Spark or Flame Could Explode Battery
These symbols are important for you
and your passengers whenever your
vehicle
is driven:
Fasten Safety Belts
Door LocklUnlock
Power Window
These symbols have to do with your
lights:
Master Lighting Switch
Turn Signal Direction
Hazard Warning Flashers
A
Headlight High Beam
Parking Lights
pf
U
Page 11 of 243
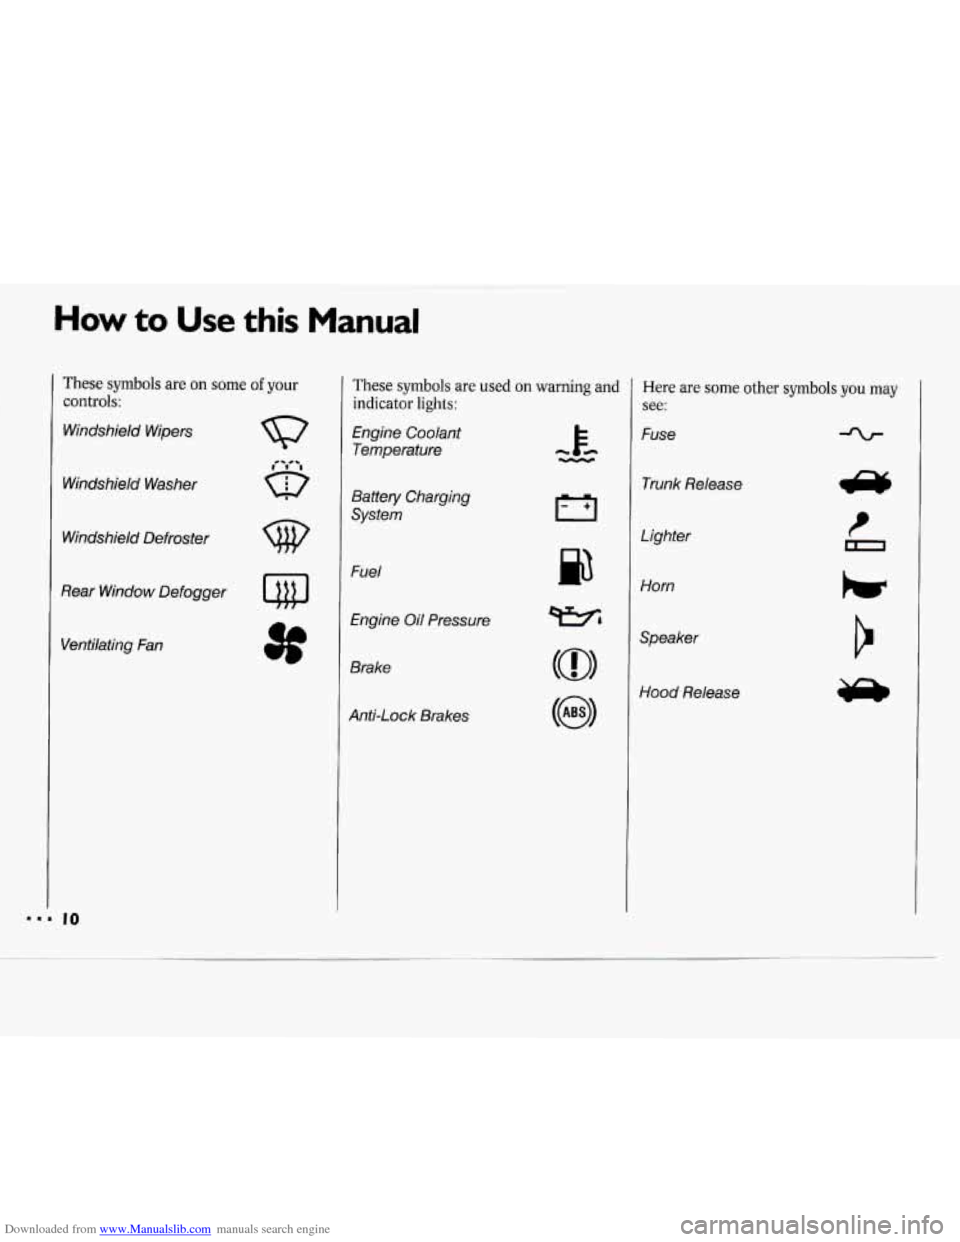
Downloaded from www.Manualslib.com manuals search engine How to Use this Manual
These symbols are on some of your
controls:
Windshield Wipers
Windshield Washer
Windshield Defroster
Rear Window Defogger
Ventilating Fan
These symbols are used on warning and
indicator
lights:
Engine Coolant
Temperature
Battery Charging
System
Fuel
Engine Oil Pressure
Brake
Anti-Lock Brakes
p3
Here are some other symbols you may
see:
Fuse
Trunk Release
Lighter
Horn
Speaker
Hood Release
Page 18 of 243
Downloaded from www.Manualslib.com manuals search engine Safety Belts: They’re For
Everyone
This part of the manual tells you how to
use safety belts properly. It also tells
you some things you should not
do with
safety belts.
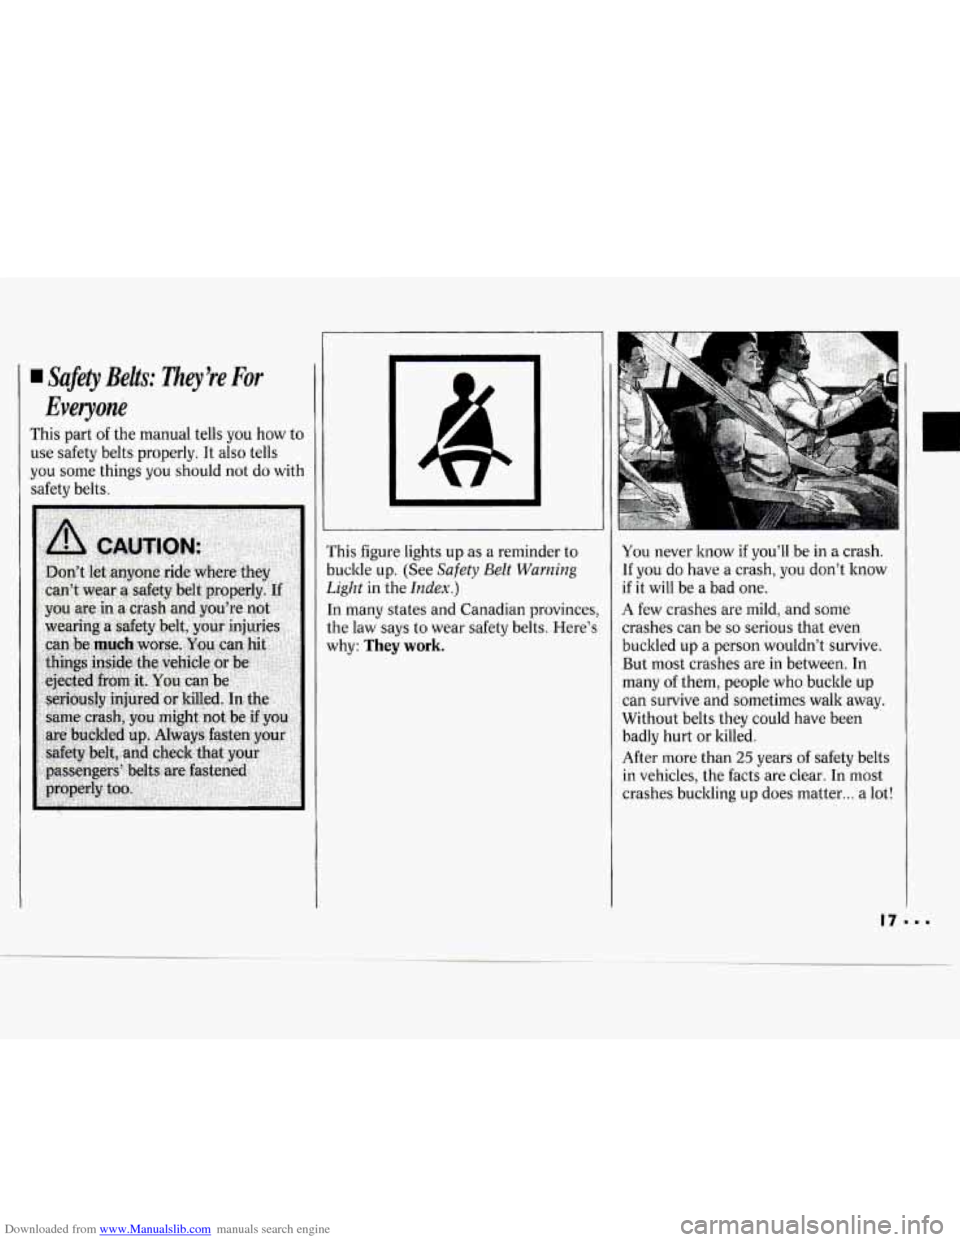
This figure lights up as a reminder to
buckle up. (See
Safety Belt Warning
Light
in the Index.)
In many states and Canadian provinces,
the law says to wear safety belts. Here’s
why:
They work.
You never know if you’ll be in a crash.
If you do have a crash, you don’t know
if it will be a bad one.
A few crashes are mild, and some
crashes can be
so serious that even
buckled up a person wouldn’t survive.
But most crashes are in between. In
many of them, people who buckle up
can survive and sometimes walk away.
Without belts they could have been
badly hurt or killed.
After more than
25 years of safety belts
in vehicles, the facts are clear. In most
crashes buckling
up does matter ... a lot!
n
Page 42 of 243
Downloaded from www.Manualslib.com manuals search engine Here you can learn about the
many standard and' optional
features on your Chevrolet. and information on starting. shifiing and
braking;
Also explained are the
instrument panel and the :warning
systems that tell you
if everything is
working properly-and what to do
if you have a problem .
........ ;\?
Keys ........................................................................\
.................................................... 42
Locks
........................................................................\
.................................................. 43
Glove
Box ........................................................................\
.......................................... 47
Ignition
50 .. ........................................................................\
...............................................
Starting Your Engine ........................................................................\
......................... 51
Engine Coolant Heater ........................................................................\
...................... 52
Automatic Transaxle
........................................................................\
......................... 53
Manual Transaxle ................................... i ................................................................. 56
Parking Brake .......................................................... 1 .................................................. 58
Shfiing into
Park ........................................................................\
............ ................. 58
Windows ..... ........................................................................\
...................................... 62
Turn Signal/Multifunction Lever ........................................................................\
...... 63
Headlights
............................................. ..I.. ................................................. .: ............ -65
Interior Lights ........................................................................\
.................................... 67
Windshield Wipers
........................................................................\
............................. 68
Windshield Washer
........................................................................\
......... .l ................. 69
Cruise Control ........................................................................\
................................... 70
Mirrors
........................................................................\
............................................... 72
Ashtrays and Lighter
........................................................................\
......................... 75
Sunroof ........................................................................\
.............................................. 75
Instrument Panel
........................................................................\
............................... 80
Warning Lights, Gages and Indicators ..................................................................... 84
Page 48 of 243
Downloaded from www.Manualslib.com manuals search engine Illuminated EntryExit System
When you lift the handle of either front
door, the lights inside your vehicle will
go on. (On the wagon, the rear
compartment light will not
go on when
the doors are opened.) These lights will
go
off after about 40 seconds, or when
the ignition is turned on.
For two minutes after you remove the
key from the ignition, the lights inside
your vehicle will stay on for about
15
seconds to provide an illuminated exit.
The illuminated entry/exit system is
deactivated when the dome light lever is
moved to the
OFF position.
I
Trunk Lock
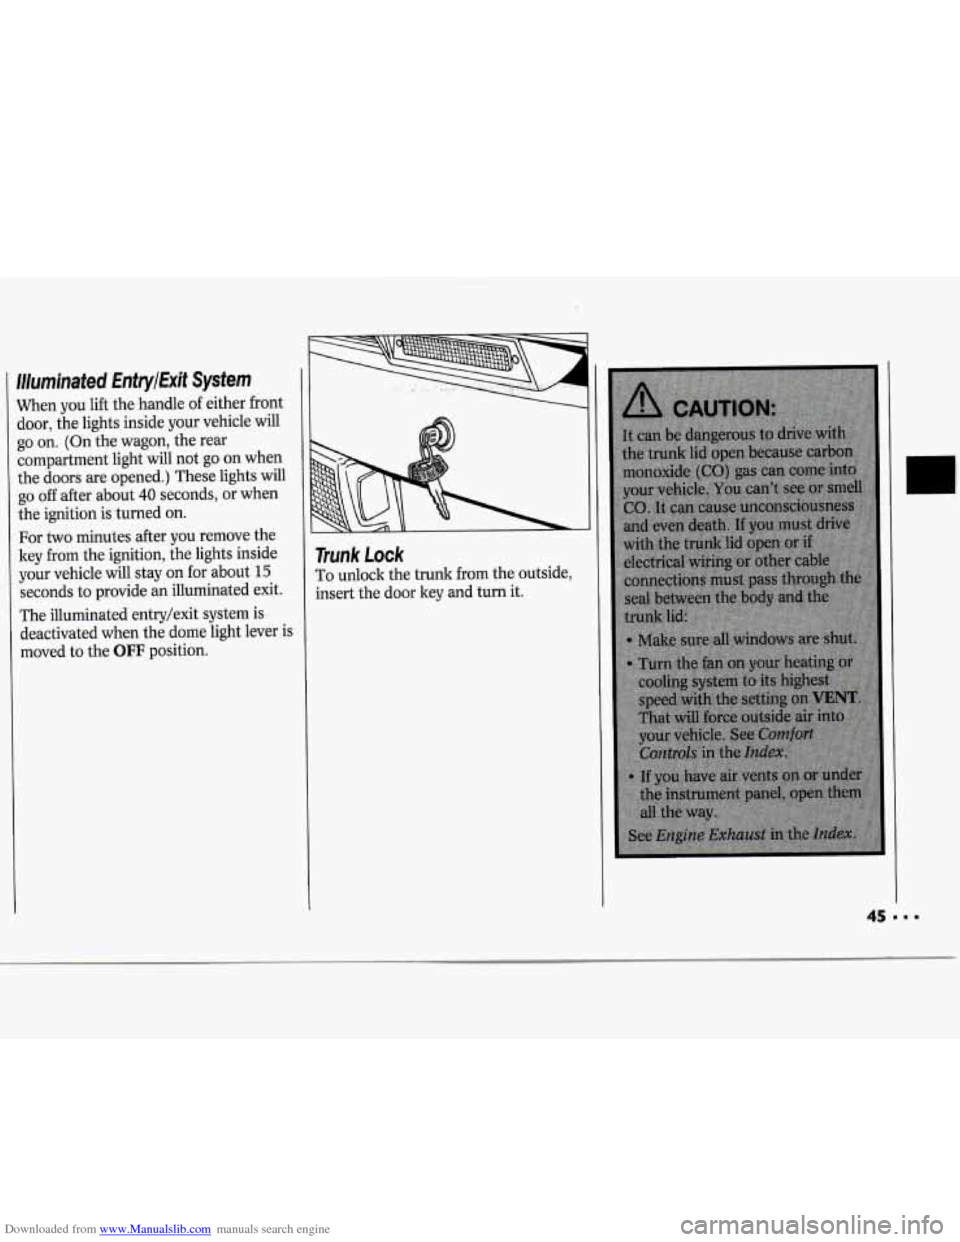
To unlock the trunk from the outside,
insert the door key and turn it.
45---
Page 64 of 243
Downloaded from www.Manualslib.com manuals search engine Horn
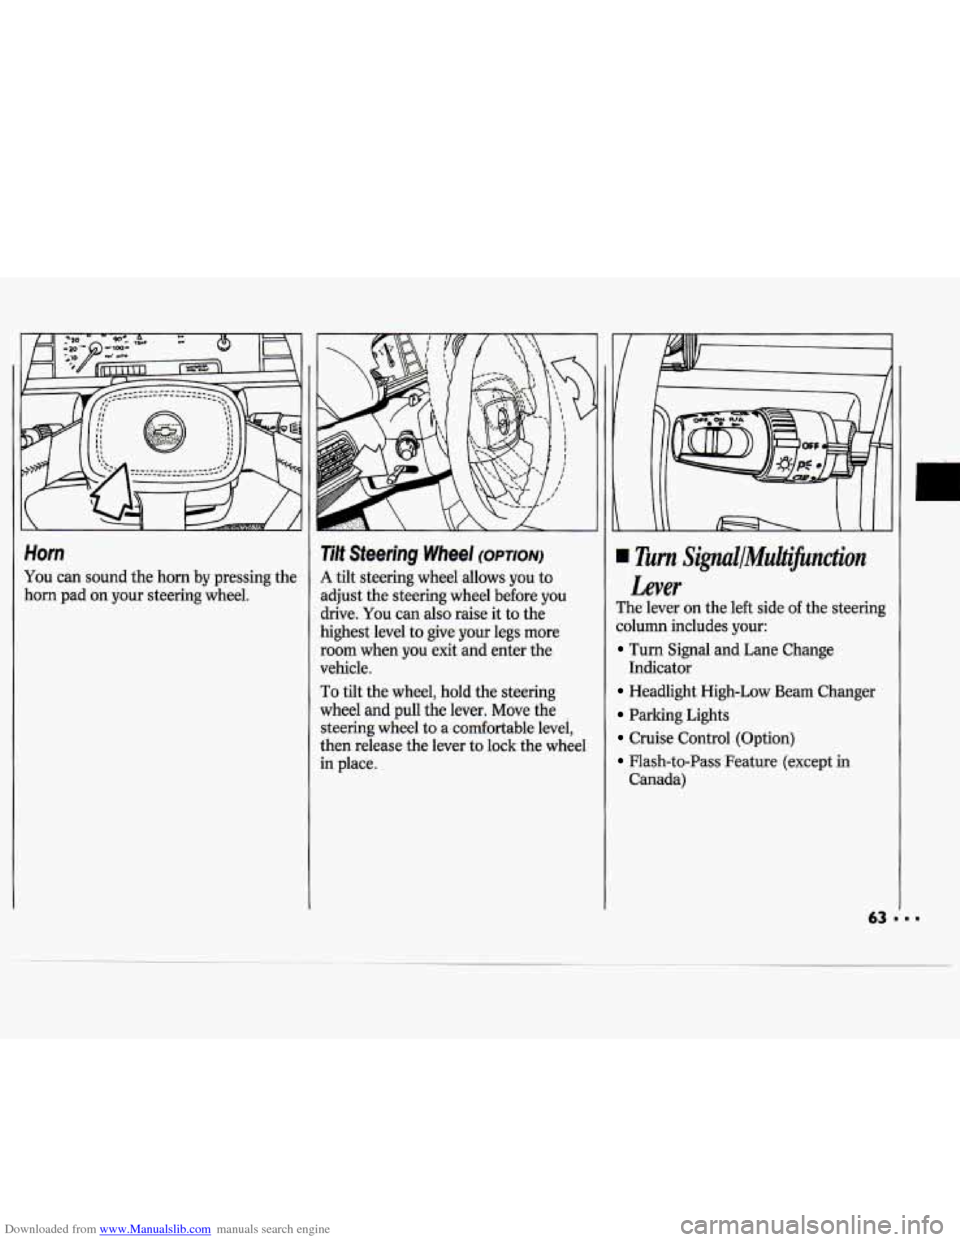
You can sound the horn by pressing the
horn pad on your steering wheel.
Tilt Steering Wheel (OPTION)
A tilt steering wheel allows you to
adjust the steering wheel before
you
drive. You can also raise it to the
highest level to give your legs more
room when
you exit and enter the
vehicle.
To tilt the wheel, hold the steering
wheel and pull the lever. Move the
steering wheel to a comfortable level,
then release the lever to lock the wheel
in place.
Turn Signul/MuiJicnction
Lever
The lever on the left side of the steering
column includes your:
Turn Signal and Lane Change
Headlight High-Low Beam Changer
Parking Lights
Cruise Control (Option)
Flash-to-Pass Feature (except in
Indicator
Canada)
Page 65 of 243
Downloaded from www.Manualslib.com manuals search engine Features & Controls
Operation of Lights
Although your vehicle’s lighting system
(headlights, parking lights, fog lamps,
side marker lights and taillights) meets
all applicable federal lighting
requirements, certain states and
provinces may apply their own lighting
regulations that may require special
attention before you operate these lights,
For example, some jurisdictions may
require that you operate your lower
beam lights with fog lamps at all times,
or that headlights be turned on
whenever you must use your windshield
wipers. In addition, most jurisdictions
prohibit driving solely with parking
lights, especially at dawn or dusk.
It is
recommended that you check with your
own state or provincial highway
authority for applicable lighting
regulations.
LLJ’ n
-
Turn Signal and Lane Change
Indicator
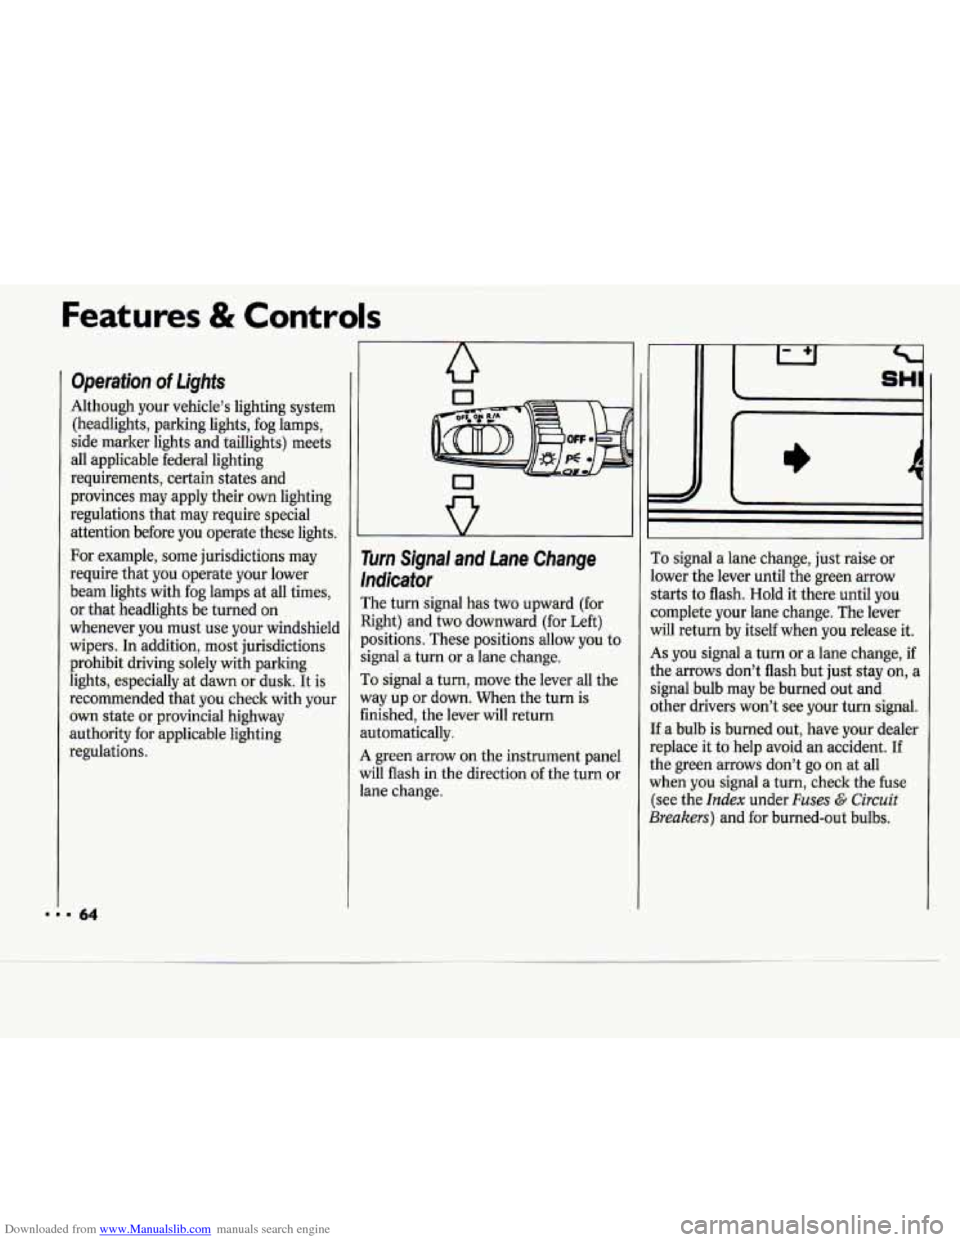
The turn signal has two upward (for
Right) and two downward (for Left)
positions. These positions allow you to
signal a turn or
a lane change.
To signal a turn, move the lever all the
way up or down. When the turn is
finished, the lever will return
automatically.
A green arrow on the instrument panel
will flash in the direction of the turn or
lane change.
I)
To signal a lane change, just raise or
lower the lever until the green arrow
starts to flash. Hold it there until you
complete your lane change. The lever
will return by itself when you release it.
As you signal a turn or a lane change, if
the arrows don’t flash but just stay on, a
signal bulb may be burned out and
other drivers won’t see your turn signal.
If a bulb is burned out, have your dealer
replace
it to help avoid an accident. If
the green arrows don’t go on at all
when
you signal a turn, check the fuse
(see the
Index under Fuses G Circuit
Breakers) and for burned-out bulbs.
Page 66 of 243
Downloaded from www.Manualslib.com manuals search engine Headlights
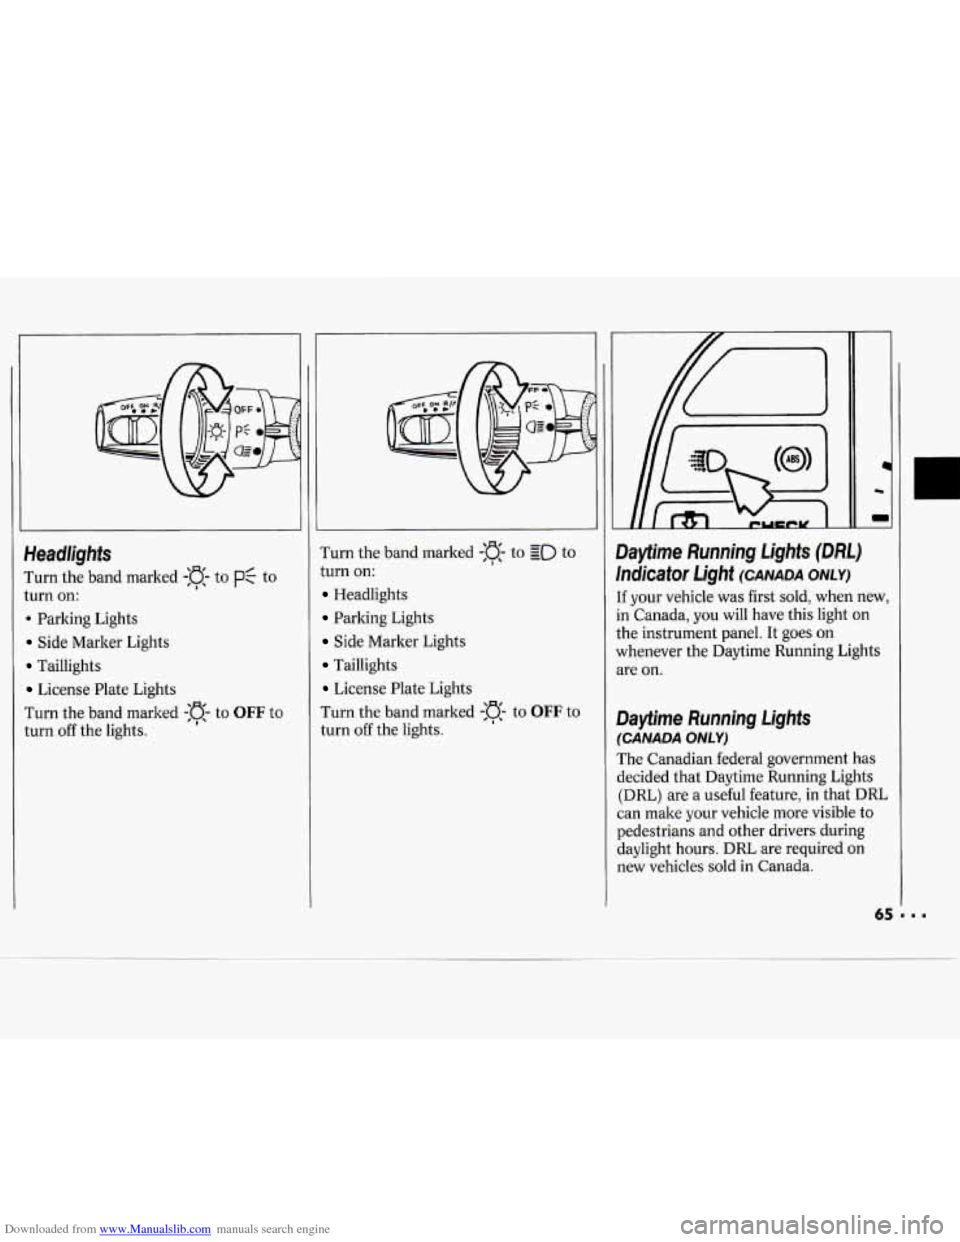
I'urn the band marked -:a- to PC to
turn on:
. Parking Lights
Side Marker Lights
Taillights
License Plate Lights
I'urn the band marked
-:a- to OFF to
turn off the lights. Turn
the band marked
-a- to go to
turn on:
Headlights
Parking Lights
Side Marker Lights
Taillights
License Plate Lights
Turn the band marked
-n- to OFF to
turn off the lights.
I
1c
m
Dayfime Running Lights (DM)
Indicator Light (CANADA ONLY)
[f your vehicle was first sold, when new,
in Canada, you will have this light on
the instrument panel. It goes on
whenever the Daytime Running Lights
we on.
Dayfime Running Lights
(CANADA ONLY)
The Canadian federal government has
decided that Daytime Running Lights
(DRL) are a useful feature, in that DRL
can make your vehicle more visible to
pedestrians and other drivers during
daylight hours. DRL are required on
new vehicles sold in Canada.
Page 67 of 243
Downloaded from www.Manualslib.com manuals search engine Features & Controls
The high beam headlights will come on
at reduced brightness in daylight when:
The ignition is on
The headlight switch is off, and
The parking brake is released.
When you turn on your headlights, the
DRL will switch off and the exterior
lights will come on. When you turn off
the headlights, the exterior lights will go
out and the high beams will change to
the reduced brightness
of DRL again.
The DRL indicator light on the
instrument panel will go on whenever
the DRL are on. This light means that
only the DRL are on. When you turn on
your exterior lights, this light will go
out. Of course, you may still turn on the
headlights any time
you need to.
To idle your vehicle with the DRL off,
set the parking brake. The
DRL will
stay
off until you release the parking
brake.
J
Headlight High-Low Beam
Changer
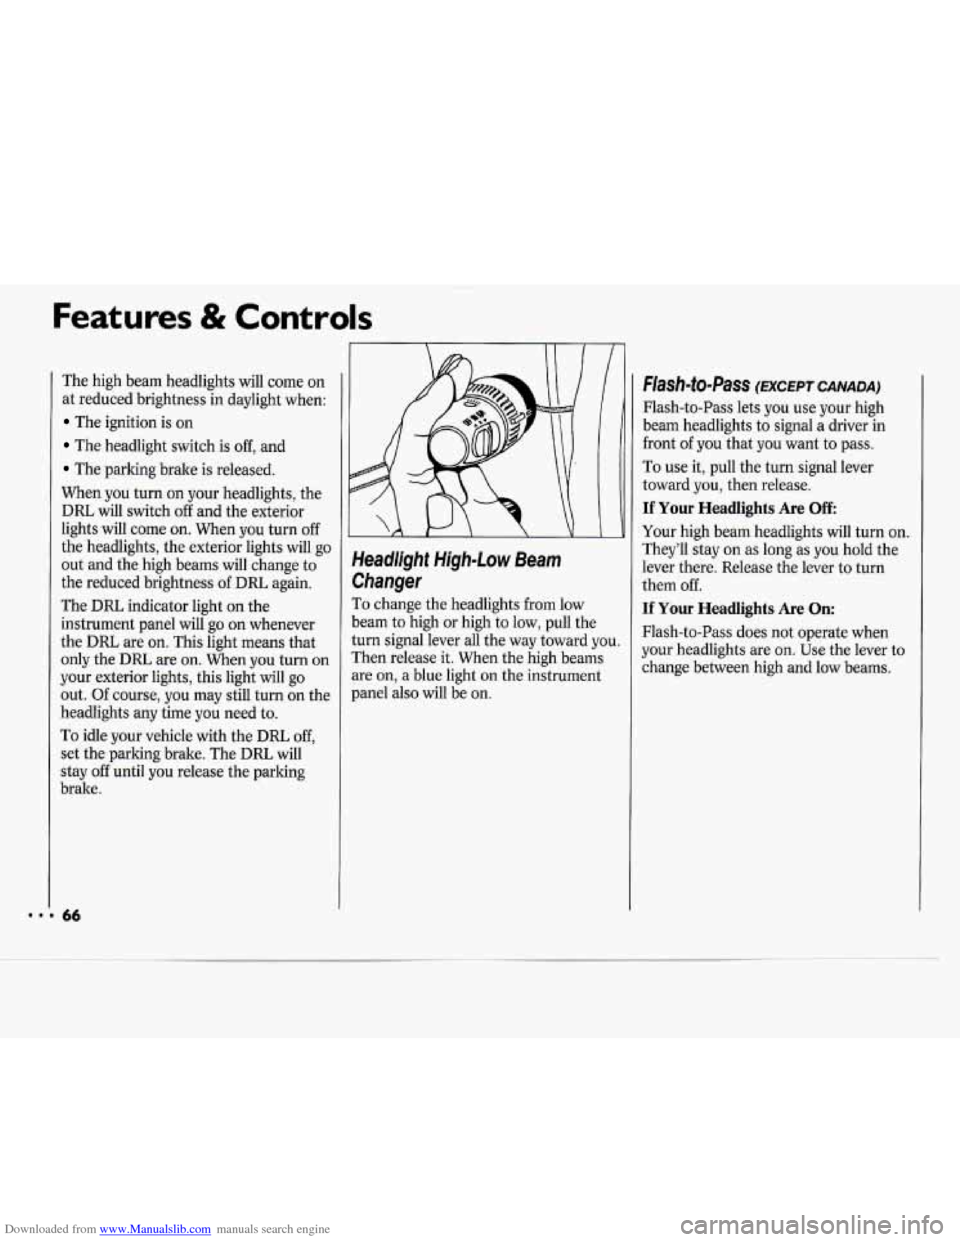
To change the headlights from low
beam
to high or high to low, pull the
turn signal lever all the way toward you.
Then release it. When the high beams
are on, a blue light on the instrument
panel also will be on.
Flash-to-Pass (EXCEPT CANADA)
Flash-to-Pass lets you use your high
beam headlights to signal a driver in
front
of you that you want to pass.
To use it, pull the turn signal lever
toward you, then release.
If Your Headlights Are Off
Your high beam headlights will turn on.
They’ll stay on
as long as you hold the
lever there. Release the lever to turn
them off.
If Your Headlights Are On:
Flash-to-Pass does not operate when
your headlights are on. Use the lever to
change between high and low beams.
Page 68 of 243
Downloaded from www.Manualslib.com manuals search engine
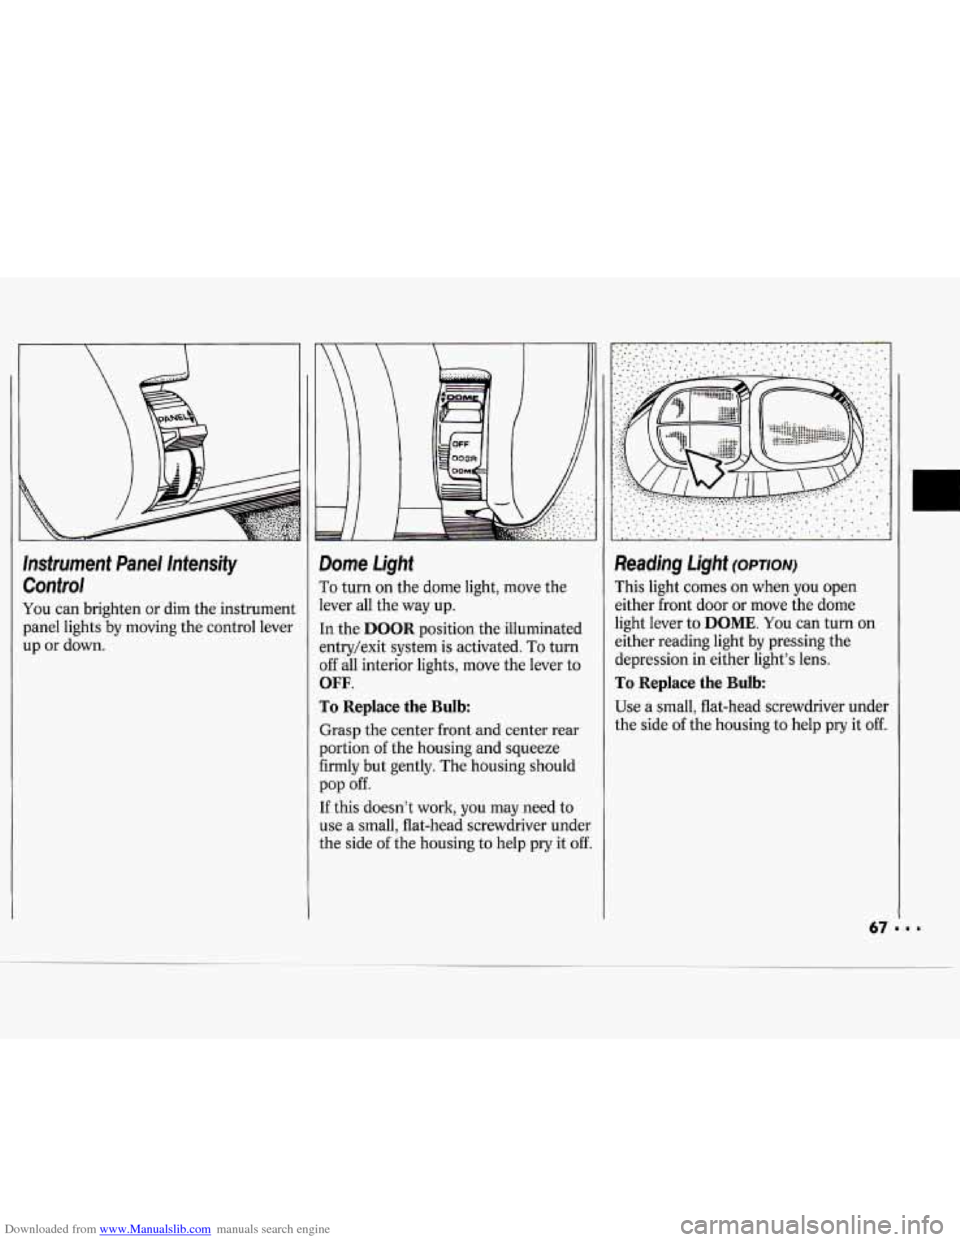
Instrument Panel Intensity Control
You can brighten or dim the instrument
panel lights by moving the control lever
up
or down.
-
- E
1
1
1
I
1
j
1
1
1
1
Dome Light
To turn on the dome light, move the
lever all the way up.
[n the
DOOR position the illuminated
:ntry/exit system is activated.
To turn
3ff all interior lights, move the lever to
OFF.
ro Replace the Bulb:
Grasp the center front and center rear
portion
of the housing and squeeze
Firmly but gently. The housing should
[f this doesn’t work, you may need to
use a small, flat-head screwdriver under
the side
of the housing to help pry it off.
pop off.
Reading Light (OPTION)
This light comes on when you open
either front door
or move the dome
light lever to
DOME. You can turn on
either reading light by pressing the
depression in either light’s lens.
To Replace the Bulb
Use a small, flat-head screwdriver under
the side
of the housing to help pry it off.