wheel CHEVROLET CAVALIER 1994 1.G Owners Manual
[x] Cancel search | Manufacturer: CHEVROLET, Model Year: 1994, Model line: CAVALIER, Model: CHEVROLET CAVALIER 1994 1.GPages: 243, PDF Size: 15.06 MB
Page 19 of 243
Downloaded from www.Manualslib.com manuals search engine Seats & Restraint Systems
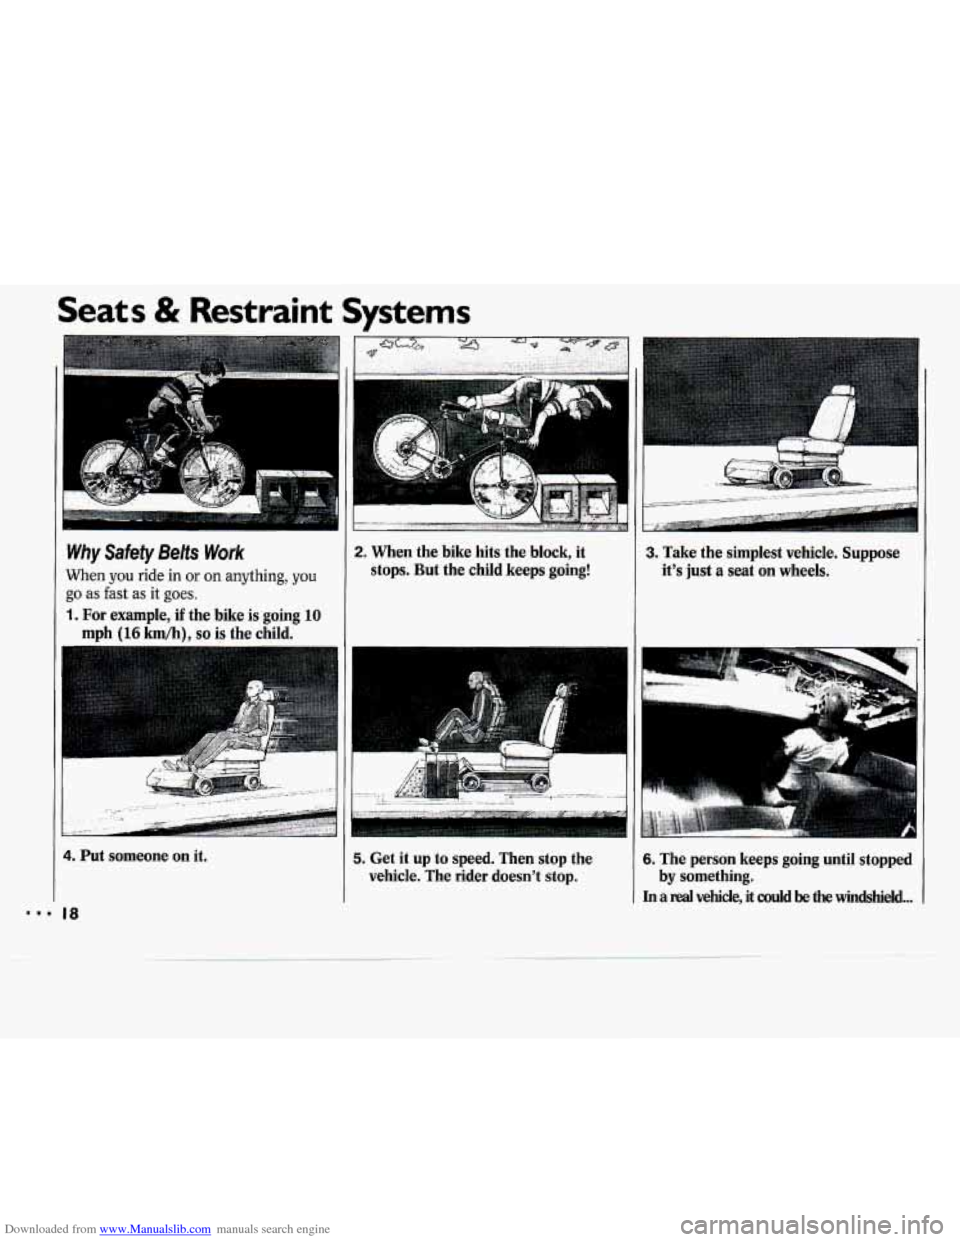
2. When the bike hits the block, it
stops. But the child keeps going! Why Safety Belts Work
When you ride in or on anything, you
go as fast as it goes.
1. For example, if the bike is going 10
mph (16 km/h). so is the child.
3. Take the simplest vehicle. Suppose
it's just a seat on wheels.
4. Put someone on it.
'8. 18
5. Get it up to speed. Then stop the
vehicle. The rider doesn't stop. 6. The person keeps going until stopped
In a real vehicle, it could be the windshield ...
by something.
Page 49 of 243
Downloaded from www.Manualslib.com manuals search engine Features & Controls
Key in the rgnition
If you walk away from your vehicle with
the keys inside, it’s an easy target for
joy riders or professional thieves
- so
don’t do it.
When you park your Chevrolet and
open the driver’s door, you’ll hear a
chime reminding you to remove your
ley from the ignition and take it with
you. Always do this. Your steering
wheel will be locked, and
so will your
ignition. If you have an automatic
transaxle, taking your key out also locks
your transaxle. And remember to lock
the doors.
Parking at Night
Park in a lighted spot, close all windows
and lock your vehicle. Remember to keep
your valuables out
of sight. Put them in
a storage area, or take them with you.
Parking Lots
If you park in a lot where someone will
be watching your vehicle, it’s best to
lock it up and take your keys. But what
if you have to leave your ignition key?
What if you have to leave something
valuable in your vehicle?
Put your valuables in a storage area,
Lock all the doors except the driver’s.
Then take the door key with you.
like your
trunk or glove
box.
48
Page 51 of 243
Downloaded from www.Manualslib.com manuals search engine Features & Controls
RUN
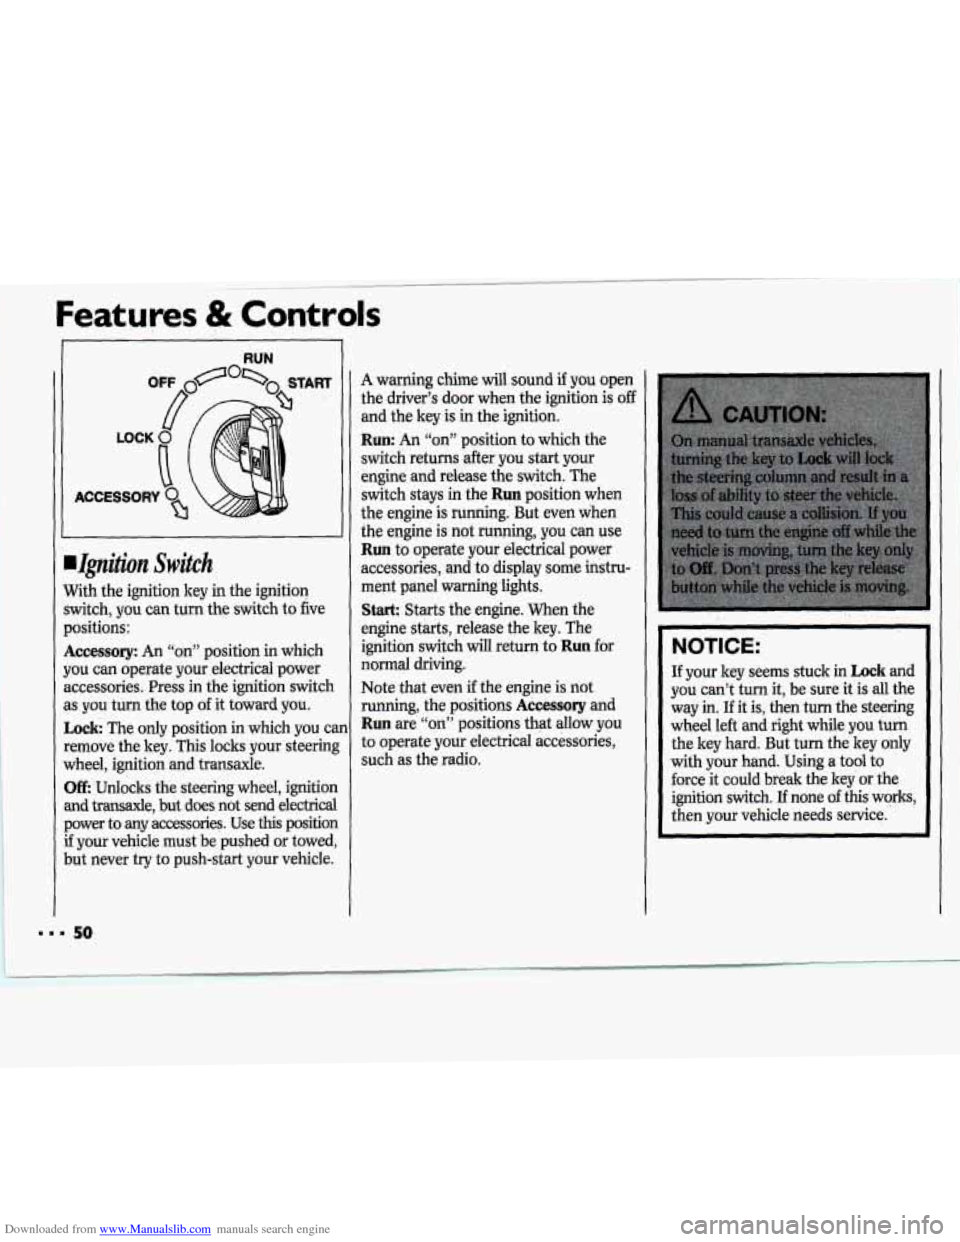
.Ignition Switch
With the ignition key in the ignition
switch, you can turn
the switch to five
positions:
Accessory: An “on” position in which
you cm operate your electrical power
accessories. Press
in the ignition switch
as you turn the top
of it toward you.
Lock The only positiop in which you can
remove the key. This locks your steering
wheel, ignition and transaxle.
Off: ,Unlocks the steering wheel, ignition
and transaxle, but does not send electrical power to any accessories. Use
this position
if your vehicle must be pushed or towed,
but never try to push-start your vehicle.
A warning chime will sound if you open
the driver’s door when the ignition
is off
and the key is in the ignition.
Run: An “on” position to which the
switch returns .after you start your
engine and release’the syitch. The
switch stays
in the Run position when
the engine
is running. But even when
the engine is
not running, you can use
Run to operate your electrical power
accessories, and
to display some histru-
ment panel WarningJights.
Stark Starts the engine. When the
engine starts, release the key. The
ignition switch will return to
Run for
normal driving.
Note that even
if the engine is not
running, the positions
Accessory and
Run are “qd’ positions’that allow you
to operate your electrical accessories,
such as .the radio.
NOTICE:
I.
If your key seems stuck in Lock and
you can’t turn it, be sure
it is all the
way
in. If it is, then turn the steering
wheel le&’and right while you
iurh
the key hard. But turn the key only
with your hand. Using
a tool to
force it could break the key or the
ignition switch.
If none of this works,
then your vehicle needs service.
50
Page 54 of 243
Downloaded from www.Manualslib.com manuals search engine How long should you keep the coolant
heater plugged in? The answer depends
on the weather, the kind of oil you
have, and some other things. Instead of
trying
to list everything here, we ask
that you contact a Chevrolet dealer in
the area where you’ll be parking your
vehicle. The dealer can give you the best
advice for that particular area.
.Automatic Transaxle
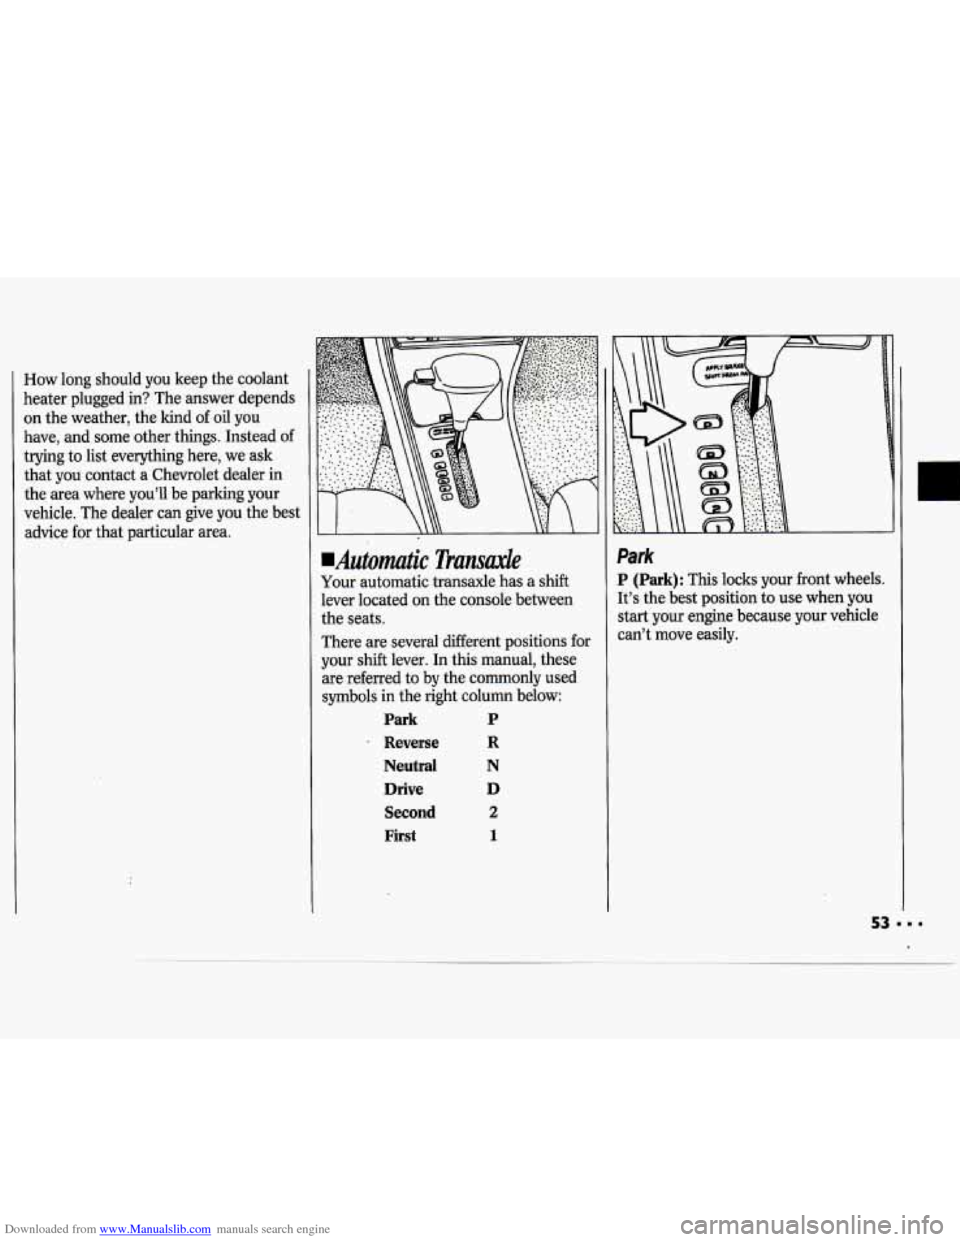
Your automatic transaxle has a shift
lever located on the console between
the seats.
There are several different positions for
your shift lever. In this manual, these
are referred to by the commonly used
symbols in the right column below:
Park P
. Reverse R
Neutral N
Drive D
Second 2
First 1
Park
P (Park): This locks your front wheels.
It’s the best position to use when you
start your engine because your vehicle
can’t move easily.
.
Page 56 of 243
Downloaded from www.Manualslib.com manuals search engine Neutral
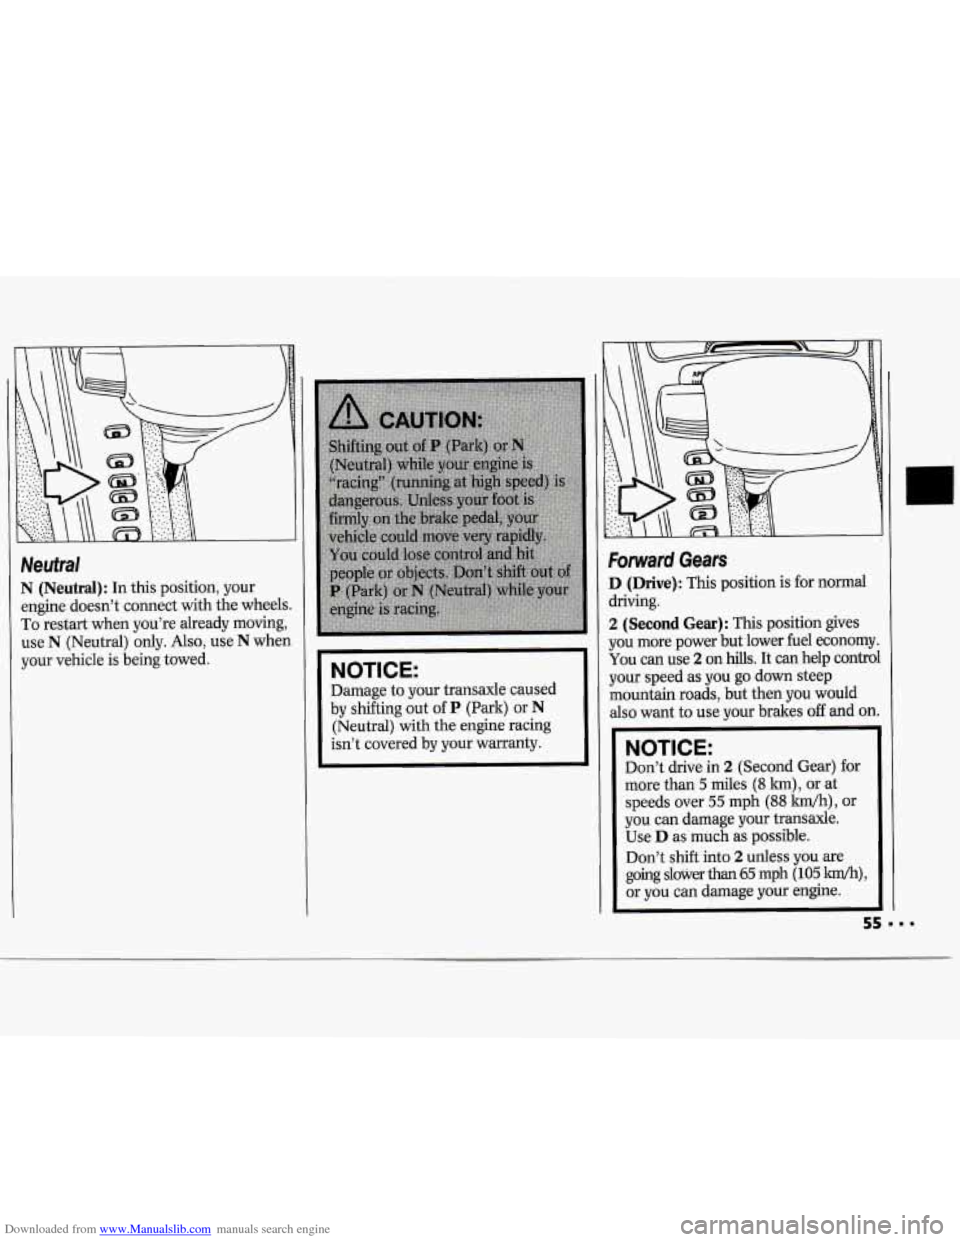
N (Neutral): In this position, your
engine doesn’t connect with the wheel:
To restart when you’re already moving,
use
N (Neutral) only. Also, use N wher
your vehicle is being towed.
I
NOTICE:
Damage to your transaxle caused
by shifting out
of P (Park) or N
(Neutral) with the engine racing
isn’t covered by your warranty.
Forward Gears
D (Drive): This position is for normal
driving.
2 (Second Gear): This position gives
you more power but lower fuel economy
You can use 2 on hills. It can help contro
your speed as you
go down steep
mountain roads, but then you would
also want to use your brakes off and on
NOTICE:
..
Don’t drive in 2 (Second Gear) for
more than
5 miles (8 km), or at
speeds over
55 mph (88 km/h), or
you can damage your transaxle.
Use
D as much as possible.
Don’t
shift into 2 unless you are
going slower
than 65 mph (105 km/h),
or you can damage your engine.
I
L
55===
Page 57 of 243
Downloaded from www.Manualslib.com manuals search engine Features & Controls
1 (First Gear): This position gives you
even more power (but lower fuel
economy) than
2. You can use it on
very steep hills, or in deep snow or
mud.
If the selector lever is put in 1, the
transaxle won’t shift into first gear until
the vehicle is going slowly enough.
NOTICE:
If your front wheels can’t rotate,
don’t try to drive. This might
happen if you were stuck in very
deep sand or mud or were up
against
a solid object. You could
damage your transaxle.
Also, if you stop when going uphill,
don’t hold your vehicle there with
only the accelerator pedal. This
could overheat and damage the
transaxle. Use your brakes or shift
into
P (Park) to hold your vehicle
in position on a hill.
3.1L V6 Engine:
Maximum engine speed is limited to
protect driveline components from
improper operation.
Manual Transale
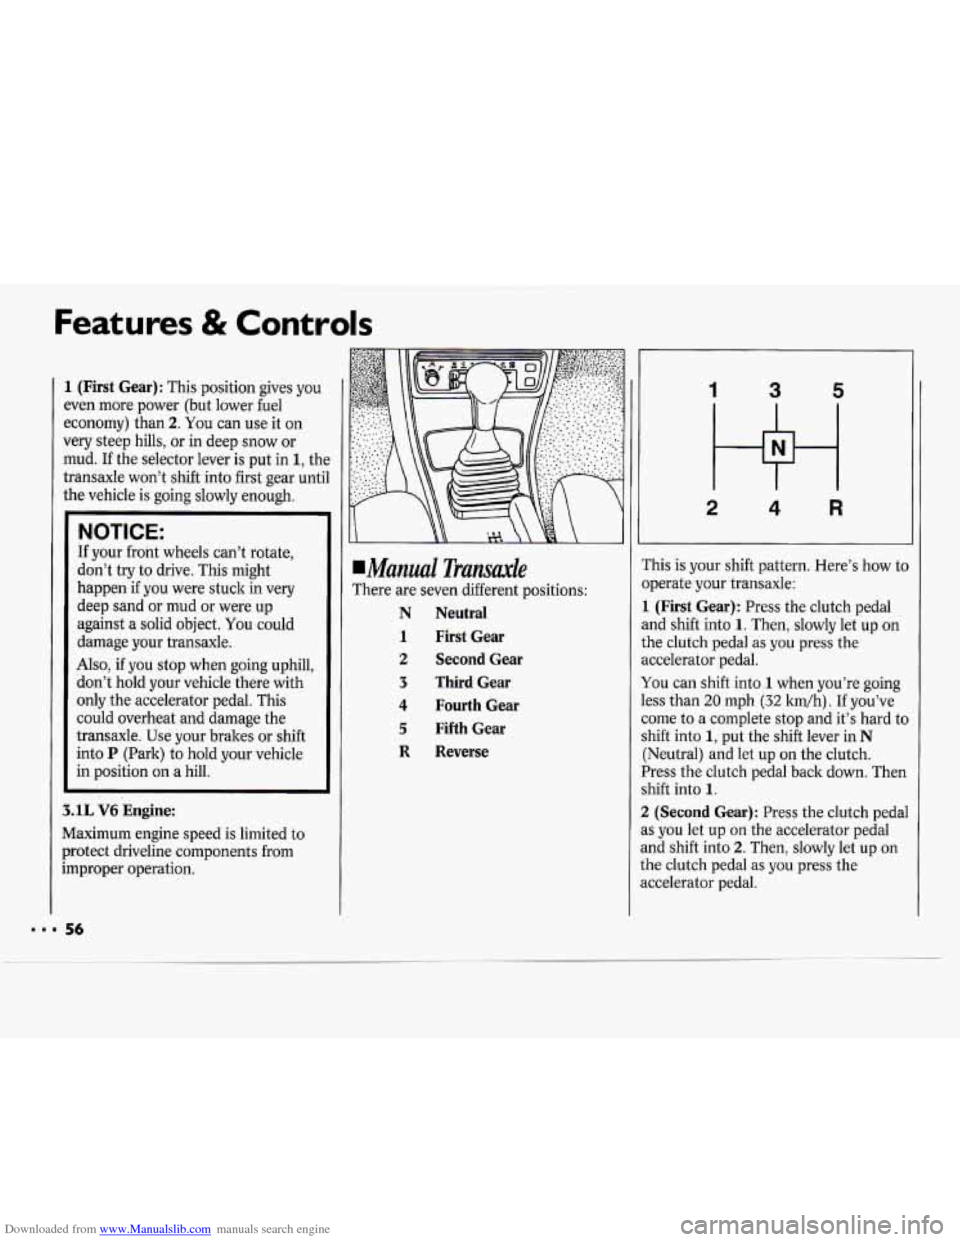
There are seven different positions:
N Neutral
1 First Gear
2 Second Gear
3 Third Gear
4 Fourth Gear
5 Fifth Gear
R Reverse
1 3 5
2 4 R
This is your shift pattern. Here’s how to
operate your transaxle:
1 (First Gear): Press the clutch pedal
and shift into
1. Then, slowly let up on
the clutch pedal as
you press the
accelerator pedal.
You can shift into
1 when you’re going
less than
20 mph (32 km/h) . If you’ve
come to a complete stop and it’s hard to
shift into
1, put the shift lever in N
(Neutral) and let up on the clutch.
Press the clutch pedal back down. Then
shift into
1.
2
(Second Gear): Press the clutch pedal
as you let up on the accelerator pedal
and shift into
2. Then, slowly let up on
the clutch pedal as you press the
accelerator pedal.
Page 64 of 243
Downloaded from www.Manualslib.com manuals search engine Horn
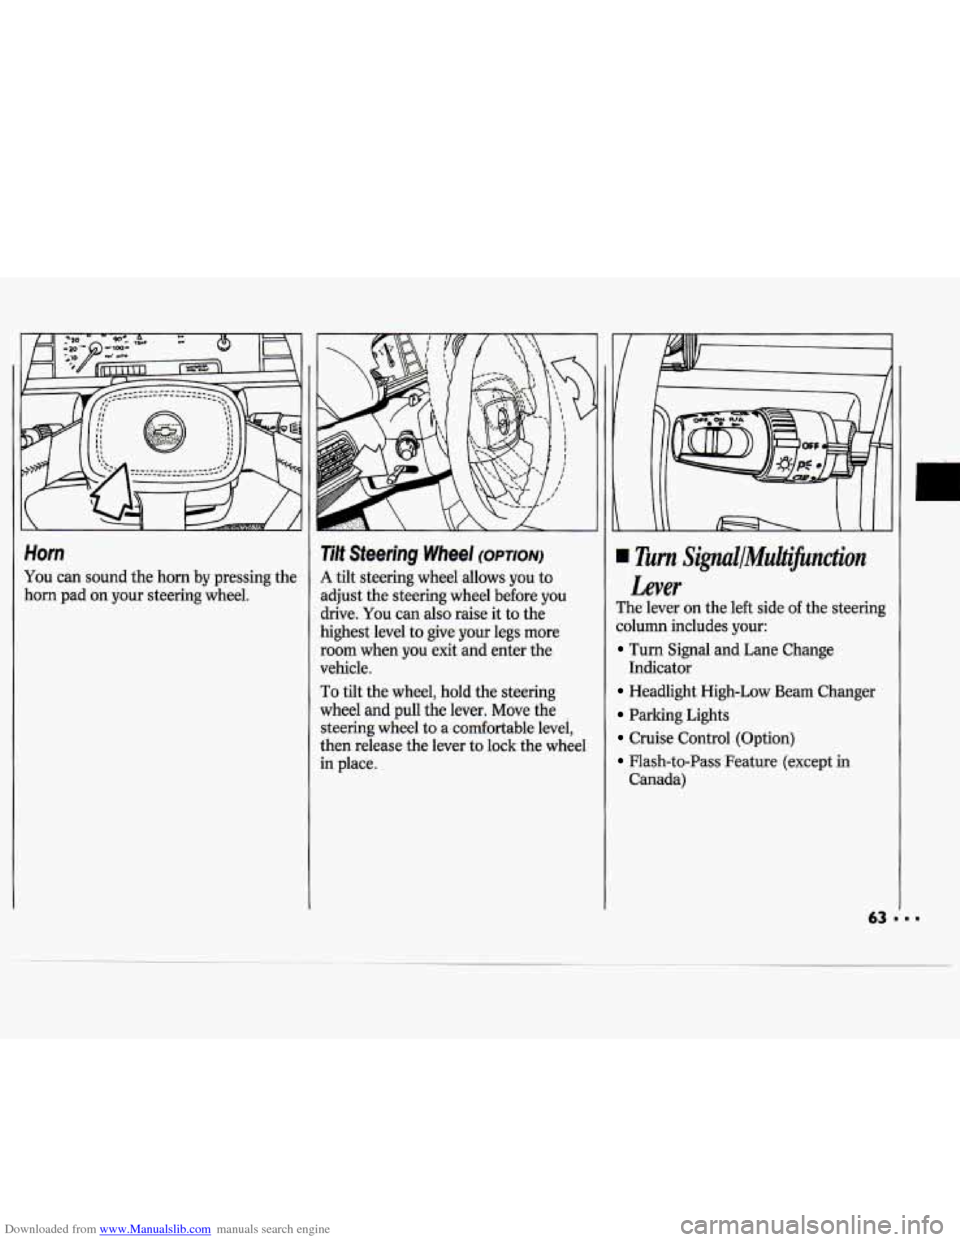
You can sound the horn by pressing the
horn pad on your steering wheel.
Tilt Steering Wheel (OPTION)
A tilt steering wheel allows you to
adjust the steering wheel before
you
drive. You can also raise it to the
highest level to give your legs more
room when
you exit and enter the
vehicle.
To tilt the wheel, hold the steering
wheel and pull the lever. Move the
steering wheel to a comfortable level,
then release the lever to lock the wheel
in place.
Turn Signul/MuiJicnction
Lever
The lever on the left side of the steering
column includes your:
Turn Signal and Lane Change
Headlight High-Low Beam Changer
Parking Lights
Cruise Control (Option)
Flash-to-Pass Feature (except in
Indicator
Canada)
Page 82 of 243
Downloaded from www.Manualslib.com manuals search engine The Instrument Panel-
Your Information System
Your instrument panel is designed to let
you know at a glance how your vehicle
is running. You’ll
know how fast you’re
going, how much fuel you’re using, and
many other things you’ll need to drive
safely and economically. The
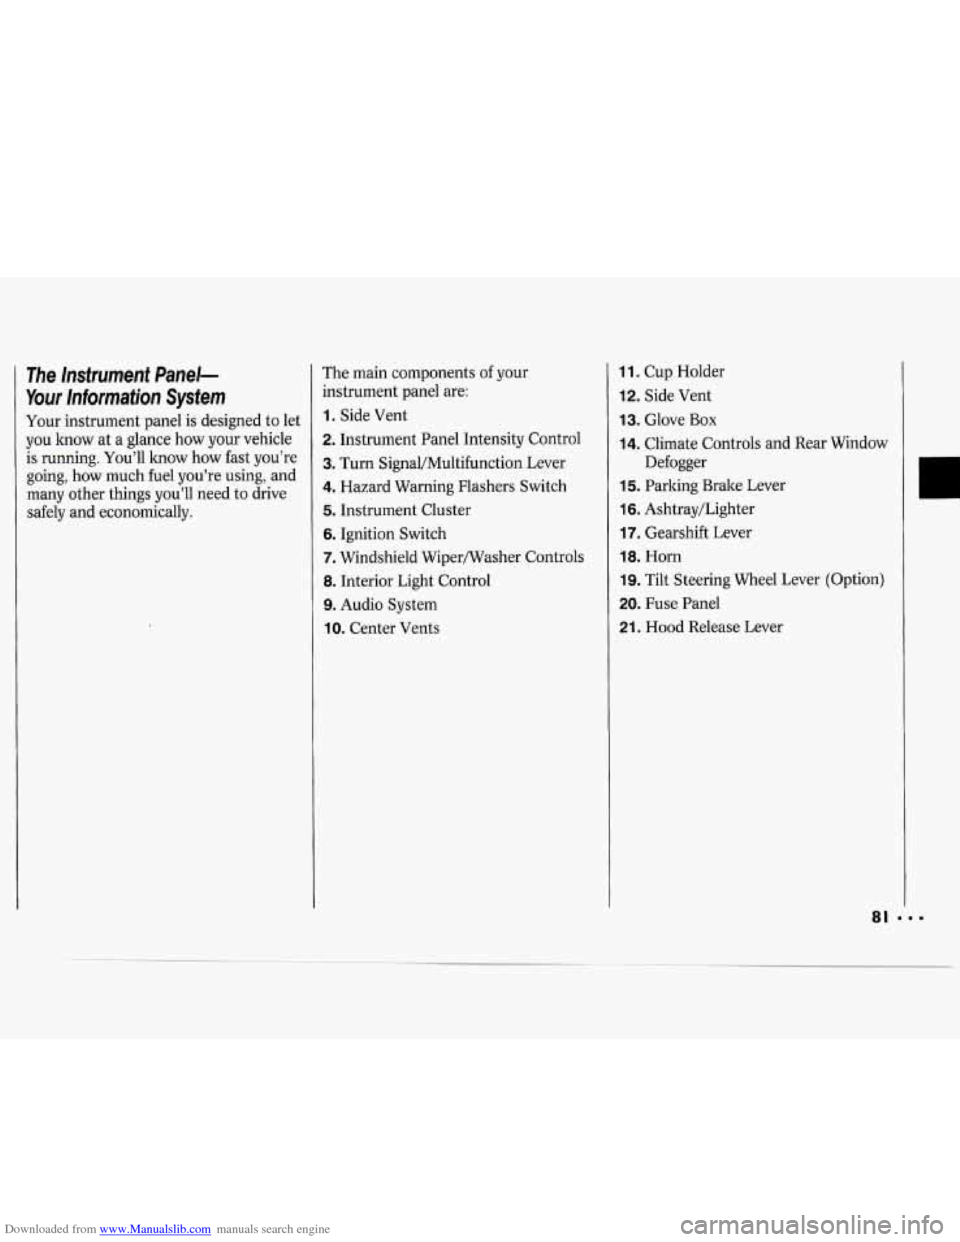
main components of your
instrument panel are:
1. Side Vent
2. Instrument Panel Intensity Control
3. Turn Signal/Multifunction Lever
4. Hazard Warning Flashers Switch
5. Instrument Cluster
6. Ignition Switch
7. Windshield Wipermasher Controls
8. Interior Light Control
9. Audio System
10. Center Vents
1 1. Cup Holder
12. Side Vent
13. Glove Box
14. Climate Controls and Rear Window
15. Parking Brake Lever
16. Ashtray/Lighter
17. Gearshift Lever
18. Horn
19. Tilt Steering Wheel Lever (Option)
20. Fuse Panel
21. Hood Release Lever
Defogger
Page 113 of 243
Downloaded from www.Manualslib.com manuals search engine Your Driving and the Road
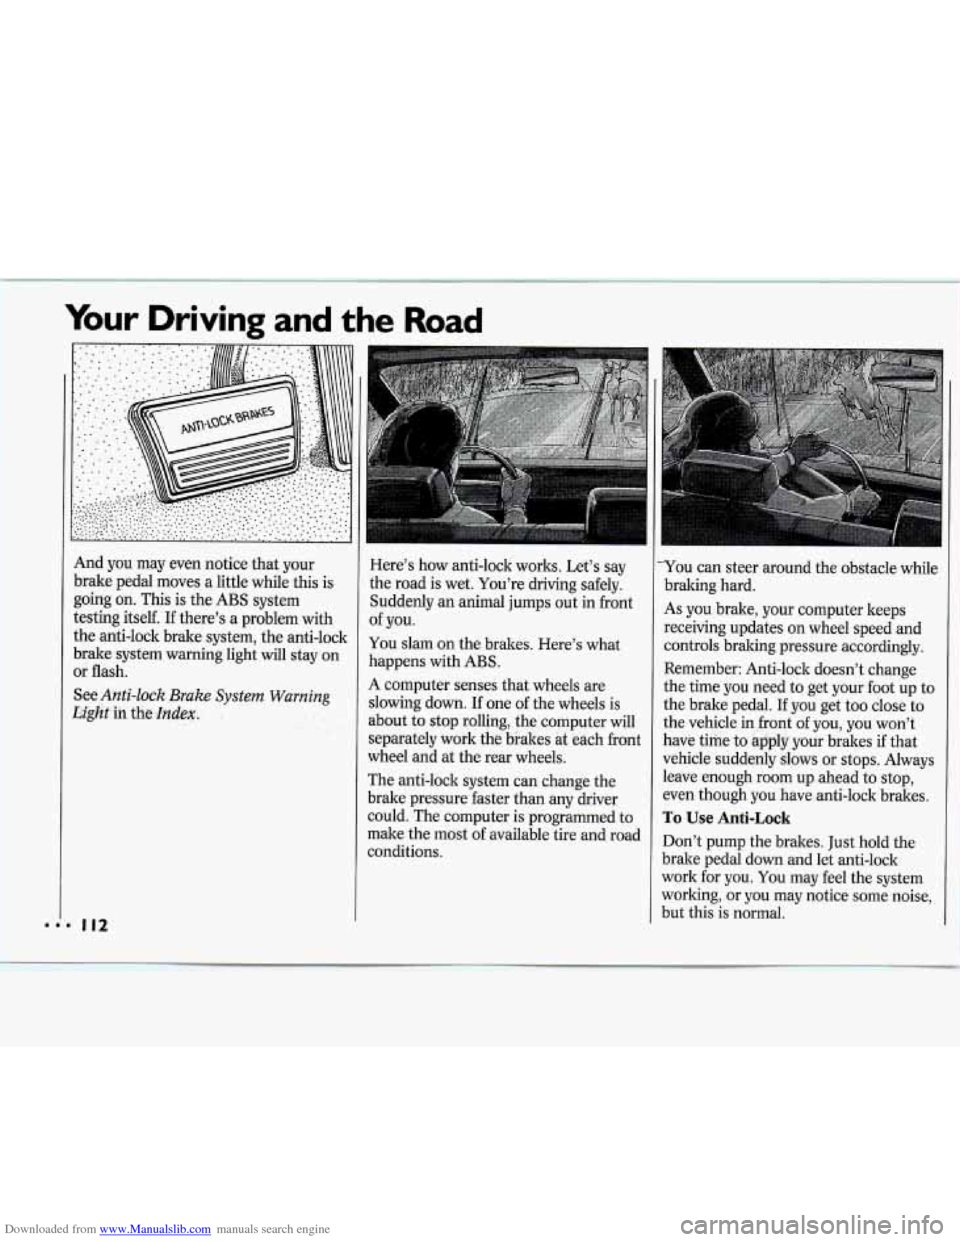
And you may even notice that your
brake pedal moves a little while this is
going on. This is the ABS system
testing itself.
If there’s a problem with
the anti-lock brake system, the anti-lock
brake system warning light will stay on
or flash.
See
Anti-lock Brake System Warning
Light
in the Index.
Here’s how anti-lock works. Let’s say
the road is wet. You’re driving safely.
Suddenly
an animal jumps out in front
of you.
You slam on the brakes. Here’s what
happens with ABS.
A computer senses that wheels are
slowing down.
If one of the wheels is
about to stop rolling, the computer wil
separately work the brakes at each fro]
wheel and at the rear wheels.
The anti-lock system can change the
brake pressure faster than any driver
1
nt
could.*The computer is programmed to
make the most of available tire and road
conditions.
L-
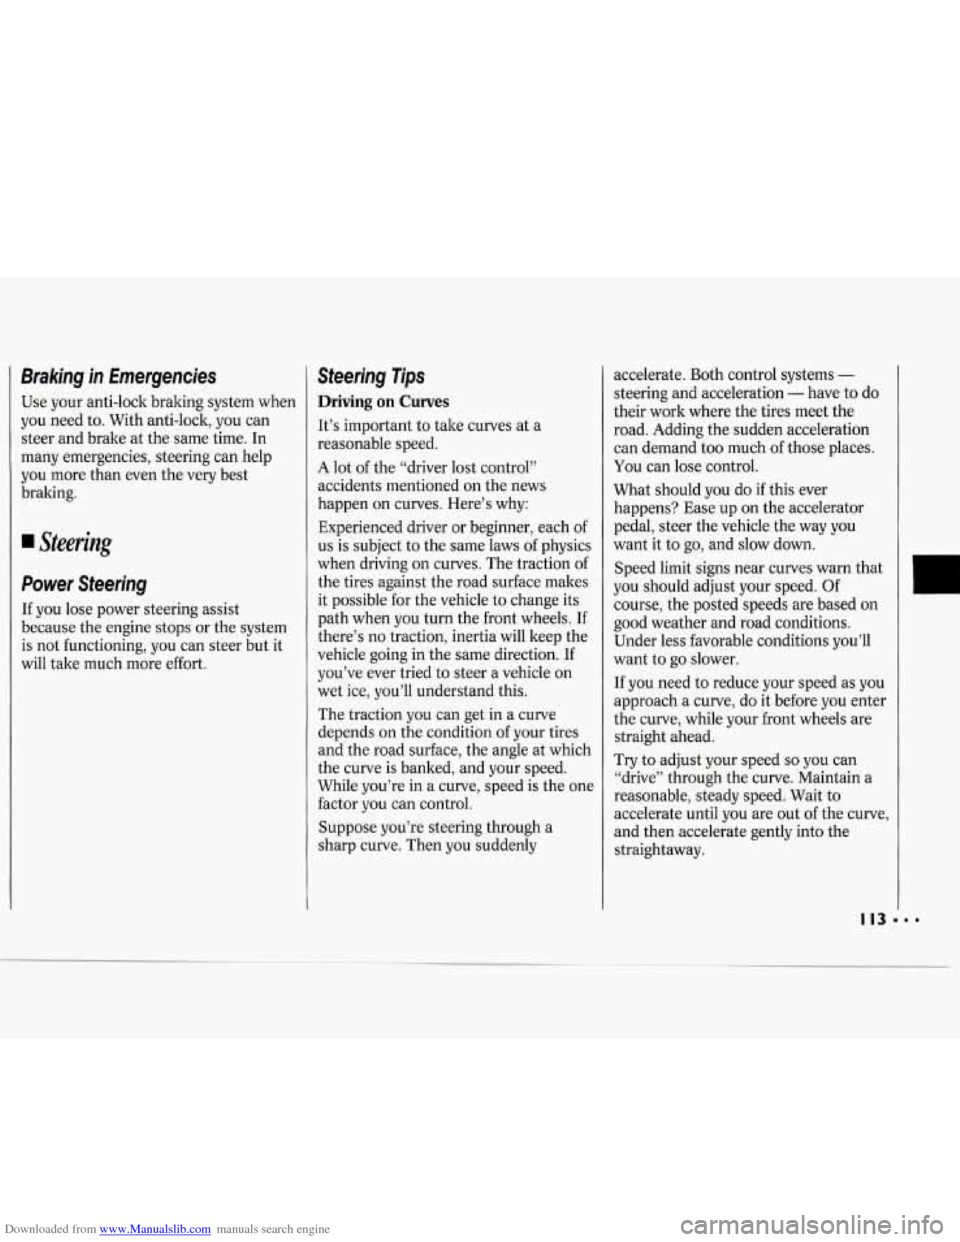
You can steer around the obstacle while
braking hard.
As you brake, your computer keeps
receiving updates on wheel speed and
controls braking pressure accordingly.
Remember: Anti-lock doesn’t change
the time you need to get your foot up to
the brake pedal. If you get too close to
the vehicle in front of you, you won’t
have time to apply your brakes if that
vehicle suddenly slows or stops. Always
leave enough room up ahead to stop,
even though you have anti-lock brakes.
To Use Anti-Lock
Don’t pump the brakes. Just hold the
brake pedal down and let anti-lock
work for you. You may feel the system
working, or you may notice some noise,
but this is normal.
Page 114 of 243
Downloaded from www.Manualslib.com manuals search engine Braking in Emergencies
Use your anti-lock braking system when
you need to. With anti-lock, you can
steer and brake at the same time. In
many emergencies, steering can help
you more than even the very best
braking.
Power Steering
If you lose power steering assist
because the engine stops or the system
is not functioning, you can steer but it
will take much more effort.
Steering Tips
Driving on Curves
It’s important to take curves at a
reasonable speed.
A lot of the “driver lost control”
accidents mentioned
on the news
happen
on curves. Here’s why:
Experienced driver or beginner, each
of
us is subject to the same laws of physics
when driving on curves. The traction of
the tires against the road surface makes
it possible for the vehicle to change its
path when you turn the front wheels.
If
there’s no traction, inertia will keep the
vehicle going in the same direction.
If
you’ve ever tried to steer a vehicle on
wet ice, you’ll understand this.
The traction you can get in a curve
depends on the condition of your tires
and the road surface, the angle at which
the curve
is banked, and your speed.
While you’re in a curve, speed is the one
factor you can control.
Suppose you’re steering through a
sharp curve. Then you suddenly accelerate.
Both control systems
-
steering and acceleration - have to do
their work where the tires meet the
road. Adding the sudden acceleration
can demand too much
of those places.
You can lose control.
What should you do if this ever
happens? Ease up on the accelerator
pedal, steer the vehicle the way you
want it to go, and slow down.
Speed limit signs near curves warn that
you should adjust your speed. Of
course, the posted speeds are based on
good weather and road conditions.
Under less favorable conditions you’ll
want to go slower.
If you need to reduce your speed as you
approach
a curve, do it before you enter
the curve, while your front wheels are
straight ahead.
Try to adjust your speed
so you can
“drive” through the curve. Maintain a
reasonable, steady speed. Wait to
accelerate until you are out of the curve,
and then accelerate gently into the
straightaway.