CHEVROLET CORVETTE 2011 6.G Repair Manual
Manufacturer: CHEVROLET, Model Year: 2011, Model line: CORVETTE, Model: CHEVROLET CORVETTE 2011 6.GPages: 428, PDF Size: 6.63 MB
Page 61 of 428
Black plate (29,1)Chevrolet Corvette Owner Manual - 2011
Keys, Doors and Windows 2-29
4. Return the convertible top frontlatch to the closed position.
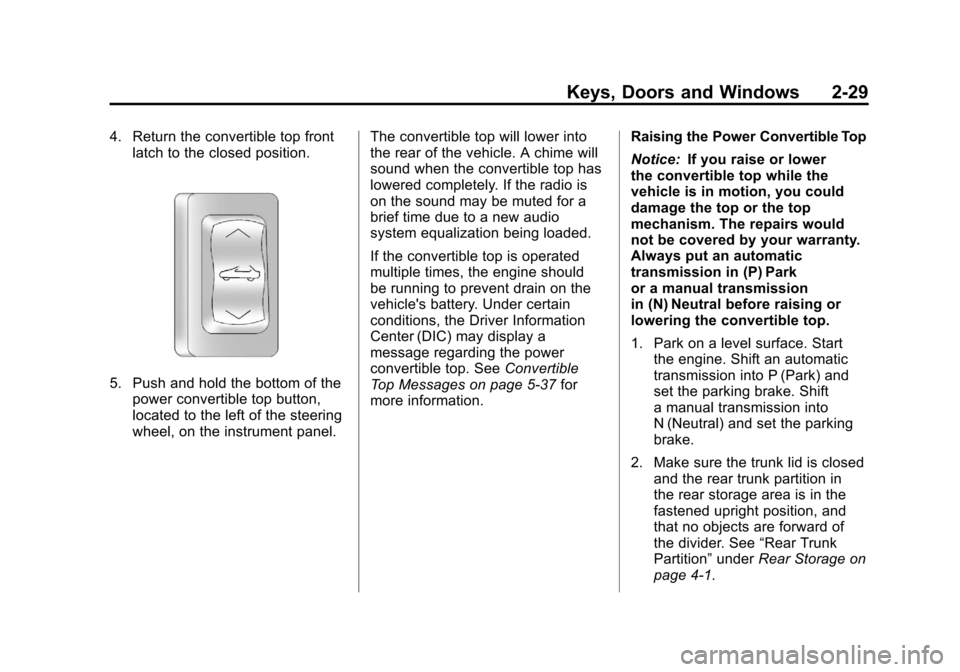
5. Push and hold the bottom of thepower convertible top button,
located to the left of the steering
wheel, on the instrument panel. The convertible top will lower into
the rear of the vehicle. A chime will
sound when the convertible top has
lowered completely. If the radio is
on the sound may be muted for a
brief time due to a new audio
system equalization being loaded.
If the convertible top is operated
multiple times, the engine should
be running to prevent drain on the
vehicle's battery. Under certain
conditions, the Driver Information
Center (DIC) may display a
message regarding the power
convertible top. See
Convertible
Top Messages on page 5‑37 for
more information. Raising the Power Convertible Top
Notice:
If you raise or lower
the convertible top while the
vehicle is in motion, you could
damage the top or the top
mechanism. The repairs would
not be covered by your warranty.
Always put an automatic
transmission in (P) Park
or a manual transmission
in (N) Neutral before raising or
lowering the convertible top.
1. Park on a level surface. Start the engine. Shift an automatic
transmission into P (Park) and
set the parking brake. Shift
a manual transmission into
N (Neutral) and set the parking
brake.
2. Make sure the trunk lid is closed and the rear trunk partition in
the rear storage area is in the
fastened upright position, and
that no objects are forward of
the divider. See “Rear Trunk
Partition” underRear Storage on
page 4‑1.
Page 62 of 428
Black plate (30,1)Chevrolet Corvette Owner Manual - 2011
2-30 Keys, Doors and Windows
3. Push and hold the top of thepower convertible top button.
The top will raise and the
windows will lower if they were
in the raised position. A chime
will sound when the top is raised
completely.
4. After the convertible top is completely raised, release the
power convertible top button.
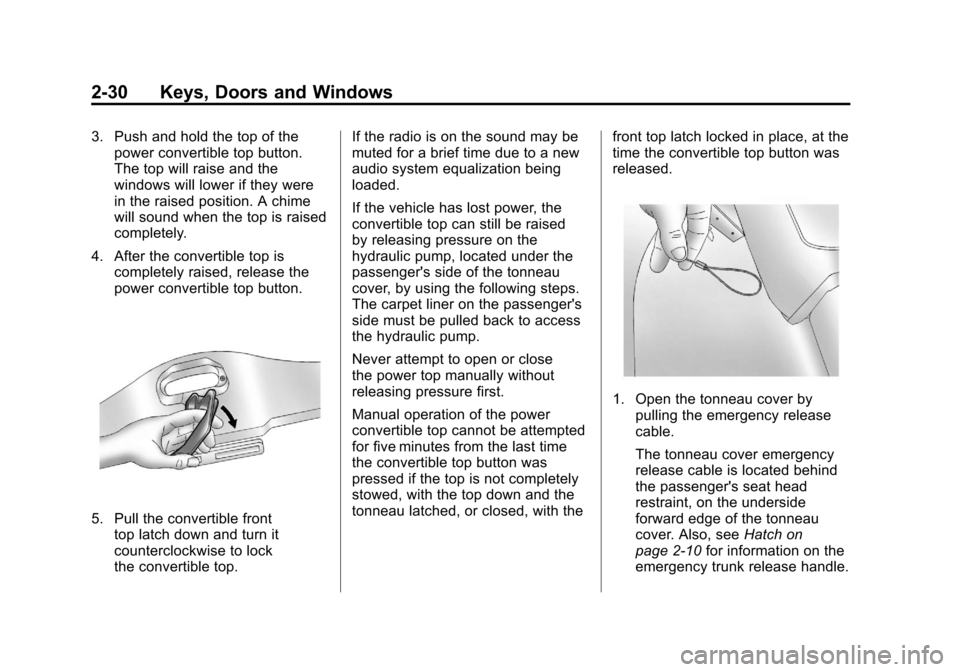
5. Pull the convertible fronttop latch down and turn it
counterclockwise to lock
the convertible top. If the radio is on the sound may be
muted for a brief time due to a new
audio system equalization being
loaded.
If the vehicle has lost power, the
convertible top can still be raised
by releasing pressure on the
hydraulic pump, located under the
passenger's side of the tonneau
cover, by using the following steps.
The carpet liner on the passenger's
side must be pulled back to access
the hydraulic pump.
Never attempt to open or close
the power top manually without
releasing pressure first.
Manual operation of the power
convertible top cannot be attempted
for five minutes from the last time
the convertible top button was
pressed if the top is not completely
stowed, with the top down and the
tonneau latched, or closed, with the
front top latch locked in place, at the
time the convertible top button was
released.
1. Open the tonneau cover by
pulling the emergency release
cable.
The tonneau cover emergency
release cable is located behind
the passenger's seat head
restraint, on the underside
forward edge of the tonneau
cover. Also, see Hatch on
page 2‑10 for information on the
emergency trunk release handle.
Page 63 of 428
Black plate (31,1)Chevrolet Corvette Owner Manual - 2011
Keys, Doors and Windows 2-31
Be careful when opening
the tonneau cover by hand.
If the tonneau cover is opened
quickly, damage can occur to the
hinging mechanism, which can
prevent proper operation of the
convertible top.
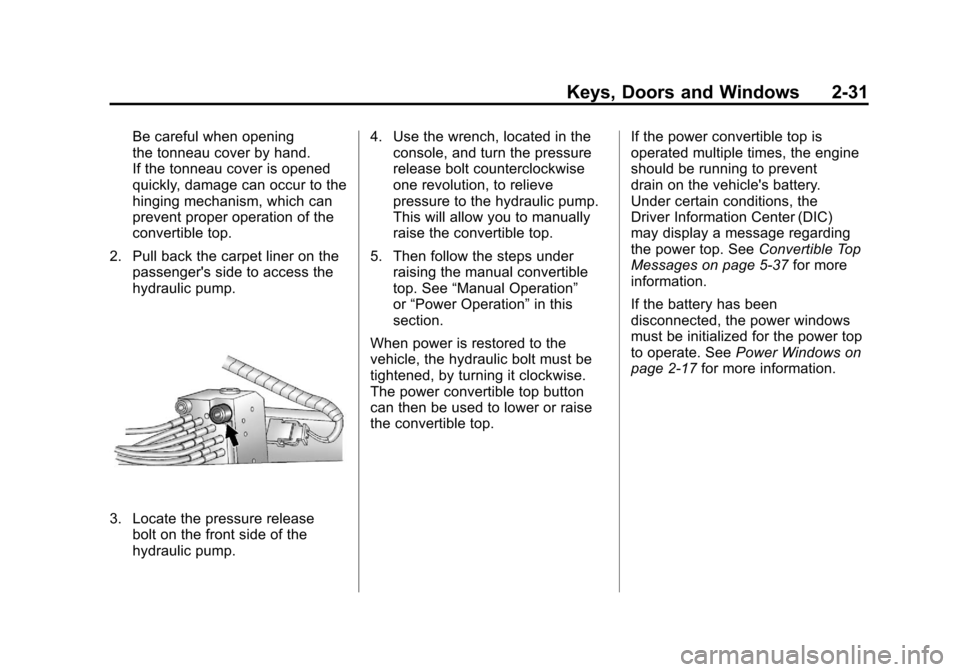
2. Pull back the carpet liner on the passenger's side to access the
hydraulic pump.
3. Locate the pressure releasebolt on the front side of the
hydraulic pump. 4. Use the wrench, located in the
console, and turn the pressure
release bolt counterclockwise
one revolution, to relieve
pressure to the hydraulic pump.
This will allow you to manually
raise the convertible top.
5. Then follow the steps under raising the manual convertible
top. See “Manual Operation”
or “Power Operation” in this
section.
When power is restored to the
vehicle, the hydraulic bolt must be
tightened, by turning it clockwise.
The power convertible top button
can then be used to lower or raise
the convertible top. If the power convertible top is
operated multiple times, the engine
should be running to prevent
drain on the vehicle's battery.
Under certain conditions, the
Driver Information Center (DIC)
may display a message regarding
the power top. See
Convertible Top
Messages on page 5‑37 for more
information.
If the battery has been
disconnected, the power windows
must be initialized for the power top
to operate. See Power Windows on
page 2‑17 for more information.
Page 64 of 428
Black plate (32,1)Chevrolet Corvette Owner Manual - 2011
2-32 Keys, Doors and Windows
Cleaning the Convertible Top
The vehicle's convertible top should
be cleaned often. However, high
pressure car washes may cause
water to enter your vehicle.
When you hand wash the top, do it
in partial shade. Use a mild soap,
lukewarm water and a soft sponge.
A chamois or cloth may leave lint on
the top, and a brush can chafe the
threads in the top fabric. Do not use
detergents, harsh cleaners, solvents
or bleaching agents.Wet the entire vehicle and wash the
top evenly to avoid spots or rings.
Let the soap remain on the fabric
for a few minutes. When the top is
really dirty, use a mild foam-type
cleaner. Thoroughly rinse the entire
vehicle, then let the top dry in direct
sunlight.
To protect the convertible top:
.After you wash the vehicle,
make sure the top is completely
dry before you lower it.
.Do not get any cleaner on the
vehicle's painted finish; it could
leave streaks.
.If you decide to go through an
automatic car wash, ask the
manager if the equipment could
damage your top.
Page 65 of 428
Black plate (1,1)Chevrolet Corvette Owner Manual - 2011
Seats and Restraints 3-1
Seats and
Restraints
Head Restraints
Head Restraints . . . . . . . . . . . . . . . 3-2
Front Seats
Seat Adjustment . . . . . . . . . . . . . . 3-2
Power Seat Adjustment . . . . . . . 3-3
Lumbar Adjustment . . . . . . . . . . . 3-6
Reclining Seatbacks . . . . . . . . . . 3-6
Seatback Latches . . . . . . . . . . . . . 3-8
Heated Front Seats . . . . . . . . . . . 3-8
Safety Belts
Safety Belts . . . . . . . . . . . . . . . . . . . 3-9
How to Wear Safety BeltsProperly . . . . . . . . . . . . . . . . . . . . 3-13
Lap-Shoulder Belt . . . . . . . . . . . 3-18
Safety Belt Use During Pregnancy . . . . . . . . . . . . . . . . . . 3-20
Safety Belt Extender . . . . . . . . . 3-21 Safety System Check . . . . . . . . 3-21
Safety Belt Care . . . . . . . . . . . . . 3-21
Replacing Safety Belt System
Parts After a Crash . . . . . . . . . 3-22
Airbag System
Airbag System . . . . . . . . . . . . . . . 3-22
Where Are the Airbags? . . . . . 3-24
When Should an AirbagInflate? . . . . . . . . . . . . . . . . . . . . . 3-26
What Makes an Airbag Inflate? . . . . . . . . . . . . . . . . . . . . . 3-27
How Does an Airbag Restrain? . . . . . . . . . . . . . . . . . . . 3-28
What Will You See After an Airbag Inflates? . . . . . . . . . . . . 3-28
Passenger Sensing
System . . . . . . . . . . . . . . . . . . . . . 3-30
Servicing the Airbag-Equipped Vehicle . . . . . . . . . . . . . . . . . . . . . 3-34
Adding Equipment to the Airbag-Equipped Vehicle . . . 3-35
Airbag System Check . . . . . . . . 3-36
Replacing Airbag System Parts After a Crash . . . . . . . . . 3-36
Child Restraints
Older Children . . . . . . . . . . . . . . . 3-37
Infants and YoungChildren . . . . . . . . . . . . . . . . . . . . 3-39
Child Restraint Systems . . . . . 3-41
Lower Anchors and Tethers for Children (LATCH System)
(Coupe and Convertible
Models Only) . . . . . . . . . . . . . . . 3-43
Lower Anchors and Tethers for Children (LATCH System)
(Z06 and ZR1
Models Only) . . . . . . . . . . . . . . . 3-44
Replacing LATCH System Parts After a Crash . . . . . . . . . 3-48
Securing Child Restraints . . . . 3-48
Page 66 of 428
Black plate (2,1)Chevrolet Corvette Owner Manual - 2011
3-2 Seats and Restraints
Head Restraints
The vehicle's front seats have head
restraints in the outboard seating
positions that cannot be adjusted.
The front seat outboard head
restraints are not designed to be
removed.
Front Seats
Seat Adjustment
Manual Seats
{WARNING
You can lose control of the
vehicle if you try to adjust a
manual driver seat while the
vehicle is moving. The sudden
movement could startle and
confuse you, or make you push
a pedal when you do not want to.
Adjust the driver seat only when
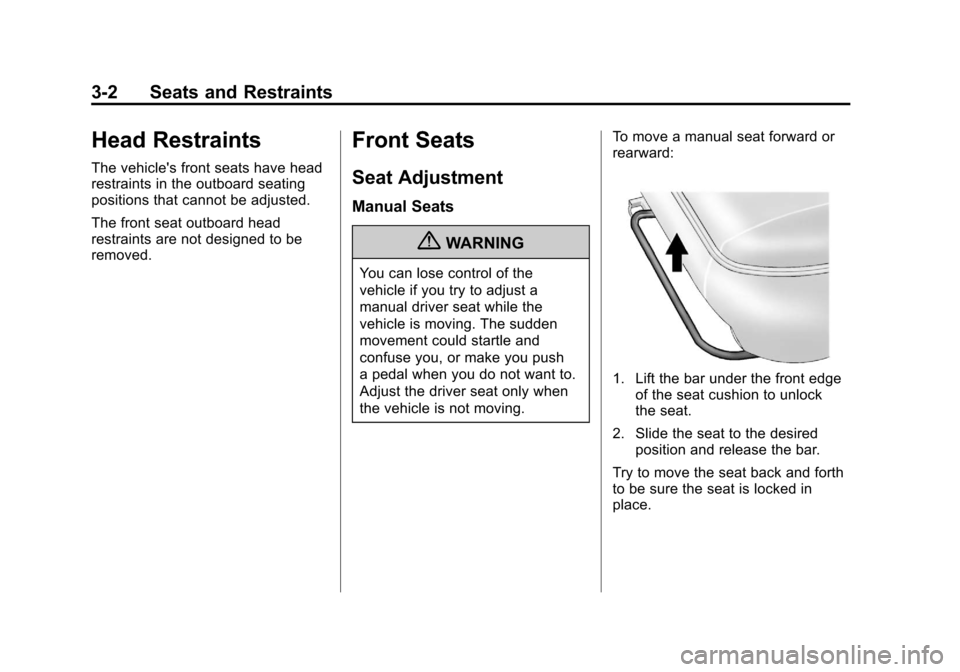
the vehicle is not moving.To move a manual seat forward or
rearward:
1. Lift the bar under the front edge
of the seat cushion to unlock
the seat.
2. Slide the seat to the desired position and release the bar.
Try to move the seat back and forth
to be sure the seat is locked in
place.
Page 67 of 428
Black plate (3,1)Chevrolet Corvette Owner Manual - 2011
Seats and Restraints 3-3
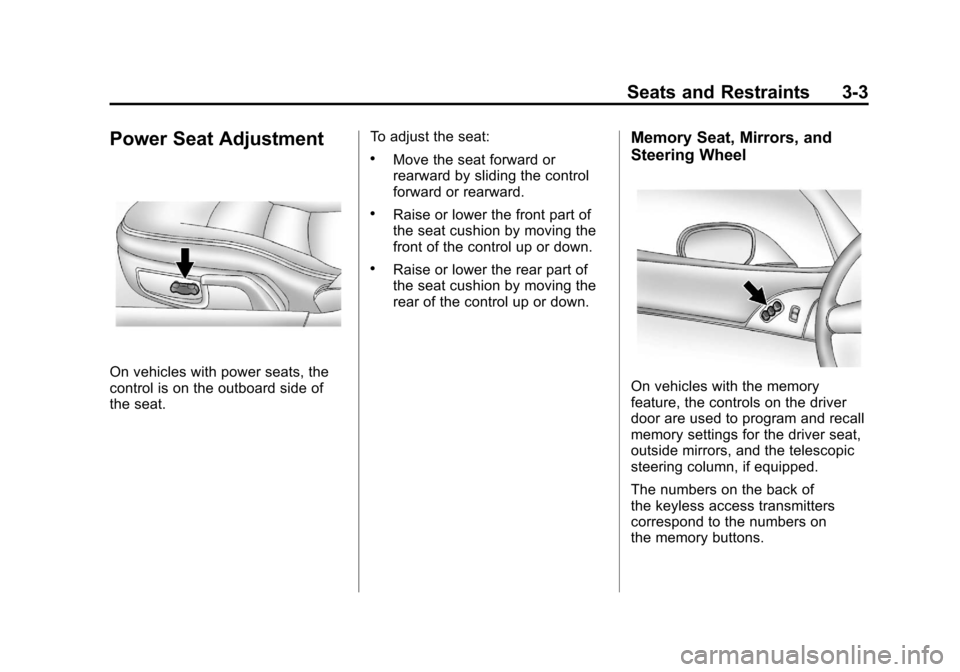
Power Seat Adjustment
On vehicles with power seats, the
control is on the outboard side of
the seat.To adjust the seat:
.Move the seat forward or
rearward by sliding the control
forward or rearward.
.Raise or lower the front part of
the seat cushion by moving the
front of the control up or down.
.Raise or lower the rear part of
the seat cushion by moving the
rear of the control up or down.
Memory Seat, Mirrors, and
Steering Wheel
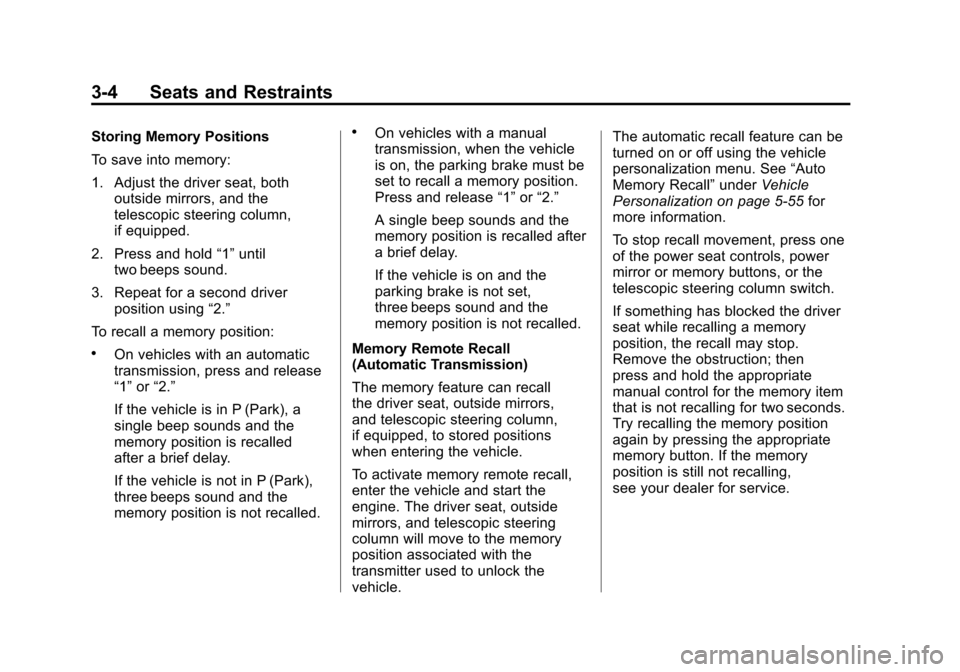
On vehicles with the memory
feature, the controls on the driver
door are used to program and recall
memory settings for the driver seat,
outside mirrors, and the telescopic
steering column, if equipped.
The numbers on the back of
the keyless access transmitters
correspond to the numbers on
the memory buttons.
Page 68 of 428
Black plate (4,1)Chevrolet Corvette Owner Manual - 2011
3-4 Seats and Restraints
Storing Memory Positions
To save into memory:
1. Adjust the driver seat, bothoutside mirrors, and the
telescopic steering column,
if equipped.
2. Press and hold “1”until
two beeps sound.
3. Repeat for a second driver position using “2.”
To recall a memory position:
.On vehicles with an automatic
transmission, press and release
“1” or“2.”
If the vehicle is in P (Park), a
single beep sounds and the
memory position is recalled
after a brief delay.
If the vehicle is not in P (Park),
three beeps sound and the
memory position is not recalled.
.On vehicles with a manual
transmission, when the vehicle
is on, the parking brake must be
set to recall a memory position.
Press and release “1”or“2.”
A single beep sounds and the
memory position is recalled after
a brief delay.
If the vehicle is on and the
parking brake is not set,
three beeps sound and the
memory position is not recalled.
Memory Remote Recall
(Automatic Transmission)
The memory feature can recall
the driver seat, outside mirrors,
and telescopic steering column,
if equipped, to stored positions
when entering the vehicle.
To activate memory remote recall,
enter the vehicle and start the
engine. The driver seat, outside
mirrors, and telescopic steering
column will move to the memory
position associated with the
transmitter used to unlock the
vehicle. The automatic recall feature can be
turned on or off using the vehicle
personalization menu. See
“Auto
Memory Recall” underVehicle
Personalization on page 5‑55 for
more information.
To stop recall movement, press one
of the power seat controls, power
mirror or memory buttons, or the
telescopic steering column switch.
If something has blocked the driver
seat while recalling a memory
position, the recall may stop.
Remove the obstruction; then
press and hold the appropriate
manual control for the memory item
that is not recalling for two seconds.
Try recalling the memory position
again by pressing the appropriate
memory button. If the memory
position is still not recalling,
see your dealer for service.
Page 69 of 428
Black plate (5,1)Chevrolet Corvette Owner Manual - 2011
Seats and Restraints 3-5
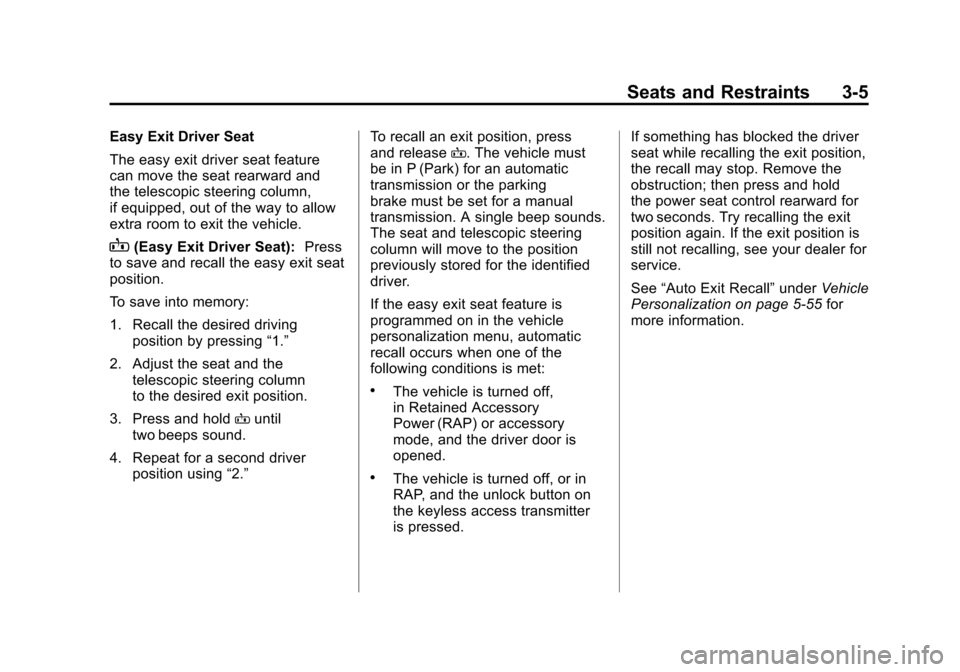
Easy Exit Driver Seat
The easy exit driver seat feature
can move the seat rearward and
the telescopic steering column,
if equipped, out of the way to allow
extra room to exit the vehicle.
B(Easy Exit Driver Seat):Press
to save and recall the easy exit seat
position.
To save into memory:
1. Recall the desired driving
position by pressing “1.”
2. Adjust the seat and the telescopic steering column
to the desired exit position.
3. Press and hold Buntil
two beeps sound.
4. Repeat for a second driver position using “2.” To recall an exit position, press
and release
B. The vehicle must
be in P (Park) for an automatic
transmission or the parking
brake must be set for a manual
transmission. A single beep sounds.
The seat and telescopic steering
column will move to the position
previously stored for the identified
driver.
If the easy exit seat feature is
programmed on in the vehicle
personalization menu, automatic
recall occurs when one of the
following conditions is met:
.The vehicle is turned off,
in Retained Accessory
Power (RAP) or accessory
mode, and the driver door is
opened.
.The vehicle is turned off, or in
RAP, and the unlock button on
the keyless access transmitter
is pressed. If something has blocked the driver
seat while recalling the exit position,
the recall may stop. Remove the
obstruction; then press and hold
the power seat control rearward for
two seconds. Try recalling the exit
position again. If the exit position is
still not recalling, see your dealer for
service.
See
“Auto Exit Recall” underVehicle
Personalization on page 5‑55 for
more information.
Page 70 of 428
Black plate (6,1)Chevrolet Corvette Owner Manual - 2011
3-6 Seats and Restraints
Lumbar Adjustment
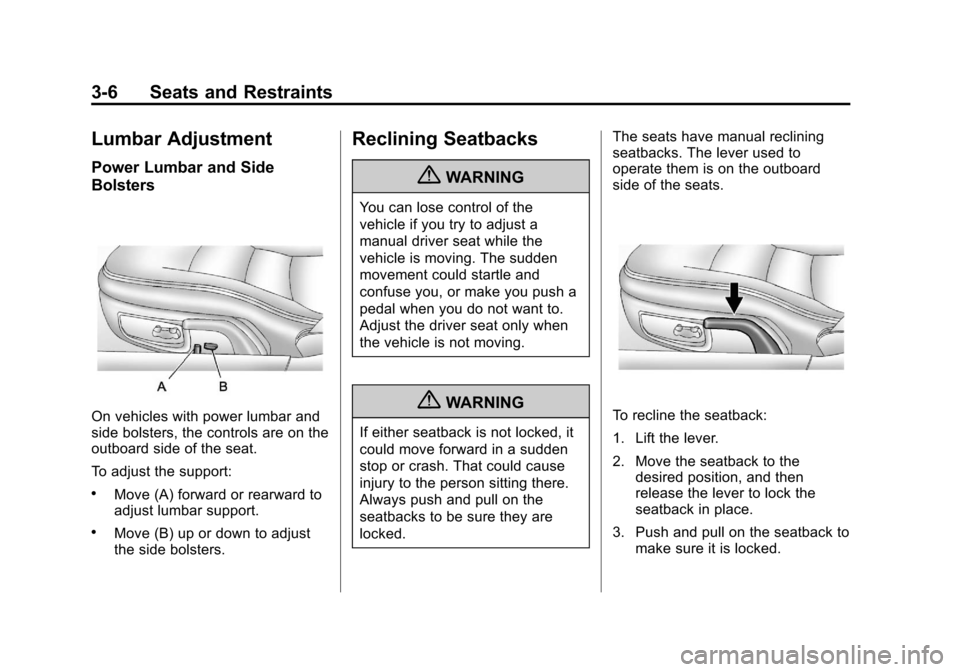
Power Lumbar and Side
Bolsters
On vehicles with power lumbar and
side bolsters, the controls are on the
outboard side of the seat.
To adjust the support:
.Move (A) forward or rearward to
adjust lumbar support.
.Move (B) up or down to adjust
the side bolsters.
Reclining Seatbacks
{WARNING
You can lose control of the
vehicle if you try to adjust a
manual driver seat while the
vehicle is moving. The sudden
movement could startle and
confuse you, or make you push a
pedal when you do not want to.
Adjust the driver seat only when
the vehicle is not moving.
{WARNING
If either seatback is not locked, it
could move forward in a sudden
stop or crash. That could cause
injury to the person sitting there.
Always push and pull on the
seatbacks to be sure they are
locked.The seats have manual reclining
seatbacks. The lever used to
operate them is on the outboard
side of the seats.
To recline the seatback:
1. Lift the lever.
2. Move the seatback to the
desired position, and then
release the lever to lock the
seatback in place.
3. Push and pull on the seatback to make sure it is locked.