instrument panel CHEVROLET EXPRESS PASSANGER 2007 1.G User Guide
[x] Cancel search | Manufacturer: CHEVROLET, Model Year: 2007, Model line: EXPRESS PASSANGER, Model: CHEVROLET EXPRESS PASSANGER 2007 1.GPages: 458, PDF Size: 2.62 MB
Page 90 of 458

The words ON and OFF, or the symbol for on and
off, will be visible on the instrument panel during
the system check. When the system check is
complete, either the word ON or the word OFF,
or the symbol for on or the symbol for off, will
be visible. SeePassenger Airbag Status Indicator
on page 172.
The passenger sensing system will turn off
the right front passenger’s frontal airbag under
certain conditions. The driver’s airbags are not
part of the passenger sensing system.
The passenger sensing system works with
sensors that are part of the right front passenger’s
seat. The sensors are designed to detect the
presence of a properly seated occupant and
determine if the passenger’s frontal airbag
should be enabled (may inflate) or not.Accident statistics show that children are safer if
they are restrained in the rear rather than the front
seat. We recommend that children be secured
in a rear seat, including: an infant or a child riding
in a rear-facing child restraint; a child riding in
a forward-facing child seat; an older child riding
in a booster seat; and children, who are large
enough, using safety belts.
A label on your sun visor that says, “Never put
a rear-facing child seat in the front.” This is
because the risk to the rear-facing child is so
great, if the airbag deploys.
90
Page 95 of 458
{CAUTION:
If the airbag readiness light in the
instrument panel cluster ever comes on
and stays on, it means that something may
be wrong with the airbag system. If this
ever happens, have the vehicle serviced
promptly, because an adult-size person
sitting in the right front passenger’s
seat may not have the protection of the
airbag(s). SeeAirbag Readiness Light
on page 169for more on this, including
important safety information.A thick layer of additional material, such as a
blanket or cushion, or aftermarket equipment such
as seat covers, seat heaters, and seat massagers
can affect how well the passenger sensing
system operates. You may want to consider not
using seat covers or other aftermarket equipment.
SeeAdding Equipment to Your Airbag-Equipped
Vehicle on page 97for more information about
modifications that can affect how the system
operates.
{CAUTION:
Stowing of articles under the passenger’s
seat or between the passenger’s seat
cushion and seatback may interfere with
the proper operation of the passenger
sensing system.
95
Page 97 of 458
Adding Equipment to Your
Airbag-Equipped Vehicle
Q:Is there anything I might add to the
exterior of the vehicle that could keep
the airbags from working properly?
A:Yes. If you add things that change your
vehicle’s frame, bumper system, height,
front end or side sheet metal, they may keep
the airbag system from working properly.
Also, the airbag system may not work properly
if you relocate any of the airbag sensors.
If you have any questions about this,
you should contact Customer Assistance
before you modify your vehicle. The phone
numbers and addresses for Customer
Assistance are in Step Two of the Customer
Satisfaction Procedure in this manual.
SeeCustomer Satisfaction Procedure
on page 424.
Q:Because I have a disability, I have to get
my vehicle modi�ed. How can I �nd out
whether this will affect my airbag system?
A:Changing or moving any parts of the
front seats, safety belts, the airbag sensing
and diagnostic module, steering wheel,
the instrument panel, or airbag wiring can
affect the operation of the airbag system.
If you have questions, call Customer
Assistance. The phone numbers and
addresses for Customer Assistance are
in Step Two of the Customer Satisfaction
Procedure in this manual. SeeCustomer
Satisfaction Procedure on page 424.
Your dealer/retailer and the service manual
have information about the location of the airbag
sensors, sensing and diagnostic module and
airbag wiring.
97
Page 98 of 458
Restraint System Check
Checking the Restraint Systems
Now and then, make sure the safety belt reminder
light and all your belts, buckles, latch plates,
retractors and anchorages are working properly.
Look for any other loose or damaged safety belt
system parts. If you see anything that might keep
a safety belt system from doing its job, have it
repaired. SeeCare of Safety Belts on page 385
for more information.
Torn or frayed safety belts may not protect you in
a crash. They can rip apart under impact forces.
If a belt is torn or frayed, get a new one right away.
Also look for any opened or broken airbag covers,
and have them repaired or replaced. The airbag
system does not need regular maintenance.
Notice:If you damage the covering for the
driver’s or the right front passenger’s airbag,
the airbag may not work properly. You may
have to replace the airbag module in the
steering wheel or both the airbag module
and the instrument panel for the right front
passenger’s airbag. Do not open or break
the airbag coverings.
Replacing Restraint System Parts
After a Crash
{CAUTION:
A crash can damage the restraint systems
in your vehicle. A damaged restraint
system may not properly protect the
person using it, resulting in serious
injury or even death in a crash. To help
make sure your restraint systems are
working properly after a crash, have
them inspected and any necessary
replacements made as soon as possible.
If you have had a crash, do you need new
safety belts or LATCH system parts?
After a very minor collision, nothing may be
necessary. But if the belts were stretched,
as they would be if worn during a more severe
crash, then you need new parts.
98
Page 139 of 458
Outside Heated Mirrors
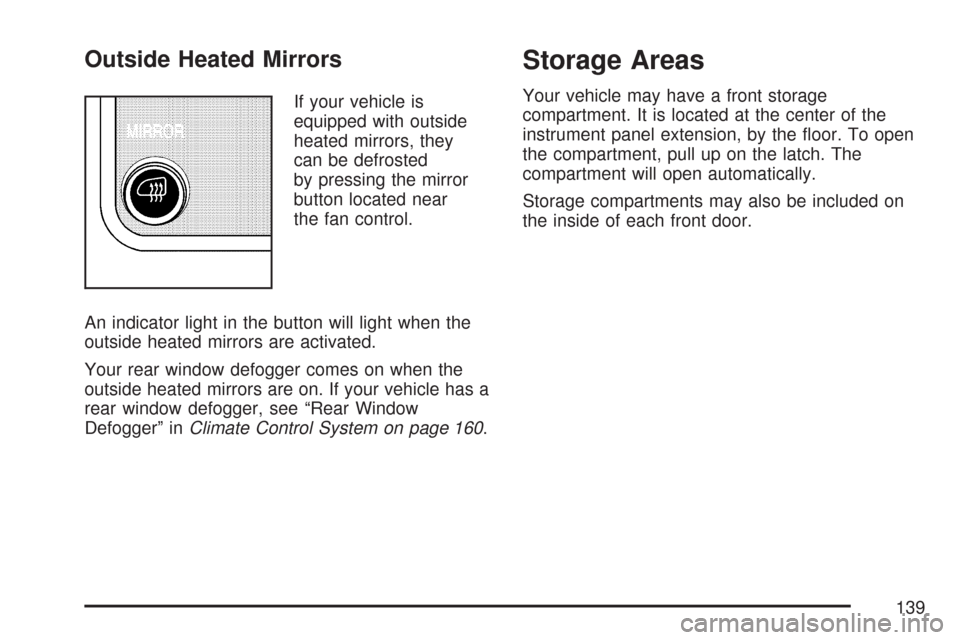
If your vehicle is
equipped with outside
heated mirrors, they
can be defrosted
by pressing the mirror
button located near
the fan control.
An indicator light in the button will light when the
outside heated mirrors are activated.
Your rear window defogger comes on when the
outside heated mirrors are on. If your vehicle has a
rear window defogger, see “Rear Window
Defogger” inClimate Control System on page 160.
Storage Areas
Your vehicle may have a front storage
compartment. It is located at the center of the
instrument panel extension, by the floor. To open
the compartment, pull up on the latch. The
compartment will open automatically.
Storage compartments may also be included on
the inside of each front door.
139
Page 141 of 458
Instrument Panel Overview........................ 144
Hazard Warning Flashers.......................... 146
Other Warning Devices............................. 146
Horn.......................................................... 146
Tilt Wheel.................................................. 147
Turn Signal/Multifunction Lever.................. 147
Turn and Lane-Change Signals................. 148
Headlamp High/Low-Beam Changer.......... 149
Flash-to-Pass............................................ 149
Windshield Wipers..................................... 150
Windshield Washer.................................... 151
Cruise Control........................................... 151
Exterior Lamps.......................................... 155
Headlamps on Reminder........................... 156
Daytime Running Lamps (DRL)................. 156
Instrument Panel Brightness...................... 157
Dome Lamps............................................. 157
Dome Lamp Override................................ 157
Entry Lighting............................................ 158
Exit Lighting.............................................. 158
Reading Lamps......................................... 158Battery Run-Down Protection..................... 158
Accessory Power Outlet(s)........................ 158
Ashtray(s) and Cigarette Lighter................ 159
Climate Controls......................................... 160
Climate Control System............................. 160
Outlet Adjustment...................................... 162
Rear Heating System................................ 163
Rear Air Conditioning and Heating
System.................................................. 164
Warning Lights, Gages, and Indicators..... 166
Instrument Panel Cluster........................... 167
Speedometer and Odometer...................... 168
Trip Odometer........................................... 168
Safety Belt Reminder Light........................ 168
Passenger Safety Belt Reminder Light....... 169
Airbag Readiness Light............................. 169
Airbag Off Light......................................... 170
Passenger Airbag Status Indicator............. 172
Charging System Light.............................. 174
Voltmeter Gage......................................... 175
Section 3 Instrument Panel
141
Page 142 of 458
Brake System Warning Light..................... 175
Anti-Lock Brake System Warning Light...... 176
StabiliTrak
®Not Ready Light...................... 177
StabiliTrak®Indicator Light......................... 177
Engine Coolant Temperature Gage............ 178
Malfunction Indicator Lamp........................ 178
Oil Pressure Gage..................................... 182
Change Engine Oil Light........................... 183
Security Light............................................ 183
Cruise Control Light.................................. 184
Reduced Engine Power Light.................... 184
Highbeam On Light................................... 185
Daytime Running Lamps (DRL)
Indicator Light........................................ 185
Tow/Haul Mode Light................................ 185
Check Gages Warning Light...................... 185
Fuel Gage................................................. 186Audio System(s)......................................... 187
Setting the Time for Radios without
Radio Data Systems (RDS).................... 189
Setting the Time for Radios with
Radio Data Systems (RDS).................... 189
AM-FM Radio............................................ 190
Radio with CD........................................... 193
Radio with Cassette and CD..................... 198
Radio with Six-Disc CD............................. 211
Theft-Deterrent Feature
(Non-RDS Radios)................................. 223
Theft-Deterrent Feature (RDS Radios)....... 223
Radio Reception........................................ 224
Care of the Cassette Tape Player............. 224
Care of Your CDs..................................... 225
Care of the CD Player.............................. 226
Fixed Mast Antenna.................................. 226
Chime Level Adjustment............................ 226
Section 3 Instrument Panel
142
Page 144 of 458
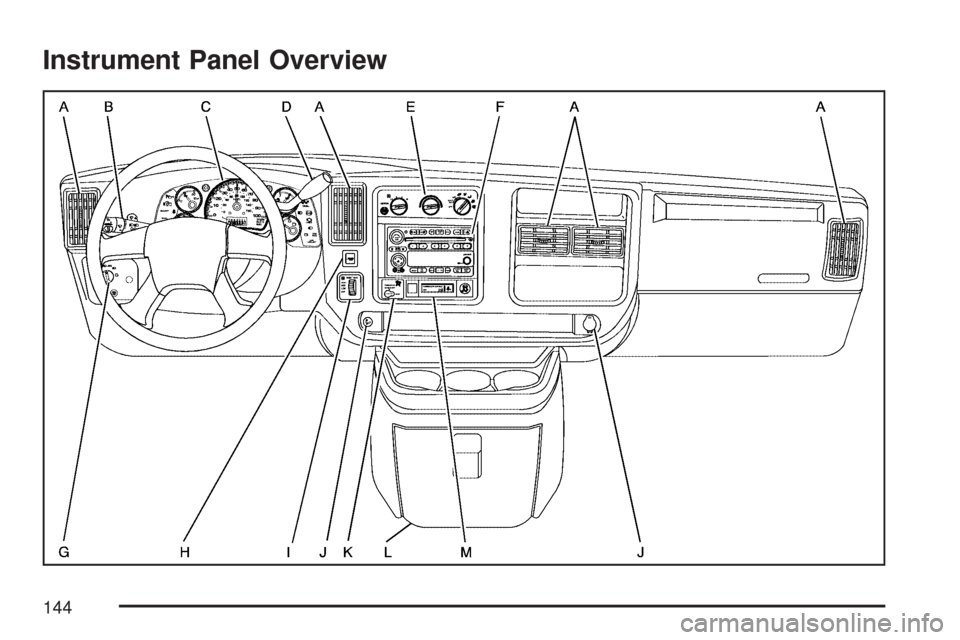
Instrument Panel Overview
144
Page 145 of 458
The main components of your instrument panel are the following:
A. Air Outlets. SeeOutlet Adjustment on
page 162.
B. Turn Signal/Multifunction Lever. SeeTurn
Signal/Multifunction Lever on page 147.
C. Instrument Panel Cluster. SeeInstrument Panel
Cluster on page 167.
D. Shift Lever. SeeStarting the Engine on
page 122.
E. Climate Control System. SeeClimate Control
System on page 160.
F. Audio System(s). SeeAudio System(s) on
page 187.
G. Exterior Lamp Controls. SeeExterior Lamps on
page 155.
H. Tow/Haul Mode Button. See “Tow/Haul Mode”
underTowing a Trailer on page 269.I. Rear Heating System (If Equipped). SeeRear
Heating System on page 163.
J. Accessory Power Outlets/Cigarette Lighter. See
Accessory Power Outlet(s) on page 158and
Ashtray(s) and Cigarette Lighter on page 159.
K. Airbag Off Switch. SeeAirbag Off Switch
on page 86.
L. Storage Compartment. SeeStorage Areas on
page 139.
M. StabiliTrak
®Button (If Equipped), Passenger
Airbag Status Indicator, and High-Idle System
(If Equipped). SeeStabiliTrak
®System on
page 235orPassenger Airbag Status Indicator
on page 172.
145
Page 148 of 458
•NWindshield Wipers. SeeWindshield
Wipers on page 150.
•LWindshield Washer. SeeWindshield
Washer on page 151.
•ICruise Control.Cruise Control on
page 151.
For information on the exterior lamps, seeExterior
Lamps on page 155later in this section.
Turn and Lane-Change Signals
The turn signal has two upward (for right) and
two downward (for left) positions. These positions
allow you to signal a turn or a lane change.
To signal a turn, move the lever all the way up or
down. When the turn is finished, the lever will
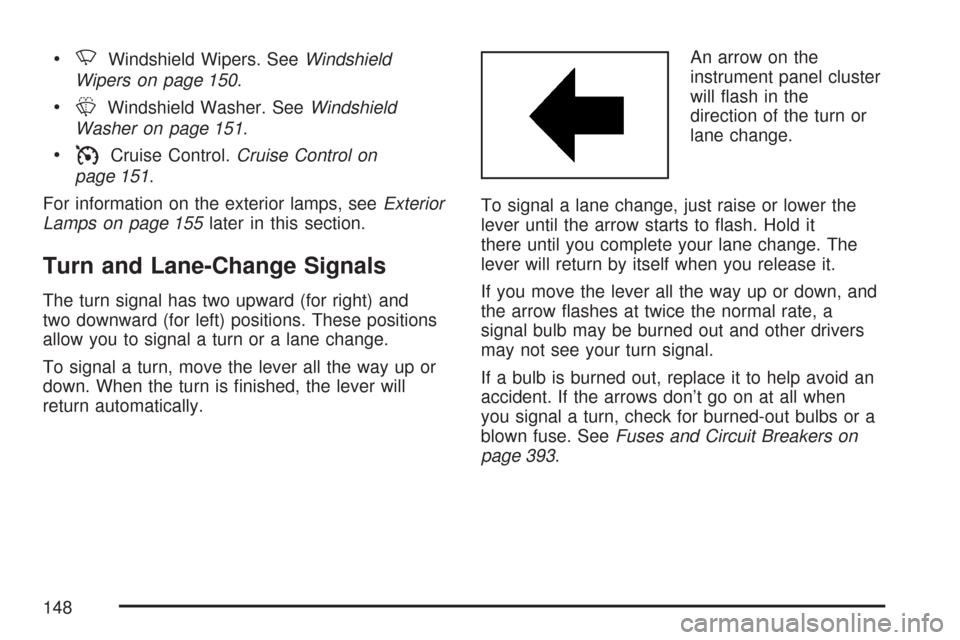
return automatically.An arrow on the
instrument panel cluster
will flash in the
direction of the turn or
lane change.
To signal a lane change, just raise or lower the
lever until the arrow starts to flash. Hold it
there until you complete your lane change. The
lever will return by itself when you release it.
If you move the lever all the way up or down, and
the arrow flashes at twice the normal rate, a
signal bulb may be burned out and other drivers
may not see your turn signal.
If a bulb is burned out, replace it to help avoid an
accident. If the arrows don’t go on at all when
you signal a turn, check for burned-out bulbs or a
blown fuse. SeeFuses and Circuit Breakers on
page 393.
148